How to Screen Record with Microphone on Mac
Getting a great screen recording with microphone audio on your Mac is straightforward once you know which tool to use. For quick narration-only recordings, the built-in Screenshot Toolbar (Cmd + Shift + 5) or QuickTime Player works fine. For system audio + microphone together, you need a dedicated app or a virtual audio driver.
Also need system audio? See our full guide: How to screen record with audio on Mac — covers system audio, BlackHole, OBS, and Loopback alongside mic recording.
Your Guide To Recording Your Mac Screen With Audio
Capturing your screen and your voice at the same time is key for making useful tutorials, clear presentations, or helpful feedback videos. Think about it: if you're a developer demoing a new feature, a marketer showing off a product, or a support specialist walking someone through a fix, the quality of your recording makes a huge difference. Before you hit record, it’s worth thinking about the pros and cons of live vs. pre-recorded video to make sure a screen recording is the best fit for what you're trying to achieve.
This guide is all about getting it done on a Mac. We’ll look at how to use the tools you already have and explore what’s possible when you need a bit more power. My goal is to help you sidestep common headaches like bad audio settings or annoying background noise right from the start.
Choosing The Right Tool For The Job
The software you choose really depends on what you're trying to do. Are you whipping up a quick, informal clip for a coworker, or are you producing a polished tutorial for the public? Each situation calls for a different tool. It's usually a trade-off between speed, features, and the final quality you're aiming for.
This flowchart can help you decide which path makes the most sense for your project.
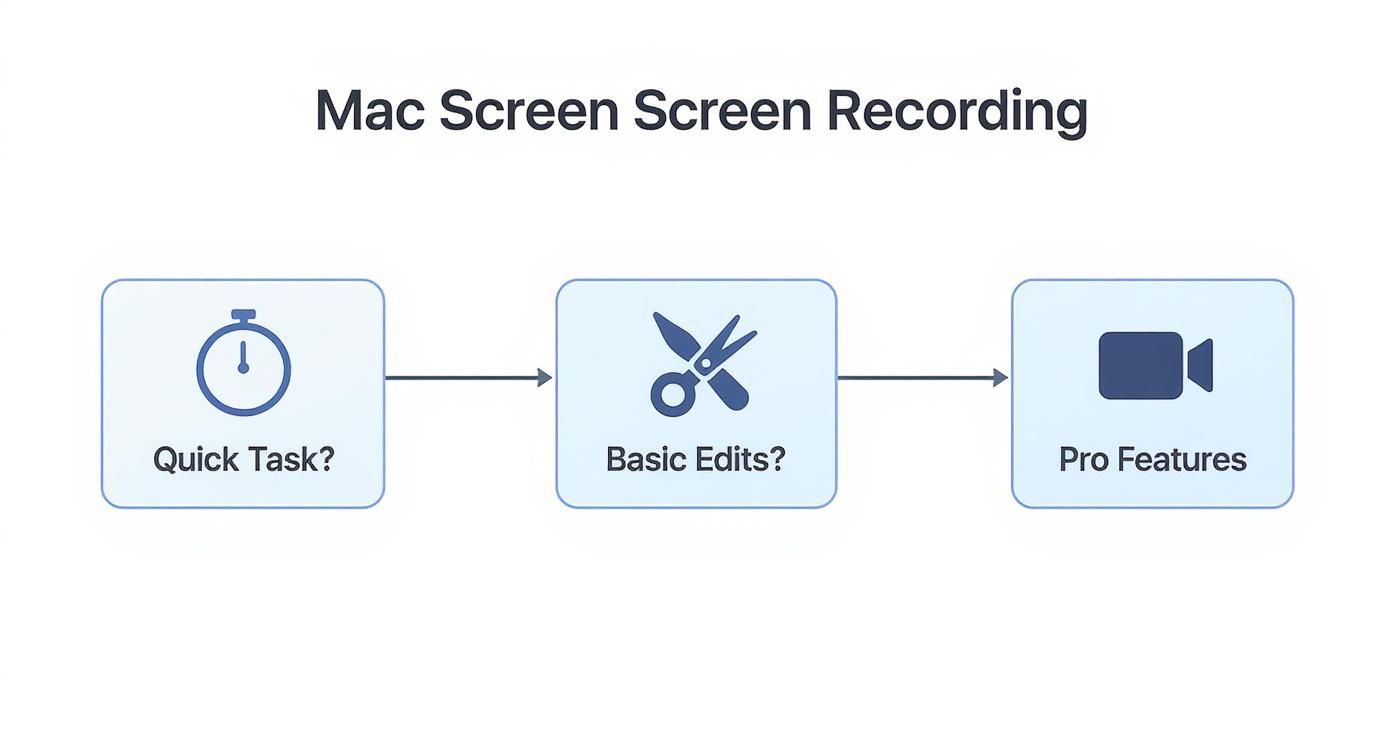
The main thing to remember is that for simple, one-off recordings, the built-in macOS options are perfectly fine. But as soon as you need to do any editing or want professional touches like a picture-in-picture webcam, you'll need a specialized app.
Mac Screen Recording Options At A Glance
To make the choice even clearer, here’s a quick breakdown of how the different options stack up against each other.
| Feature | Screenshot Toolbar (macOS) | QuickTime Player (macOS) | Screen Charm (Dedicated App) |
|---|---|---|---|
| Best For | Instant, simple clips | Basic recordings & trimming | Polished tutorials & presentations |
| Microphone Audio | Yes (basic selection) | Yes (basic selection) | Yes (advanced controls) |
| Webcam Overlay | No | No | Yes (customizable) |
| Auto-Zoom/Follow | No | No | Yes |
| Editing | None | Simple trimming only | Advanced editing features |
| Ease of Use | Very easy | Easy | Easy, with a deeper feature set |
The built-in tools are great for their convenience, but a dedicated app like Screen Charm unlocks a level of professionalism and efficiency that the standard options just can't match.
Why High-Quality Screen Recording Matters
The need for clear and engaging video content is only getting bigger. The global market for screen recording software—tools designed specifically for this kind of work—is expected to be around $2 billion in 2025 and is projected to hit nearly $6 billion by 2033. That’s a huge jump, and it shows just how central screen and audio capture has become for businesses and educators.
A great recording isn't just about what you show; it's about how clearly you communicate. When you combine crisp visuals with clear audio, your message doesn't just get heard—it gets understood, remembered, and valued.
Ultimately, taking a few extra minutes to get your setup right pays off big time. It turns what could be a frustrating, amateur-looking recording into a smooth, professional presentation. In the sections ahead, we’ll walk through how to prep your Mac, use both the built-in and more advanced tools, and troubleshoot common issues so every recording you make is a success.
Getting Your Mac Ready for a Flawless Audio Recording
Before you hit that record button, taking a few moments to set things up properly can make a world of difference in your final audio quality. Trust me, great audio is what separates a good screen recording from a great one—it keeps your audience engaged and makes sure your message lands clearly.
Let's start with the absolute first thing you need to do on any Mac: grant the right permissions.

First Things First: Granting Microphone Permissions
As a security measure, macOS won’t let any app just start listening in. You have to give it explicit permission. If you miss this step, your screen recording software won't capture a single sound, and you'll end up with a silent movie. It’s a frustrating mistake I’ve seen people make countless times.
Here’s how to get it done:
- Head into System Settings.
- Click on Privacy & Security in the sidebar.
- Find and select Microphone from the list.
- Look for your recording app (like Screen Charm or QuickTime Player) and flip the switch next to it to On.
This is a one-and-done setup for each app, and it will save you a massive headache later.
Choosing and Setting Up Your Microphone
With permissions handled, it's time to think about your actual microphone. The hardware you use is probably the single biggest factor affecting your audio quality.
You’ve got a few common options:
- Your Mac's Built-in Mic: It’s there and it works. Perfect for quick, informal videos, but it’s notorious for picking up every keyboard tap and echo in the room.
- Earbuds (like AirPods): This is a solid step up. Having the microphone closer to your mouth naturally cuts down on a lot of that distracting room noise.
- An External USB Microphone: For that crisp, professional sound, this is the way to go. A dedicated mic, like a Blue Yeti, captures your voice with warmth and clarity, giving your recordings a polished feel.
The value of good audio isn't just a hunch; the global market for recording microphones is expected to hit around $2.5 billion in 2025 and grow to an estimated $4.2 billion by 2033. That’s a lot of people investing in better sound.
My Go-To Tip: Always, always check your input levels before you record. If the meter is constantly hitting red, your audio will distort—a problem called "clipping." If it's too low, you'll have to crank the volume in post-production, which also amps up all the background hiss.
In your Mac's Sound settings, you'll see a panel where you can pick your microphone and watch the input level. As you talk, aim for the little meter to bounce around two-thirds of the way to the top. That's the sweet spot.
Fine-Tuning Your Recording Environment
Finally, where you record is almost as important as what you record with. You don't need to build a soundproof booth, but a few simple tweaks can drastically improve your audio.
Try to close any windows to minimize street noise, shut off fans or air conditioners, and pick a room with soft surfaces. Things like carpets, curtains, and even a couch can absorb sound waves and cut down on that hollow, echoey sound.
For a deeper dive, we put together a whole guide on creating a great home studio for recording. Taking these small steps is what creates that clean, distraction-free audio that makes your content easy to listen to.
Using Your Mac's Built-In Recording Tools
Sometimes, you just need to get a recording done now, without any fuss. The great news is your Mac already has some surprisingly good tools built right in, perfect for those quick and dirty recording jobs.
These built-in options are free, easy, and honestly, they're often all you need for simple tasks. Think sending a quick bug report to a developer or showing a colleague how to do something. For that kind of work, they're designed for speed and simplicity.

The Screenshot Toolbar Method
The absolute fastest way to get started is by using the Screenshot Toolbar. I use this all the time for impromptu recordings because of its handy keyboard command.
Just hit Command + Shift + 5. A control panel immediately pops up at the bottom of your screen. From there, you can choose to record your entire display or drag a box around a specific area. But before you hit that record button, click on 'Options'. This is the crucial step.
This menu is where you tell your Mac which microphone to listen to. Whether it's the built-in mic, your AirPods, or a professional USB mic, you have to select it from the list if you want your voice in the recording. For a deeper dive into this awesome feature, you can check out our full guide on the best Mac screen record shortcut.
Using QuickTime Player for Recordings
Another solid option is an app you probably already have sitting in your Dock: QuickTime Player. Most people think of it as just a video player, but it’s been hiding some pretty capable recording features this whole time.
Just open QuickTime Player from your Applications folder and go to File > New Screen Recording. You'll see a small recording window that looks almost identical to the Screenshot Toolbar's controls. And just like with the toolbar, you have to click the small arrow next to the record button to see the list of microphones and pick your audio source.
The built-in tools are fantastic for their immediacy. However, they are designed for capture, not creation. They lack advanced features like editing, webcam overlays, or the ability to record your Mac's internal system audio without complicated workarounds.
Knowing the Limitations
While I love the Screenshot Toolbar and QuickTime for basic jobs, it's really important to know where they come up short. Their biggest weakness is a total of lack of post-production features.
With these tools, you can't add a picture-in-picture webcam view to help connect with your audience, nor can you automatically zoom in to highlight key details as you record. They're built for raw capture, plain and simple. Any fancy edits or professional touches will mean exporting the video and using a separate application.
So, for simple, functional recordings? They're perfect. But if you're trying to create polished, engaging content, you'll find yourself needing more specialized software pretty quickly.
Creating Professional Recordings With Advanced Features
When you're trying to create content that really grabs people and gets your message across, the basic tools on your Mac just don't have the oomph. To truly connect with your audience, you need to bring in professional features that turn a standard screencast into a polished, engaging presentation. This is exactly where dedicated macOS apps like Screen Charm come into play, giving you the tools to direct your viewer's attention with precision.
These aren't just flashy extras; they have a real impact on how well your audience understands and remembers what you're showing them. A clean, professional recording builds trust and keeps people watching.
Connect Personally with a Webcam Overlay
Putting your face on the screen is one of the best ways to build a genuine connection. A webcam overlay, sometimes called picture-in-picture, transforms your tutorial from a sterile software demo into a personal conversation. It adds a crucial human element.
With a tool like Screen Charm, you can drag your webcam feed anywhere on the screen and resize it on the fly. This lets you interact with your content naturally, pointing to specific details and reacting just as you would in person.
Guide Their Eyes with Automatic Zoom
Ever watched a tutorial and squinted at the screen, trying to figure out what tiny button the presenter just clicked? Automatic zoom solves that problem for good. This feature is a game-changer; it intelligently follows your cursor, zooming in on key parts of the screen as you move. It’s like having a camera operator built right into your software, ensuring your audience never misses a detail.
This is incredibly useful for a few reasons:
- Highlighting Actions: It makes small buttons, menu items, and text fields crystal clear.
- Creating a Dynamic Feel: The smooth zooming motion keeps the video from feeling static and boring.
- Slashing Editing Time: No more spending hours manually adding zoom-and-pan effects later. It's all done for you.
Look Polished with Virtual Backgrounds
Your recording space plays a big role in your video's overall quality, but let's be honest, it's not always perfect. A cluttered or distracting background can immediately make your video feel unprofessional. Virtual backgrounds are the perfect fix, letting you swap out your real-world setting for a clean image, a branded graphic, or a simple blur.
A virtual background gives your content a consistent, polished look, no matter where you're recording. It puts the focus squarely on you and your screen—not the laundry pile behind you.
These kinds of advanced features are a huge reason why the screen capture software market is projected to hit $10.92 billion by 2025. In fact, it's estimated that over 60% of professional creators now rely on software that combines screen and microphone capture with tools like these.
If you're serious about achieving broadcast-quality results, you might even consider dedicated professional equipment like digital mixer audio systems to gain complete control over your sound.
Solving Common Screen and Audio Recording Problems
Even with the best setup, sometimes things just don't go as planned when you hit that record button. The good news is that most screen recording glitches are surprisingly easy to fix. Getting a great take often just comes down to knowing where to look.
From a silent microphone to a distracting echo, a small tweak is usually all it takes to get back on track. Let's walk through a few of the most common hiccups I see and how to solve them so you can keep your momentum going.
Why Is My Microphone Not Being Detected?
It’s a classic moment of frustration: you finish a recording only to realize your Mac didn't pick up your microphone at all. Before you get too annoyed, let's run through a quick diagnostic. First, check the basics—is the physical connection solid? If you're using a USB mic, make sure it’s plugged in securely. I’ve solved this problem more than once by simply trying a different port or swapping out the cable.
If the hardware looks good, your next stop should be the macOS System Settings. Like we talked about earlier, any app you use needs explicit permission to access your microphone. Head over to Privacy & Security > Microphone and confirm the toggle for your app is switched on. If it's already on and you're still stuck, our detailed guide on what to do when there is no audio on your screen recording can walk you through some deeper fixes.
Eliminating Echo and Background Noise
An echo in your audio can make an otherwise great recording sound amateurish and hard to follow. This problem almost always happens when your microphone picks up sound coming from your computer's own speakers, creating a nasty feedback loop.
The simplest and most effective fix? Wear headphones. It’s a non-negotiable for me. By sending the audio directly to your ears, you completely break that feedback loop and prevent the microphone from re-recording it.
An echo is a dead giveaway that your microphone is capturing your speaker output. Using headphones is the single best way to isolate your voice and guarantee clean, echo-free audio for your screen recording.
For extra credit, try recording in a room with soft surfaces like carpets, curtains, or even a bookshelf. These things absorb sound and can dramatically reduce that hollow, roomy quality, giving your voice a much cleaner presence.
Fixing Audio and Video Sync Issues
There’s nothing worse than watching playback and realizing your audio is completely out of sync with your video. This lag is a classic sign that your Mac is struggling to keep up with everything you're asking it to do. Recording your screen, webcam, and microphone all at once is a heavy lift for any computer.
To solve this, start by closing any applications you don't absolutely need for the recording. Every open app, from your email client to your web browser, is using up precious memory and processing power.
If the problem persists, try lowering your recording resolution. Dropping from 4K to 1080p can make a huge difference in system load and often resolves sync issues without a noticeable drop in visual quality for most viewers.
Got More Questions About Screen Recording on Your Mac?
Once you get the hang of the basics, a few more specific questions almost always pop up. Let's tackle some of the most common ones I hear from people trying to get their recordings just right.
Think of this as the next level—the little details that separate a decent recording from a great one.
How Can I Record My Mac’s Audio and My Mic at the Same Time?
This is the big one. It's a classic Mac headache because the built-in tools like QuickTime and the Screenshot utility just aren't designed for it. They'll grab your microphone audio, no problem, but they completely ignore the sounds coming from your Mac itself.
The solution is to use an app that comes with its own audio driver. A tool like Screen Charm is built specifically for this. During setup, it adds a virtual audio device that you can select as your input. This clever workaround lets it mix your voice from your microphone with your Mac's internal audio, keeping everything perfectly in sync.
This is a game-changer for so many projects. Imagine recording a software tutorial where you want the little "click" sounds to be heard, or creating a reaction video where your commentary needs to play alongside the original audio.
What’s the Best Microphone for Voiceovers on a Mac?
Your Mac’s built-in mic is fine in a pinch, but if you're serious about audio quality, an external microphone is the single best upgrade you can make. For that crisp, professional sound you hear in high-quality tutorials, a USB condenser microphone is the way to go.
You've probably seen a few popular models that work beautifully with macOS right out of the box:
- Blue Yeti: This mic is a crowd-favorite for a reason. It's incredibly versatile and delivers that rich, broadcast-style sound.
- Rode NT-USB+: If you're looking for studio-quality clarity without a complicated setup, this is a fantastic plug-and-play option.
These mics do a much better job of focusing on your voice while minimizing the room echo and background hum that built-in mics always seem to pick up. It's a worthwhile investment that pays off immediately.
Why Are My Screen Recording Files So Huge?
If you've ever been shocked by a multi-gigabyte file for a five-minute video, you're not alone. The main culprits are almost always your recording's resolution and frame rate. A 4K screen recording, for instance, is going to eat up a massive amount of disk space compared to a 1080p one.
Here’s how to get those file sizes under control without making your video look terrible:
- Drop the Resolution: Unless 4K is an absolute must-have, recording at 1080p (1920x1080) is the perfect balance of sharp visuals and manageable file sizes.
- Check Your Frame Rate: Most screen recordings, like tutorials or presentations, look perfectly smooth at 30 frames per second (FPS). Bumping it to 60 FPS often doubles the file size for no real visual benefit in these cases.
- Compress It Afterward: Once you’re done recording, run the video through a free tool like HandBrake. Using a modern video format like H.264 or H.265 (HEVC) can dramatically shrink the file size while keeping the quality high.
A little bit of planning before you hit record can save you a ton of storage space and make your files much faster to upload and share.
Can I Use AirPods as a Microphone for Screen Recording?
Yes. When your AirPods are connected to your Mac, they appear as a microphone option in System Settings and in recording apps. They're convenient for quick, informal recordings. For polished tutorials or client-facing demos, a dedicated USB microphone delivers noticeably better clarity — Bluetooth audio is more compressed and picks up more ambient noise than a wired mic placed close to your mouth.
Ready to create professional screen recordings with microphone on your Mac? Screen Charm handles mic selection, webcam overlay, and automatic zoom in one app. Get Screen Charm — or for a broader guide including system audio and all free methods, see how to screen record with audio on Mac.