Learning how to record high-quality videos on a Mac is surprisingly straightforward, but the real secret to success happens long before you hit the record button. It all starts with a solid plan. Thinking through your video’s goal, outlining the content, and picking the right setup will save you from countless headaches later on.
Laying the Groundwork for a Flawless Recording

Before you even think about software or microphones, the most important work happens with a simple notebook or a blank document. I can't stress this enough: a bit of planning is what separates polished, professional content from clumsy recordings that take forever to fix in post-production. It’s the key to a smooth recording session and an even smoother editing process.
This prep work begins with one simple question: what’s the point of this video? Who are you making it for, and what do you want them to take away from it? Knowing your audience and your goal influences everything—from the language you use to the level of detail you provide. A quick tutorial for a total beginner will look and sound completely different from a deep-dive demo aimed at power users.
Define Your Core Message and Structure
Once your goal is clear, it's time to sketch out your content. I’ve found a simple bulleted list works wonders for organizing my thoughts. This isn't about writing a full, word-for-word script. Think of it more like a roadmap to keep you on track and prevent you from going off on tangents.
For instance, if I were creating a tutorial for a new macOS app, my outline might be as simple as this:
- Quick intro: What problem does this app solve?
- Walkthrough of Feature 1: Show the main feature in action.
- Demo of Feature 2: Explain a cool secondary function.
- Wrap-up: Briefly recap the benefits and tell viewers what to do next.
This kind of structure ensures you hit all your key points without rambling—a common trap when you’re recording off the cuff.
A good outline is your best defense against "umms" and losing your train of thought. It’s the difference between sounding confident and sounding confused.
Choose Your Recording Environment and Tools
Your physical space has a massive impact on your video’s quality. Find a quiet spot where you won't be interrupted by a barking dog or a passing siren. Take a moment to check your background for anything distracting—a messy desk or a cluttered bookshelf can pull focus from your message. A clean, simple backdrop is always your safest bet. If you want to dive deeper, we have a whole guide on setting up a home studio for recording.
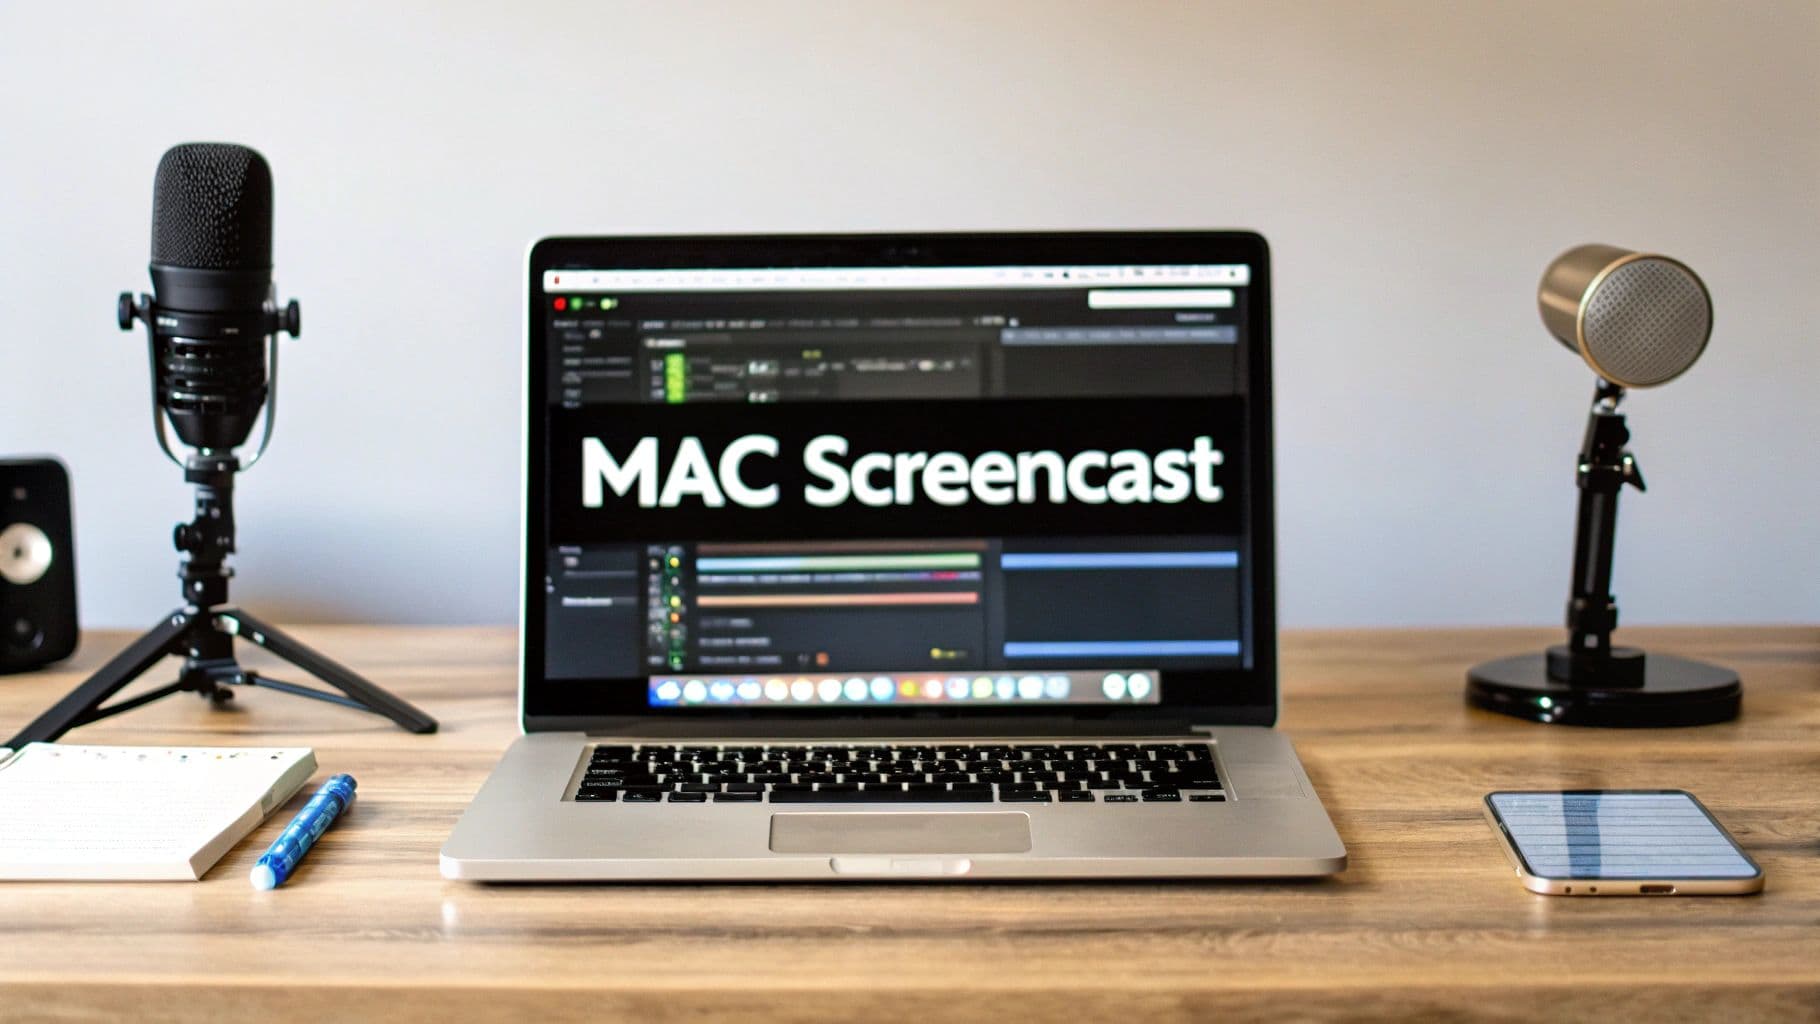
Just as important is choosing the right software for your Mac. For a quick, one-off screen grab, the built-in macOS tools can get the job done. But if you’re creating polished tutorials or product demos, a dedicated app like Screen Charm is a game-changer. It offers features that save a ton of time, like an auto-zoom that automatically follows your cursor to highlight exactly what you’re doing. Spending a few minutes to pick the right tool for the job prevents major technical headaches down the road.
Tuning Up Your Mac for a Flawless Video Capture
Your Mac is a beast right out of the box, but a few small tweaks before you hit record can make a world of difference. Think of it like a quick pre-flight check—these adjustments ensure your hardware and software are primed to capture smooth, professional-looking footage from the get-go.
Let's start with the most important, and often overlooked, element: audio. You can have the most beautiful 4K footage in the world, but if your audio is scratchy and distant, people will click away in seconds. The built-in MacBook mic is fine for a quick call, but for serious recording, an external USB microphone is a game-changer. It’s a non-negotiable for professional sound.
Before you record, always do a quick mic check. Head over to System Settings > Sound > Input. Pick your microphone from the list and start talking. Watch that input level meter—you want the signal to consistently hit the upper half without ever maxing out. If it hits the red, you're "clipping," which creates that nasty, distorted sound that's impossible to fix later.

Nailing Your Visuals
Once your sound is solid, it's time to focus on what people will see. Whether you're recording your screen, using the built-in FaceTime camera, or hooking up an external webcam, the goal is always maximum clarity.
For screen recordings, resolution and frame rate are the two settings you’ll be tweaking the most. Higher resolution means more detail—absolutely critical if you’re creating a tutorial where your audience needs to read tiny lines of code or menu text. The frame rate, or Frames Per Second (FPS), dictates how fluid any on-screen motion looks.
Not sure where to start? Here’s a quick rundown of some recommended settings for different projects.
Recommended Recording Settings for Different Video Types
| Video Type | Resolution | Frame Rate (FPS) | Use Case |
|---|---|---|---|
| Tutorials & How-Tos | 1920x1080 (1080p) | 30 FPS | The industry standard. Perfect for capturing clear on-screen text and user interfaces without creating gigantic files. |
| Presentations | 1920x1080 (1080p) | 30 FPS | Delivers a sharp, professional look for slideshows and speaker-led content. |
| High-Motion Gameplay | 1920x1080 or 2560x1440 | 60 FPS | Essential for capturing fast-paced action smoothly. The higher frame rate prevents motion blur and keeps the footage looking crisp. |
It's amazing how fast the industry has moved beyond standard definition. A common pro technique now is to shoot in 4K even if the final video will only be 1080p. This is called oversampling, and it results in a much sharper final image. Just be aware that 4K files require 3–4 times the bitrate of 1080p footage, which means much larger files. You can dive deeper into the technical evolution of video recording to get a better sense of how these standards came to be.
Side-Stepping Performance Lag
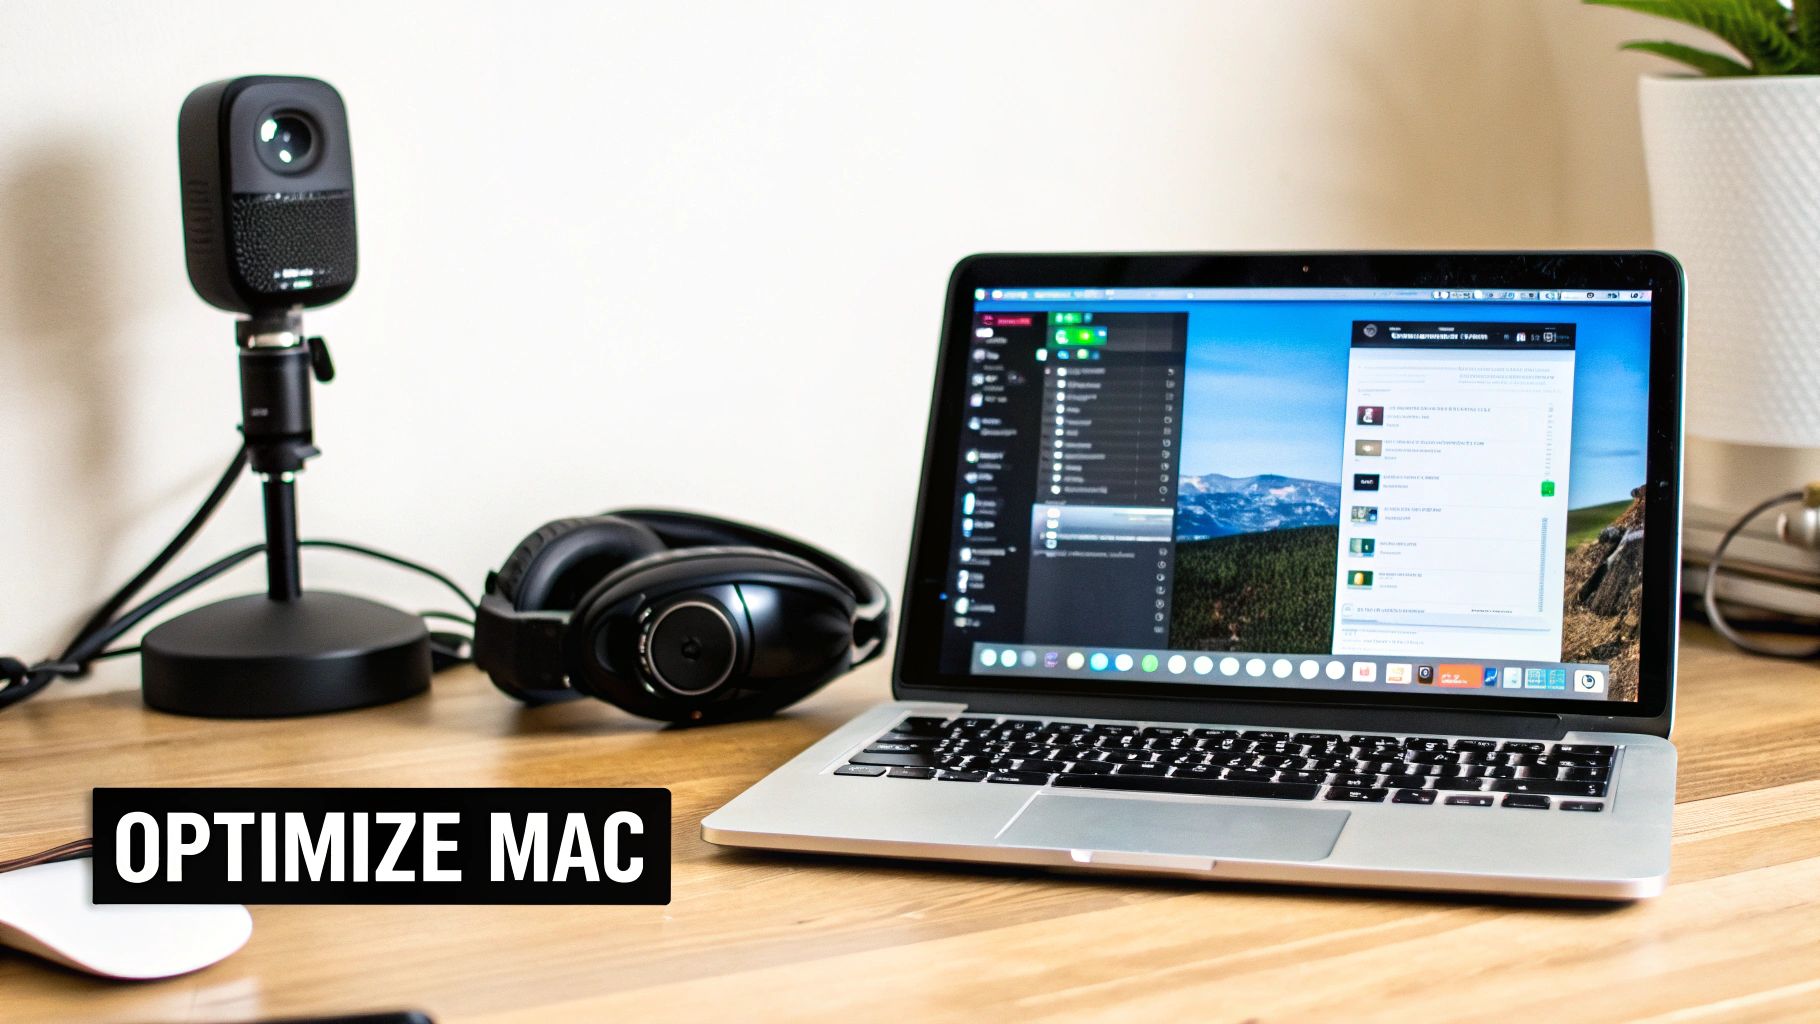
This is the step everyone forgets, and it can sink a recording session fast. Video capture is a demanding task, and if your Mac is busy doing a dozen other things in the background, you're going to get stutters, dropped frames, and a whole lot of frustration.
Your Mac's performance during recording directly impacts the final quality. A clean system ensures a smooth capture, saving you from the nightmare of fixing choppy footage in post-production.
Before you start, just do a quick system cleanup. The single most effective thing you can do is quit every single application you don't need for the recording.
I’m not just talking about closing that browser with 50 tabs open. Check your menu bar for little utilities running in the background. Every ounce of processing power you can free up helps your Mac dedicate its full attention to capturing a perfect take. Oh, and turn on Focus mode—the last thing you want is a notification banner popping up and ruining an otherwise perfect recording.
Sponsored by the makers
Tired of boring screen recordings?
Try Screen Charm.
Auto-zoom, motion blur, camera overlay, and background music. All built in. Record once, export a polished video.
See what it doesNailing the Record: Your Screen and Camera Workflow
Alright, you've done the prep work. Now it's time for the fun part—hitting record and actually creating your video. Getting a clean, professional-looking screen and camera capture on your Mac doesn't have to be complicated. It really comes down to a few solid techniques that keep things smooth for you and focused for your viewer.
Forget about frantically clicking around to start and stop. Most modern recording apps, including Screen Charm, rely on simple keyboard shortcuts. This sounds like a minor detail, but trust me, it’s a huge deal. It lets you stay in the zone, maintaining your train of thought without breaking your flow, which means a more natural take and less time spent editing out awkward pauses.
Keep Your Viewer Focused
One of the quickest ways to elevate your tutorial is to get rid of on-screen clutter. Instead of showing your entire messy desktop, you can almost always choose to record just a specific app window or a selected area. This trick instantly forces your viewer's attention exactly where you want it.
For instance, when I'm walking someone through a piece of software, I'll select only that application's window to record. This crops out my busy menu bar, my dock, and any other distracting visual noise. The result is a clean, focused video that looks polished and professional.
The single best feature for dynamic tutorials is auto-zoom that follows your cursor. It’s like having a camera operator who knows exactly what to highlight, creating a professional-looking video without any manual editing effort.
This is where a tool like Screen Charm really comes into its own. Its auto-zoom feature is brilliant—it automatically follows your cursor, smoothly zooming in on the exact buttons, menus, or text fields you’re interacting with. It’s an incredibly powerful way to guide your audience and emphasize key actions. Honestly, this feature alone can save you hours of post-production headaches trying to manually create those zoom-and-pan effects, making your videos instantly easier to follow.
Bring the Energy and Set the Pace
The technical setup is only half the story. Your delivery and energy are what will keep people hooked. Talking to a screen can feel a bit strange at first, so here’s a tip I picked up years ago: try recording while standing up. It naturally injects more energy into your voice and makes you sound far more dynamic.
Pacing is just as important. It’s so easy to talk a mile a minute when you know the subject inside and out, but remember, your audience is likely hearing this for the first time. Make a conscious effort to pause after you explain a big idea. Let it breathe. I find it helps to pretend I'm explaining it to a friend sitting right next to me. That simple mental shift helps you keep a natural, conversational tone.
Once you have this workflow down, you can start thinking bigger. The next step is learning how to create video training that sells and turn your expertise into a real asset.
Adding Professional Polish in Post-Production
Great footage is really just the starting point. The real magic, the part where a good video becomes a great one, happens in the edit. This is where you get to shape your raw clips into a polished, cohesive story. And you don't need a Hollywood-level editing suite on your Mac to do it—just a few smart techniques.
The first thing I always do is trim the fat. Every single recording has those awkward pauses, the "ums" and "ahs," or moments where you lose your train of thought. Be ruthless here. Your goal is to cut all of it out. A tight, clean narrative not only respects your viewer's time but also makes you sound far more confident and authoritative.
Think of your recording process like this:
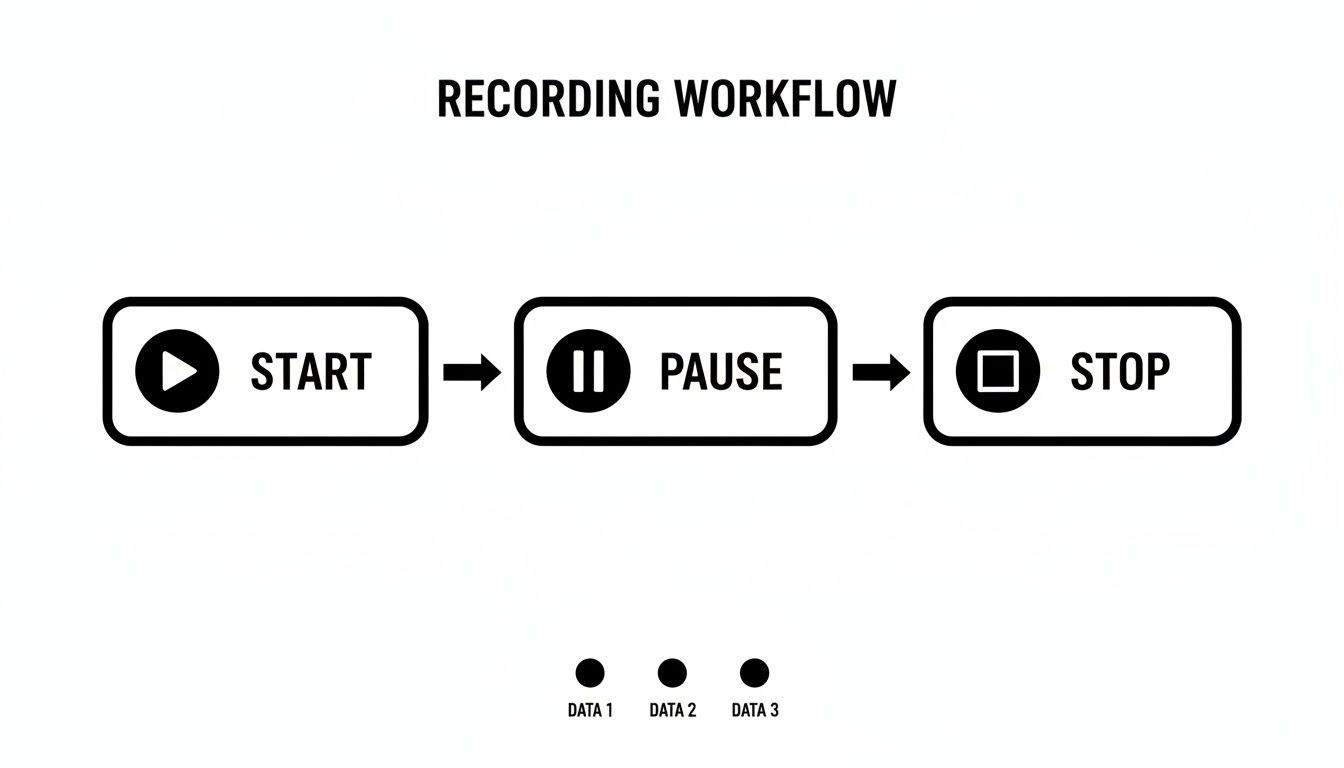
Every time you pause or restart, you're creating a natural break. These are the perfect places to slice away the fluff and keep the momentum going.
Clarify Your Message with Visuals
Once the core narrative is solid, it's time to add simple visual aids that act like signposts for your audience. These small touches make a huge difference in clarity.
- Text Callouts: Need to point out a specific keyboard shortcut or define a term? A quick text overlay is perfect for making sure nobody misses a crucial detail.
- Annotations: I often use simple arrows or colored boxes to draw the viewer's eye exactly where it needs to go, like a specific button or menu item. It reinforces what you're saying without you having to spell it out.
- Chapter Markers: If you're creating a longer tutorial, breaking it up into chapters is a lifesaver for your audience. It lets them jump straight to the section they care about most.
For a deeper dive into these techniques, our guide on video editing tips for beginners is a great next step.
Remember, the goal of post-production isn't just to be flashy. It’s to be clear. Every edit you make should serve one purpose: making your message easier for the viewer to understand.
Perfecting Your Audio
You can have the most beautiful video in the world, but bad audio will ruin it instantly. Even with a good microphone, your raw audio can almost always use some improvement. I focus on two key things: getting rid of background noise and leveling the volume.
Most modern editing tools have built-in filters to reduce the low hum from a computer fan or air conditioner. Applying a subtle noise reduction can make your audio sound incredibly clean. After that, I run it through an audio leveler or compressor. This simple step ensures your volume is consistent throughout the video, so your viewers aren't constantly reaching for their volume knob. These tweaks are what separate amateur videos from professional-feeling content.
Exporting and Sharing Your Video Correctly
You’ve nailed the recording and polished your edit. Now for the final, crucial step: getting your video out into the world. It’s easy to get lost in technical jargon here, but exporting is really just about making a few smart choices to ensure your video looks its best, no matter where it's viewed.
First up, the file format. If you're on a Mac, you’ll probably see options for MP4 and MOV. While MOV is Apple’s native format, MP4 is the universal language of video. It’s the go-to for a reason—it works flawlessly on everything from YouTube and social media to your website, making it the safest bet for maximum compatibility.
Choosing the Right Export Settings
When you hit "Export," you'll be asked about a codec, which is just the technology used to compress your video. The industry standard for web content is H.264 (you might also see it labeled AVC). It hits the sweet spot between crisp visual quality and a reasonable file size, meaning your videos will upload faster and stream smoothly for your audience.
Getting the balance right is key. Here are my tried-and-true settings for different platforms:
- YouTube or Vimeo: Aim for 1920x1080 (1080p) with a bitrate between 8-12 Mbps. This gives you that sharp HD look without creating a massive file that takes all day to upload.
- Company Website or Portfolio: For top-tier quality, exporting in the original resolution (like 4K) can be a good move. Just be aware that larger files can slow down your page loading times, so use it selectively.
- Social Media: Platforms like Instagram and Twitter are aggressive with their compression. Sticking with 1080p is still your best bet, but you can get away with a lower bitrate—think 5-8 Mbps—to keep file sizes small.
For a deeper dive into what each platform prefers, check out our complete guide on social media video formats.
A little perspective: The biggest shift in video creation wasn't a new camera or software, but the smartphone. By the mid-2010s, mobile devices were responsible for over 70% of video uploads on major platforms. This completely changed how we think about recording and sharing.
Making Your Video Discoverable
Once the file is exported, there’s one last thing to do before you hit publish: optimize your metadata. This is your chance to tell search algorithms (and people) what your video is all about.
Take a few minutes to write a compelling title, a genuinely helpful description, and a handful of relevant tags or keywords. Put yourself in your audience's shoes—what would they type into a search bar to find your content?
Don't just call it "Software Demo." That's a missed opportunity. Something like "How to Master Advanced Filters in ProjectFlow" is specific, searchable, and sets clear expectations. This small bit of effort is what separates a video that gets seen from one that gets lost in the noise. And if you want to speed up post-production, many modern AI video editing software tools can help automate parts of the editing process, letting you focus more on the creative and strategic work.
Common Questions About Recording Videos on a Mac
Even with the best-laid plans, a few questions always pop up once you hit record. Let's tackle some of the most common ones I hear from Mac users diving into video creation.
Is QuickTime Good Enough to Get Started?
This is probably the number one question I get. For a quick, one-off screen capture? Absolutely. QuickTime is already on your Mac, it’s free, and it gets the basic job done without any fuss.
But if you’re planning to create content consistently, like tutorials or product demos, you’ll feel its limitations pretty fast. You'll start wishing for features like cursor highlighting, automatic zooming on your clicks, and a built-in editor to trim mistakes—all things a dedicated app handles for you.
How Do I Keep Video File Sizes From Getting Huge?
It’s easy to be shocked by how much hard drive space a raw video file can consume. My go-to advice here is to stick with 1080p at 30 FPS for your recordings.
This is the sweet spot. It delivers fantastic quality for almost any online platform (YouTube, social media, course platforms) while keeping your file sizes from ballooning. Unless you have a specific reason to be filming in 4K, 1080p is more than enough and will save you a ton of space and processing time. You can always move the raw footage to an external drive once you're done editing.
Can I Record My iPhone or iPad Screen on My Mac?
Yes, and it's one of my favorite built-in Mac tricks for creating mobile app demos. It’s way cleaner than pointing a camera at your phone screen.
It’s surprisingly simple with QuickTime Player:
- Connect your iPhone or iPad to your Mac with its charging cable.
- Open QuickTime Player and navigate to File > New Movie Recording.
- Look for the little arrow next to the red record button and click it.
- Select your iPhone or iPad from the list for both "Camera" and "Microphone."
Just like that, your device’s screen shows up on your Mac, ready for a crystal-clear recording.
What about recording the audio coming from another app on your Mac? Natively, macOS blocks this to prevent copyright infringement. The workaround is a free tool called BlackHole, which creates a virtual audio device to route that sound right into your recording software.
Do I Really Need an Expensive Webcam?
For most people, the answer is no. While a high-end external webcam might perform a bit better in dim conditions, the built-in FaceTime camera on any recent MacBook is surprisingly capable.
The secret isn't the camera; it's the light. A well-lit video from your built-in webcam will always look a hundred times better than a grainy, poorly lit shot from a fancy 4K camera. Focus on your lighting first.
Ready to create polished, professional-looking tutorials and demos without the steep learning curve? Screen Charm simplifies the entire process with features like automatic cursor zoom and an integrated editor, built exclusively for macOS. Get all the tools you need to captivate your audience at https://screencharm.com.