Diving into video editing on a Mac can feel like learning a new language. The timeline, the jargon, and the endless settings can be overwhelming. But what if you could skip the steep learning curve and start creating polished, engaging videos right away? This guide provides essential video editing tips for beginners, specifically tailored for the macOS ecosystem. We'll move beyond generic advice to give you actionable techniques for composition, pacing, audio, and color that you can implement today on your Mac.
Whether you're creating a product demo for your software, a tutorial for students, or promotional content for your brand, these tips will help you avoid common mistakes and produce videos that captivate your audience. Learning these core principles is the foundation of creating professional-grade content. To truly master the fundamentals and turn your raw footage into polished videos, check out these comprehensive video editing tips for beginners for a deeper dive.
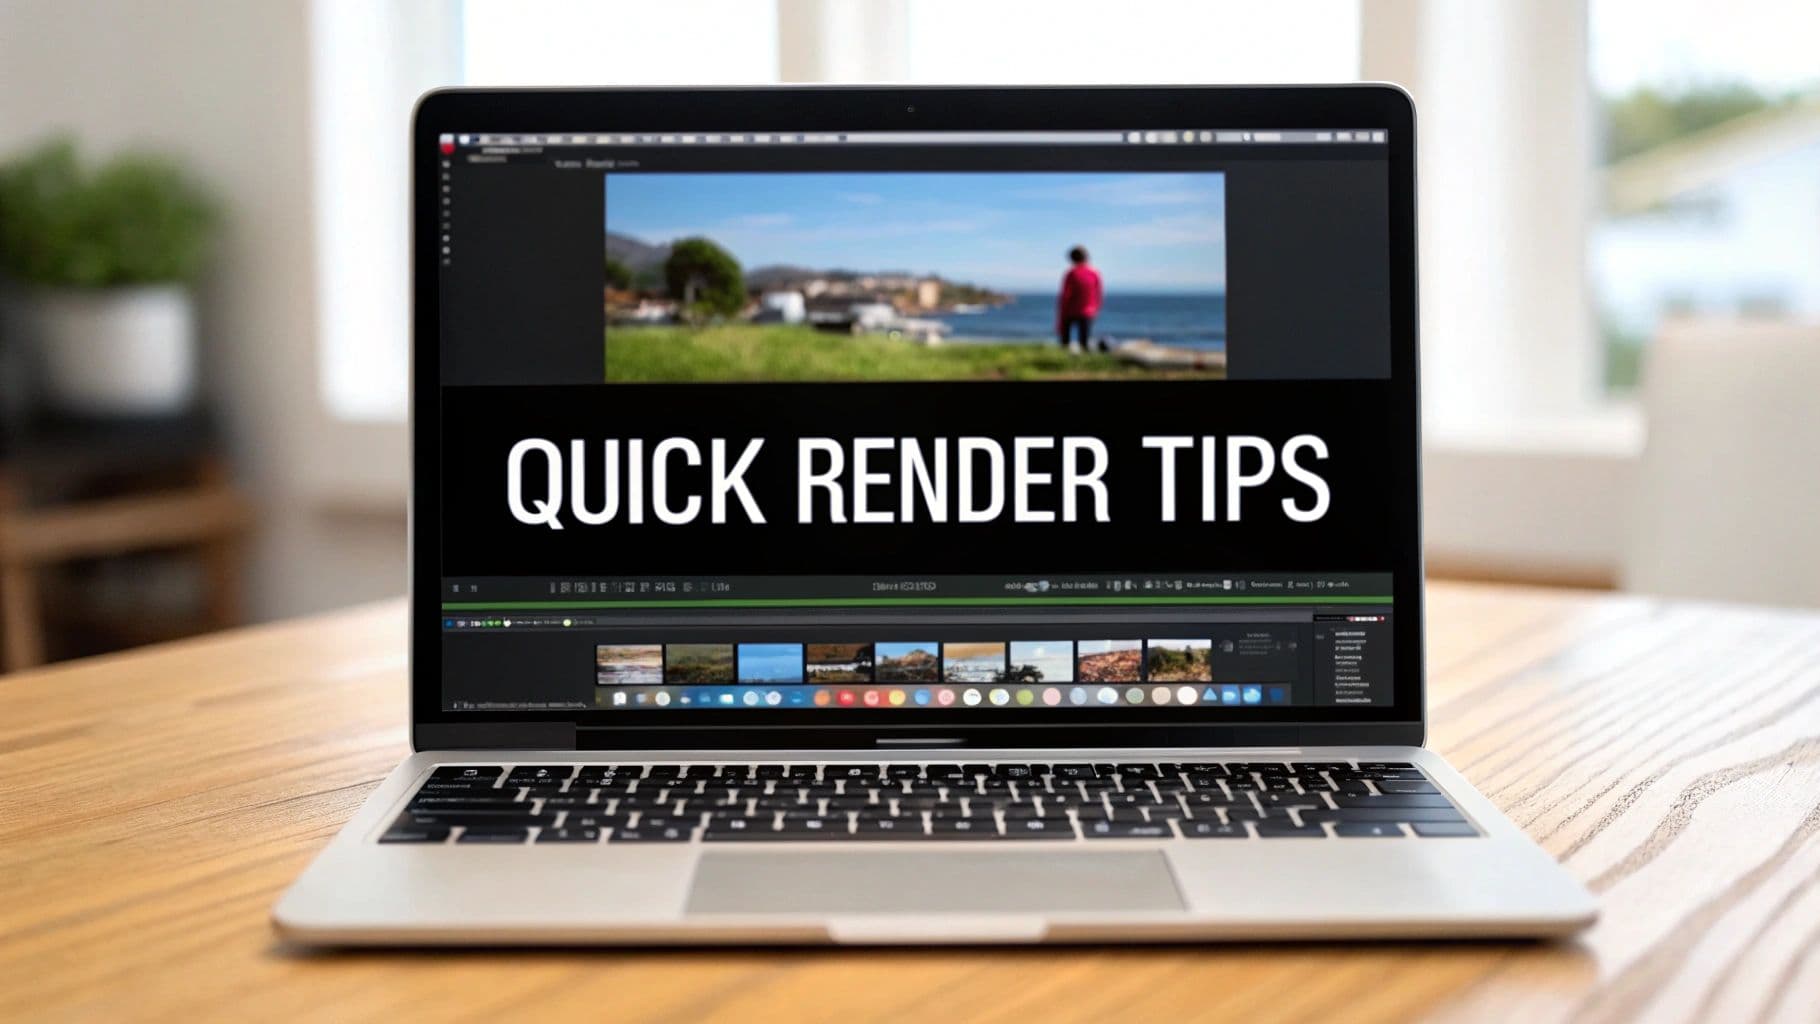
Throughout this article, we’ll explore eight key techniques, from mastering smooth transitions to implementing J-cuts and L-cuts for better flow. We'll also show you how specialized tools like Screen Charm for macOS can simplify these complex tasks, turning what used to take hours into a matter of minutes. Let’s get started.
1. Use the Rule of Thirds for Better Composition
One of the most impactful video editing tips for beginners involves a principle borrowed from photography and cinematography: the Rule of Thirds. This guideline suggests that you imagine your video frame is divided into nine equal segments by two vertical and two horizontal lines. Placing your subject or key points of interest along these lines or at their intersections creates a more dynamic, balanced, and professional-looking composition.
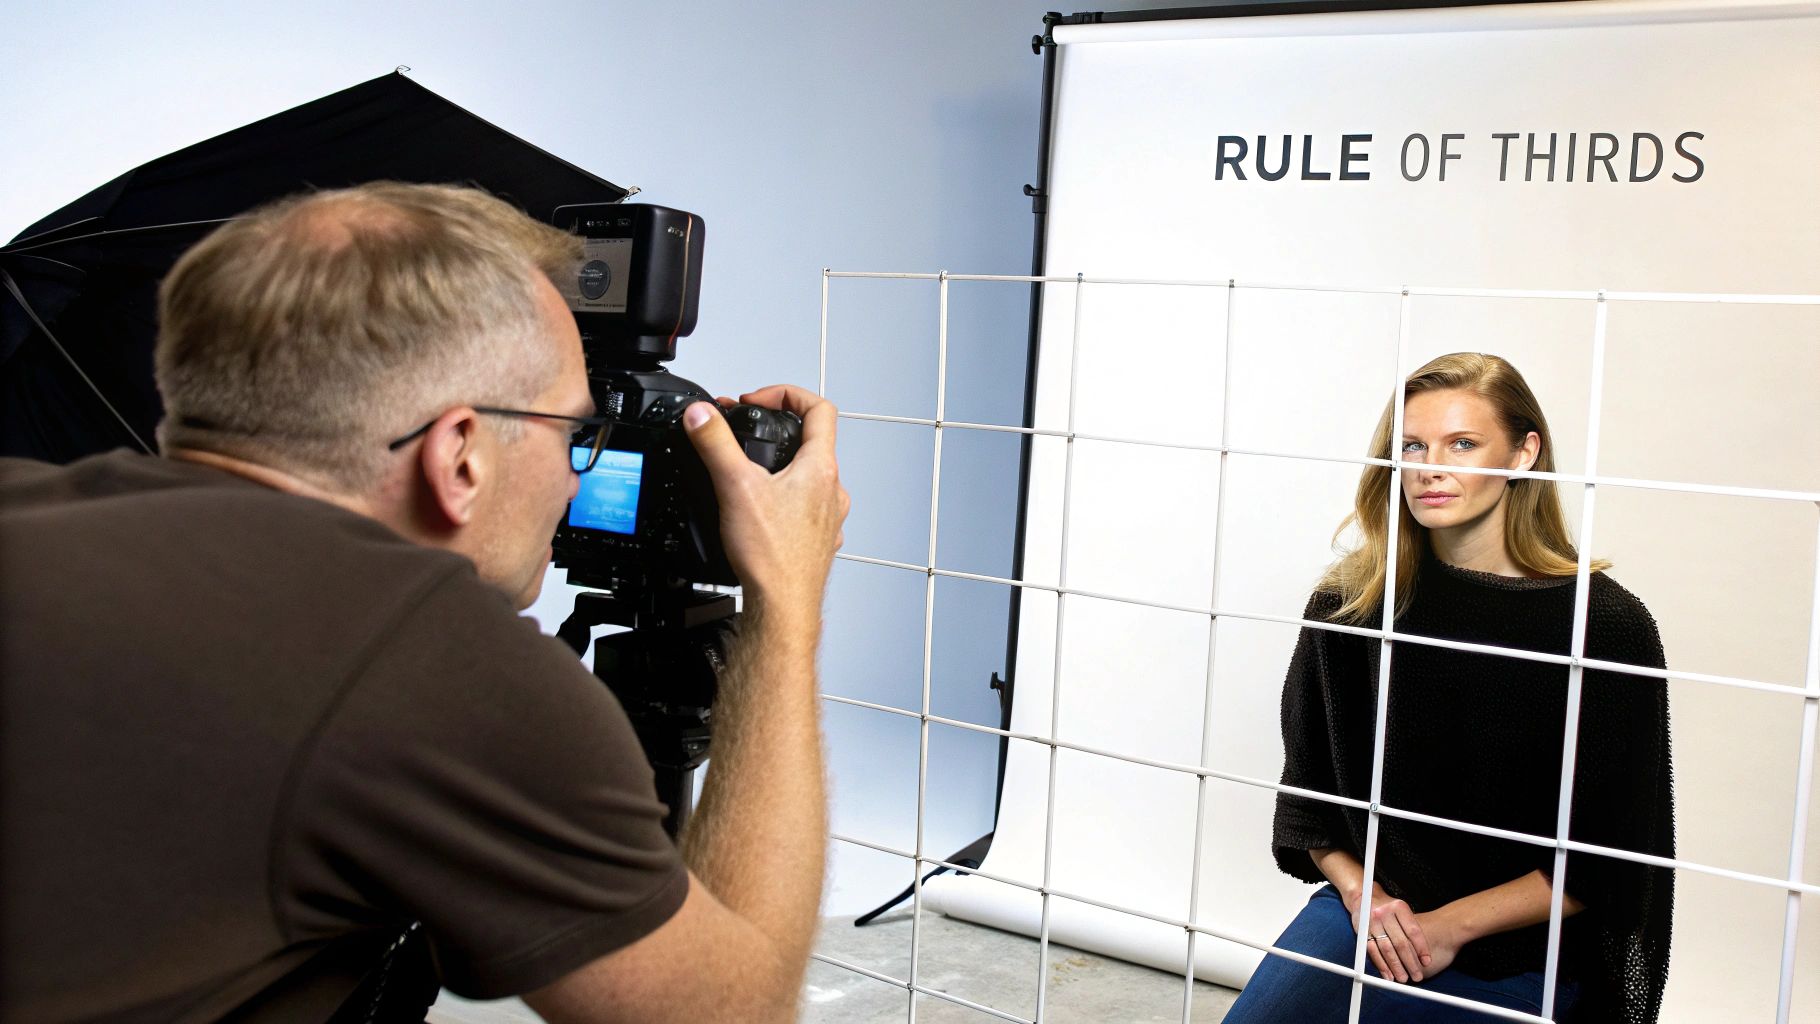
Instead of defaulting to centering your subject, which can feel static and uninspired, this technique naturally guides the viewer's eye across the frame. This simple shift in framing adds visual tension and appeal, making your content more engaging whether you're creating a software tutorial or a marketing video. It’s a foundational element of powerful visual storytelling, a concept you can explore further to learn more about creating compelling narratives.
How to Apply the Rule of Thirds
Implementing this rule is straightforward, especially with modern macOS tools. Many cameras and editing applications, including native Mac software, have built-in grid overlays to help you visualize the thirds.
- During Filming: On your iPhone or DSLR, enable the "Grid" feature in your camera settings. When filming a person, try to align their eyes with one of the top horizontal lines.
- In Post-Production: If your footage wasn't framed perfectly, you can adjust it during editing. In Screen Charm’s editor on your Mac, you can easily crop and reframe your recording. Select the clip, find the crop tool, and adjust the frame until your subject rests on one of the key lines or intersections.
- For Screen Recordings: When recording your macOS desktop for a tutorial, use Screen Charm’s auto-zoom feature to automatically pan and zoom to where the action is happening. This feature often naturally aligns the cursor's movement with these power points, drawing the viewer's focus effectively.
2. Master Smooth Transitions Between Cuts
Another one of the most vital video editing tips for beginners is mastering the art of transitions. Transitions are the bridges between your clips, and they are crucial for guiding your audience through the narrative. A well-executed transition maintains visual flow and feels seamless, while a poor one can be jarring and make your video feel amateurish.
Instead of relying on flashy wipes or starburst effects, the most professional videos often use simple, nearly invisible transitions like the standard cut or a subtle dissolve. For example, popular YouTube creators like MrBeast use rapid, hard cuts to build energy and maintain a fast pace, while documentary filmmakers might use a slow dissolve to signify the passage of time. The key is choosing a transition that serves the story you're telling.
How to Apply Smooth Transitions
Learning to use transitions effectively is a core skill. Most modern video editors for macOS, such as iMovie and Final Cut Pro, make this process intuitive. The goal is to create a cohesive final product, not a showcase of every transition effect available.
- Stick to the Basics: For most tutorials, demos, and professional content, a hard cut (where one clip immediately follows another) is your best tool. It’s clean, direct, and doesn't distract the viewer. Use subtle dissolves or fades only when you need to indicate a change in time, location, or topic.
- Maintain Consistency: Choose two or three transition styles for your entire project and stick with them. This creates a consistent visual language that makes your video feel more polished and professional. Overusing different effects can look chaotic.
- Let the Action Guide You: For screen recordings on macOS, a great transition is often no transition at all. When you use a tool like Screen Charm, its auto-zoom feature creates natural, motion-based transitions by smoothly panning and zooming to the next area of action. This keeps the viewer engaged without needing an artificial effect between clips.
Sponsored by the makers
Tired of boring screen recordings?
Try Screen Charm.
Auto-zoom, motion blur, camera overlay, and background music. All built in. Record once, export a polished video.
See what it does3. Optimize Audio Levels and Quality
One of the most critical video editing tips for beginners is to prioritize audio, as its quality can make or break the viewer's experience. Viewers are often more forgiving of lower video resolution than they are of poor, unintelligible sound. Great audio enhances engagement and lends a professional polish to your content, whether it's a software demo or a marketing video. Neglecting it is a common mistake that immediately signals amateur production.
Professional podcasters and YouTubers invest heavily in microphones and sound treatment because they understand that crisp, clear audio keeps their audience hooked. This principle applies directly to any video you create on your Mac. Ensuring your dialogue is clear, background noise is minimized, and music levels are balanced is just as important as framing a perfect shot. This attention to detail elevates your work from a simple recording to a compelling piece of content. You can discover how to record audio and video on Mac to start with a high-quality foundation.
How to Improve Your Audio
Improving audio quality involves a few key steps during both recording and post-production. With the right techniques and tools on your Mac, you can achieve professional-sounding results.
- Set Correct Levels: During recording, aim for your audio levels to peak around -6dB to -12dB. This provides "headroom" and prevents clipping, which is a harsh distortion that occurs when the audio is too loud and cannot be fixed in editing. Many macOS apps, including QuickTime, show these levels.
- Reduce Background Noise: Record in the quietest space possible. In post-production, use a noise reduction filter to remove persistent hums from fans or air conditioning. Simple tools in most Mac editors, including Screen Charm, can significantly clean up your audio track.
- Balance Your Mix: When adding background music, make sure it doesn't overpower your narration. Use keyframes or audio ducking features to automatically lower the music volume when someone is speaking and raise it during silent moments. Test your final mix on different devices, like headphones and your Mac's speakers, to ensure it sounds good everywhere.
4. Implement J-Cuts and L-Cuts for Better Pacing
One of the most effective video editing tips for beginners to elevate their content from amateur to professional is using J-cuts and L-cuts. These are audio-led transitions that create a seamless, cinematic flow. An L-cut is when the audio from the current clip continues to play over the video of the next clip. A J-cut is the opposite: the audio from the next clip begins before the video appears on screen.
This technique prevents the jarring effect of hard cuts, where both audio and video switch simultaneously. By staggering the audio and video transitions, you create a more natural and engaging viewing experience. It's a subtle but powerful way to guide your audience's attention, build anticipation, or smoothly transition between different speakers in an interview or tutorial video. This makes your narrative flow feel more polished and intentional.
How to Apply J-Cuts and L-Cuts
Creating these cuts is a fundamental skill in video editing and is achievable in most editing software on macOS, including Final Cut Pro and iMovie. The key is to separate or "un-link" your audio and video tracks so you can adjust their start and end points independently.
- Create a J-Cut: In your timeline, extend the audio of the second clip so it starts under the end of the first clip's video. A common practice is to have the audio lead the video by about 0.5 to 1.5 seconds. This is great for introducing a new scene or a speaker before they appear visually.
- Create an L-Cut: To make an L-cut, do the reverse. Extend the audio from your first clip so it continues to play over the beginning of your second clip's video. This is highly effective for showing a character's reaction to something that was just said.
- Refine the Timing: The perfect duration for the audio overlap depends on the context. Play back the transition and adjust the timing until it feels smooth and natural. The goal is for the audience to feel the smooth transition, not necessarily notice the technique itself.
5. Use Color Grading to Set Mood and Tone
One of the most transformative video editing tips for beginners is learning to use color grading. This is the process of altering and enhancing the colors in your footage to create a specific mood, atmosphere, or aesthetic. Many beginners overlook this step, but it’s what gives professional videos their cinematic polish and emotional depth, turning a simple recording into a visually compelling story.

Color profoundly affects how an audience feels. For example, warm tones like orange and yellow can evoke happiness and energy, perfect for an exciting product launch video. Conversely, cool blue tones can create a sense of calm, seriousness, or drama, ideal for a more technical macOS software tutorial. Adjusting saturation, contrast, and temperature allows you to build a cohesive visual narrative that reinforces your message.
How to Apply Basic Color Grading
While advanced color grading can be complex, getting started is accessible, especially with modern macOS tools. You don't need to be a professional colorist to make impactful changes.
- Start with Presets and LUTs: A LUT (Look-Up Table) is a preset that applies a specific color look to your footage. Many macOS video editors, including iMovie and Final Cut Pro, come with built-in color presets. Apply one that fits your desired mood and then fine-tune the settings.
- Adjust Key Parameters: Focus on three basic adjustments. Temperature controls the warmth (yellow) or coolness (blue) of your video. Saturation controls the intensity of the colors. Contrast adjusts the difference between the light and dark areas of the image.
- Keep It Consistent: Apply the same or similar color grade across all clips in your video to maintain a consistent, professional look. This ensures your project feels like a single, cohesive piece rather than a collection of random clips.
6. Organize Your Timeline with Color-Coded Clips
One of the most powerful video editing tips for beginners is to establish a strong organizational workflow from the very beginning. As your projects become more complex, a messy timeline can quickly lead to confusion and costly mistakes. Color-coding your clips is a simple yet professional technique that allows you to visually identify different types of media at a glance, dramatically speeding up your editing process on a Mac.
This system helps you navigate complex projects with ease, allowing you to instantly distinguish between primary footage, B-roll, audio tracks, and graphical elements. Professional editors in major production studios rely on standardized color schemes to maintain efficiency, especially when collaborating. Adopting this habit early will save you countless hours and prevent the frustration of searching through a cluttered timeline.
How to Apply Color-Coding
Most modern video editors for macOS, including Final Cut Pro and DaVinci Resolve, provide simple ways to assign colors to clips. The key is to create a consistent system and stick to it across all your projects.
- Establish a System: Before you start editing, decide what each color will represent. A common professional convention is to use distinct colors for different asset types. For example: green for primary footage (like a screen recording), blue for B-roll or supplementary visuals, purple for graphics and text overlays, and orange for dedicated audio tracks like music or voiceovers.
- Apply Colors in Your Editor: In your macOS editing software, you can typically right-click on a clip or a group of clips in the timeline to assign a label or color. Make this one of the first steps after importing your footage to keep everything organized from the start.
- Combine with Bins and Folders: For maximum organization, use color-coding in conjunction with bins (folders) in your project panel. Group all your B-roll clips into a "B-roll" bin and assign them all the same color. This creates a clean, searchable, and efficient editing environment.
7. Add Text and Graphics Effectively
One of the most powerful video editing tips for beginners is learning how to properly integrate text and graphics. These elements serve as crucial signposts for your audience, helping to highlight key information, introduce speakers, or simply add a layer of visual polish. Well-executed text overlays can transform a simple recording into a professional, easy-to-follow piece of content that holds viewer attention from start to finish.

From news broadcasts using lower thirds to identify speakers to educational YouTubers using animated graphics to explain complex topics, text is a fundamental part of visual communication. It provides context and reinforces your message, ensuring your audience doesn't miss the important details. Choosing the right tool on your Mac is key, as the best video editing software for beginners will offer intuitive text and graphics features.
How to Apply Text and Graphics
Adding text doesn't require advanced design skills, just a focus on clarity and consistency. The goal is to enhance your video, not distract from it.
- Choose Readable Fonts: Stick to clear, legible typefaces. Avoid thin or overly ornate fonts that are hard to read, especially on smaller screens. Limit yourself to a maximum of 2-3 fonts per video to maintain a consistent look.
- Ensure High Contrast: Your text must be easily visible against the background. If your video footage has varied colors, add a subtle drop shadow or a solid outline to your text to make it pop.
- Keep It On-Screen: As a rule of thumb, text should remain on screen long enough to be read at least twice. For a short phrase, three seconds is a good minimum duration.
- Use Subtle Animation: Animate text with simple fades or gentle slides to add a professional touch. Avoid flashy, distracting effects that can cheapen the look of your video.
- Leverage Integrated Tools: When creating tutorials on macOS, Screen Charm's editor allows you to quickly add titles, annotations, and callouts directly to your screen recordings. This integrated workflow saves you from switching between different applications, streamlining the entire process.
8. Master Pacing Through Rhythm and Cutting Speed
One of the most powerful yet subtle video editing tips for beginners is mastering pacing. Pacing is the rhythm of your video, controlled by how long each shot stays on screen and how quickly you cut between them. Beginners often use inconsistent shot lengths, creating an awkward or jarring viewing experience. Learning to control your cutting speed is the secret to creating videos that feel professional, dynamic, and engaging.
Proper pacing directs the viewer's emotions and maintains their attention. For example, action movie trailers use rapid cuts timed to an energetic soundtrack to build excitement, while a documentary might use slower, longer shots to create a contemplative or serious mood. For a software tutorial on macOS, varying the pace keeps the viewer from getting bored during slower sections and highlights key actions with quicker cuts.
How to Control Pacing
Pacing is less about a single tool and more about your editing intuition, but there are clear guidelines you can follow to develop that sense. The goal is to match the cutting speed to the energy of your content and audio.
- For Energetic Content: Use fast cuts, with shots lasting only 1-2 seconds. This works perfectly for high-energy product promos, social media clips, or tutorials demonstrating quick, multi-step processes.
- For Calm or Dramatic Content: Use slower cuts, allowing shots to remain on screen for 3 seconds or more. This gives the viewer time to absorb information, making it ideal for introductory segments, detailed explanations, or emotional storytelling.
- Sync to Audio: Let the music be your guide. Use the beat of a background track to determine your cut points. Aligning a visual change with a percussive hit or a shift in the melody creates a satisfying, cohesive rhythm.
- Vary Shot Lengths: Avoid monotony by mixing up your pacing. Even in a fast-paced sequence, a slightly longer shot can provide a moment of rest before the action picks up again. Similarly, a quick cut in a slow sequence can emphasize a crucial detail.
- Speed Up Slow Sections: Instead of cutting a long setup or loading sequence entirely, try speeding it up. A clip at 2× or 4× keeps the context while eliminating the drag. Our free Video Speed Changer handles this directly in your browser.
8-Point Comparison of Beginner Video Editing Tips
| Item | 🔄 Implementation complexity | ⚡ Resource requirements | 📊 Expected outcomes | 💡 Ideal use cases | ⭐ Key advantages |
|---|---|---|---|---|---|
| Use the Rule of Thirds for Better Composition | Low — simple grid use; practice to internalize | Minimal — camera or app grid overlay | Balanced, engaging framing that looks professional | Portraits, interviews, landscapes, vlogs | Creates pleasing composition, easy to apply ⭐ |
| Master Smooth Transitions Between Cuts | Moderate — learn types, timing, keyframes | Low–Moderate — editing software with transition tools | Improved pacing and continuity; hides jump cuts | Music videos, vlogs, documentaries | Polishes edits and smooths flow ⭐⭐ |
| Optimize Audio Levels and Quality | Moderate–High — learn mixing, EQ, noise reduction | Medium — mics, DAW/editor, headphones, noise tools | Much clearer dialogue and higher viewer retention | Podcasts, interviews, dialogue-driven videos | Major quality improvement; essential for professionalism ⭐⭐⭐ |
| Implement J-Cuts and L-Cuts for Better Pacing | Moderate — requires precise timing and planning | Low — multi-track editor and timeline control | Smoother narrative flow and cinematic transitions | Narrative films, documentaries, interviews | Enhances continuity and anticipation ⭐⭐ |
| Use Color Grading to Set Mood and Tone | High — requires color theory and tool knowledge | Medium–High — grading software, LUTs, calibrated monitor | Strong mood/brand cohesion and professional polish | Cinematic projects, branded content, music videos | Defines aesthetic and emotional tone ⭐⭐⭐ |
| Organize Your Timeline with Color-Coded Clips | Low–Moderate — upfront setup and conventions | Minimal — built-in software features, time investment | Faster editing, fewer mistakes, smoother collaboration | Large projects, multi-editor workflows | Saves time, reduces errors, improves collaboration ⭐⭐ |
| Add Text and Graphics Effectively | Moderate — typography, timing, animation basics | Low–Moderate — templates, fonts, motion tools | Better comprehension, accessibility, visual interest | Tutorials, news, educational and social content | Improves clarity and accessibility ⭐⭐ |
| Master Pacing Through Rhythm and Cutting Speed | High — requires musical/rhythmic sensibility | Minimal — editing tools and reference audio | Higher engagement, intentional energy and emotion | Trailers, music videos, fast-paced social content | Drives retention and emotional impact ⭐⭐⭐ |
Start Creating Smarter, Not Harder
Embarking on your video editing journey on your Mac can feel like learning a new language. You've just absorbed a wealth of information, from the foundational Rule of Thirds to the nuanced pacing of J-cuts and L-cuts. It’s easy to feel overwhelmed, but remember that every polished video you admire started with these same fundamental building blocks. You don't need to master every technique overnight. Instead, focus on incremental improvement.
The most significant leap in quality comes from shifting your mindset from merely assembling clips to intentionally telling a story. Each of the video editing tips for beginners we've covered is a tool in your storytelling toolkit. Mastering audio levels ensures your message is heard clearly, while effective color grading communicates emotion before a single word is spoken. Thoughtful organization with color-coded clips isn't just a housekeeping task; it’s the framework that allows creativity to flow without being bogged down by a chaotic timeline.
Your Path from Beginner to Proficient
Your next steps are simple: practice with purpose. Don't just edit; experiment.
- Pick one or two techniques from this guide for your next project. Maybe focus solely on nailing your audio mix or trying different transitions.
- Analyze content you admire. When you watch a great tutorial or product demo, ask yourself why it works. Is it the crisp audio? The seamless cuts? The clear, on-screen text? Deconstruct it to understand the creator's choices.
- Embrace the right tools. For macOS users creating screen recordings, tutorials, or demos, this is especially critical. A complex, all-purpose editor can introduce unnecessary friction. The goal is to spend your time refining your content, not fighting with software.
This is where a tool built for a specific purpose, like Screen Charm, becomes a powerful ally. It automates tedious tasks like adding dynamic zooms to follow your action and provides simple controls for customizing your cursor and adding a polished webcam overlay. By handling the technical heavy lifting, it frees you to concentrate on what truly matters: your message and your audience.
As you build confidence with these essentials, you'll naturally want to push your skills further. When you're ready to tackle more advanced techniques, you can explore these 8 pro video edit tips for stunning videos to truly elevate your craft. But for now, celebrate your progress. You've already taken the most important step by seeking out the knowledge to improve. The path to creating compelling, professional-looking video content is now laid out before you.
Ready to put these tips into practice with a tool designed to make editing effortless? Download Screen Charm for macOS and see how its intelligent features and integrated editor can transform your screen recordings into polished, professional videos in a fraction of the time. Stop wrestling with complicated timelines and start creating with Screen Charm today.