Trying to find the right tool for simple video editing for mac can feel like an impossible task. You're usually stuck choosing between a professional suite with a dizzying number of features or a free app that’s just too basic. This guide is all about Screen Charm, a macOS app that hits the sweet spot, proving you don't need a complicated timeline to create a polished video.
We’re going to walk through everything you need to know, from start to finish, to create some seriously high-quality content on your Mac.
Your Starting Point for Easy Mac Video Editing
Let's be honest, jumping into video editing on a Mac for the first time is daunting. The landscape is dominated by heavyweight apps that, while incredibly powerful, can completely overwhelm a beginner. For instance, you have Final Cut Pro X, which commands a massive 25% market share on Mac, right behind Adobe Premiere Pro. It's popular for a reason—it works beautifully within the Apple ecosystem—but it's hardly what you'd call beginner-friendly.
On the other end of the spectrum is Apple's own iMovie, which holds about 3% of the market. It’s free and gets the job done for super basic clips, but most Mac users find they outgrow its limited features pretty quickly. If you want to dig deeper, you can find a more detailed video editing software comparison to see what the pros are using.
This is exactly where a purpose-built macOS tool like Screen Charm shines. It's designed to bridge that gap, giving you the essential features you actually need without all the noise. It’s perfect for crafting tutorials, product demos, or quick social media videos right on your Mac. You don’t need to be a professional editor to get professional results.
The goal isn't to master every complex feature available, but to master the right features that deliver the most impact. Simplicity in your workflow leads to faster creation and better content.
Finding the Right Tool for Your Needs
Before we get into the nitty-gritty of editing, it’s worth thinking about what you really need from a video tool. For most people creating screen recordings or tutorials on a Mac, the list is surprisingly short.
Here’s a quick look at the essential features we'll cover, showing how they solve common editing needs for Mac users.
Core Editing Features in Screen Charm for macOS
| Feature | What It Does | Best For |
|---|---|---|
| Effortless Screen Capture | Records your entire Mac screen or a specific window without hassle. | Creating tutorials, software demos, and presentations. |
| Basic Trimming and Cutting | Quickly removes mistakes, long pauses, or unnecessary sections. | Cleaning up raw footage and improving video pacing. |
| Simple Zoom Effects | Adds zoom or pan effects to guide the viewer's attention. | Highlighting important details, like a specific button or menu. |
| Intuitive Exporting | Saves your final video in a high-quality format native to macOS. | Sharing on YouTube, Vimeo, or embedding on a website. |
These are the foundational tools that turn a raw recording into a clear, engaging video, and Screen Charm was built from the ground up to do them exceptionally well on macOS.
If you’re still exploring your options, our guide on the best video editing software for beginners gives a broader look at different tools out there. You can check it out here: https://screencharm.com/blog/best-video-editing-software-for-beginners
For now, though, this guide is all about getting you from zero to a finished video using Screen Charm’s simple, intuitive workflow on your Mac. Let's get started.
Sponsored by the makers
Tired of boring screen recordings?
Try Screen Charm.
Auto-zoom, motion blur, camera overlay, and background music. All built in. Record once, export a polished video.
See what it doesGetting Ready for Your First Recording
A great video starts well before you ever press record. Taking a few minutes to get your Mac setup right is the secret to a smooth, frustration-free session. If you're new to simple video editing for Mac, handling these details upfront makes all the difference. It's what separates a productive creative flow from a day spent wrestling with macOS permission pop-ups and lost files.
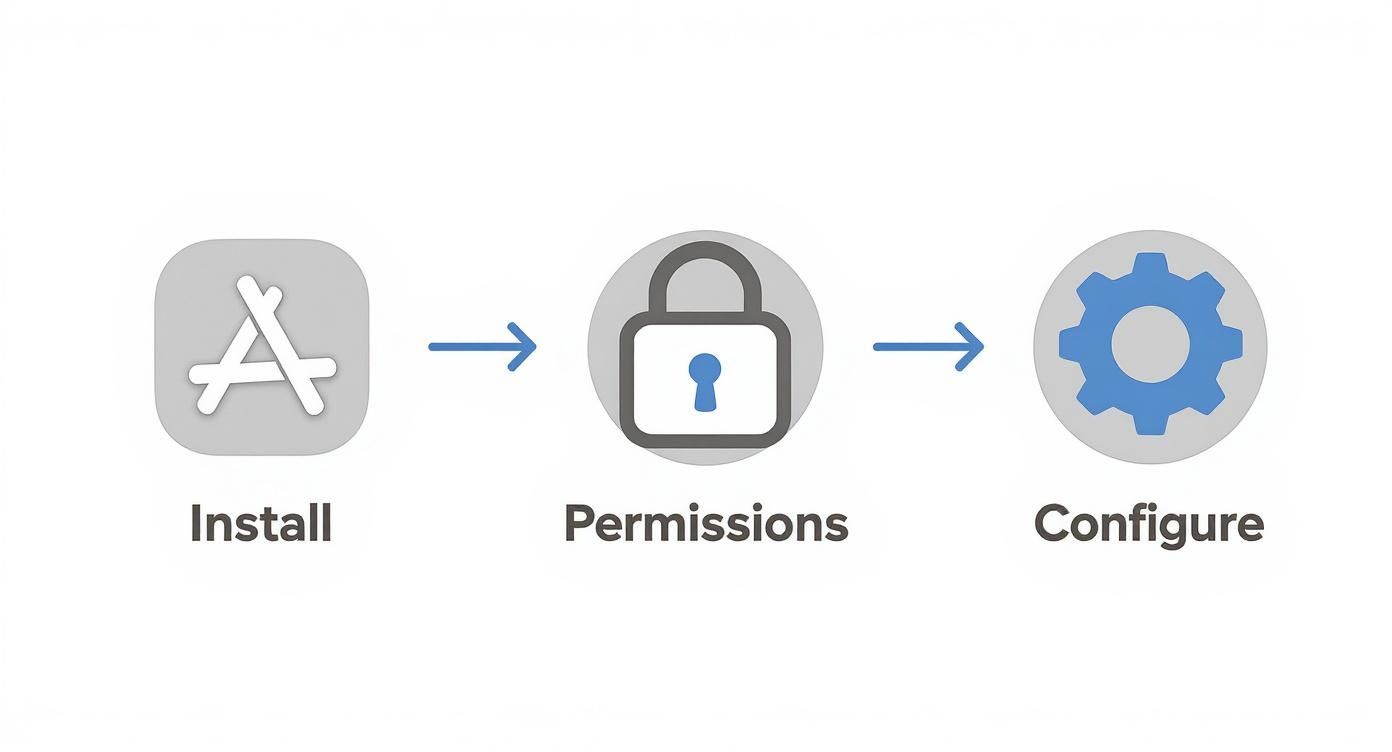
First things first: installing Screen Charm. It’s the standard Mac drag-and-drop, so you’ll feel right at home. The most important part, however, happens right after you open the app. Modern macOS is built like a fortress, so you have to give Screen Charm permission to record your screen and access your microphone.
Dialing in Your System Permissions
You'll see a prompt that sends you to your Mac's System Settings > Privacy & Security. Look for two specific sections: "Screen & System Audio Recording" and "Microphone." You have to flip the switch for Screen Charm in both. This is a one-time thing, but it’s absolutely critical—if you skip this, you’ll end up with nothing but a black screen and silence.
Here’s a look at the macOS settings panel where you'll grant these permissions, keeping your system secure while letting your apps do their job.
With permissions handled, let's talk audio. Your Mac’s built-in mic will work, but if you want to instantly level up your sound quality, plug in an external USB microphone. It's probably the single best investment you can make for better video.
Pro Tip: I make it a habit to double-check my audio source in Screen Charm's settings before every single recording. It takes two seconds and has saved me countless times from the headache of re-recording because I was accidentally using my Mac's built-in mic.
Next, set a default recording resolution to keep your quality consistent. For almost everything you’d post online—tutorials, demos, presentations—1920x1080 (1080p) is the perfect balance. You get a sharp, professional-looking video without creating enormous files that will choke your Mac during the edit. For a deeper dive into the recording process, check out our guide on how to record video and audio on Mac.
Finally, start a good habit from day one: get organized. Before you even think about recording, create a dedicated project folder on your Mac. This is where you'll save your raw footage, any separate audio tracks, and the final exported video. Trust me, this simple step will save you from the chaos of digging through your Desktop and Downloads folders later on.
How to Record and Trim Your Videos Like a Pro
Now that your Mac setup is dialed in, it’s time for the fun part: bringing your idea to life. This is where you’ll capture your screen, webcam, and audio to create the raw material for your video. The goal here is to get a clean recording from the start, which will save you a ton of cleanup work later on.
One of the first decisions you'll make in Screen Charm is whether to record your entire desktop or just a specific app window. If you’re creating a software tutorial that involves jumping between different programs on your Mac, you’ll need to capture the full desktop. But if you're demonstrating a process inside a single app—say, showing a cool trick in Figma—recording just that window keeps your video clean and focused, free from any distracting macOS notifications or a messy background.
Mastering the Art of Clean Captures
The secret to a great recording isn't fancy gear; it's being intentional. Before you even think about hitting that record button, run through your script or talking points a couple of times. It makes a world of difference.
When you're ready to go, give yourself a moment of silence both at the beginning and the end of your take. This simple trick creates clean in-and-out points, making the trimming process so much easier down the line. It's a pro habit that really pays off.
Once you've got your raw footage, it’s time to head to the editing timeline and start trimming. This isn’t just about snipping out the big mistakes. It’s about tightening up the pacing and keeping your viewers hooked. Trimming is where you get to polish your video by removing filler words like "um" and "ah," cutting out long pauses where you were gathering your thoughts, or getting rid of a section where a click went wrong.
The demand for tools that make this process easy is huge. The global video editing software market was valued at USD 2.29 billion in 2024 and is projected to hit USD 3.73 billion by 2033. It’s all driven by Mac users like us wanting powerful, user-friendly platforms. You can discover more insights about video editing market trends to see where things are headed.
Trimming Techniques for a Flawless Flow
The key to good trimming is being precise without making the cuts feel jarring. When you snip out a word or a pause, pay close attention to the audio. A "jump cut" can sometimes be a stylistic choice, but in a tutorial, it often just feels disruptive and pulls the viewer out of the moment.
To get those smooth, unnoticeable edits, try these techniques:
- Ripple Delete: This is your best friend for quick edits. When you cut a section, everything else on the timeline automatically slides over to fill the gap. It's the fastest way to get rid of mistakes and keep your audio and video perfectly in sync.
- Split and Shorten: For trickier edits that need a delicate touch, split the clip right before and after the part you want to remove. This lets you drag the edges of the clip to shorten it, giving you pinpoint control over the timing of your cut.
The most powerful edits are the ones your audience never notices. Your goal is to create a video that flows so naturally, it feels like you recorded it perfectly in a single take.
By combining clean recording habits with precise trimming, you’ll turn that raw footage into a polished, professional-looking video. This foundational skill in simple video editing for Mac is what separates amateur-hour content from tutorials that actually connect with and teach an audience.
Adding a Touch of Polish with Simple Effects
A clean, tight edit is the foundation of any good video, but a few well-placed effects are what really make your content pop. This is where you go from just showing something to actively guiding your viewer's attention. I've found that Screen Charm makes this part of the process surprisingly easy, especially for two of the most effective tools in your arsenal: zoom and pan.
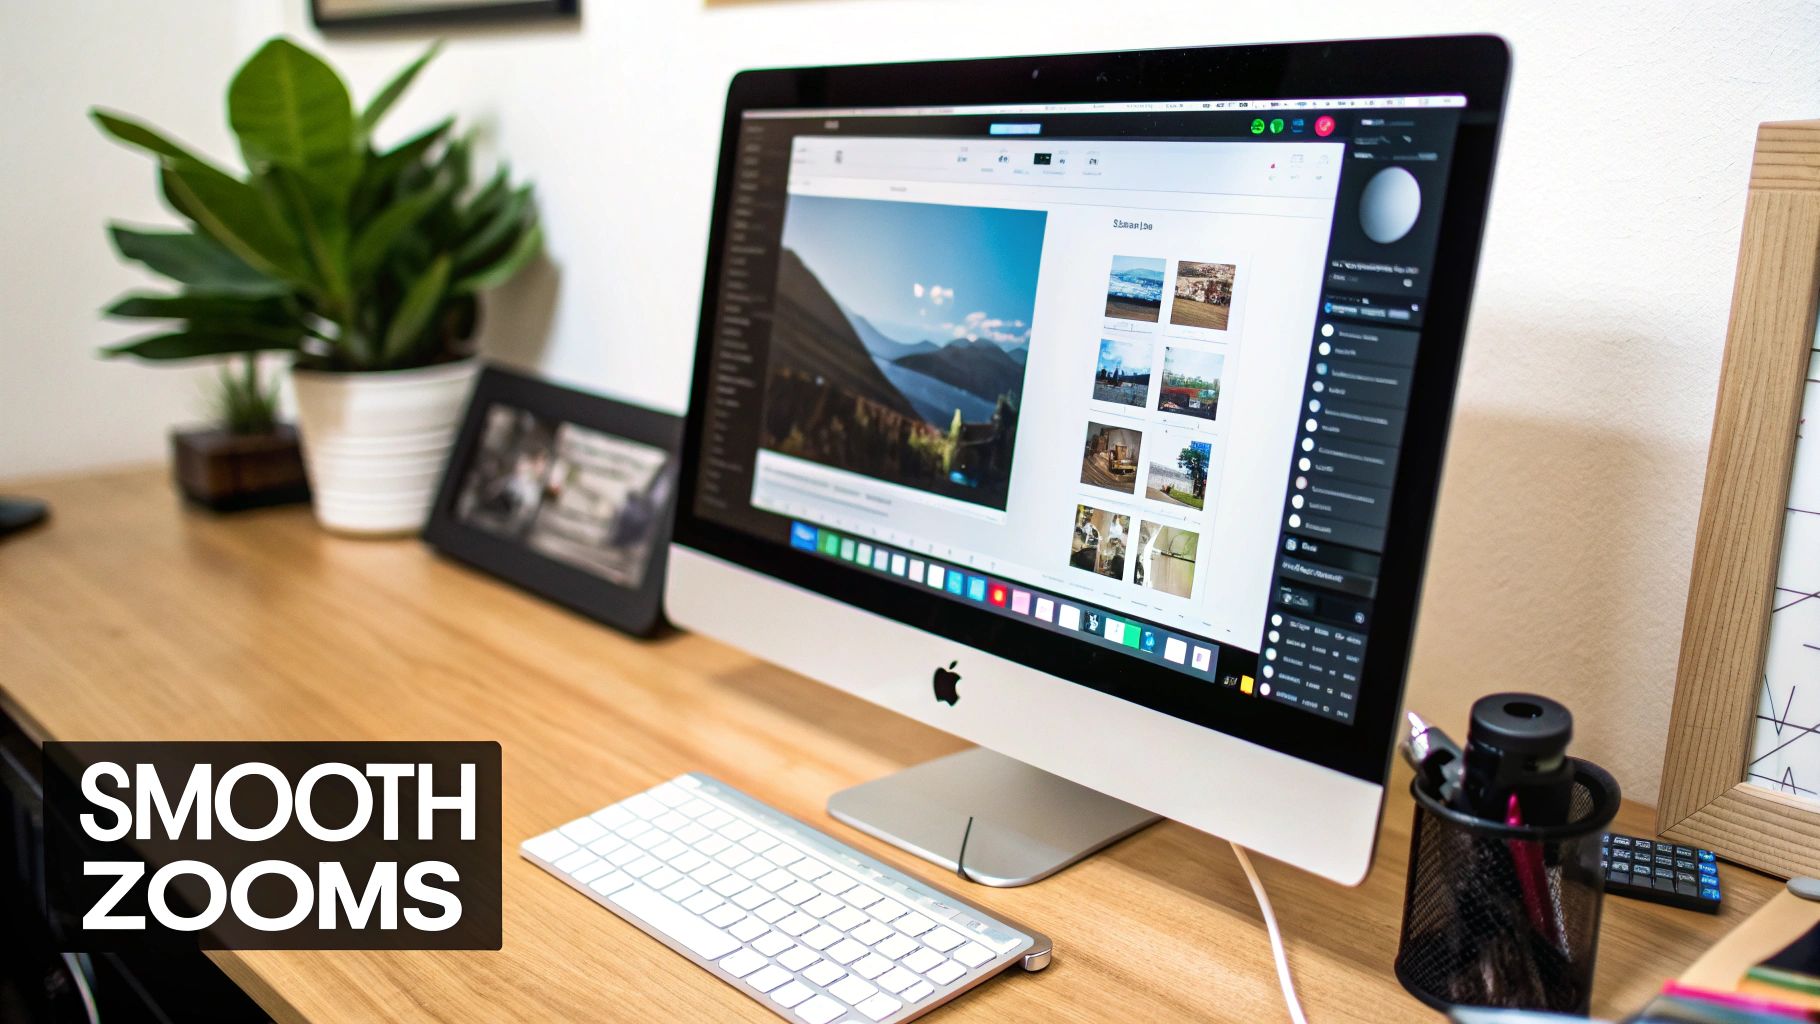
We're not talking about complicated keyframes or confusing animation curves here. The goal is to create simple, purposeful movements that add clarity and a professional feel to your screen recordings. Mastering this is a core skill for anyone doing simple video editing for Mac, because it's what turns a raw recording into a genuinely helpful tutorial.
Guiding Focus with the Zoom Effect
Let's say you're building a tutorial for a complex piece of software on your Mac. The screen is a sea of menus, toolbars, and buttons. How do you tell your audience, "Hey, pay attention to this specific thing right here"? A well-timed zoom is your best friend.
Without it, your viewer is left squinting, trying to follow your cursor and figure out what you just clicked. By smoothly zooming in on a specific menu item or icon, you remove all that guesswork. This keeps them engaged and makes your instructions dead simple to follow.
To pull this off in Screen Charm, you just mark the spot on your timeline where the zoom should start. Then, you simply drag a selection box around the area you want to feature. You can easily adjust the duration to control how fast or slow the movement is.
My two cents: The best effects are the ones you barely notice—they feel natural and serve a clear purpose. A slow, deliberate zoom feels professional. A sudden, jerky one just feels disorienting. Always aim for smoothness.
After you've held the focus on that important detail for a few seconds, you'll want to zoom back out. This re-establishes the bigger picture and gives your viewer context. It creates a nice, natural rhythm for your video, moving between the wide shot and the close-up, much like a professional camera operator would.
Following the Action with Panning
Panning and zooming are a perfect team. While a zoom moves you closer to (or further from) the action, a pan follows the action as it moves across the screen, either horizontally or vertically.
This is incredibly useful when you need to show a sequence of steps that happen in different places. For instance, imagine demonstrating a click on a button on the left side of the screen, which then opens a menu over on the right. A smooth pan is the perfect way to connect those two moments without a jarring cut.
The secret sauce that makes these effects work so well is a concept called easing. Easing makes sure your camera movements start and stop gently, which completely avoids that robotic, unnatural feel of a constant-speed motion. The great thing is, Screen Charm handles this for you automatically. Your zooms and pans will always look polished and intentional, giving your Mac-edited videos that extra layer of professionalism.
You've done the hard work—recording, trimming, and adding those final touches. Now it's time to package it all up and send your video out into the world. This last step, exporting, is what turns your editing project into a single, shareable video file.
It can seem a bit technical, but getting the export settings right is what ensures your video looks just as crisp and professional online as it does on your Mac. Let's break it down.
https://www.youtube.com/embed/DHSw4yghUZs
The choices you make during export are a balancing act between visual quality and file size. The two settings that matter most are resolution (clarity) and frame rate (smoothness). Nail these, and you're golden.
Choosing the Right Export Settings
When you're doing simple video editing for Mac, you don't need to get bogged down in a sea of confusing options. The goal is simple: match your export settings to the platform where people will watch your video.
Here are the essentials:
-
Resolution: For most places your video will live—like YouTube, Vimeo, or your company's website—1080p (1920x1080) is the gold standard. It delivers fantastic quality without creating a gigantic file that takes forever to upload. If you happened to record in 4K on your Mac, exporting in 4K is an option for maximum detail, but just be ready for those massive file sizes.
-
Frame Rate: A frame rate of 30 fps (frames per second) is perfect for most web content. It's the standard for a reason, giving your video a natural, cinematic feel. The one exception? If you're editing a tutorial with a lot of fast on-screen action, like gameplay or rapid mouse movements on your Mac, bumping it up to 60 fps will make the playback noticeably smoother.
My go-to advice? Stick with a simple, universal preset: MP4 format, H.264 codec, 1080p resolution, and 30 fps. This combo is the perfect sweet spot, giving you high quality and a manageable file size that works beautifully on almost any platform.
If you ever find yourself with a MOV file and need an MP4, our guide on how to convert MOV files to MP4 has you covered.
Even the pros keep it simple. Take Apple's Final Cut Pro, a powerhouse in the video editing world used by over 27,480 companies. A big reason for its popularity in media and marketing is its straightforward export presets that take the guesswork out of this exact process.
Recommended Export Settings for Common Platforms
To make it even easier, here’s a quick reference guide to help you choose the best settings for your Mac-edited videos, depending on where you plan to share them.
| Platform | Recommended Resolution | Recommended Frame Rate | Why It Matters |
|---|---|---|---|
| YouTube | 1080p (1920x1080) | 30 or 60 fps | Balances high quality for viewers with reasonable upload times for you. Use 60 fps for high-action content. |
| Instagram/TikTok | 1080x1920 (Vertical) | 30 fps | Optimized for vertical mobile viewing. Higher frame rates offer no real benefit and increase file size. |
| Vimeo | 1080p or 4K | 30 fps | Vimeo is known for quality, so 1080p is a great baseline. 4K is an option if your audience values ultra-high definition. |
| Website Embed | 1080p | 30 fps | Ensures sharp playback without slowing down your page's load time, which is critical for user experience. |
Choosing the right preset from the get-go saves a ton of time and ensures your video looks its best, no matter the screen.
And if you want to create engaging summaries or trailers from your longer videos, it's worth checking out AI highlight reel creator tools to automatically pull out the best moments.
Common Questions About Mac Video Editing
As you start editing videos on your Mac, you're bound to run into a few head-scratchers. It’s one thing to learn the basic steps, but another thing entirely when a specific technical problem stops you in your tracks. I've put together answers to some of the most common issues Mac users face to help you keep your projects moving smoothly.
Think of this as the "insider knowledge" that separates a beginner from someone who really understands their tools. Getting these details right can make a world of difference in your final video.
Can I Use an External Microphone on My Mac?
Yes, and honestly, you absolutely should. Plugging in an external microphone is probably the single biggest thing you can do to make your audio sound professional instead of like a laptop recording. Thankfully, macOS makes it super easy.
Just plug your USB mic into your Mac. Before you hit record in Screen Charm, pop open the app's audio settings and make sure your external mic is selected from the dropdown menu. This two-second check will save you from realizing later that you accidentally recorded with the built-in mic.
Here's a pro tip I always share: first, go to your Mac's System Settings > Sound > Input. This is where you can see if your Mac is actually picking up the mic. More importantly, you can adjust the input volume here. You want to see that little meter bouncing into the green and yellow, but try to keep it out of the red to avoid distorted audio.
How Should I Handle Large Video Files on a Mac?
High-quality video files are huge. They will gobble up your Mac's internal storage faster than you can imagine, which can really slow your machine down. The best way to handle this is to get a fast external Solid-State Drive (SSD) and work from that.
When you edit directly from an external SSD, your Mac's main drive is free to just run the operating system and your apps. This makes a noticeable difference in how fast and responsive everything feels. Before starting a project, I always create a new folder on my external drive and point my software to save everything there.
Once your final, polished video is exported, you've got a couple of choices:
- Archive the project: Keep all the raw footage and project files on the external drive. You never know when you might want to go back and make a tweak.
- Delete the raw files: If you're 100% sure you're done with the project, clearing out the raw files frees up a ton of space for your next one.
Why Does My Exported Video Look Blurry or Pixelated?
Ah, the classic problem. This almost always comes down to a simple mismatch between your recording resolution and your export resolution. If your final video looks fuzzy, you probably recorded a small area of your Mac screen and then asked the software to stretch it out to a larger size.
For a sharp, professional-looking video, remember this one rule: record at the same resolution you plan to export, or higher. If you want a 1080p video, make sure your screen recording area is at least 1920x1080 pixels.
For instance, if you record just a small app window and then try to export it as a full-screen 1080p video, the software has to basically guess what pixels to add to fill the empty space. The result is that blurry, blocky look we all hate. Always capture your screen at the highest quality you can—it gives you much more flexibility later and ensures your hard work actually pays off.
Ready to create stunning, professional-looking videos on your Mac without the steep learning curve? Screen Charm provides all the tools you need, from effortless recording to simple, powerful editing. Start creating your best content today at screencharm.com.