Recording a screencast on a Mac is simple right out of the box. You have the Screenshot toolbar (Shift-Command-5) and QuickTime Player built right into macOS. But if you're aiming for something more professional, a little prep work goes a very long way. Taking a few minutes to get things in order is the secret to a clean, polished recording that holds your audience's attention.
Setting the Stage for a Perfect Screencast
Before you even dream of hitting that record button, your setup is what will make or break your final video. Whether you're putting together a software tutorial, a client presentation, or a product demo on your Mac, it all starts with a clean, controlled environment. This isn't about being a technical genius; it's about getting rid of all the little things that can trip you up later.
Think of your screen as a stage. You wouldn't want a bunch of random junk cluttering the set during a play, right? The same goes for your desktop. A few moments spent tidying up your digital space can make a massive difference.
Creating a Distraction-Free Digital Workspace
First things first: let's declutter your digital world. A desktop covered in random files, folders, and app icons just looks messy and can confuse the person watching.
The quickest fix? Create a new folder on your desktop, name it something like "Temp," and just drag everything into it. Boom—a clean slate. Now, swap out that busy wallpaper for something neutral. A simple solid color or a subtle gradient is perfect. You want to avoid family photos or complex patterns that steal focus from what you're trying to show.
Next, and this one's a biggie, you have to silence your notifications. Nothing kills a great take faster than a random iMessage banner sliding in from the corner of the screen. Just pop open the Control Center in your Mac's menu bar and turn on a Focus Mode.
If you're recording a software tutorial, it's also a good idea to close any apps you aren't using. This not only stops them from sending you surprise pop-ups but also frees up your Mac's resources so everything runs smoothly. A cleaner workspace is a cleaner recording.
A professional screencast respects your viewer’s attention. By clearing away the visual clutter and silencing notifications, you're creating a focused experience that keeps people locked in on your message, not your messy desktop.
Choosing the Right Audio Gear
You can have the crispest video in the world, but if your audio is terrible, nobody's going to watch it. Your Mac’s built-in microphone is okay for a quick FaceTime call, but for a screencast that sounds professional, you really need an external mic. The one in your laptop is notorious for picking up every keyboard click, your computer's fan noise, and all the echo in the room.
Here are a couple of solid options:
- USB Microphones: This is what most people use, and for good reason. Mics like the Blue Yeti or Rode NT-USB+ give you fantastic sound quality and are basically plug-and-play with any Mac.
- Lavalier Mics: If you're going to be on camera, a little clip-on lav mic is a great choice. It ensures your audio stays clear and consistent, even if you move your head around.
As more creators need to produce screencasts, the Mac continues to be a go-to platform thanks to its power and user-friendly tools. Honestly, spending a little money on a decent external microphone is one of the easiest ways to immediately make your videos sound a hundred times better.
Sponsored by the makers
Tired of boring screen recordings?
Try Screen Charm.
Auto-zoom, motion blur, camera overlay, and background music. All built in. Record once, export a polished video.
See what it doesChoosing Your Mac Recording Method
So, you need to record your screen on a Mac. Where do you start? You've got two main routes you can go down, and the right one really boils down to your end goal. Are you whipping up a quick, informal clip for a colleague, or are you crafting a polished, professional-looking tutorial?
The quickest way to get started is with the Mac’s own Screenshot toolbar. Just hit Shift-Command-5, and you're in business. This built-in macOS feature is a lifesaver for simple captures. It lets you record your entire screen, a single app window, or a specific portion you draw out. When speed is the name of the game, this is your go-to.
But what happens when you need more firepower? For more ambitious projects, you'll quickly bump into the limits of the built-in tool. If you're looking for slick features like auto-zooming that follows your cursor or a powerful built-in editor, you’ll want to reach for a dedicated Mac app like Screen Charm. These tools are built from the ground up to give you total control.
When to Stick with the Native macOS Tools
For those quick, "get it done now" tasks, the Mac's built-in recorder is fantastic. Let's say a coworker needs a fast walkthrough of some new software. A simple window recording is perfect. It keeps your cluttered desktop, personal bookmarks, and distracting notifications out of the frame, focusing their attention right where it needs to be.
Or maybe you're demonstrating a process that involves dragging a file from one app to another. A full-screen recording is the easiest way to capture that entire workflow without any fuss. For these kinds of straightforward jobs, the native tool is more than enough.
The decision on when to prioritize your setup often comes down to the role of your audio. If you're just showing a process, you might not even need it.
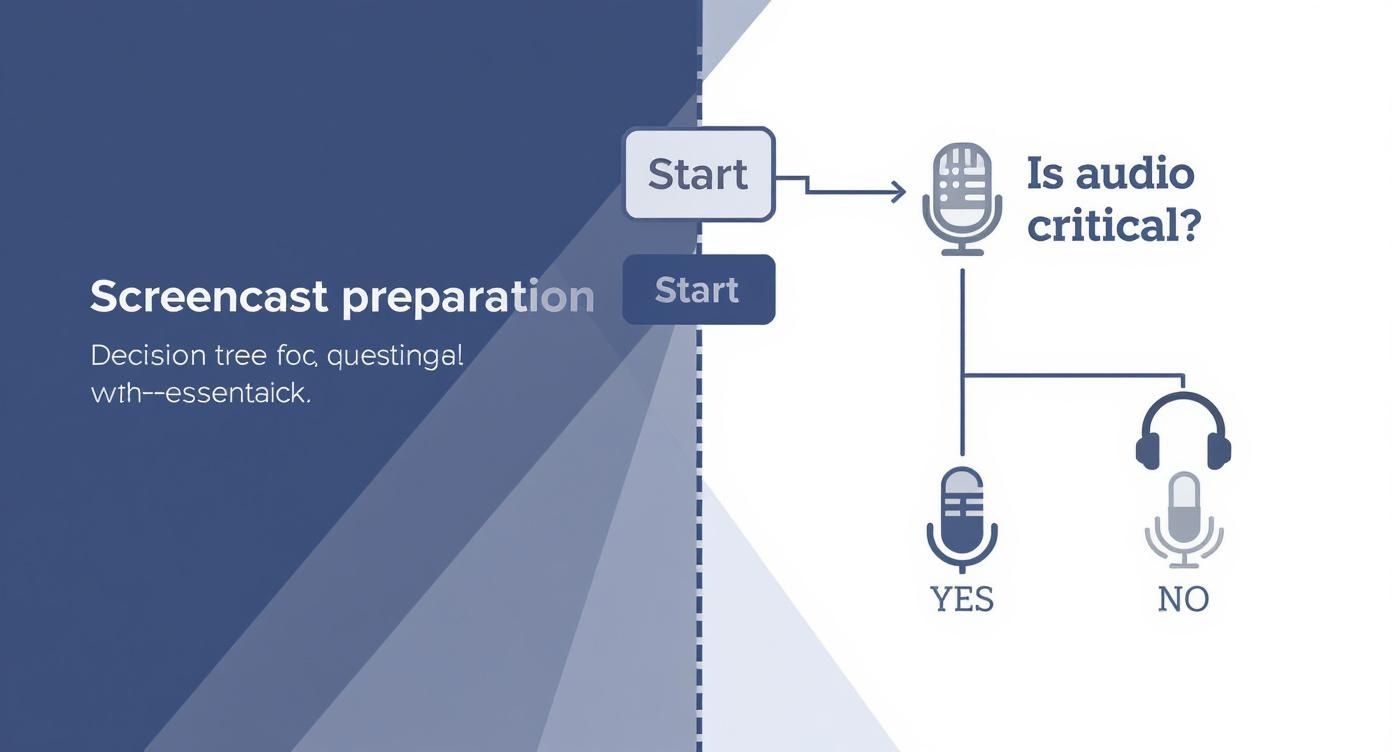
The main takeaway here is simple: if your voice is a key part of the video, a good external microphone is an absolute must-have for that professional polish.
The Power of Dedicated Screencasting Apps
While the built-in macOS tools handle the basics, dedicated software is where you unlock the potential for truly engaging, professional screencasts. The big difference-maker is control. Mac apps like Screen Charm are purpose-built for creating polished product demos and tutorials.
Here's a taste of what a dedicated app brings to the table:
- Automatic Zoom: The software can be smart enough to follow your cursor, zooming in on buttons and menus as you interact with them. This is a game-changer for guiding your viewer's attention and making complex interfaces feel simple.
- Customized Cursor: You can make your cursor stand out with a colored highlight, change its appearance, or even add animations when you click. Every action becomes impossible to miss.
- Seamless Editing: Forget exporting a raw video to another program. With a dedicated tool, you can trim out mistakes, add smooth transitions, and polish the whole recording without ever leaving the app. It's a huge time-saver.
Exploring tools beyond what Apple provides can give you a much better sense of what's possible. This comprehensive guide on screen recording is a great resource for getting a wider view of the subject.
Mac Screencasting Methods Compared
To make the choice even clearer, let's look at a side-by-side comparison.
| Feature | macOS Screenshot Toolbar | Dedicated App (e.g., Screen Charm) |
|---|---|---|
| Best For | Quick, simple recordings; informal walkthroughs | Polished tutorials, product demos, online courses |
| Ease of Use | Extremely easy, built-in | Slight learning curve, but powerful |
| Editing Capabilities | Basic trim only (in QuickTime) | Advanced editing: cuts, transitions, annotations |
| Automatic Zoom & Panning | Not available | Yes, intelligently follows cursor and on-screen action |
| Cursor Highlighting | No | Yes, with customization options |
| Export Options | Limited to standard video formats | Multiple formats, resolutions, and quality settings |
Ultimately, choosing a dedicated Mac app is about graduating from simple screen capture to intentional video creation. It gives you the toolset to produce something that doesn't just show what's on your screen, but explains it in a way that’s clear, engaging, and looks fantastic.
Editing Your Screencast for Engagement
A raw recording is really just the starting point. The process of editing is where you take a simple screen capture and turn it into a clear, professional-looking tutorial that’s actually enjoyable to watch. This is your chance to polish the content, direct your viewer's attention, and create a smooth, easy-to-follow experience.
Don't think of editing as just fixing mistakes. It's about respecting your viewer's time by getting straight to the point and making complicated steps feel simple. It’s the difference between handing someone a crumpled map and walking them to their destination.
Directing Attention with Auto-Zoom
One of the best ways to level up a screencast is by using dynamic zooming. You could do this manually, but that takes forever. Mac tools like Screen Charm now have auto-zoom, which does the heavy lifting for you. The feature is smart enough to follow your cursor, automatically zooming in on buttons, menus, and other UI elements right when you interact with them.
Picture this: you're showing someone how to find a buried setting in a piece of software. Instead of making them squint to see your tiny cursor move across a giant screen, auto-zoom instantly magnifies the exact spot you're clicking. This pulls their focus right where it needs to be and leaves no room for confusion.
The goal of a great screencast is to make the complex appear simple. Auto-zoom is a key tool in achieving this, as it actively directs the viewer’s focus and ensures no critical action is ever missed.
This kind of intelligent camera work makes the video feel dynamic, not like a boring, static recording. It’s a simple trick that does wonders for keeping people engaged. If you want to get more into the weeds of post-production, there are tons of great screen recording and editing software options out there to explore.
Trimming and Polishing Your Final Video
No matter how much you prepare, your raw footage will always have bits that can be tightened up. Maybe there are long pauses while you gathered your thoughts, a moment where you tripped over a word, or a section where an application took a few seconds to load. A good built-in editor makes cleaning this up a breeze.
Your first editing pass should be all about trimming the fat. Start by chopping off the dead air at the beginning and end. Then, hunt for these common culprits:
- Unwanted Pauses: Snip out any awkward silences or moments you spent just waiting for something to happen.
- Mistakes and Redos: If you misclicked or had to do a step over again, just cut the mistake and leave in the successful attempt.
- Excessive "Ums" and "Ahs": Getting rid of these little verbal stumbles will make you sound much more confident and polished.
Let's say you recorded a long software demo. By trimming every unnecessary second, you can take a rambling ten-minute video and turn it into a punchy, two-minute clip that delivers the same information much more effectively. For those looking to really speed up this process, exploring some of the newer AI video editing software options can be a game-changer, as they automate many of these tedious tasks.
Getting Your Video Out Into the World
You’ve recorded, you’ve edited, and your screencast is looking sharp. Now for the final hurdle: exporting. It's easy to think of this as just a "save" button, but your export settings are what make or break the final product. They control the quality, file size, and whether your video will actually play on someone else's device. Getting this right is how you ensure all your hard work pays off.
Think of it like this: you wouldn't send a giant, high-resolution photo meant for a billboard to a friend via text message. It's the same with video. A massive 4K file might look incredible on your monitor, but it will be a pain to upload, a nightmare to email, and will probably buffer endlessly for your viewer. The real goal is to strike that perfect balance between crisp visuals and a file size that makes sense for how you'll share it.
What Do These Export Settings Actually Mean?
When you click "Export," you'll be faced with a few technical-sounding options. Let’s cut through the jargon so you know exactly what to choose for your Mac screencast.
-
Resolution: This is simply the size of your video, measured in pixels. For most things you'll post online—tutorials, demos, and updates—1080p (1920x1080) is the gold standard. It looks fantastic on almost any screen without creating a monstrous file. 4K is impressive, but honestly, it’s usually overkill for a typical screencast.
-
Frame Rate (FPS): This stands for "frames per second," or how many still images are flashed on the screen every second to create the illusion of motion. For recording software walkthroughs, 30 FPS is all you need for a smooth, natural look. You’d only need to bump it up to 60 FPS if you were recording something with very fast action, like a video game.
-
Format/Codec: This one's easy. Just choose MP4 (H.264). It’s the universal language of web video, compatible with pretty much every platform, browser, and device out there. Macs sometimes like to default to MOV files, which can cause headaches. If you get stuck with one, you can learn how to convert MOV files to MP4.
These three settings are the holy trinity of video exporting. Master them, and you’ll be in great shape.
The secret to exporting isn't about maxing out every setting. It's about making smart trade-offs between quality and file size, picking the right settings for the job.
Quick-Reference Presets for Common Uses
To save you some guesswork, here are the settings I use for different situations.
| Where You're Sharing It | Best Resolution | Best Frame Rate | Go-To Format |
|---|---|---|---|
| YouTube/Vimeo | 1080p (1920x1080) | 30 FPS | MP4 (H.264) |
| Knowledge Base | 1080p or 720p | 30 FPS | MP4 (H.264) |
| Email/Slack | 720p (1280x720) | 30 FPS | MP4 (H.264) |
As you can see, for a quick clip you’re sending to a coworker on Slack, dropping the resolution to 720p is a great move. It makes the file way smaller and faster to send, and the video will still be perfectly clear for its purpose. By thinking ahead about where your video will live, you can make sure it looks professional and plays flawlessly every single time.
Pro Tips for Polished Screencasts
Knowing which buttons to click is only half the battle. The real secret to creating a screencast that genuinely connects with your audience and looks professional lies in a few simple practices. These are the little details that separate a rough, hard-to-follow recording from a truly polished and effective tutorial.
It all starts with a little bit of planning. You don't need to write a word-for-word script, but jotting down a quick bulleted list of your talking points can be a total game-changer. This simple outline will keep you focused, prevent rambling, and make sure you don’t forget to cover that one crucial step. The result? A tighter, more logical video that’s a breeze for viewers to understand.
Mastering Your On-Screen Presence
Even if you’re only recording your voice, the way you present yourself has a huge impact. Think of yourself as a calm, confident guide leading your viewer through the process.
A great place to start is your speech. Try speaking just a little slower than you would in a normal conversation, and really focus on enunciating clearly. This is incredibly helpful for viewers who might not be native English speakers. Don't be afraid to take a deliberate pause between major points; it gives people a moment to absorb what you just said and gives your video a comfortable, unhurried pace.
In a screencast, your mouse cursor is the main character. Treat it that way. Avoid zipping it all over the screen in frantic, jerky motions. Instead, move it with clear intention. When you're about to click a button, let the cursor rest on it for a second. This simple act guides the viewer’s eye and makes your actions incredibly easy to follow.
A polished screencast is a performance. Your clear speech and intentional mouse movements work together to build viewer confidence and make complex topics feel simple.
Setting Up Your Physical Space
If your webcam is on, your environment becomes part of the show. A clean, well-lit space instantly makes you look more professional and keeps the focus where it should be—on you and your content. You don't need a fancy studio; a few small tweaks can make a massive difference.
Here’s a quick checklist for getting that perfect webcam shot:
- Light It Right: Make sure your main light source is in front of you, not behind you. A simple ring light or even just sitting so you face a window provides soft, even light that gets rid of distracting shadows.
- Declutter Your Background: A messy room pulls focus away from you. A tidy bookshelf, a simple wall hanging, or even a virtual background gives you a much more professional look.
- Find Your Angle: Position your webcam right at eye level. Looking directly into the camera lens helps you create a better connection with your audience. Stacking a few books under your laptop is an easy way to achieve this.
Taking just a few minutes to prep your talking points, practice your delivery, and tidy up your space will elevate the quality of your screencasts more than you think. These small, intentional efforts are what make the final video so much more effective and enjoyable to watch.
Got Questions About Screencasting on a Mac?
Even with a solid plan, a few questions always come up when you’re getting the hang of screencasting on a Mac. Finding the right answers early on saves you from hitting annoying roadblocks and lets you get back to creating.
Here are some of the most common snags Mac users run into and how to work through them.
Audio and Recording Logistics
One of the first hurdles everyone seems to face is wrangling audio. If you've ever tried to record your voice and the sound coming from an app on your Mac, you know exactly what I'm talking about.
By default, macOS doesn't let you record internal system audio (like a video playing or an app notification) while your microphone is active. It’s a security feature that keeps audio streams separate. The easiest way around this is with a tool like Screen Charm that handles it for you, or by installing a free virtual audio driver like BlackHole, which cleverly tricks your Mac into thinking its own audio is an input device.
Another common question is how to record an iPhone or iPad screen using a Mac.
Absolutely! You can record your iPhone or iPad screen right from your Mac, no extra apps needed. Just plug it in with a USB cable, open QuickTime Player, and go to "New Movie Recording." Click the little arrow next to the record button, select your iPhone as the camera source, and voilà—its screen appears on your Mac, ready to record.
This is a game-changer for anyone making mobile app demos within the Apple ecosystem.
File Formats and Optimization
Once you’ve nailed the recording, the next step is saving it. The format you choose makes a huge difference in file size, quality, and where you can share it.
For about 99% of situations, MP4 (with the H.264 codec) is your best bet. It delivers great quality without creating a massive file, making it perfect for uploading to YouTube, sharing on social media, or dropping into a company wiki. It just works everywhere.
But what happens when your final video file is still way too big? Don't worry, you have a few options to shrink it down without making it look terrible:
- Lower the Resolution: Do you really need 4K? Exporting at 1080p is usually more than enough for a clear screencast and will cut your file size dramatically.
- Drop the Frame Rate: For most software tutorials, 30 FPS is perfectly smooth. Unless you’re recording high-action gaming, you can safely skip 60 FPS.
- Adjust the Compression: Video editors let you tweak the compression or quality settings during export. Pushing it a little higher can make a big impact on file size with very little noticeable loss in quality.
- Trim the Fat: This is the most effective trick in the book. Be ruthless. Cut every dead second from the beginning, end, and any pauses in the middle. Those seconds add up fast.
Ready to create polished, professional screencasts without all the hassle? Screen Charm bundles everything you need—from automatic cursor zoom to a dead-simple editor—into one package for a single, one-time price. Start making your best tutorials today at https://screencharm.com.