Creating a YouTube Short that actually gets views comes down to a simple formula: plan a 60-second vertical video, record it on your Mac in a 9:16 aspect ratio, and edit it to be fast-paced and engaging. The real magic, though, happens before you even think about hitting the record button. That initial planning is what separates a Short that pops off from one that gets lost in the feed. It's how you make every single second count.
Your Blueprint for a High-Impact YouTube Short
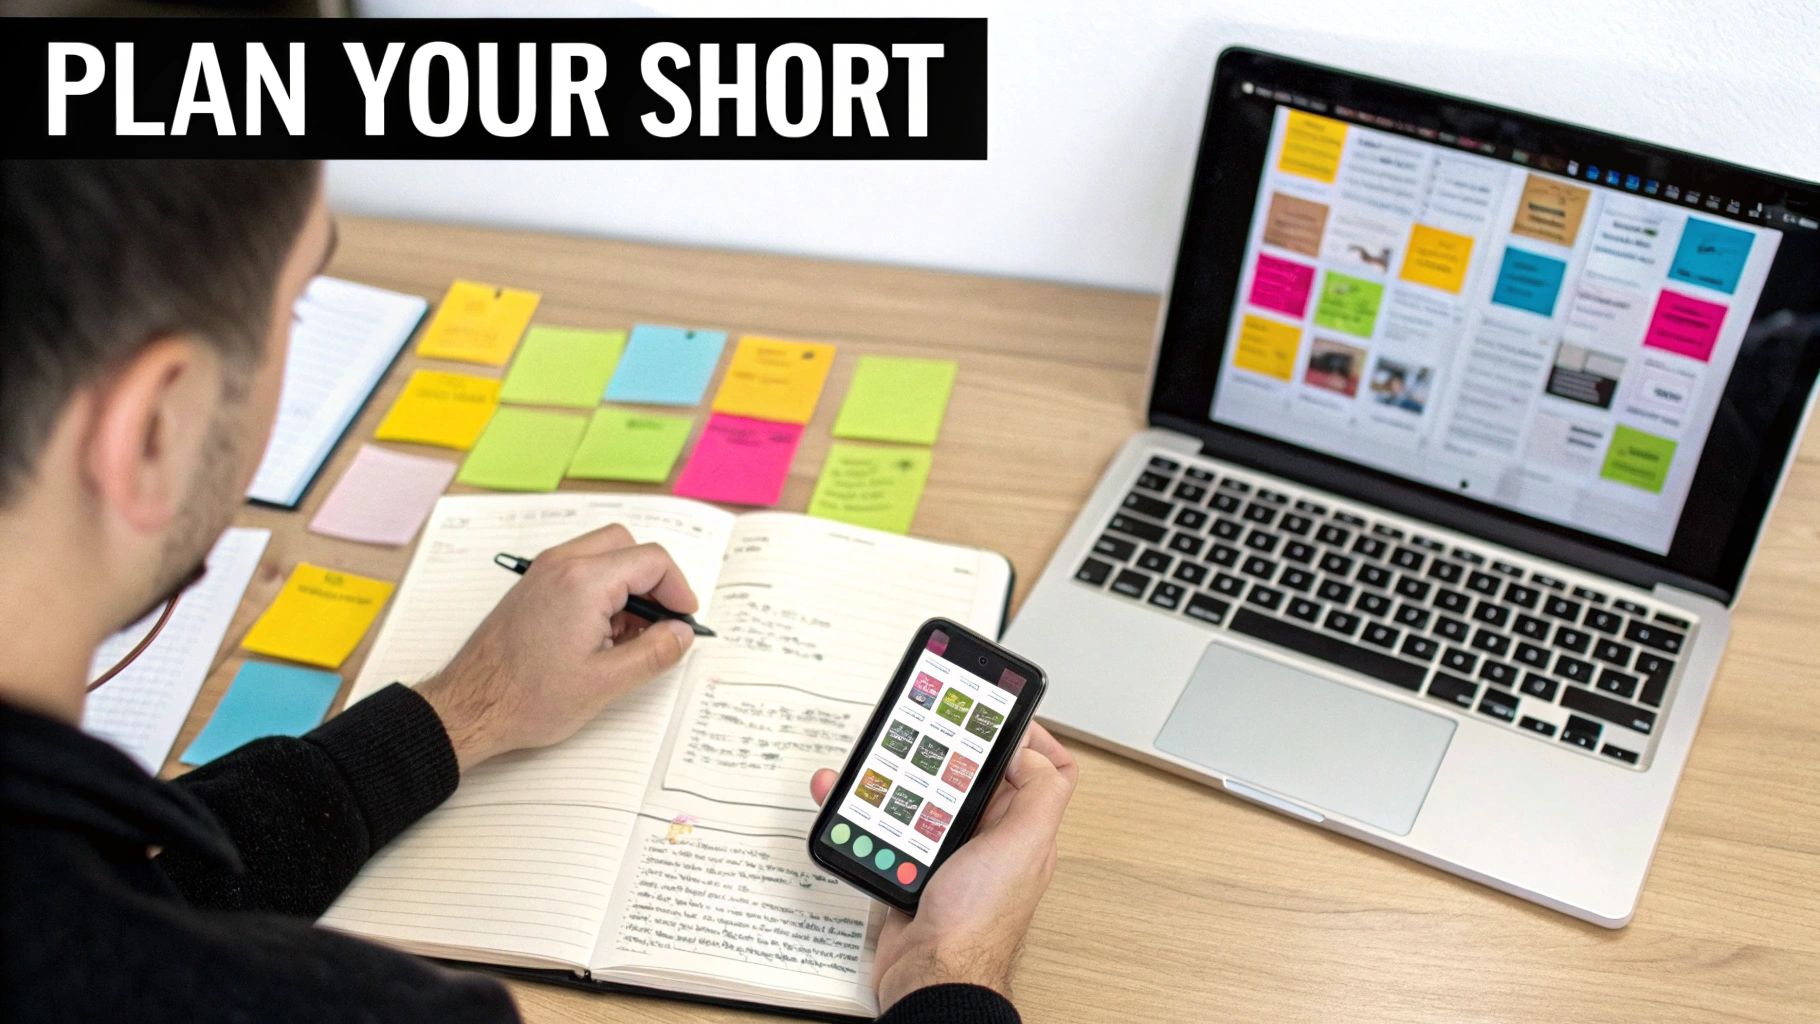
Before you fire up your Mac to record, remember that a solid plan is your most valuable tool. Just winging it is a recipe for disaster in the hyper-speed world of short-form video. When you know exactly what you want to show and say, you create a Short that grabs attention immediately and delivers value—making the entire process from recording to publishing on your Mac so much smoother.
The explosion of short-form content is impossible to ignore. YouTube Shorts now pull in over 90 billion daily views, which is a staggering 500% jump from 2021. It's no wonder creators are jumping on this trend, especially for things like software demos and macOS app tutorials. It’s the perfect format for quick feature highlights. If you want to dig deeper, some great research from Awisee really breaks down the growth.
Finding Your Viral Idea
It all starts with a single, compelling idea. If you’re a macOS developer or marketer, this means focusing on one powerful concept. Resist the urge to cram your entire product tour into 60 seconds. Instead, solve one specific problem or show off one killer feature of your Mac app.
To unearth these golden nuggets, think about these sources:
- Common User Questions: What do people ask your support team all the time? Every one of those questions is a potential Short.
- "Aha!" Moments: What's the point where a user really gets the value of your macOS app? Capture that experience.
- Underused Features: Do you have a powerful feature that most people don't even know exists? A Short is the perfect way to shine a spotlight on it.
Structuring Your 60-Second Story
Once you’ve got your idea, it's time to give it a structure. A great Short isn't just a random clip; it's a micro-story. It has a beginning, a middle, and an end, and that's what keeps people watching.
A great Short respects the viewer's time by getting straight to the point. The first three seconds determine whether they keep watching or scroll away, so your opening hook is everything.
A simple three-part script template works wonders. First, you have the Hook (1-3 seconds). This is where you grab their attention with a relatable problem, a bold statement, or an intriguing question.
Next comes the Value (15-50 seconds). This is the meat of your video—the quick tutorial, the helpful tip, the "how-to."
Finally, close with a clear Call-to-Action (1-3 seconds). Tell them exactly what to do next: "Try it for free," "Download now," or "Follow for more macOS tips." This simple framework ensures your message lands and gets people to act.
Recording Flawless Vertical Video on Your Mac
With your plan locked in, it's time to hit record. Thankfully, creating a polished vertical video on your Mac is probably easier than you think, especially if you start with the right format from the get-go. The secret is to record natively in the 9:16 aspect ratio that YouTube Shorts demands.
This saves you from the headache of trying to crop a horizontal video later, which almost always leads to awkward framing and losing key details. When you record vertically, what you see is what your audience gets. This is a non-negotiable for screen recordings of macOS apps where every part of the user interface counts.
Mastering Screen Recordings for Demos
When you're making a software demo or a quick tutorial, your Mac's screen is the main event. A dedicated macOS tool like Screen Charm is perfect for this because it lets you define a vertical recording area from the start. Your footage comes out perfectly formatted for Shorts, no extra work needed.
To make your macOS demos clean and easy to follow, keep these tips in mind:
- Declutter Your Desktop: Close any apps you don't need and hide your desktop icons on your Mac. A minimalist background ensures your viewers are focused only on what you’re showing them.
- Highlight Your Cursor: Using a cursor effect is like having a little spotlight that follows your every move. It’s a simple trick that makes your macOS tutorial way easier to follow.
- Let Auto-Zoom Do the Work: Some tools have an auto-zoom feature that automatically magnifies the area around your cursor. For short-form video, this is a game-changer. It adds a dynamic feel and makes sure nobody misses the important clicks.
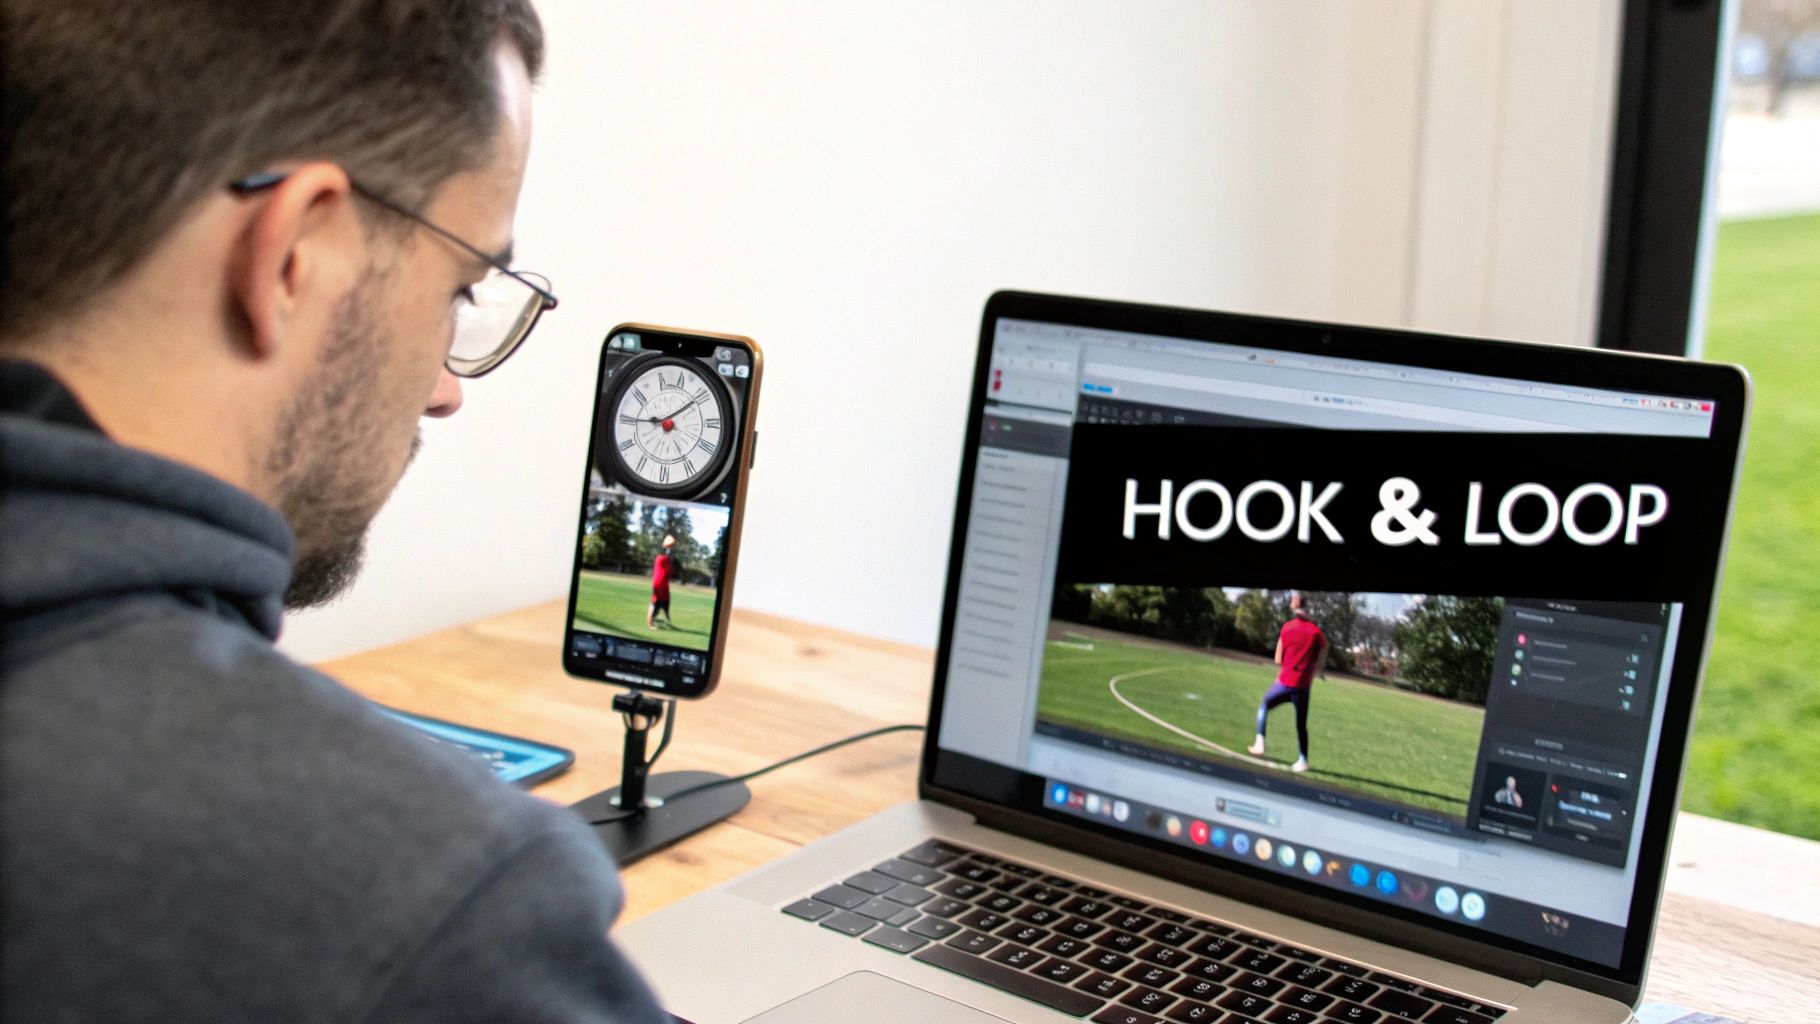
Here’s a glimpse of how a specialized macOS recording tool can give you these professional features right out of the box.
As you can see, modern macOS recording software gives you precise control over your canvas, often including vertical presets built specifically for Shorts. Having these features baked in means less time fighting with settings and more time creating great content.
Filming High-Quality Webcam Footage
If you're the one in front of the camera, you don't need a massive budget to look professional. A few small tweaks to your setup can elevate your video quality dramatically.
Lighting is everything. Always place your main light source in front of you, never behind. A basic ring light or even just facing a bright window can provide soft, flattering light and get rid of ugly shadows.
Your audio is just as crucial as your video. People will click away from a video with terrible sound much faster than one with slightly grainy visuals. A good external microphone is one of the smartest, most affordable investments you can make for your Mac setup.
Don't forget about your background, either. A simple, uncluttered space always works well. If you want to keep things consistent, a branded virtual background can give your videos a cohesive, professional look.
And hey, mistakes happen. If you've ever accidentally recorded in the wrong orientation, a good video aspect ratio converter can be a real lifesaver for reformatting clips on the fly. Pulling all these simple techniques together will help you produce Shorts that look and sound fantastic, giving you an edge over the competition.
Sponsored by the makers
Tired of boring screen recordings?
Try Screen Charm.
Auto-zoom, motion blur, camera overlay, and background music. All built in. Record once, export a polished video.
See what it doesEditing Shorts Efficiently on macOS
This is where the magic happens—turning that raw footage into a compelling story. But let's be clear: editing a Short shouldn't feel like a feature-film production. For Mac users, the secret is leaning into tools and workflows designed for speed. A good process lets you move from recording to publishing in minutes, not hours.
Using an intuitive macOS app like Screen Charm really helps. Instead of juggling a bunch of different, complicated programs, you can nail all the essential edits in one place. That integrated approach is what helps you maintain the fast, punchy pace needed to keep viewers glued to their screens.
I like to think of the workflow as a simple, three-part process.
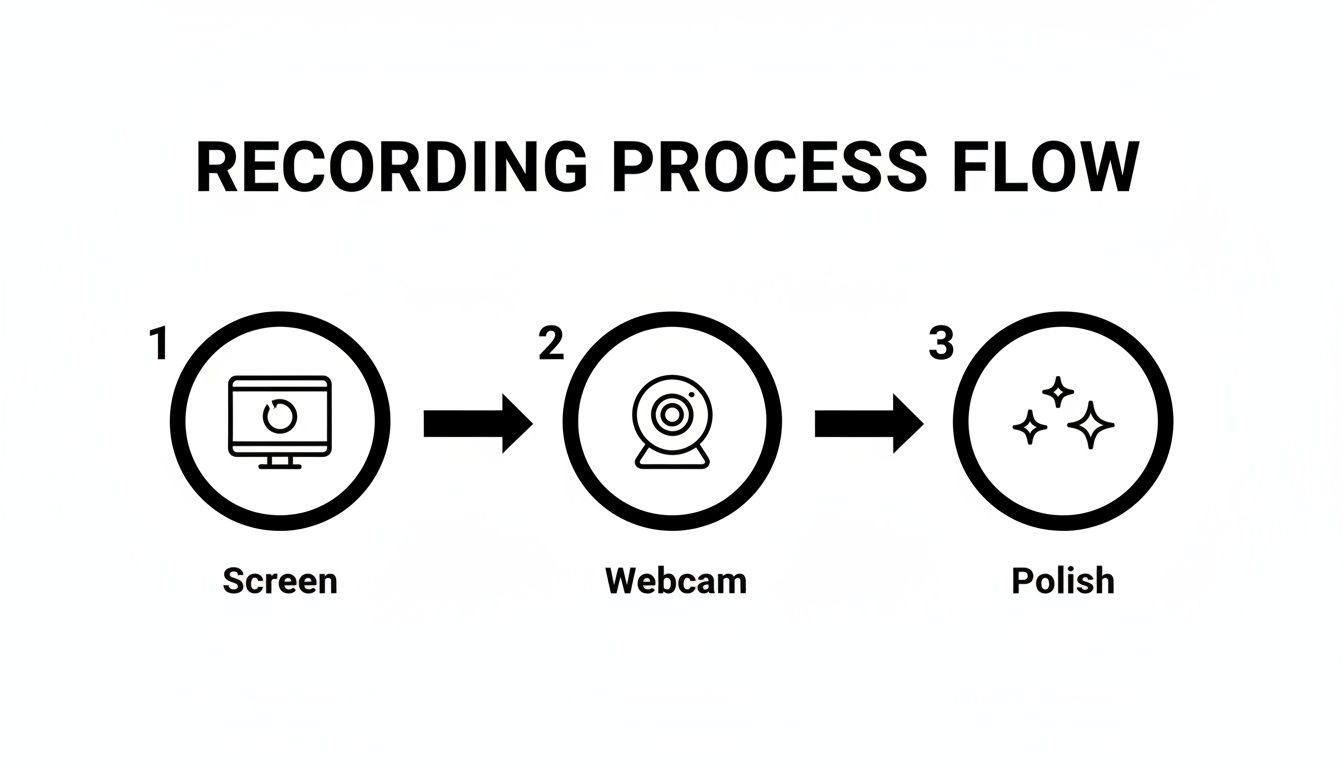
This stripped-down flow proves you don't need overly complex steps to make a great Short. It’s all about clean capture and smart, essential enhancements.
Mastering the Core Edits for Pacing
A great Short lives and dies by its pacing. You have to be absolutely ruthless with your timeline. Get in there and trim every single moment of hesitation, every awkward pause, every bit of dead air. Those precise, quick cuts make your video feel energetic and, more importantly, respect the viewer's notoriously short attention span.
Dynamic zoom effects are another game-changer. When you can automatically zoom in on key actions—like a mouse click or typing some text—you're not just adding visual flair; you're directing the viewer’s eye exactly where it needs to be. This is a must for software tutorials on a Mac, where tiny UI elements can easily get lost in the shuffle.
Your mantra should be: make every single frame count. If a clip doesn't directly serve your message, cut it. A snappy edit keeps the energy high and stops viewers from swiping to the next video.
Layering Visuals and Text for Maximum Clarity
Once your cuts are tight, you can start layering in other elements to really make your Short shine. Think about adding a simple branded background or a clean webcam overlay. These small touches build brand recognition and create a consistent, professional look across all your content.
Text overlays and captions are simply non-negotiable. So many people watch with the sound off, and clear on-screen text guarantees your message gets through. Automatically generating those captions is a massive time-saver and makes your content far more accessible. You can dive deeper into these techniques in our guide on simple video editing for Mac.
Finally, music sets the entire mood. The right track—whether it’s a trending sound or just an upbeat instrumental—can add a huge boost of energy and even help your Short get discovered. Just make sure the audio complements your content instead of overpowering it.
To give you a practical guide, here’s a quick checklist of the edits I run through for every Short. It’s my go-to for turning a raw clip into a polished, engaging final product.
Essential Editing Checklist for Engaging YouTube Shorts
| Editing Task | Why It Matters | Pro Tip for macOS |
|---|---|---|
| Trim the Fat | Removes dead air and hesitations, keeping the pace fast and engaging. | Use the "Split" tool (Cmd+B in many macOS editors like iMovie or Final Cut Pro) at the start and end of unwanted sections, then delete the clip. |
| Add Dynamic Zooms | Guides the viewer's focus to important details, especially in screen recordings. | Look for "auto-zoom" features in your macOS app that intelligently track your cursor or on-screen actions to save manual effort. |
| Incorporate a Webcam Overlay | Adds a personal, human touch and helps build a connection with your audience. | Position your webcam in a corner where it won't obscure critical on-screen information. Use a subtle border. |
| Layer Text Callouts & Captions | Ensures your message is understood, even with the sound off. Crucial for accessibility. | Use a macOS tool with automatic caption generation. For callouts, choose a bold, easy-to-read font that contrasts with the background. |
| Apply a Branded Background | Creates a consistent, professional look and reinforces your brand identity. | Create a simple 9:16 background image with your logo/colors and use it as the bottom layer in your editing timeline. |
| Select Background Music | Sets the tone, adds energy, and can increase discoverability through trending sounds. | Keep the music volume low enough (around 10-15%) that it doesn't compete with your voiceover or on-screen action. |
Mastering these steps will make your editing workflow faster and your Shorts significantly more effective.
And if you’re looking to build a strong foundation that goes beyond just one platform, these essential video editing tips for beginners are a great resource. By getting these fundamentals down, you’ll be set up to create high-impact Shorts time and time again.
Getting Your Short Published for Maximum Reach
You've planned, recorded, and edited a killer Short on your Mac. Fantastic. But your job isn't done yet—in fact, the most critical part is next. A great video is only half the story; how you package it for YouTube is what gets the algorithm to notice and people to watch.
This all comes down to giving YouTube the right signals through your title, description, and hashtags. You need to tell the algorithm exactly what your video is about so it can find the perfect audience.
Crafting Titles and Descriptions That Grab Attention
Think of your title as the headline. It’s your first and best chance to stop someone from scrolling. It needs to be magnetic, clear, and packed with the words your audience is actually searching for.
Instead of a bland title like "New App Feature Demo," try something with more punch. Something like "The macOS Trick That Will Organize Your Desktop Instantly" is way more effective because it's specific and promises a real benefit.
The description might seem less important for Shorts, but don't skip it. The algorithm reads it. Use this space to add more context about your video, drop a link to your product, and give people a reason to subscribe. A couple of sentences are plenty. It’s also the perfect spot to link to more in-depth content, a strategy we cover in our guide on video marketing best practices.
Using Hashtags to Drive Discovery
Hashtags are your secret weapon. Seriously. They're like little signposts that tell YouTube who to show your video to.
First, the non-negotiable rule: you must include #shorts somewhere in your title or description. It's the official tag that signals to YouTube that your video belongs on the Shorts shelf. Miss this, and you’re basically invisible.
After that, you'll want a smart mix of broad and specific tags to cast a wide yet targeted net.
- Broad Tags: Think about high-volume terms like
#techtips,#tutorial, or#macbook. These get your video into bigger conversations. - Niche Tags: Now, get specific. Tags like
#macapps,#productivityhacks, or#softwaredemowill attract people who are actively looking for what you have to offer. - Branded Tags: It’s always a good idea to create a unique tag for your brand, like
#screencharmtips, to start building your own content hub.
Here's a pro tip: don't just stuff as many hashtags as you can. A focused set of 3-5 highly relevant hashtags is way more powerful than a spammy list of 20. When it comes to the algorithm, quality and relevance will always win.
This strategic thinking is crucial when you remember the sheer scale of YouTube. With over 2 billion monthly active users in more than 100 countries, the potential audience is massive. This is a goldmine for anyone using demos to market a macOS product.
Finally, as you upload your Short, YouTube will ask you to pick a thumbnail. Don't just accept the default. Scroll through your video and find a frame that’s bright, clear, and perfectly sums up what your video is about. A good thumbnail can make all the difference. For more ideas on boosting your video's performance, check out these great tips on how to get more views on YouTube Shorts.
Advanced Tactics to Make Your Shorts Stand Out
Alright, so you've got the basics down. You know how to record, edit, and publish from your Mac. Now, let's talk about what separates the good Shorts from the great ones.
The most successful creators get inside the viewer's head. They understand that Shorts are all about quick, satisfying little dopamine hits. To really pop off, you need to master the psychology behind the scroll.
It all starts with the hook. You have maybe three seconds—tops—to stop someone from swiping away. A powerful visual hook could be a dramatic cursor movement in your screen recording, a provocative question in bold text, or the beginning of a really satisfying clip. That first frame is your most important asset, so make it count.
Creating Seamless Loops and Using Trending Audio
Ever find yourself watching a video two or three times before you even realize it? That's the magic of a seamless loop. It's a clever trick where the end of your video flows perfectly back into the beginning, which can seriously boost your watch time. For a macOS app demo, this could be as simple as ending on the exact same screen you started with. It creates a natural reset that encourages another watch.
Now, let's talk about trending audio. It might seem weird to use a popular song for a technical tutorial, but it works if you're smart about it.
- Go for Subtle: Use a trending track as low-volume background music. It can give your macOS demo a modern, energetic vibe without overpowering the actual content.
- Sync to the Beat: This is a pro move. Try editing your on-screen actions, like clicks, zooms, or text reveals, to match the rhythm of the music. It just feels more polished and satisfying to watch.
- Frame Your Content: You don't always have to use the audio itself. Use the idea behind the trend. If a trend is all about "unpopular opinions," you could title your Short "The Unpopular macOS Tip That Saves Me Hours."
Repurposing Content and Analyzing Performance
You don't have to reinvent the wheel for every single Short. One of the smartest things you can do is repurpose content you already have. That long-form product demo you filmed on your Mac? It's a goldmine.
Your long-form content is a library of Shorts just waiting to be made. Hunt for key moments, valuable tips, or common questions, then chop them up into standalone, high-impact videos.
A single five-minute tutorial could easily become five separate Shorts, with each one zeroing in on a single feature or step. This strategy not only saves you a ton of time but also respects the fast-paced nature of the Shorts format.
Finally, let your data be your guide. Get comfortable in your YouTube Analytics and see what's actually working. Look for patterns in watch time, audience retention, and comments. When a certain format or topic gets a great reaction, lean into it.
Keep in mind that with 96% of the 90 billion daily views happening on phones, a vertical format isn't just a suggestion—it's essential. The sweet spot for length is often between 20-40 seconds. That said, for more detailed macOS tutorials that need to show intricate cursor movements, Shorts can now run up to 3 minutes, giving you more breathing room. You can discover more insights about these YouTube Shorts statistics on voomo.ai.
Ultimately, analyzing your own metrics is the best way to figure out what your specific audience wants to see.
Got Questions About Making YouTube Shorts on a Mac?
Jumping into YouTube Shorts for the first time on your Mac can feel like there's a whole new set of rules to learn. It's totally normal to have questions. Getting a few key things straight from the start can save you a ton of headaches down the road.
A lot of creators I talk to think they need some ridiculously complicated editing software to get started. The truth? You really don't. A great Short comes from a clear idea and clean execution, not a flashy effects package.
What’s the Perfect Length for a YouTube Short?
So, you get up to 60 seconds, but should you use all of it? Almost never. The real sweet spot for keeping people hooked is somewhere between 20 and 40 seconds. That's just enough time to deliver a solid tip or showcase one cool thing without your audience swiping away.
If you're recording a Mac software demo, for example, zero in on solving one tiny, specific problem. Show them a single feature that will blow their minds. And remember, the first three seconds are everything—that's your one chance to stop the scroll.
Are Hashtags Really That Big of a Deal?
Yes, they're absolutely crucial. Think of them as little signals you send to the YouTube algorithm, telling it what your video is about and who should see it. The best approach is to use a mix of general and super-specific tags.
The one hashtag you can't forget is #shorts. It has to be in your title or description. This is the official tag that tells YouTube, "Hey, this is a Short!" Without it, your video will probably just get lost and not be shown on the Shorts shelf.
For that Mac app tutorial, you might use #macapps and #techtips alongside #shorts to make sure you're reaching people who are actually looking for that kind of content.
Can You Actually Make Money from Shorts?
You sure can. Once you're in the YouTube Partner Program, you'll start earning a cut of the ad revenue from ads that run in the Shorts feed. It's a pool system, where revenue is shared based on how many views your Shorts get compared to others.
The payout per view is generally lower than what you'd see on a long-form video, but the potential for massive view counts can really add up, making it a worthwhile part of your channel's income.
Do I Need to Buy Expensive Editing Software?
Not a chance. For Mac users, a tool built specifically for this, like Screen Charm, has everything you need baked right in. You can record your screen in the right vertical format and then immediately add text, zoom in on details, and trim it down.
Instead of wrestling with a complicated timeline like in Final Cut Pro or Premiere Pro, you can focus on what matters: clear content, good lighting, and crisp audio. An all-in-one tool gives you a professional look without the intimidating learning curve.
Ready to create screen recordings that actually look good without all the fuss? Screen Charm gives you the tools—from auto-zoom to custom backgrounds—to make polished Shorts in minutes, right on your Mac. Get Screen Charm today and start making videos that people will actually watch.