So, you're ready to create an online course on your Mac that truly stands out? Let’s be honest, professional-looking video is what separates the courses that sell from those that collect digital dust. The secret isn't just about what you know; it's about how you present it. A solid strategy for producing engaging educational videos is what will captivate your students and build your reputation.
Your Blueprint for High-Impact Course Videos on macOS
Creating a profitable online course has never been more achievable, especially for Mac users. With the right software and a clear plan, you can turn your expertise into a polished, high-value educational experience. Forget the idea that you need a massive production studio. These days, your Mac can be the entire command center for your creative work.
This guide walks you through a complete workflow designed specifically for the Mac ecosystem. We'll be focusing on practical, efficient tools like Screen Charm to take you from the first spark of an idea all the way to the final exported video. This macOS-centric approach lets you keep everything in-house, giving you total creative control without getting bogged down by overly complex software.
The Foundation of a Great Course
Before you even think about hitting that record button, you need a solid foundation. This is the strategic part—defining your course goals, really understanding who your audience is, and structuring your content so it makes a real impact. A well-planned course isn't just easier to produce; it's infinitely more effective for your students. Think of it like building a house. You wouldn't just start nailing boards together without a blueprint, right?
The process really boils down to a few core stages, from figuring out what you want to teach to getting it in front of your audience.
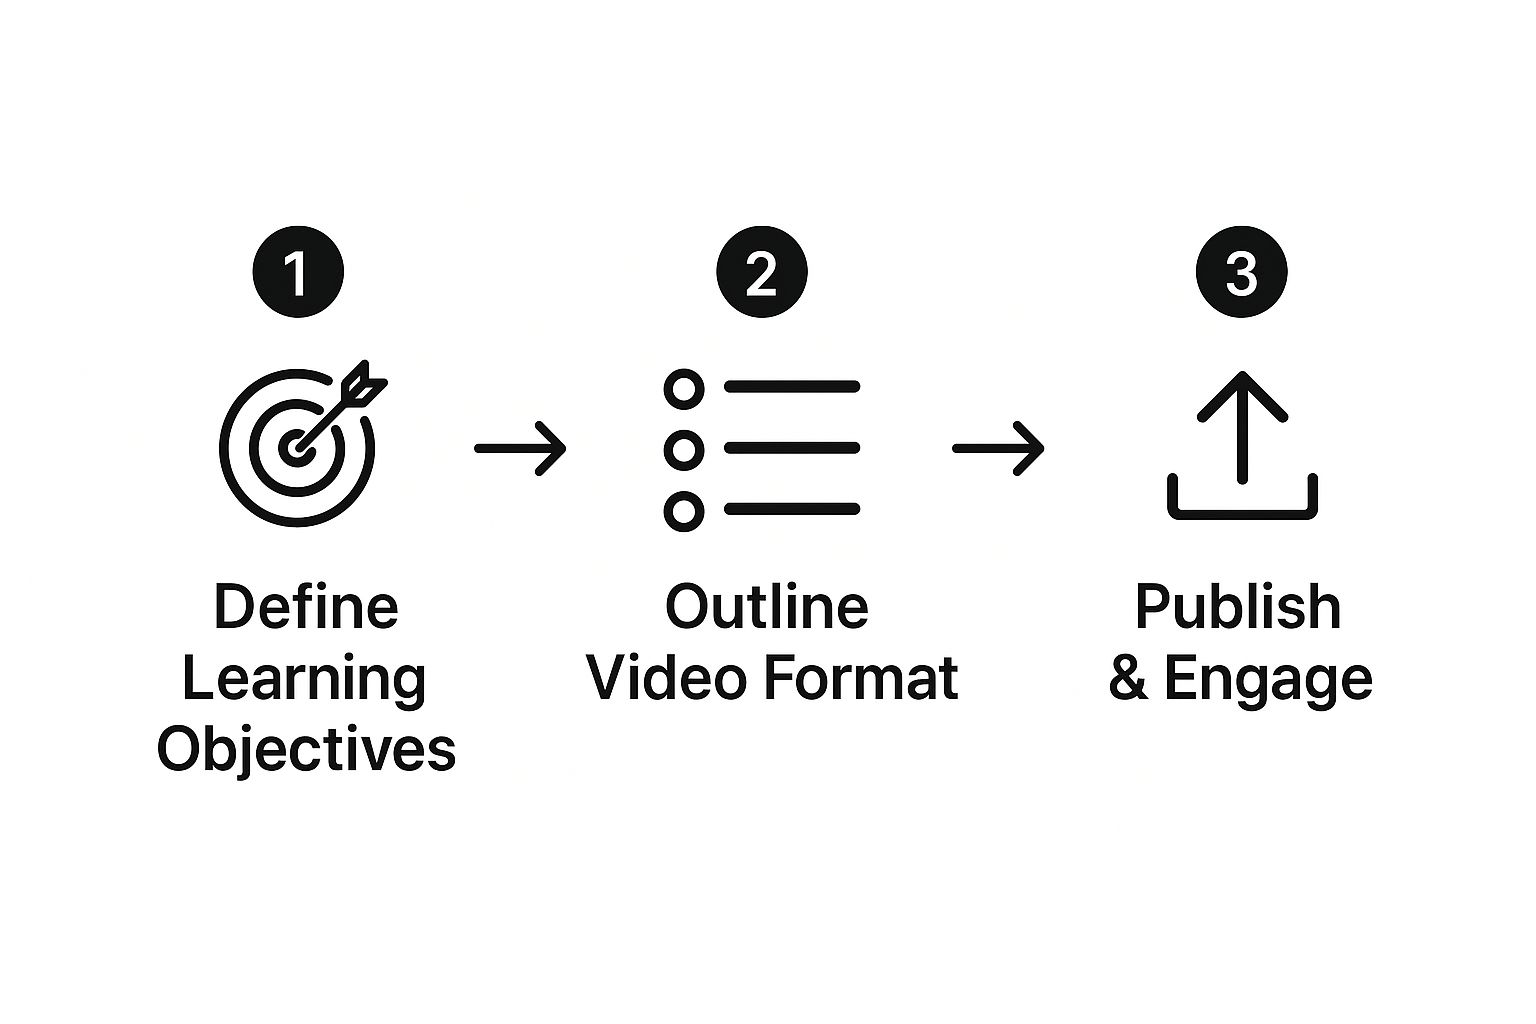
As you can see, production starts long before the camera rolls and continues well after you've published the video. It's a holistic approach that ensures you’re not just creating content, but creating real value.
To get a clearer picture of the journey ahead, here's a quick look at the main stages and the macOS tools you'll be using.
Key Stages of Online Course Production on macOS
This table outlines the essential steps in the production pipeline, from initial planning to final delivery, and highlights the primary Mac-based tool for each phase.
| Production Stage | Key Objective | Primary macOS Tool |
|---|---|---|
| Course Planning & Scripting | Define learning goals and write clear, engaging scripts. | Notes / Pages |
| Screen & Camera Recording | Capture high-quality screen demonstrations and webcam video. | Screen Charm |
| Video & Audio Editing | Refine footage, clean up audio, and add professional touches. | Screen Charm |
| Exporting & Publishing | Prepare the final video files for your chosen course platform. | Screen Charm |
This workflow keeps things simple and integrated within the macOS environment, allowing you to focus on creating great content rather than juggling a dozen different applications.
Why Quality Video Matters More Than Ever
The demand for high-quality educational video is exploding. The whole online course video production space is growing at a staggering rate, largely driven by a creator economy that’s projected to hit $500 billion by 2027. This isn't just a fleeting trend; it’s a fundamental change in how we learn and how experts like you can build a business. In fact, a recent study showed that 70% of creators now say online courses are their number one income source. You can dig deeper into these course market trends and statistics if you're curious.
Your video quality is a direct reflection of your brand. In a crowded marketplace, clear audio, crisp visuals, and a confident delivery aren’t just nice-to-haves. They're the bare minimum students expect and are willing to pay for.
This guide will give you the know-how to meet and even exceed that standard, using the powerful and user-friendly tools available for your Mac. We’ll cover every key stage to make sure your final product is something you're truly proud of.
Planning and Scripting for Learner Engagement

Let's be honest, the best online courses aren’t just about flashy editing or expensive gear. The real magic happens long before you even think about hitting the record button. It’s all in the planning. A solid blueprint is what separates a course that students love from one they abandon after the first video.
Before anything else, you need to give your course a logical structure. Stop thinking of it as one long lecture and start seeing it as a series of small, manageable lessons. I usually just fire up Pages or even Notes on my Mac to map everything out. I start with the main goal of the course and then work backward, breaking it down into modules.
Once you have your modules, break them down even further into individual lessons. Each lesson should focus on teaching just one specific thing. This approach, sometimes called micro-learning, is a lifesaver for students. It prevents them from getting overwhelmed and helps them feel a sense of progress. As a rule of thumb, I aim to keep my videos between 5 and 15 minutes long—that seems to be the sweet spot for keeping people engaged.
Crafting a Conversational Script
Now, let's talk about scripting. I know a lot of creators worry that a script will make them sound stiff and unnatural. In my experience, it’s the exact opposite. A good script is your best friend for sounding confident and relaxed on camera. Trust me, trying to “wing it” while staring into a webcam is a recipe for awkward pauses and rambling.
The trick is to write like you talk. Use simple, direct language. As you write, read every sentence out loud. Does it feel clunky? Does it sound like something you'd actually say to a friend? If not, rewrite it until it does.
Here are a few pointers that have helped me script better on my Mac:
- Use contractions. Seriously. Say “it’s” and “you’ll” instead of “it is” and “you will.” It’s a small change that instantly makes your tone more personal and less like a textbook.
- Keep sentences short. Long, winding sentences are hard to follow and even harder to deliver naturally. Break them up.
- Add breathing room. I literally type reminders like "(pause)" or "(breathe here)" into my scripts. It’s a simple cue to slow down and let your main points really land with the viewer.
Remember, a script isn’t a rigid set of lines you have to recite perfectly. Think of it as a safety net. It frees up your mental energy so you can focus on your delivery, not on what you’re supposed to say next.
Syncing Visuals with Your Narration
Great online course video production means your visuals have to back up what you're saying. This is non-negotiable, especially for screen recordings where you're showing someone how to do something on their Mac. There's nothing more confusing for a student than hearing you talk about one thing while your mouse is doing something completely different on-screen.
The easiest way I've found to solve this is with a simple shot list using Pages or Numbers. It's basically a two-column document. Next to each line of your script, you just make a quick note about what needs to be happening on the screen at that exact moment.
It might look something like this:
| Narration (What you're saying) | Visual Cue (What's on screen) |
|---|---|
| "First, open System Settings..." | Show the cursor moving down to the Dock and clicking the System Settings icon. |
| "...then navigate to the Display section." | Screen Charm's camera follows the cursor as it moves to and clicks the "Display" menu item. |
| "Notice the options for resolution here." | Cursor circles the different resolution options; an annotation pops up to highlight them. |
Doing this little exercise forces you to put yourself in your student's shoes. It makes sure your audio and video are perfectly in sync. By the time you actually open a tool like Screen Charm to record, you're not just guessing—you're following a detailed, professional plan.
Sponsored by the makers
Tired of boring screen recordings?
Try Screen Charm.
Auto-zoom, motion blur, camera overlay, and background music. All built in. Record once, export a polished video.
See what it doesRecording Flawless Video with Screen Charm on Mac
Alright, the heavy lifting of planning and scripting is behind you. Now for the fun part—bringing your course to life. This is where all that prep work really shines, letting you transform your concepts into polished video lessons. With a tool like Screen Charm on your Mac, recording stops being a chore and becomes a smooth, even creative, piece of your online course video production workflow.
The real aim here isn't just to capture your screen. It's to create footage that’s crystal clear, genuinely engaging, and dead simple for your students to follow. That means dialing in a few key details: your screen capture settings, how you appear on camera, and—most critically—your audio quality. If you get these right during the recording, you’ll save yourself a mountain of editing headaches later on.
Configuring Your Mac for Crisp Screen Recording
Before you even think about hitting that record button, spending a minute inside Screen Charm to set things up will make a world of difference. Your screen capture needs to be sharp and legible, especially if you're demoing software or walking through complex slides.
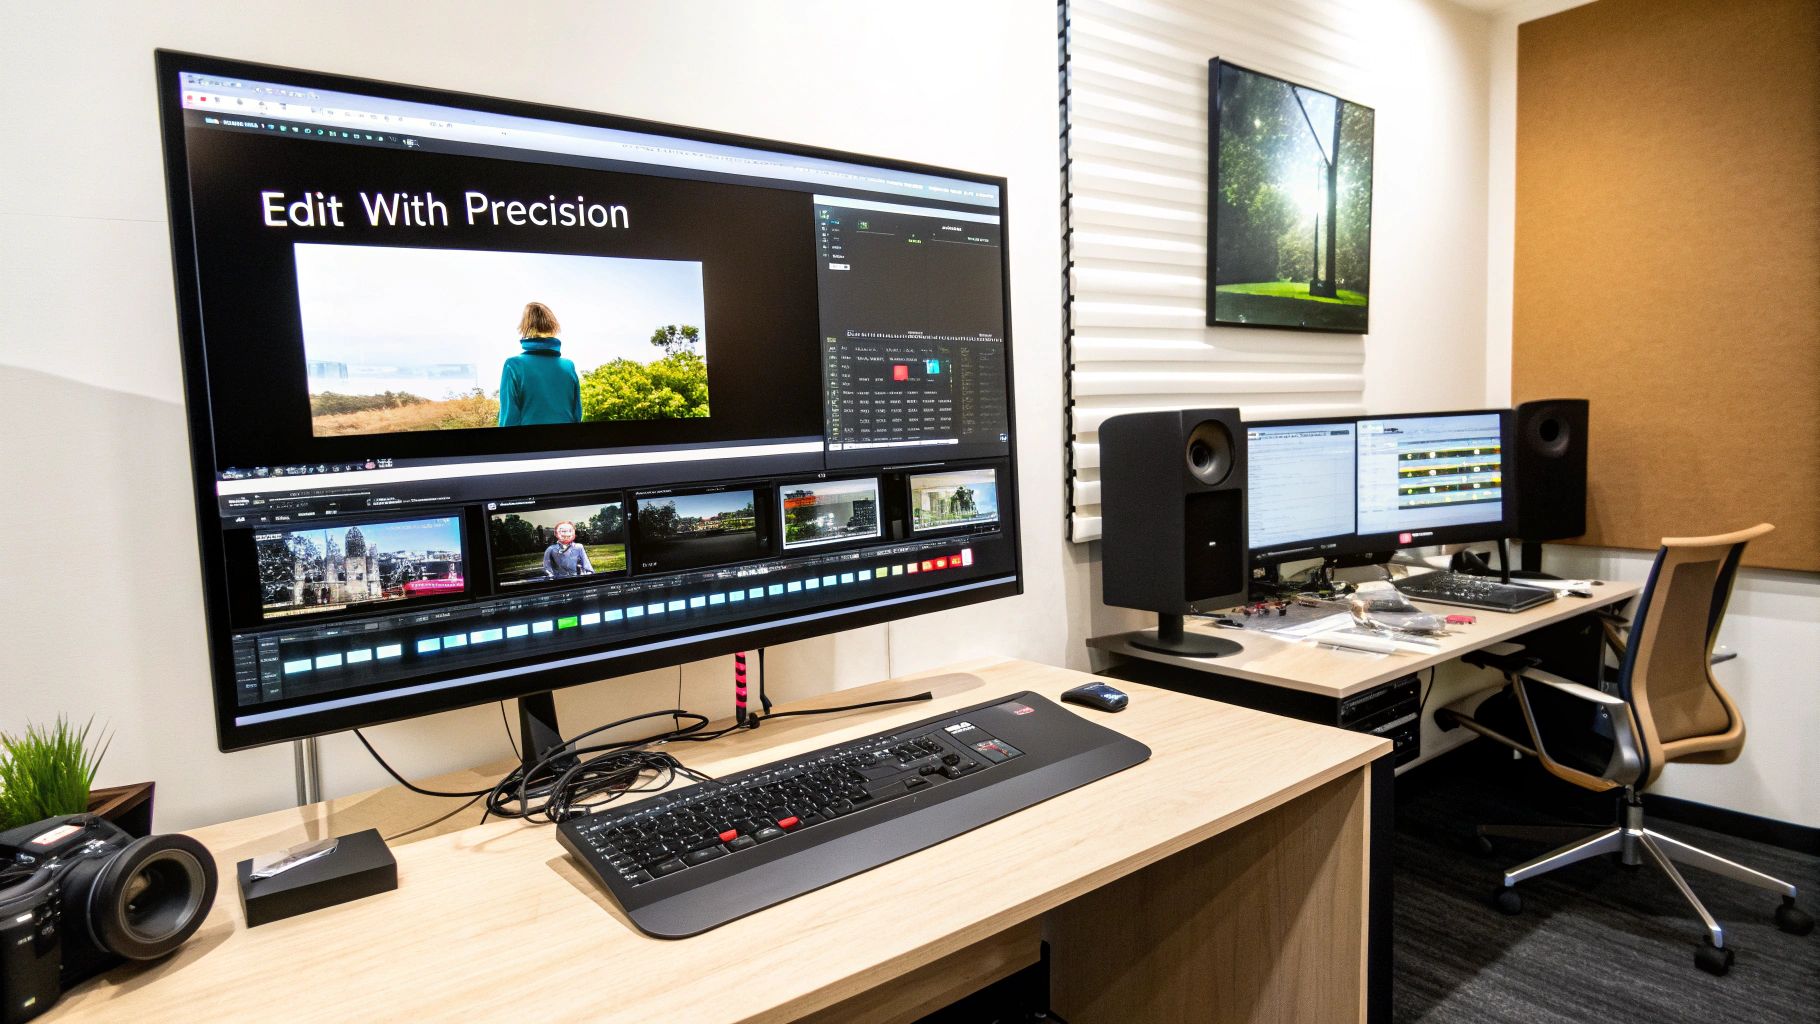
You can see from the screenshot just how clean and straightforward the recording panel is on macOS. All the essentials—camera, mic, and recording area—are right there. No digging through confusing menus. This design lets you jump right into your session and focus on your content, not the tool.
To get the best possible result, start by selecting the specific application window or area of the screen you need. While recording your entire desktop is an option, zeroing in on just the relevant app creates a much cleaner, more professional look and cuts out potential distractions for your viewers.
Next, double-check that your resolution is set for high quality. A crisp 1080p recording is usually the sweet spot, giving you fantastic clarity without creating massive file sizes that are a pain to upload and stream.
Capturing Your Webcam and Audio
Seeing your face builds a real connection. It’s the human element that screen-only recordings miss, and it goes a long way in building trust and keeping your students tuned in. Screen Charm makes it incredibly easy to record your webcam feed right alongside your screen capture.
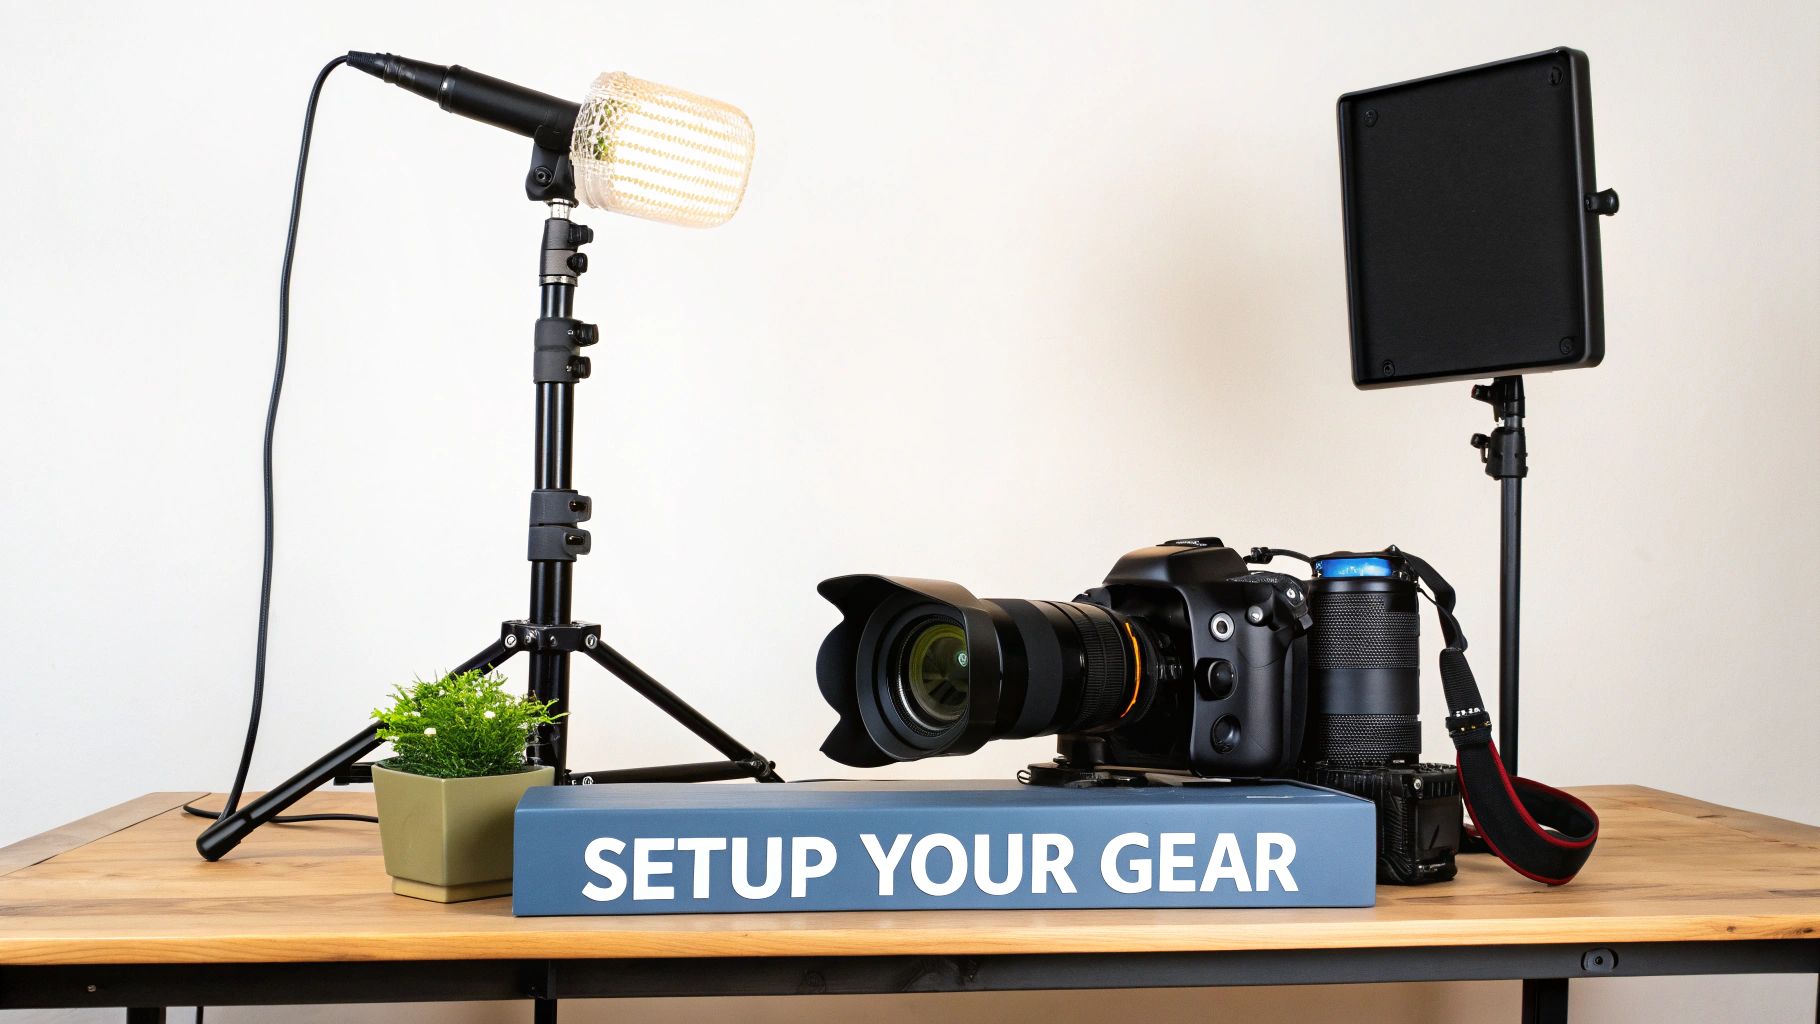
But let's be honest: amazing video is worthless without great audio. This is the one place you absolutely cannot afford to cut corners. Your Mac’s built-in mic will get the job done in a pinch, but a dedicated external USB microphone is the single best investment you can make for your course's quality.
A simple but game-changing tip is to focus on your mic placement. Position your external microphone about 6-12 inches from your mouth, and just a little off to the side. This small adjustment works wonders to reduce those harsh "p" sounds (plosives) and gives you a rich, full vocal tone without needing any fancy audio skills.
Using Dynamic Recording Features
Let's face it, static screen recordings can get a little dry. To keep your lessons feeling interactive and direct your student's focus, you need to use dynamic features to your advantage. Screen Charm has a few great tools built right in for this.
- Cursor Highlighting: A simple halo or highlight around your mouse cursor makes it effortless for viewers to track your movements.
- Real-time Annotations: Use the drawing tools to circle something important, underline text, or draw arrows to specific features as you're talking about them.
- Auto-Zoom: Let the software do the work for you. Screen Charm can automatically zoom in on areas where you click, bringing key details into sharp focus without you having to manually edit it later.
These dynamic touches transform a passive viewing session into an active learning experience. Once you get the hang of these recording techniques on your Mac, you'll be capturing footage that's not just high-quality, but also truly effective. For a deeper look at how recording and editing work together, check out our guide to screen recording and editing software. Nailing the recording phase gives you a solid foundation and makes the final edit so much faster.
Editing Your Raw Footage into Polished Lessons
https://www.youtube.com/embed/tq6Xt8SpCGU
So, you've recorded all your clips. Nice work! But the truth is, recording is only half the battle. The real magic happens in the edit, where you take that raw, sometimes clunky footage and shape it into a polished, professional lesson that your students will love.
If you're using Screen Charm on a Mac, you can breathe a sigh of relief. The editing process isn't some overly technical nightmare. It's built to be intuitive, giving you all the control you need without the overwhelming complexity of tools like Final Cut Pro. This is all about making smart, effective edits and moving on.
Your goal here is refinement, not a complete overhaul. Think of it as trimming the fat—snipping out mistakes, tightening the pace, and adding a few visual helpers to make your points crystal clear. You're in the driver's seat, ensuring every second of your course delivers value.
From Raw Clips to Seamless Flow
The first thing I always do is a "cleanup pass" on the timeline. No matter how much you rehearse, there will be little hiccups. An awkward pause, a cough, a fumbled sentence you had to start over—it happens to everyone. Getting rid of these is the first step toward a video that feels professional.
Inside Screen Charm's editor, it's as simple as grabbing the handles of a clip and dragging them. You can easily snip out the flubs and close the gaps between your thoughts. This simple act makes your lesson feel more confident and shows that you respect your student's time.
For sections that are repetitive but important — like a long software installation or a file download — consider speeding them up instead of cutting them entirely. Our free Video Speed Changer lets you accelerate any clip to 2× or 4× right in your browser, keeping the context while respecting your learner’s time.
More and more creators are choosing to do this themselves. In fact, one study found that roughly 50% of companies are now handling their video production entirely in-house. It just makes sense—you get more control and it's far more cost-effective. Accessible tools are making this possible for everyone. You can dig into more of these video marketing production trends here.
Enhancing Lessons with Text and Callouts
Once your timeline is clean and the pacing feels right, it’s time to add some layers to boost comprehension. This is where text overlays and callouts come in, and they're incredibly useful for directing your student's attention.
Think of them as digital highlighters for your video. I use them all the time to:
- Define key terms right on the screen the moment I say them.
- Highlight a keyboard shortcut or menu path in a software tutorial.
- Pop up a numbered list to recap a process I just walked through.
These little visual cues do more than just look good; they break up the visual flow of a screen recording, making your lessons more dynamic and easier to digest. They’re a huge help for visual learners and really make your key takeaways land.
A well-placed text overlay can be the difference between a student understanding a concept and just hearing it. It’s a simple edit that has a massive impact on learner retention.
Polishing Your Audio for a Professional Feel
As I’ve mentioned before, clean audio is absolutely essential. The editing stage is your final opportunity to make it perfect. Luckily, Screen Charm gives you all the tools you need to manage your project's sound right within the editor.
A common task is simply balancing your audio levels. For instance, you’ll want your voiceover to be clear and present, while any background music should sit comfortably in the background without being distracting. You can easily adjust the gain on each audio clip to get that perfect, professional-sounding mix.
You might also notice slight volume differences if you've pieced together recordings from different sessions. A quick tweak in the editor can smooth these out, ensuring a consistent and pleasant listening experience from beginning to end. If you want to dive deeper into recording techniques, check out our guide on the best video screen grabber for Mac. When you combine clean recording with thoughtful editing, the final product feels less like a DIY video and more like an expertly crafted course.
You’ve done the hard work of recording and editing your lessons. The finish line is just ahead. Now, it’s time to take those polished videos out of Screen Charm and get them ready for your students. This final part of the process is all about making sure your videos are perfectly prepared for a professional delivery, no matter which learning platform you use.
Since Screen Charm is a dedicated macOS app, this last step is refreshingly straightforward. When you export, you're doing more than just saving a file; you're finalizing a product that represents your brand. This is your last chance to triple-check that everything looks and sounds exactly how you want it before it goes live.
Dialing in the Best Export Settings
Before you click that export button, let's talk settings. The trick is to find that sweet spot between crystal-clear visual quality and a file size that won't have your students staring at a buffering wheel. Nobody enjoys that.
For course platforms like Teachable or Kajabi, I’ve found these settings in Screen Charm work wonders:
- Format: Stick with MP4 (H.264). It's the gold standard for web video and plays nicely on virtually any device.
- Resolution: Exporting in 1080p (1920x1080) gives you that crisp, professional HD look without bloating the file size.
- Frame Rate: For most screen recordings and tutorials, 30 fps (frames per second) is perfect. It keeps on-screen motion looking smooth and natural.
Here's a pro tip that's easy to overlook: get your file names in order before you upload. A clear naming system, like "Module1_Lesson1_Intro_to_Widgets.mp4," makes managing your course content so much easier down the road.
This little bit of organization saves a massive headache, especially when you need to update a lesson later. If you want more tips on streamlining your workflow, check out our guide on finding the best screen recorder with voice.
Why Professional Video Quality Matters for Your Business
Don't forget, your course videos aren't just instructional material—they are your most powerful sales assets. The final quality of that exported video can be the deciding factor for a potential student on the fence. A professional-looking video sends a strong signal about the value you provide, giving people the confidence to invest in your course.
The numbers don't lie. A staggering 87% of consumers say they’ve been convinced to buy a product after watching a brand's video. On top of that, 88% of marketers report getting a positive return on investment from their video marketing. By taking the time to get these final steps right, you’re not just finishing a project—you’re creating a high-performing asset that will drive sales and build your reputation as an expert.
Common Questions on Course Video Production for Mac
When you're first diving into creating online courses on your Mac, it's natural to have a few questions. I've been there. Let's walk through some of the most common hurdles you'll face and give you some real-world advice to get you on the right track.
What’s the Best Equipment for a Beginner on a Budget?
You can absolutely get started without dropping a ton of cash on a pro-level studio. Believe it or not, your Mac's built-in FaceTime camera is a perfectly fine place to begin. The single most important investment you can make, however, is in your sound.
A great USB microphone, like a Blue Yeti or a Rode NT-USB, will make a night-and-day difference in your production quality. Think about it: students will tolerate so-so video, but crackly, hard-to-hear audio is an instant turn-off. For lighting, start by simply facing a window. That soft, natural light is often better than cheap artificial lights. If you need more, an inexpensive ring light is your next best step.
My advice is to prioritize your budget in this order: clear audio first, then good lighting, and worry about upgrading your camera last. This strategy gives you the biggest bang for your buck.
How Long Should My Online Course Videos Be?
When it comes to video length, shorter is almost always better. I've found the sweet spot is keeping individual lesson videos between 5 and 15 minutes. This respects your students' attention spans and makes complex information much easier to absorb.
If you have a dense topic that feels like it needs more time, resist the urge to create one epic, 45-minute video. Break it down. A much better approach is to slice that topic into a series of shorter, focused videos. This micro-learning method is a game-changer for keeping students engaged and helping them actually complete your course.
How Can I Make My Mac Screen Recordings More Engaging?
Staring at a static screen is a recipe for boredom. To keep your viewers locked in, you need to introduce some dynamic movement and visual interest. This is where a Mac-specific tool like Screen Charm really shines.
Here are a few things that work for me:
- Guide their focus: Use features like cursor highlighting or automatic zooming to zero in on exactly what you’re clicking on or discussing. It’s like pointing a finger for your audience.
- Mix up the visuals: Don't just stay on your screen recording for 10 minutes straight. Switch things up! Go from your software demo to your presentation slides, then cut to your full-screen camera view to talk directly to your students. This simple variety keeps things feeling fresh.
- Inject your personality: The most powerful tool you have is your voice. Speak with genuine energy and excitement about what you're teaching. That passion is contagious and makes a huge difference in keeping students tuned in.
Ultimately, a great online course video production workflow on your Mac is about combining smart planning with the right tools. It’s how you transform a potentially dry tutorial into a learning experience that truly connects.
Ready to create stunning, professional course videos on your Mac without the steep learning curve? Screen Charm provides all the tools you need, from dynamic screen recording to easy editing, all in one intuitive app. Get Screen Charm today and start building the course your students deserve.
Related: Best software for video tutorials on Mac | How to make tutorial videos