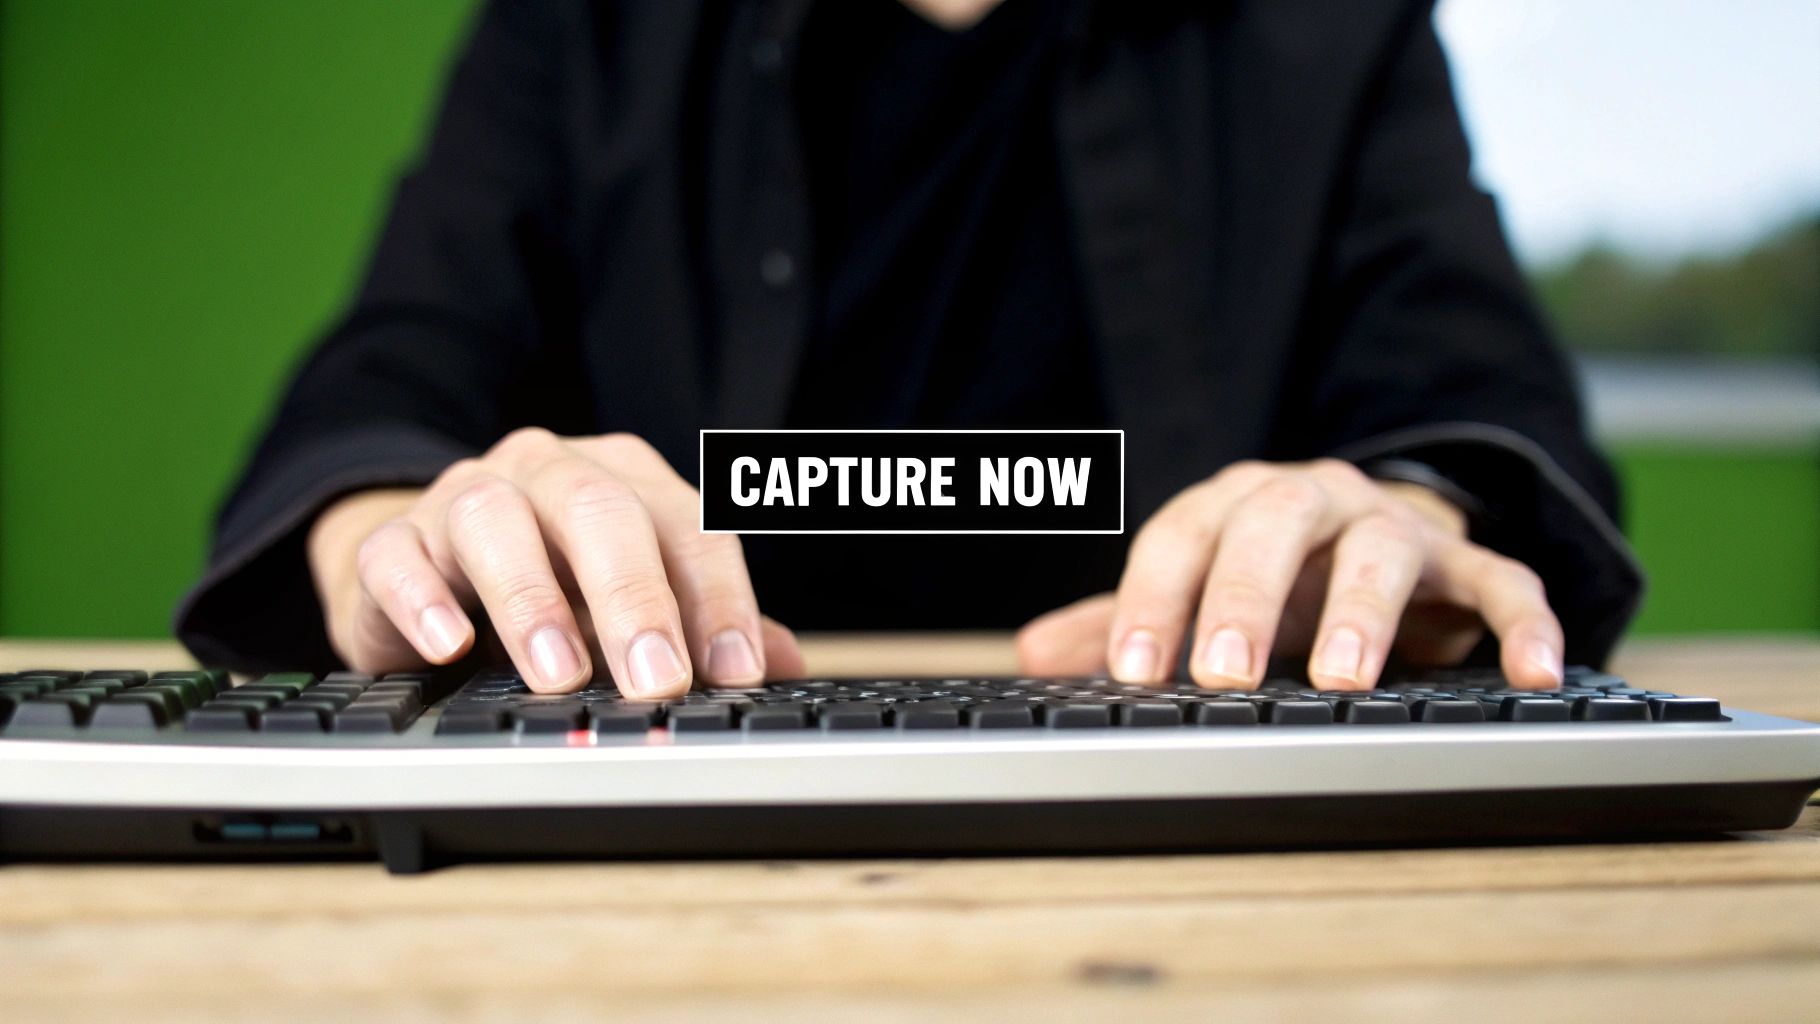
Ever tried to grab a still image from a video on your Mac, only to end up with a blurry, low-quality mess? We've all been there. The most straightforward way is to use macOS's own screenshot tool. Just hit Shift-Command-5, pause your video, and you can capture a specific window or a portion of the screen. It's a quick fix, but it's not always the best one.
The Best Ways to Capture Video Stills on Your Mac
Trying to freeze the perfect moment in a video can feel like a game of chance. You need a method that's fast, reliable, and gives you a high-quality still. Whether you're pulling a frame for a work presentation, a crisp image for a design project, or just saving a hilarious moment to share with friends, your Mac has several great options.
Let's walk through the most effective approaches, each with its own strengths:
- Native macOS Screenshots: Unbeatable for sheer speed and convenience.
- Media Players like QuickTime and VLC: Perfect for when you need frame-by-frame precision.
- Specialized Apps like Screen Charm: The go-to for the absolute cleanest, highest-quality captures without any fuss.
Choosing Your Method
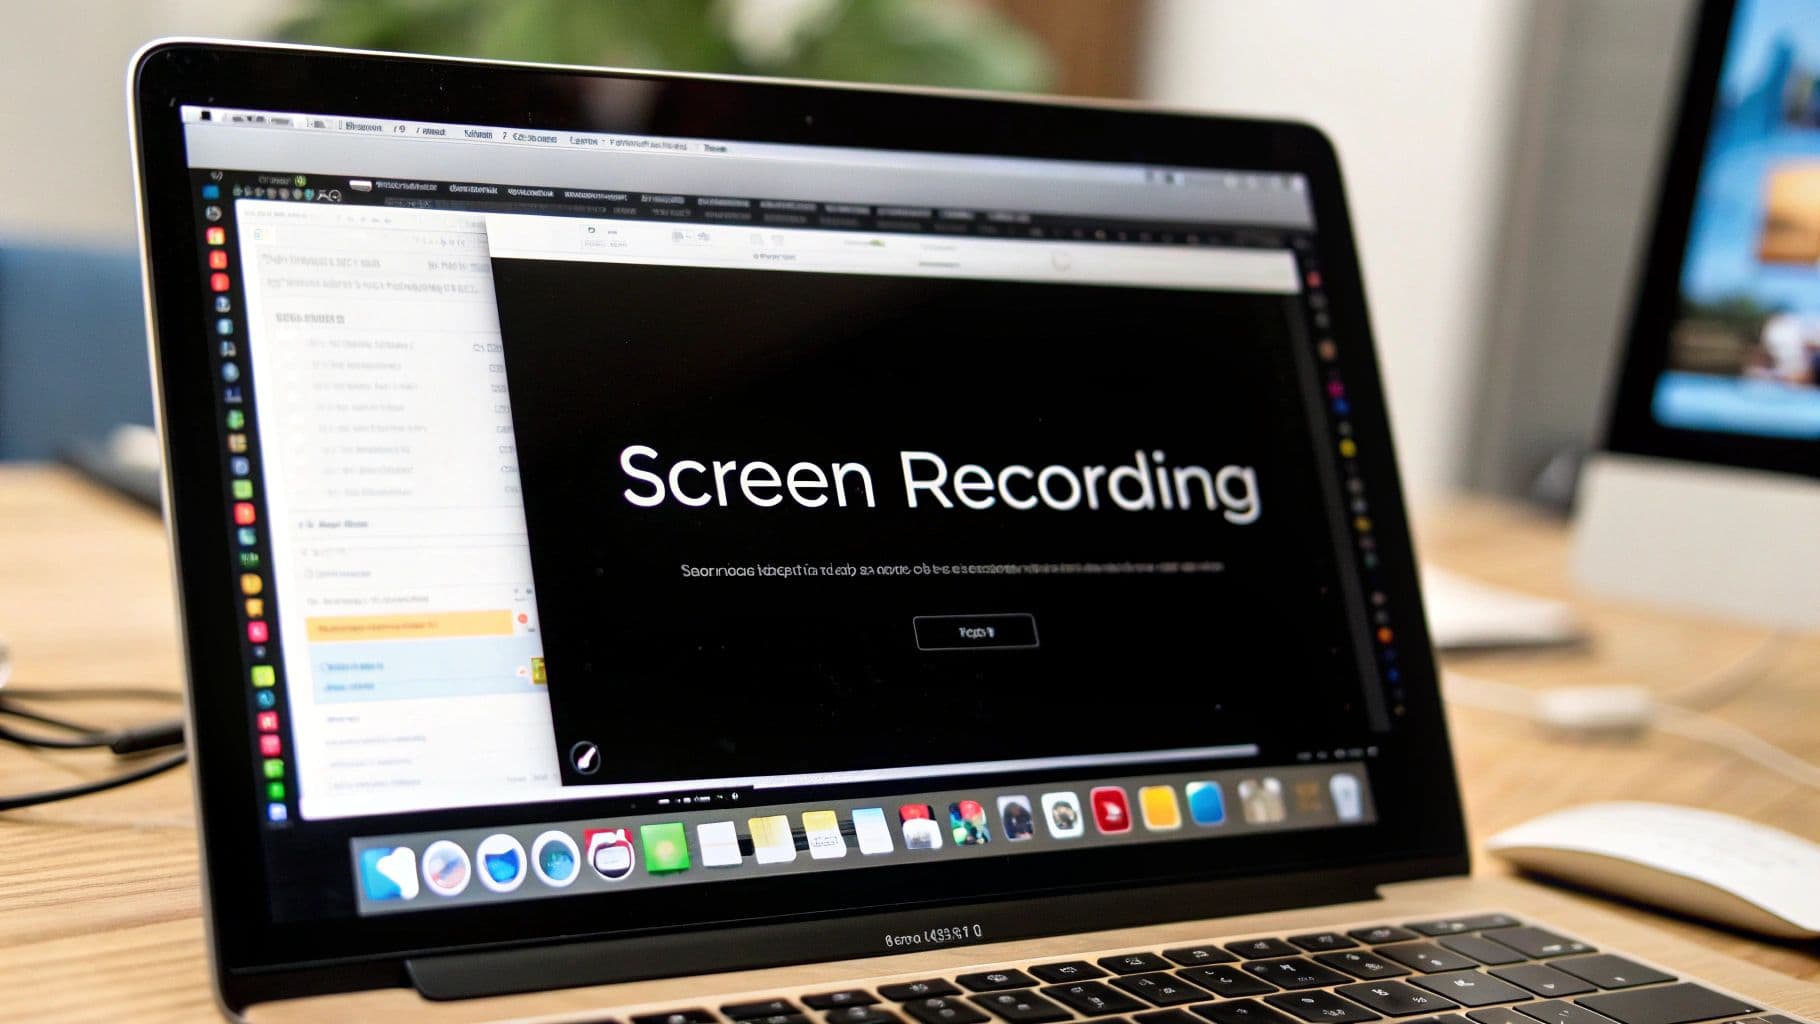
Knowing when to use each tool is half the battle. If you just need a quick, "good enough" screenshot, the built-in macOS tools are fantastic. In fact, they're what most Mac users reach for first — just press Command + Shift + 5 to open the toolbar.

The screenshot toolbar, which you can see above, gives you solid flexibility. The catch? It captures everything on your screen—including the video player's controls, your cursor, or even subtitles. This is often less than ideal.
For a truly professional-looking still, you'll want to extract the frame directly from the video file itself. This is where media players and dedicated apps shine, giving you a clean image at the video's native resolution. We'll explore exactly how to do that next.
Choosing Your Mac Video Screenshot Method
To help you decide at a glance, here's a quick comparison of the most common methods for taking video screenshots on macOS. This should make it easier to pick the right tool for your specific task.
| Method | Best For | Quality | Ease of Use |
|---|---|---|---|
| macOS Built-in (Shift-Command-5) | Quick, casual grabs; no extra software needed | Good (Screen Resolution) | Very Easy |
| QuickTime Player | Frame-by-frame accuracy; extracting clean frames | High (Video Resolution) | Easy |
| VLC Media Player | Advanced controls; compatibility with many formats | High (Video Resolution) | Moderate |
| Screen Charm App | Highest quality; batch processing & automation | Excellent (Highest Possible) | Very Easy |
Ultimately, the best method really depends on what you're trying to achieve. For everyday needs, the built-in macOS tool is a winner. But when quality is non-negotiable, it's worth taking a moment to use a more specialized tool.
Using Your Mac’s Built-in Tools for Quick Captures
Believe it or not, some of the best tools are the ones that come standard with your Mac. The operating system has surprisingly capable screenshot features built right in, which are perfect when you just need a quick, no-fuss grab from a video.
The magic shortcut to remember is Shift-Command-5. Hitting these keys brings up a sleek control panel that gives you immediate power over what you capture. It's hands-down the fastest way to get a screenshot without needing to install anything extra on your Mac.
Getting the Hang of the Screenshot Control Panel
When you trigger the Shift-Command-5 command, a small toolbar pops up at the bottom of your screen. This is your command center. From here, you can grab the entire screen, a single window, or—most importantly for our purposes—a specific selected area. For snapping a clean shot from a video, the "Capture Selected Portion" tool is almost always the right choice.
Let's walk through a real-world example. Imagine you're watching a tutorial and need to save a single frame that shows a critical software setting.
- First, pause the video at the exact moment you want to capture.
- Next, press Shift-Command-5 to summon the screenshot toolbar.
- Click the "Capture Selected Portion" icon (the one with the dotted rectangle).
- Your cursor will turn into crosshairs. Just click and drag to draw a box around the video player itself. Try to exclude the play/pause buttons and the timeline for a cleaner image.
- Once you’re happy with the selection, just click "Capture."
This little trick ensures you get a clean still image without any distracting UI elements cluttering up the final shot. It's a simple, effective method for anyone learning how to do a video screenshot on a Mac.
Pro Tip: The macOS screenshot tool will capture your mouse cursor if it's inside the selection area. To avoid this, simply move your cursor to a different monitor or drag it to a corner of the screen before you click the capture button.
Know the Limitations
While this built-in method is fantastic for speed and convenience, it does have one significant drawback: quality. The resolution of your screenshot is directly tied to your Mac's display resolution, not the native resolution of the video file. So, if you're watching a brilliant 4K video on a standard 1080p MacBook screen, your screenshot will only be 1080p.
It's interesting to think that capturing frames from video has come so far. Decades ago, video pros had to use freeze-frame functions on massive videotape machines to achieve something similar. What we can do instantly today on a Mac was a clunky, time-consuming process. You can learn more about the fascinating evolution of video camera technology on Reolink.com.
Sponsored by the makers
Tired of boring screen recordings?
Try Screen Charm.
Auto-zoom, motion blur, camera overlay, and background music. All built in. Record once, export a polished video.
See what it doesGetting Frame-Perfect Stills with VLC and QuickTime
Sometimes, the standard Mac screenshot shortcuts just don't cut it. When you need absolute precision—like snagging a specific slide from a lecture recording or capturing that one perfect, fleeting expression in a film—you need to go beyond the basics. This is where dedicated media players like VLC and QuickTime Player really shine on macOS.
Instead of just capturing what's on your screen, these apps pull the image directly from the video's data. The result? A much cleaner, higher-quality still.
What I love about this approach is that it completely bypasses any on-screen clutter. You won't have to worry about the player's timeline, volume sliders, or your mouse cursor photobombing the shot. You get a pure, crisp image of the video frame at its native resolution.
Using VLC for Ultimate Control
VLC Media Player is a workhorse on macOS, and for good reason. It’s packed with features, including a fantastic built-in snapshot tool that many people overlook. Unlike a regular screenshot, VLC’s feature grabs the frame without any extra compression, giving you a pixel-perfect copy.
The real game-changer here is its frame-by-frame navigation. If you’re trying to isolate a single moment in a fast-moving action sequence, this is the tool you need.
Here’s my process for nailing the shot on a Mac:
- First, pause the video as close as you can to the frame you want.
- Next, tap the E key on your keyboard. Each press advances the video by exactly one frame. It’s incredibly precise.
- Once you've landed on the perfect image, head up to the menu bar and choose Video > Take Snapshot. Or, for a quicker workflow, use the keyboard shortcut: Shift-Command-S.
By default, VLC saves the snapshot as a high-quality PNG right into your Mac's Pictures folder. It’s instantly ready to go.
This level of precision is invaluable for things like analyzing motion in sports footage or grabbing a specific chart from a recorded webinar. The ability to inch forward frame by frame ensures you never miss the exact moment you're after.
The QuickTime Copy-Paste Trick
If you don't have VLC or just prefer using the tools already on your Mac, don't sleep on QuickTime Player. It comes pre-installed on every Mac and has a surprisingly simple—and effective—way to get a high-quality video screenshot.
While it doesn’t have VLC's granular frame-by-frame controls, its method is ridiculously fast for grabbing a single, clear still.
It's almost too easy. Just pause the video on the frame you want to capture and hit Command-C to copy it. That’s it. The full-resolution frame is now on your clipboard, ready to be pasted (Command-V) into any macOS app that handles images, like Preview, Pages, or even a design tool like Figma.
For Mac users who need a clean, high-quality grab without any fuss, this copy-paste workflow is a true hidden gem.
When Only the Best Will Do: Using Specialized Apps for Flawless Quality
Sometimes, "good enough" just doesn't cut it. For those moments when you absolutely cannot compromise on quality and need a smooth workflow, the built-in macOS tools or even standard media players can feel limiting. This is where dedicated, purpose-built Mac apps truly shine.
These applications are engineered from the ground up to solve the very problems that drive content creators, designers, and other professionals crazy. Instead of awkwardly capturing your entire screen or wrestling with clunky keyboard shortcuts, you get a tool designed for one job: pulling the perfect still from a video on your Mac.
A fantastic example of this is Screen Charm, an app made specifically to simplify this entire process on macOS. It’s designed to tackle the most common pain points, giving you a clean, high-resolution video screenshot without all the usual fuss.
Solving the Most Common Headaches
Think about creating a tutorial for a piece of software. Manually cropping out the video player controls, your mouse cursor, and the progress bar from every single screenshot is a massive time-waster. A specialized Mac app like Screen Charm is built to make that problem disappear.
Its smart features can actually detect the video content on your screen. That means it automatically ignores the player’s user interface, capturing only the clean video frame. That one feature alone can save you an incredible amount of time in post-capture editing.
The real magic of a dedicated tool is efficiency. It turns a clunky, multi-step chore into a single, reliable click, delivering professional results without all the tedious manual labor.
This approach is a game-changer for so many situations:
- Professional Presentations: Need to grab crystal-clear stills from a product demo video for your slide deck? Done.
- Creative Projects: Pulling high-res frames from source footage to build out a storyboard or mood board is suddenly simple.
- Technical Documentation: Capturing precise, clean images from instructional videos becomes effortless.
By automating the most frustrating parts of the process, these apps let you focus on what really matters—capturing the perfect moment, not fighting with your tools. The result is a consistently perfect image, ready to use the second you take it.
Fine-Tuning Your Technique for Crystal-Clear Screenshots
Taking a screenshot on a Mac is easy. Taking a great one? That takes a bit more finesse. Whether you're using your Mac’s built-in tools, a media player, or a dedicated app, a few simple tricks can make a world of difference in your final image.
The most common reason for a blurry screenshot is motion blur. It’s a simple fix: always pause the video completely before you hit that capture button. Even a tiny bit of movement can soften the image, so locking in a perfectly still frame is your first step toward getting a sharp, professional-looking result.
Beyond that, the quality of your source video is everything. Before you even think about capturing a frame, make sure the video is playing at its highest possible resolution. If you screen-grab a 480p video, you're going to get a 480p image. Bumping it up to 1080p or 4K first means your screenshot will be worlds better.
Why File Formats Matter on macOS
Once you have your perfect shot, how you save it can either preserve or degrade its quality. It really comes down to two main choices native to macOS:
- PNG (Portable Network Graphics): This is my go-to for quality. It’s a lossless format, which means it keeps every single pixel of image data intact. If your screenshot has any text, sharp lines, or intricate details you need to preserve, PNG is the only way to go. By default, macOS saves screenshots in this format.
- JPG (Joint Photographic Experts Group): This format is all about compromise. It uses compression to make file sizes smaller, but it does so by sacrificing some image quality. I only use JPG when the file size is the absolute most important factor and I can live with a slightly less crisp image.
The need for high-quality captures isn't new, but it has certainly exploded alongside streaming technology. As our internet got faster and video quality improved, grabbing stills from videos went from a niche task to something many Mac users do every day.
This whole process has become so much more relevant as online video has taken over. The shift to HTML5 video streamlined how we watch content online, and by 2020, the number of online video viewers was estimated to be around 3 billion. You can take a deeper dive into the timeline of online video on Wikipedia to see just how far we've come.
Common Questions About Video Screenshots on Mac
Even when you know the basic steps, taking a great video screenshot on your Mac can still present a few challenges. From blurry images to protected content, let's tackle some of the most common questions that pop up.
Why Is My Screenshot Blurry?
Getting a fuzzy screenshot is a frequent complaint, and it usually comes down to two culprits: the source video’s quality or motion blur. First things first, always make sure the video is playing at its highest resolution—think 1080p or 4K. You can't pull a sharp image from a blurry video.
The other key is to always pause the video completely before you capture the frame. Taking a screenshot while the action is still moving, even slightly, is a surefire way to get motion blur. For the cleanest shot, I recommend using a player like VLC that lets you advance frame-by-frame on your Mac. This gives you precise control to find a perfectly crisp moment.
What Is the Best File Format on Mac?
For almost every scenario, PNG is the best format for your video screenshot on a Mac. It's a "lossless" format, meaning it preserves every single pixel of detail from the original frame without any quality degradation. This is exactly what you want for crisp, clear images you might need to edit or zoom in on later. In fact, macOS defaults to PNG for all screenshots for this very reason.
JPG, on the other hand, is "lossy." It compresses the image to create a smaller file size but sacrifices some data in the process, which can soften the details and introduce artifacts. You should only really opt for JPG if file size is your absolute main concern and you can live with a minor dip in quality.
Key Takeaway: Stick with PNG for maximum quality and detail. Only switch to JPG when you absolutely need the smallest file size possible.
Can I Screenshot Protected Videos on My Mac?
This is a big one. What about screenshotting shows on Netflix or Apple TV+? The short answer is, unfortunately, no. Streaming services use Digital Rights Management (DRM) to prevent piracy.
If you try to use your Mac’s native screenshot tools (like Shift-Command-5) on a DRM-protected video, you’ll just get a black box instead of the image. This isn't a glitch; it's the protection working as intended on macOS. While some tools out there claim they can bypass this, doing so is almost always a violation of the streaming service’s terms of use.
Ready to create stunning, high-quality product demos and tutorials without the steep learning curve? With Screen Charm, you can produce polished, professional videos effortlessly on your Mac. Its automatic zoom and customizable features make it the perfect tool for creators who demand quality and efficiency.
Get Screen Charm today and transform your video creation process!