Knowing how to zoom in on a video is a core skill for anyone creating content, and if you're on a Mac, you've got some great options at your fingertips. The right approach really depends on what you’re trying to achieve—whether it’s a quick magnification for a personal review or a polished, cinematic zoom for a final product.
Why Mastering the Zoom on Your Mac Matters
A good zoom isn’t just about making things bigger. It's a storytelling device. It directs your viewer's eye exactly where you want it to go. Think about it: a well-timed zoom can highlight a critical button in a software demo, isolate a key player in a sports clip, or add a touch of drama to a presentation.
The method you choose will define the look and feel of your final video. You can do a simple digital crop, create a smooth, animated zoom, or get granular with keyframe controls for ultimate precision. Nailing techniques like this is a huge part of creating effective video marketing strategies that genuinely connect with an audience.
Finding the Right Mac Zoom Tool for the Job
So, which tool should you use? It all comes down to your goal. Are you just trying to quickly check a small detail in a screen recording, or are you crafting a polished video for YouTube? Each job requires a different tool from your macOS arsenal.
This flowchart can help you decide which Mac zoom method is best for your project.
As you can see, it maps out a clear path from a simple review to a professional edit, pointing you to the right macOS software for each task.
A Quick Comparison of Mac Zoom Methods
To make it even clearer, here’s a breakdown of the common methods for zooming video on a Mac. This table should help you quickly pinpoint the best tool based on what you need to do, how much effort you want to put in, and what software you have.
Choosing Your Mac Video Zoom Method
| Method | Best For | Difficulty | Software Required |
|---|---|---|---|
| QuickTime Player | Quick, simple checks and reviews of video clips. | Easy | Built into macOS |
| iMovie Crop | Polished, smooth zooms for tutorials and presentations. | Intermediate | Built into macOS |
| Keyframe Animation | Total creative control for dynamic, professional effects. | Advanced | Final Cut Pro, DaVinci Resolve |
Ultimately, picking the right tool from the start saves a ton of time and frustration. If you just need to see something up close for a moment, QuickTime is perfect. For anything you plan to share, iMovie or a professional editor is the way to go.
Key Takeaway: A well-executed zoom does more than just enlarge the frame. It guides attention, clarifies complex information, and gives your video a professional polish that sets it apart. Matching the tool to the task is the first step toward getting it right.
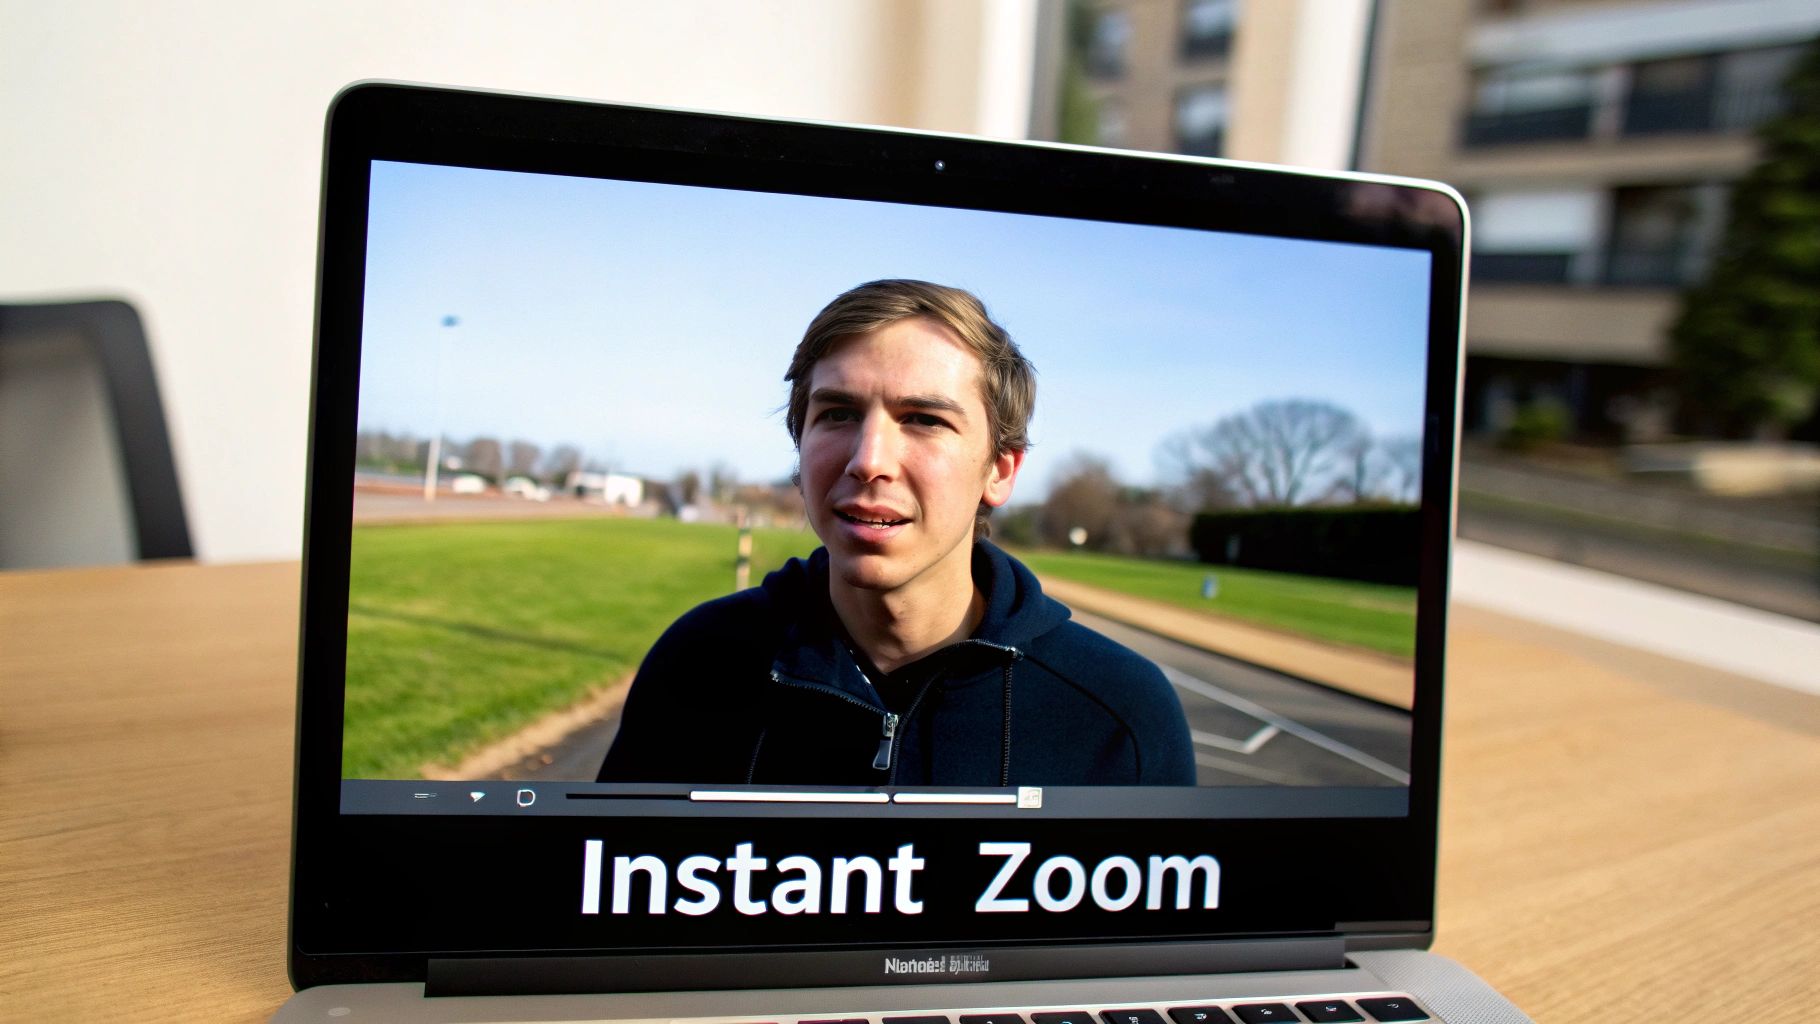
Instant Zooms Using Built-In Mac Tools
Sometimes you don't need to fire up a full-blown video editor just to get a closer look at something. You just want to quickly inspect a detail or check a specific frame without all the fuss. Your Mac has a couple of great, built-in tools perfect for this.
These methods are all about quick, on-the-fly magnification—they don't permanently change your video file, which is exactly what you want for a quick spot-check.
Zooming Directly in QuickTime Player
You've probably used QuickTime Player a million times for basic playback, but it has a handy zoom feature hiding in plain sight. This is my go-to when I'm reviewing a screen recording and need to read the tiny text on a button or confirm a detail in a product video.
It’s incredibly fast because there's no importing or timeline management. Just open the video and go.
- From the Menu: In the top menu bar, click View > Zoom In. The keyboard shortcut is even faster: Command + Plus Sign (+).
- With a Trackpad: If you’re on a MacBook, just use the classic pinch-to-zoom gesture you already know from your iPhone. It feels really natural and gives you smooth control over the zoom level.
The options are right there in the standard QuickTime interface, easy to miss but super useful once you know they exist.
It's a perfect example of a powerful feature tucked away in an app you use every day.
Using macOS Accessibility for System-Wide Zoom
What if the video is playing in a web browser or another app? For that, there's an even more powerful tool: the system-wide zoom built into macOS Accessibility. Think of it as a virtual magnifying glass for your entire screen that works on anything, including video players that don't have their own zoom function.
You'll need to enable it first. Head over to System Settings > Accessibility > Zoom. From there, you can switch the feature on and even fine-tune how it works, like zooming the full screen or using a picture-in-picture "lens" that follows your cursor.
Pro Tip: The default keyboard shortcut to turn this on and off is Option + Command + 8. I use this all the time to instantly pop a zoom over a video, then toggle it right back off.
These built-in tricks are fantastic for quick analysis, but remember, they're temporary. If you need to create a polished zoom effect that gets saved into the final video for a tutorial or presentation, you'll need to jump into an editor. For those next steps, our guide on simple video editing for Mac is a great place to start.
Sponsored by the makers
Tired of boring screen recordings?
Try Screen Charm.
Auto-zoom, motion blur, camera overlay, and background music. All built in. Record once, export a polished video.
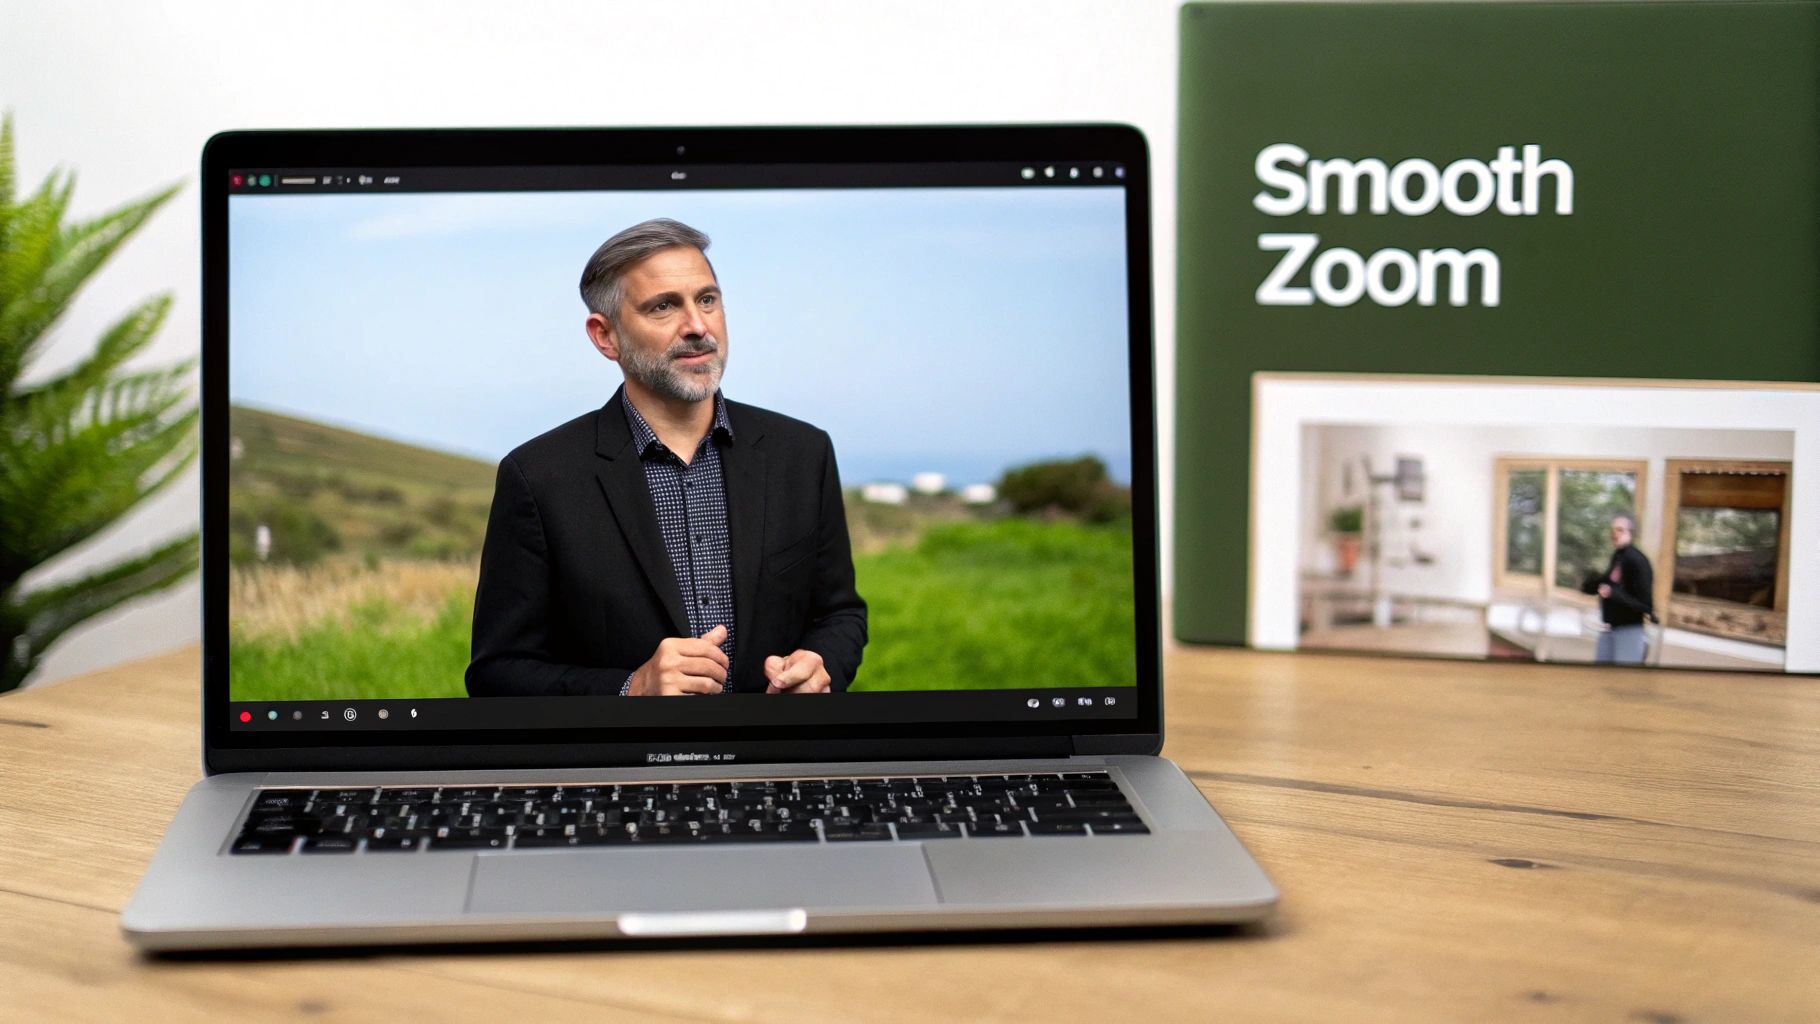
See what it doesCreating Smooth, Animated Zooms in iMovie
Sometimes a temporary zoom just doesn't cut it. You need a way to bake that effect right into your final video file. For Mac users, the best place to start is Apple's own iMovie. It's surprisingly powerful for free software and pretty intuitive to pick up.
Unlike the quick zoom-and-check you get with QuickTime Player, iMovie gives you the controls to create smooth, animated movements that guide your viewer's eye. This is perfect for highlighting a key detail in a product demo or slowly focusing on one person in a group shot. It's these little touches that add a professional feel to your videos.
The clean layout in iMovie puts the most important tools, like the cropping and Ken Burns effects, right above the video preview, making it easy to jump in and start creating.
Using the Crop to Fill Tool
The most straightforward way to zoom in iMovie is with the Crop to Fill tool. This creates a static zoom—think of it as setting one magnification level that stays the same for the entire clip. It’s ideal for when you need to reframe a shot or permanently hide distracting things at the edges of your frame.
To use it, just select your clip in the timeline, click the cropping icon above the video viewer, and choose Crop to Fill. You’ll see a white rectangle you can drag and resize to frame up exactly what you want your audience to see.
Mastering the Ken Burns Effect for Animated Zooms
For a more dynamic and engaging zoom, the Ken Burns effect is your go-to. Named after the famous documentarian, this tool creates a smooth pan-and-zoom animation over a video clip, adding a sense of motion and life to otherwise static shots.
When you select the Ken Burns effect, you’ll see two boxes overlaid on your video:
- Start: This box shows the frame at the beginning of the animation.
- End: This box shows where the frame will be when the animation finishes.
By setting these two points, you're giving iMovie a simple command: "Animate the frame from here to there." To create a slow zoom-in, you'd set the "Start" box to cover the full frame and make the "End" box smaller, focused tightly on your subject. The smaller you make that "End" box, the more intense the zoom will feel. Reversing the setup gives you a nice, smooth zoom-out.
A Practical Example: Let's say you've recorded a software tutorial and need to draw attention to a specific button. You can set the "Start" frame to show the full screen, then place the "End" frame tightly around that single button. Over the duration of the clip, the video will glide in smoothly, making your instruction impossible to miss.
This control is what allows you to create deliberate, professional-looking effects that feel intentional. The key to mastering this powerful iMovie feature is simply to play around with the size and position of the start and end frames until you get the exact movement you want.
Mastering Precise Zooms with Keyframes
If you want to move beyond basic crop tools and generic effects, you need to get comfortable with keyframes. This is where the real creative control lies on your Mac. Honestly, keyframing is the secret sauce behind almost every slick, professional video animation you've ever seen.
Instead of just applying a static zoom, keyframes let you animate properties—like scale, position, or even rotation—over time. Think of them as pins on a timeline. You place one pin to say, "The video should look like this at this exact moment," and another pin a few seconds later to say, "And now it should look like this." The software then does the heavy lifting, creating a smooth, fluid animation between those two points. It’s what separates an amateur edit from a polished, intentional one.
This level of detailed control is a standard feature in professional-grade Mac editors like Final Cut Pro and DaVinci Resolve. The core idea is always the same: set a starting keyframe and an ending keyframe, and let the software build the motion in between.
Building Your First Keyframe Zoom
Let's walk through a common scenario. Say you’re editing a product demo on your Mac and want to guide the viewer’s eye from a wide shot of your app to a specific icon in the menu. You want this to happen smoothly over three seconds.
First, you’ll set the start keyframe. Find the exact moment in your timeline where the zoom should begin. In your editor’s effects panel, look for the "Scale" and "Position" properties. You'll see a little diamond-shaped icon next to them—click it. This locks in your starting point, which is probably at 100% scale.
Now, create the end keyframe. Move your timeline playhead forward by three seconds. This is where you'll make your adjustments. Increase the "Scale" to zoom in and tweak the "Position" values until the menu icon is perfectly framed. As soon as you change these values, your editor automatically drops in the second set of keyframes for you.
And you're done. Play it back, and you'll see a perfectly smooth zoom that takes the viewer exactly where you want them to look. This is how you master the art of showing instead of just telling. Getting a handle on these effects is a critical skill for creating clear tutorials, and you can dive deeper in our guide on choosing the best video zoom editor.
Refining Movement with Interpolation
But what about the feel of the zoom? Does it snap into place, or does it glide gracefully? That’s all down to a concept called interpolation, which is just a fancy word for how the software travels between your keyframes.
- Linear: This gives you a constant, even speed from start to finish. It’s a bit robotic, but perfect for technical walkthroughs where you want predictable, straightforward movement.
- Ease In/Ease Out (or Bezier): This is where the magic happens. The motion starts slowly, speeds up in the middle, and then gently slows down as it reaches the end. It feels far more natural and organic to the human eye and is the go-to for most creative projects.
My Two Cents: Learning to use "Ease" settings is one of the fastest ways to make your animations look more professional. The difference between a Linear and an Eased zoom is night and day.
While this manual control is incredibly powerful, it’s not the only way to get dynamic results. The explosion in video-first communication, largely driven by platforms like Zoom, has pushed software developers to create smarter, more intuitive tools. It's a massive market—by 2025, Zoom was on track to accumulate 3.3 trillion meeting minutes annually. That shift has directly inspired the kind of focused, clear video editing we're talking about today. You can read more about this journey in this timeline of Zoom's evolution.
How to Zoom Without Losing Video Quality
https://www.youtube.com/embed/4wDgJO-47wA
We’ve all seen it: that moment in a video where the creator zooms in, and suddenly everything turns into a blurry, pixelated mess. It immediately breaks the spell and makes the content look amateurish. The reason this happens is simple—when you zoom into video footage, you’re not using a camera lens. You're just stretching the existing pixels in a process called digital zoom, which always degrades quality.
The secret to a crisp, clean zoom doesn’t happen in the editing software; it starts before you even press record. Your best weapon against quality loss is to capture your raw footage in a much higher resolution than your final video.
Think of it this way: if you plan to export your final video in 1080p (1920 x 1080 pixels), but you record everything in 4K (3840 x 2160 pixels), you have a huge canvas of extra detail to play with. This gives you the freedom to zoom in up to 200% before you even start to stretch the pixels beyond what a native 1080p frame can handle.
Key Takeaway: The most effective way to maintain quality when zooming is to shoot in a higher resolution than your final output. Recording in 4K for a 1080p project is a game-changer.
Start with High-Resolution Footage
Before you even think about editing, the battle for quality is won or lost at the recording stage. If you anticipate needing to punch in on details or reframe a shot later, recording in 4K should be your go-to move. It’s like buying insurance for your video’s sharpness.
This one simple step unlocks so much creative freedom. It lets you create dynamic zooms to highlight important information, fix awkward framing, or even create a second "camera angle" from a single wide shot, all without a noticeable drop in clarity.
Choose the Right Export Settings on Your Mac
After you’ve nailed your zooms in the edit, the final step is to make sure you don't undo all your hard work during the export process. On a Mac, tools like Final Cut Pro or even iMovie offer plenty of control to keep things looking sharp.
When you’re ready to export, pay close attention to these settings:
- Codec: H.264 is the universal standard and works everywhere. If you want better quality with a smaller file size, HEVC (H.265) is a great modern choice. For absolute top-tier quality (with massive file sizes), Apple ProRes is the professional option.
- Bitrate: This setting directly impacts your video’s detail. A higher bitrate means better quality. Avoid generic "low quality" presets and choose a "High Quality" option, or manually set a higher bitrate if you can.
- Resolution: Always export at your intended final resolution, like 1080p or 4K. Never downscale here if you want to preserve the detail from your zooms.
Getting the export settings right ensures that the crispness you maintained in your edit actually makes it into the final video file. For a deeper dive, check out our full guide on how to improve video quality on a Mac. Combine high-resolution source footage with smart export settings, and your zooms will look intentional and professional every single time.
Common Questions About Video Zooming on Mac
Even with the best tools, you're bound to run into a few questions as you get the hang of zooming in on video. Let's walk through some of the most common hurdles I see Mac users face and get you some clear, practical answers.

These are the kinds of things that trip up a lot of creators at first, but once you grasp the concepts behind them, the solutions are surprisingly simple.
Can I Zoom In Without Losing Quality?
Yes, you absolutely can, but there's a catch: it all comes down to your original footage.
The secret is to record your video at a higher resolution than you plan to export. For instance, if you shoot in 4K (3840 x 2160 pixels) but your final project is in 1080p (1920 x 1080 pixels), you have a ton of extra pixel data to play with. This lets you zoom in up to 200% on your 1080p timeline before the image even begins to soften.
If you don't have that extra resolution, you're just stretching the pixels you already have, which is why things get blurry and pixelated fast.
What Is the Best Free Software on Mac for Zooms?
For most Mac users, Apple's own iMovie is the best free tool for adding polished zooms. Its Ken Burns effect is surprisingly capable for a free, built-in app. It lets you set specific start and end points to create smooth, animated zooms without much fuss.
While it doesn't offer the granular keyframe control you'd find in professional software, it’s perfect for tutorials, presentations, and social media videos. And if all you need is a quick, temporary magnification while watching a video, the built-in QuickTime Player is your fastest bet.
How Do I Create a Very Slow, Gradual Zoom on a Mac?
That slow, cinematic zoom effect really boils down to two key factors: the length of your clip and how much you're actually scaling the image.
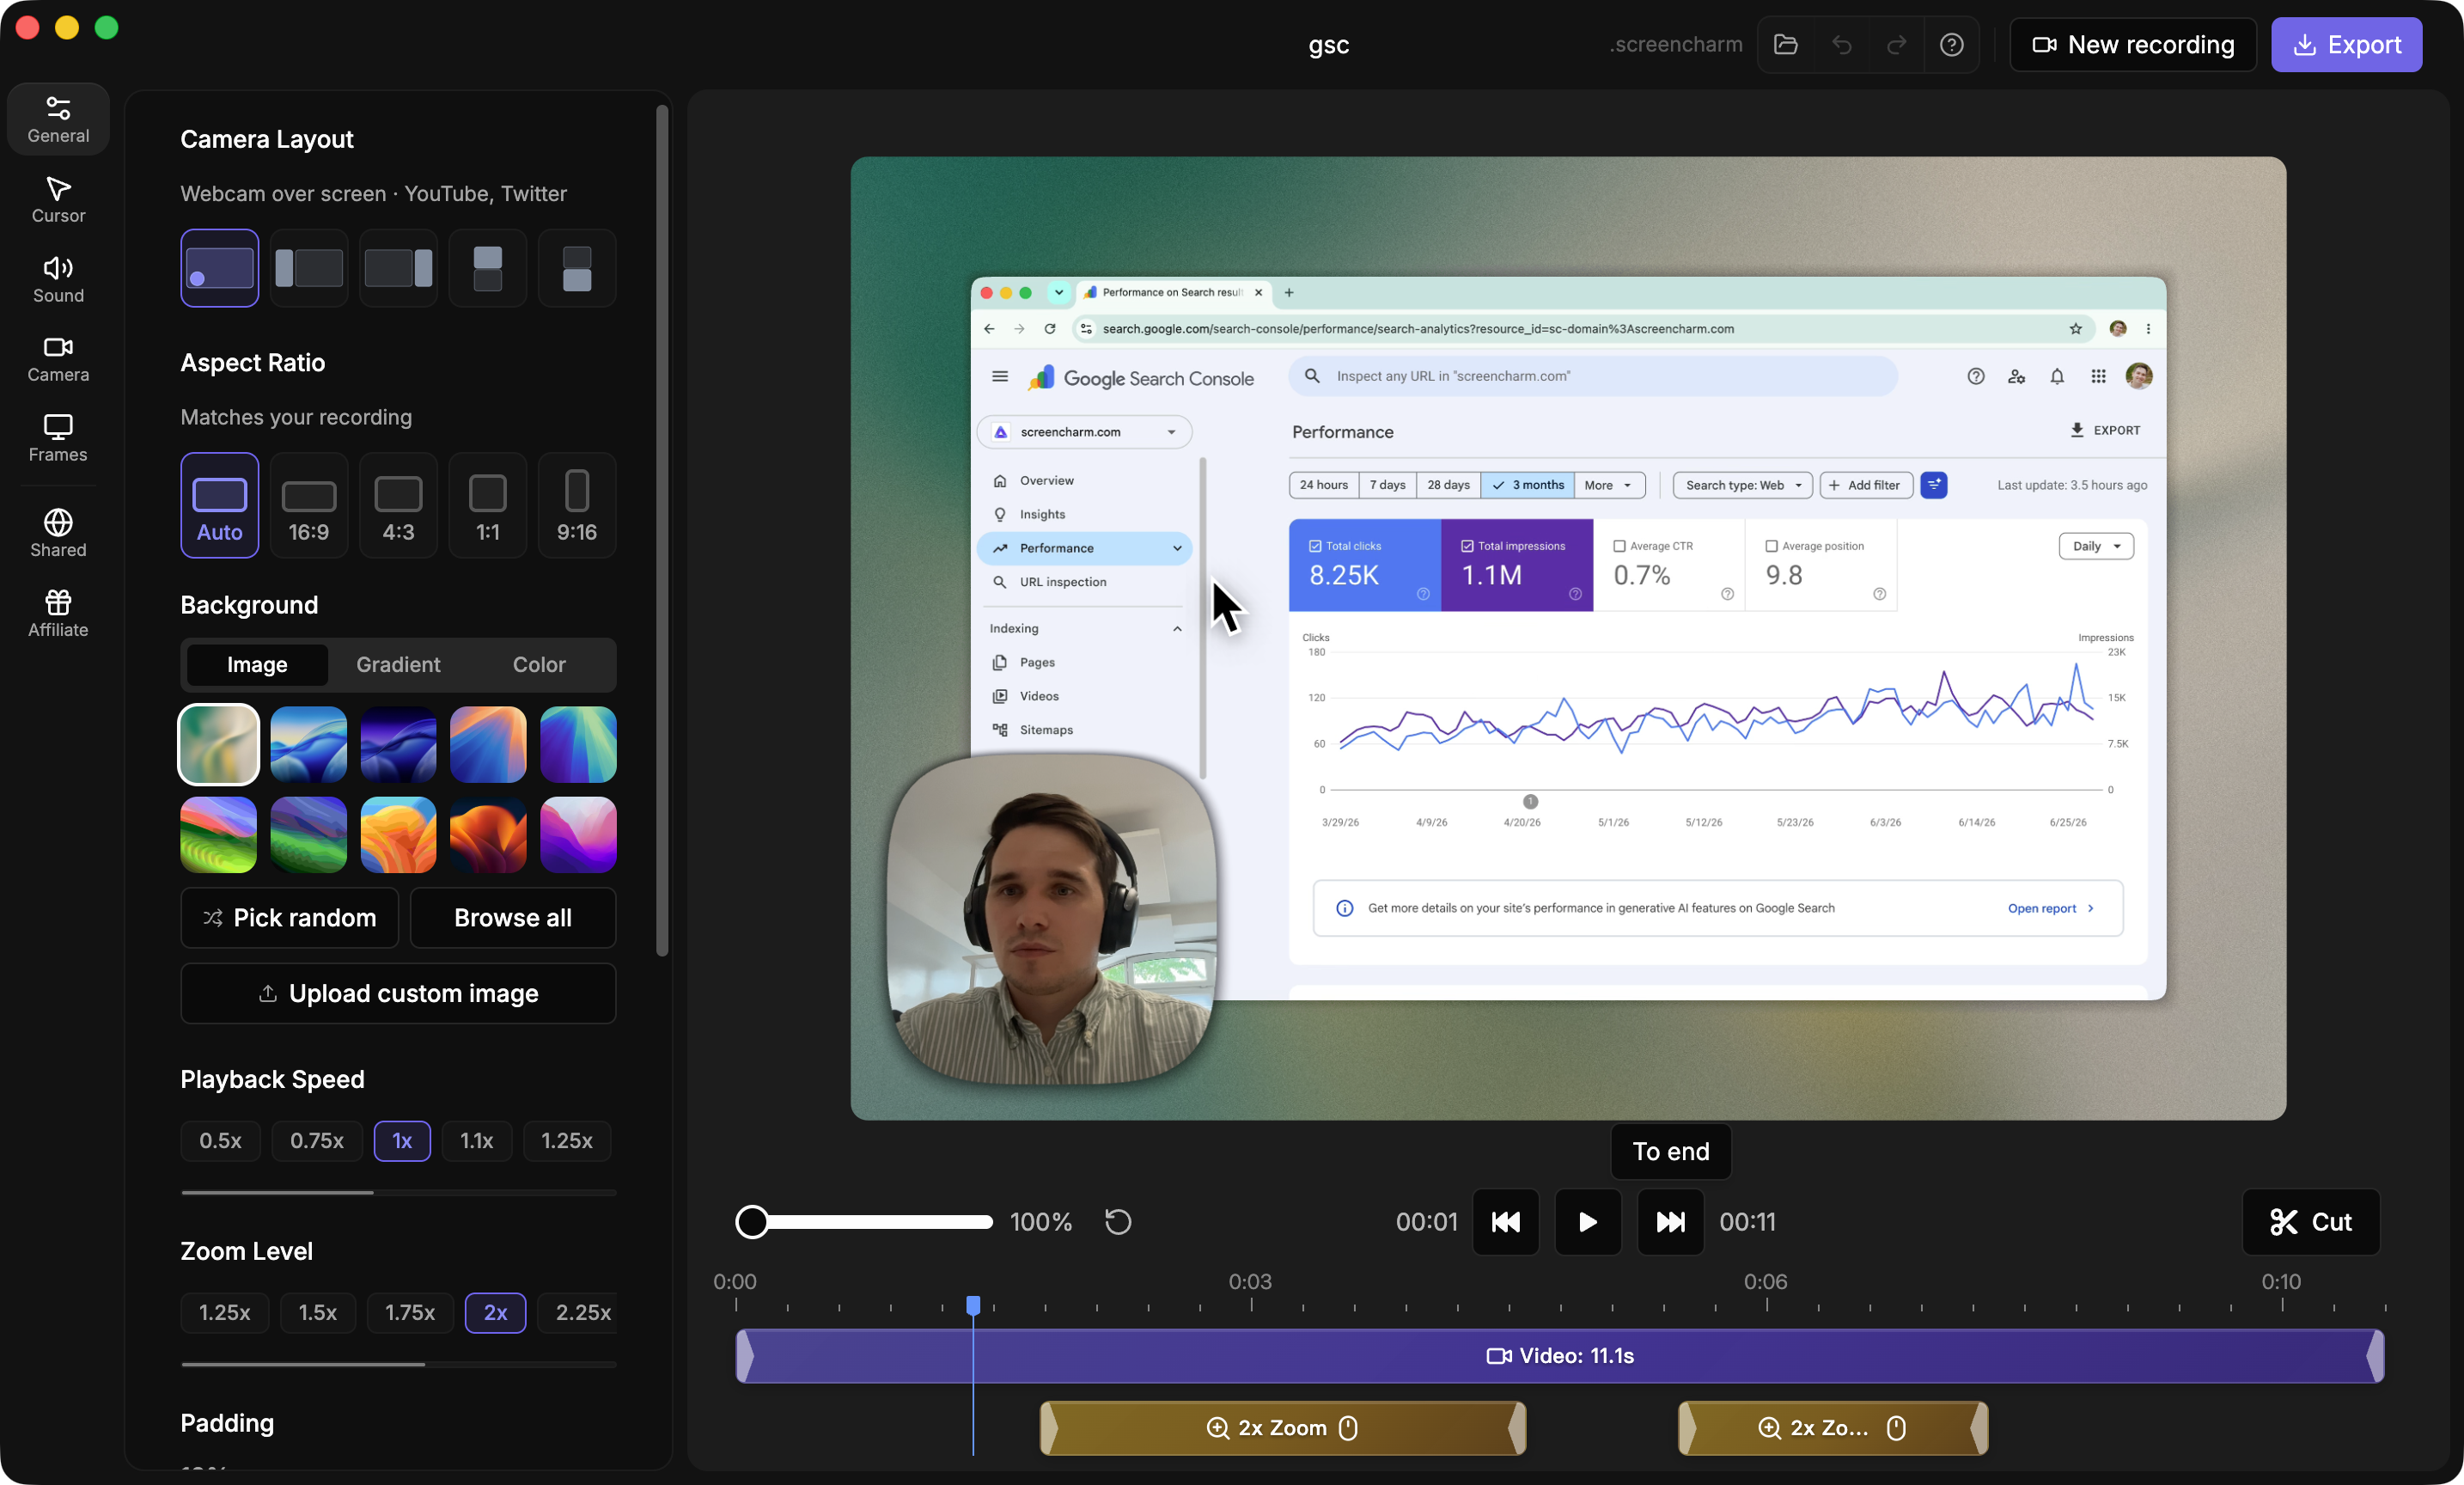
Here's how to pull it off in a Mac editor like Final Cut Pro or Screen Charm:
- Make the clip longer. The more time the zoom has to travel from point A to point B, the slower and smoother it will appear.
- Keep the scale change small. Set a starting keyframe at 100% scale. Then, move down your timeline—maybe 10-15 seconds—and set the ending keyframe to something subtle, like 110%.
This tiny change, stretched over a long duration, creates a gentle, almost unnoticeable drift that adds a professional touch to your video.
Beyond just zooming, there are other fantastic ways to polish your videos. For instance, you can learn how to caption videos for better engagement and accessibility, which is a huge win for any audience.
Key Insight: The best zoom is often one the viewer doesn't consciously notice. It should feel like a natural extension of the story, guiding their focus without being a distraction. My advice? Always experiment with longer durations and smaller scale changes to find that sweet spot.
Creating polished product demos on your Mac shouldn't feel like a chore. With Screen Charm, you get a purpose-built tool that combines intelligent auto-zoom with a full-featured editor. The app automatically follows your cursor to create dynamic zooms for you, and the built-in editor gives you the final say on every detail. Start making professional-quality tutorials and demos today at https://screencharm.com.