If you're creating tutorials or product demos on your Mac, you know how crucial it is to guide your audience's attention. A good video editor with zoom is your secret weapon, turning a basic screen recording into a polished, easy-to-follow experience. For anyone on macOS, an app like Screen Charm automates the whole process, saving you from hours of painful manual editing.
Why Dynamic Zoom Is a Game-Changer for Mac Users
We've all been there—watching a product demo and squinting at the screen, trying to figure out where the presenter just clicked. A static, full-screen recording is often more confusing than helpful. It forces your viewer to hunt for the action, making it easy to get lost in a sea of tiny icons and menus.
This is exactly why a dedicated video editor with zoom is so essential, especially within the macOS ecosystem.
Instead of leaving your audience to guess, a dynamic zoom feature acts like a personal camera operator. It intelligently follows your cursor, smoothly zooming in on every click, menu selection, and typed word. This single technique can dramatically improve the clarity of your tutorials, making even the most complex Mac software feel simple and approachable. It’s what separates a confusing screen share from a professional-grade guide.
The Old Way vs. The Smart Way
Not long ago, adding this kind of effect on a Mac meant diving into the deep end with complex editors like Final Cut Pro or Adobe Premiere Pro. The workflow was a nightmare: you had to manually set keyframes for every single pan and zoom. A few minutes of video could easily eat up an entire afternoon of tedious, repetitive work.
Thankfully, modern tools built for macOS, like Screen Charm, have completely changed the game. The intelligent auto-zoom does all that heavy lifting for you while you record.
- Effortless Focus: The software automatically tracks your cursor, so the most important part of the screen is always front and center.
- Massive Time Savings: Post-production time gets slashed from hours to mere minutes. This means you can spend your time creating more content, not tweaking keyframes.
- Professional Polish: You get smooth, natural camera movements that give your video a high-end feel, all without needing any advanced editing skills.
The market reflects this shift. The global video editing software market hit $3.09 billion in 2023, driven by creators and businesses looking for smarter, more efficient tools to make their content shine. You can dig into more statistics on the video editing market's growth to see the trend.
By automatically focusing on what matters, you create a far more effective and enjoyable learning experience. It's about working smarter, not harder, to get that professional result on your Mac.
Getting Your macOS Setup Ready for a Perfect Recording
Before you even think about hitting that record button, taking a few minutes to prep your macOS environment is the secret to a polished, professional video. Seriously, this is one of those things that separates the pros from the amateurs. A little stage-setting now saves you from a world of editing pain later.
The whole idea is to create a clean, distraction-free canvas for your recording. This way, your audience sees only what you want them to see, instead of getting sidetracked by a messy desktop or a random notification popping up.
Clear Out the Digital Clutter
First things first: let's deal with what’s visible on your screen. A desktop wallpapered with files and folders is a huge distraction for your viewers. Thankfully, macOS gives us a few easy ways to hide the mess.
My favorite trick is a quick Terminal command: defaults write com.apple.finder CreateDesktop false; killall Finder. This instantly makes all your desktop icons vanish. Just pop it in, and poof—a clean slate. When you’re done, you can bring everything back with defaults write com.apple.finder CreateDesktop true; killall Finder.
Next up, notifications. Nothing kills the flow of a great take like a personal message flashing on screen.
Get familiar with the built-in macOS Focus modes. I always set up a custom "Recording" profile that silences everything—Mail, Messages, you name it. This keeps your screen clean and prevents those little notification dings from ruining your audio.
Dial in Your Display and App Settings
Before you launch Screen Charm, give a moment's thought to your display resolution. If you record in a standard 16:9 aspect ratio, your video will fit perfectly on platforms like YouTube without any weird black bars. I usually head to System Settings > Displays and pick a scaled resolution that makes text and buttons big enough for anyone to read clearly on their own screen.
Once you’re in Screen Charm, a few quick tweaks to the setup will make a world of difference for your auto-zoom:
- Pick Your Recording Area: I almost always choose to record a specific app window instead of my entire desktop. It keeps the action focused and hides my messy browser tabs or menu bar icons.
- Place Your Webcam Smartly: Figure out where your webcam bubble will live. Tuck it into a corner where it won’t cover up any important buttons or information you’ll be pointing to later.
- Choose a Solid Background: A neutral or branded background looks way more professional and helps keep the spotlight on your screen content.
Running through this quick pre-flight checklist is a game-changer. For an even deeper dive, check out our guide on how to screencast on Mac for more tips. Trust me, spending a couple of minutes on this now will make the auto-zoom feature work that much better and save you a ton of time down the road.
Sponsored by the makers
Tired of boring screen recordings?
Try Screen Charm.
Auto-zoom, motion blur, camera overlay, and background music. All built in. Record once, export a polished video.
See what it doesMaking Your Cursor the Star of the Show
In any good Mac product demo, your cursor is more than just a pointer—it's your audience's guide. It directs their attention and shows them exactly where to look. When a cursor is too small, too fast, or just plain hard to see, viewers get lost. They're left squinting, rewinding, and trying to figure out where you clicked. This is exactly where a dedicated video editor with zoom, like Screen Charm for macOS, really shines. It gives you the power to turn that little arrow into a clear, confident guide.
The whole point is to make your cursor impossible to miss without being distracting. It has to pop against any background, whether you're showing off a sleek dark-mode app or a bright, light-mode interface. This is about moving past the standard macOS pointer and creating something that adds a layer of professionalism and clarity to your videos.
Nailing the Look and Feel of Your Cursor
First things first, let's get your cursor's appearance right. You want it to match your brand and the style of your demo. Inside Screen Charm, you have total control over how it looks, making sure it’s always the focal point.
Start by bumping up the size. A slightly larger cursor is much easier to follow, especially for people watching on smaller screens or their phones. Then, pick a color that stands out. A bright yellow or a vibrant blue usually does the trick, but using your own brand color is a great way to keep things looking professional and consistent. For a deep dive into all the options, check out our guide on how to create a custom cursor for your recordings.
A quick tip from experience: Customizing your cursor isn't just about making it look cool. It's about reducing the mental effort for your viewer. When they aren't hunting for your cursor, they can focus 100% on what you're teaching. It’s a small tweak that makes a huge difference in how well they follow along.
Smoothing Out Jagged Cursor Movements
It's not just about how the cursor looks; it's also about how it moves. We all do it—those quick, jerky mouse movements that look fine to us but can be really jarring for an audience. Screen Charm has a movement smoothing feature that was built to solve this exact problem on macOS.
This setting takes all those tiny, jittery hand movements and transforms them into smooth, deliberate paths across the screen. Your cursor will look like it's gliding with purpose, making your actions seem more polished and way easier to follow. You can even dial the smoothing intensity up or down to find what feels right for you.
This kind of intelligent feature is why the market for these tools is expanding so quickly. The global audio and video editing software market is on track to hit $6.3 billion by 2030, largely because creators are demanding smarter, time-saving features like this. You can read more about the growth of the video editing market and see just how big this trend is.
Ultimately, the best cursor style really depends on what you're trying to show. The table below breaks down a few options in Screen Charm to help you pick the right one for the job.
Choosing the Right Cursor Style for Your Demo
| Cursor Style | Best For | Why It Works |
|---|---|---|
| Simple Highlight | Minimalist app interfaces or when showing subtle interactions. | It adds a soft, gentle focus that highlights the action without overpowering what's on screen. |
| Bold Circle | Busy software with lots of buttons and menus. | This creates a focal point you simply can't miss, so your viewers will never lose track of where you are. |
| Spotlight Effect | Drawing attention to one specific area while dimming the rest of the screen. | It's perfect for isolating a key feature or setting in a really complex interface, forcing the viewer to look right where you want them to. |
Choosing the right cursor is a small detail, but it’s one of those things that separates a decent tutorial from a great one. Experiment with these styles to see which one makes your content clearest and most engaging.
Refining Zoom Transitions in the Editing Timeline
Screen Charm’s auto-zoom does a fantastic job of getting your project 90% of the way there, but the real magic happens when you dive into the editing timeline. This is your chance to take a good recording and make it a truly polished, professional tutorial. Fine-tuning those automatic zoom and pan movements is where you really elevate the final product.
Think of these manual adjustments as giving your video its rhythm. Instead of just letting the software call all the shots, you get to step in and perfect every single transition. That level of control makes your video feel deliberate and expertly crafted, guiding your viewer’s eye exactly where you want it to go.
Taking Full Control of Your Zoom Movements
Once you're inside the Screen Charm editor, you have complete authority over every zoom point the app created. You can drag them, resize them, and re-time them to sync up perfectly with your voiceover or the action on screen.
Let’s say you recorded a tutorial showing someone how to find a tiny settings icon tucked away in a busy menu. The auto-zoom probably got the general idea, but you can make it so much clearer.
- Nail the Timing: Simply drag the start and end points of a zoom event right on the timeline. This lets you sync the visual movement perfectly with the moment you say, "Now, click on the small gear icon."
- Smooth Out the Ride: Nobody likes a robotic, jerky movement. By applying an "ease-in/ease-out" effect to the transition, you get a much more natural, cinematic motion that's way easier on the eyes.
- Add Your Own Zooms: What if the auto-zoom missed something you wanted to highlight? No worries. You can manually add a new zoom point anywhere to draw attention to a static element the cursor didn't touch.
Big-name Mac editors certainly have their place. Adobe Premiere Pro holds a 35% market share, and Final Cut Pro is right behind at 25%. But a purpose-built video editor with zoom like Screen Charm gives you a focused, efficient workflow that these jack-of-all-trades tools just can't replicate for this specific task.
Here’s a look at just how simple it is to make your cursor pop so it never gets lost.
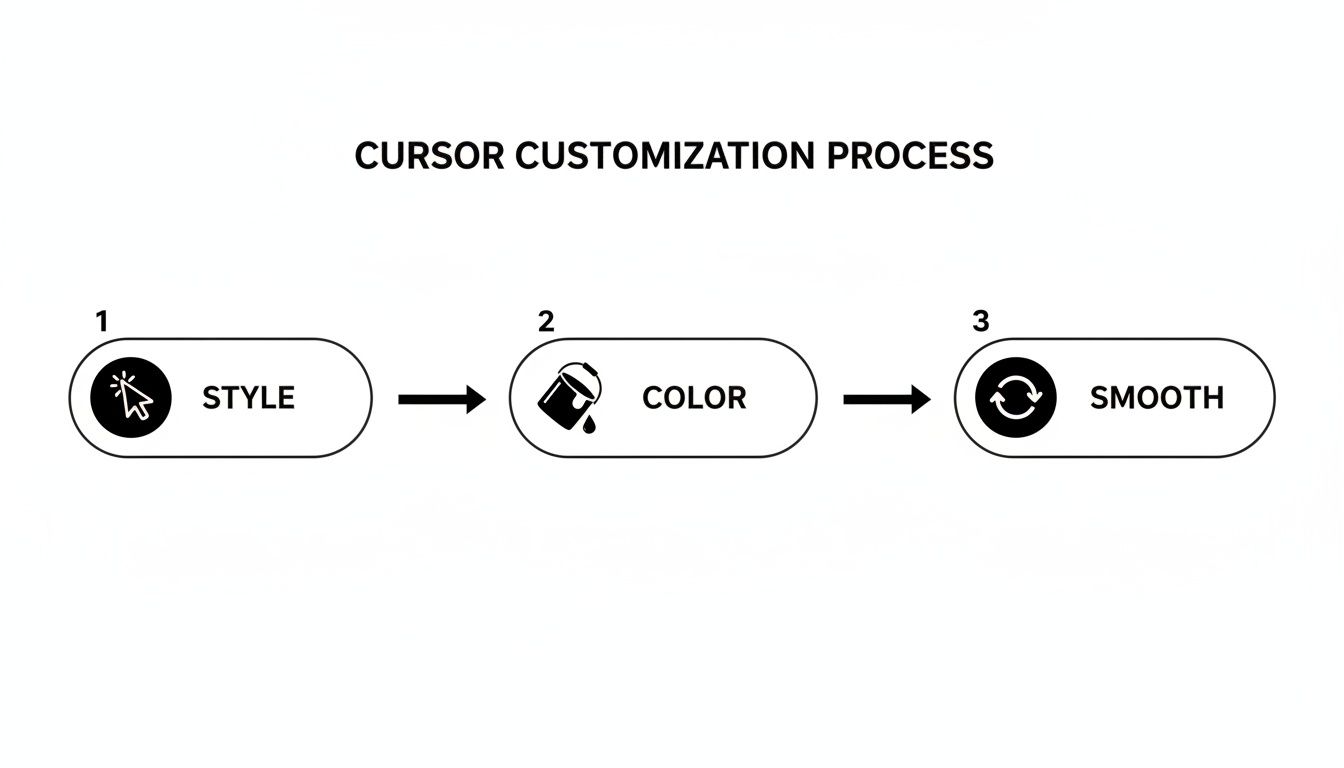
This simple, three-part process ensures your cursor remains a clear focal point, guiding your audience through every step without any confusion.
Mastering the Art of Pacing
Getting your video’s pace right is about more than just cutting out silences. It’s about controlling how quickly you shift the viewer's focus from one area to another. By tweaking the duration of your zoom transitions, you can create a feeling of calm clarity for complex steps or inject energy into a quick-fire demo.
Slower, more gradual zooms are perfect for detailed explanations, giving your audience a moment to breathe and absorb what you're showing them. On the other hand, quick and snappy zooms are great for keeping the momentum going during a fast-paced walkthrough.
These little adjustments are what separate good tutorials from great ones, making your content incredibly easy to follow. If you're ready to go even deeper, our full guide on how to zoom in on a video covers even more advanced techniques.
Applying Professional Touches for a Polished Final Cut
You've nailed the zoom transitions and your cursor effects are looking sharp. Now, it's time to add that final layer of polish that takes a demo from good to truly great. These finishing touches are all about making sure your video is branded, engaging, and technically perfect when it lands in front of your audience.
One of the easiest ways to build a connection with viewers is by using a webcam overlay. Putting a face to the voice makes any tutorial feel more personal and helps build trust. But you have to be strategic about it—the last thing you want is your face covering up a critical part of the user interface. I've found the best spot is usually a corner with minimal UI elements, like the bottom-left or bottom-right.
Reinforce Your Brand and Export with Confidence
Beyond just showing your face, you can use Screen Charm to swap out a distracting real-world background for a clean, branded image. This is a subtle but powerful way to reinforce your brand identity throughout the video. A simple pattern featuring your logo or even just a solid color from your brand palette works wonders for creating a cohesive, professional look.
With all the creative work done, the final hurdle is exporting. This is where a lot of Mac users slip up, ending with a file that’s either way too big or looks pixelated. To get that crisp 4K quality that really pops on YouTube, you need to dial in the right settings.
- Resolution: Always choose 3840x2160 for true 4K UHD quality. This guarantees your video will look sharp, no matter the screen.
- Bitrate: For 4K footage, I’ve found the sweet spot is between 35-45 Mbps. This keeps the detail high without creating a massive file that’s a pain to upload.
- Codec: Stick with H.264. It's the industry standard for a reason—it gives you a fantastic balance of quality and compression and plays nicely with just about everything.
Getting these export settings right is what makes all your hard work pay off. It ensures your polished tutorial is seen in the best possible light, leaving a strong, professional impression on your viewers.
Troubleshooting Common Export Issues
Of course, even with the perfect settings, things can go wrong. If you export your video and the file size is enormous, go back and double-check your bitrate. It's easy to accidentally set it way too high. If you're getting choppy playback, try closing other applications on your Mac before you start the export. The process can be pretty demanding on your system's resources.
If you want to push your video production even further, it’s worth checking out some of the top AI video generator tools out there, which can help automate certain creative tasks. In the end, it’s these small optimizations and attention to detail that make your video stand out and perform perfectly wherever you decide to share it.
Got Questions About Zoom Editors on macOS?
When you first get your hands on a specialized video editor with zoom for Mac, a few questions are bound to pop up. These tools are built for speed, making demo and tutorial creation way faster than with traditional editors, so the workflow can feel a little different. Let's dig into some of the most common things macOS creators ask.
Can I Add a Zoom Effect Manually?
Of course. While Screen Charm’s auto-zoom is pretty brilliant at tracking your cursor, you always have the final word. You're in the driver's seat.
Let's say you need to draw attention to something your cursor didn't touch—maybe a specific sentence in a block of text or a disabled button on an interface. You can jump right into the timeline, use the "Add Zoom" tool to frame up the area you want, and then adjust the transition timing. A little tweak is all it takes to make it blend perfectly with the automatic zooms.
How Does This App Handle Multiple Monitors?
Screen Charm was built for macOS from day one, so it handles multi-monitor setups without breaking a sweat. When you’re about to start recording, the app will ask if you want to capture a particular monitor or just a single app window.
My advice? For the cleanest auto-zoom results, try to keep the main action on one display. If your workflow absolutely requires jumping between screens, you can record your entire desktop. Just be prepared to spend a little more time in the editor manually guiding the zoom points to make sure the viewer's eye follows the action smoothly across displays.
Choosing the right tool often comes down to your specific needs. When considering which video editor best suits your needs for features like dynamic zoom, a helpful resource offers a professional video editing software comparison that can provide additional perspective.
What Are the Best Export Settings for 4K YouTube Videos?
You want your videos to look sharp on YouTube, and getting that pro-level quality is easier than you think. The simplest path is to use Screen Charm's built-in 4K UHD preset.
This preset takes care of all the technical stuff for you, hitting all the right notes for YouTube's algorithm:
- Resolution: It locks in the standard 3840x2160 pixels.
- Codec: It defaults to H.264, which gives you a great balance of quality and compatibility.
- Bitrate: The bitrate is set right in the sweet spot for 4K, usually around 35-45 Mbps, ensuring all the fine details are preserved without making your file gigantic.
Honestly, just selecting the "YouTube 4K" option is all you need to do 99% of the time. No need to fiddle with a dozen settings.
Can I Import and Edit My Own Video Clips?
Think of Screen Charm's editor as a specialist. It’s purpose-built to work with the unique auto-zoom and cursor data it captures during a recording made with the app. It isn't meant to be a general-purpose editor for video files you already have on your Mac.
The workflow is intentionally streamlined: capture your screen and webcam in the app, then use its powerful, specific tools to perfect that recording. This focus is what allows it to do one thing incredibly well: create polished demos with dynamic zoom effects in a fraction of the time it would take otherwise.
Ready to stop wasting hours on manual keyframing and start creating professional tutorials effortlessly? Screen Charm gives you all the tools you need—from intelligent auto-zoom to custom cursors and 4K exports—all in one intuitive macOS app. Download Screen Charm today and see the difference for yourself.