Knowing how to use a screen recorder on your Mac is one of those skills that can make a massive difference in how clearly you create product demos or tutorials. The basic idea is simple enough: you choose an area, hit record, and export the file. But to really create something that looks polished and professional, you need to go a bit deeper.
Why Getting Good at Screen Recording on macOS Is a Game-Changer
Let's face it, in a world dominated by visual content, a basic screen capture often falls flat. It just doesn't hold people's attention.
Whether you're showing off a new software feature, building out training materials for your team, or walking a customer through a fix, the clarity of your presentation is everything. A great screen recording can cut through confusion, reduce the back-and-forth of support tickets, and make complicated ideas feel simple. While your Mac has a built-in screen capture tool, dedicated apps give you a whole new level of control and polish.
The explosion of remote work and online learning has only made these tools more critical. The screen capture software market is actually projected to jump from $9.58 billion in 2024 to $10.92 billion in 2025, which really shows how vital this has become for teams working from anywhere. You can dig into these market trends over at GII Research.
The Edge You Get With Dedicated macOS Software
This is where a dedicated tool like Screen Charm on your Mac really shines. It’s not just about recording; it’s about crafting a better final product.
- Dynamic Motion: Think about features like automatic zoom that follows your cursor or highlights that draw the eye. These details keep your viewer locked in on the important stuff.
- Branding and Personalization: The ability to add custom backgrounds or include your own webcam feed helps build a personal connection and keeps your branding consistent.
- Polished Editing: You can trim out mistakes or tweak effects right inside the app, saving you from having to learn a whole separate, complicated video editor.
The real power of a great screen recording is its ability to communicate with precision. It’s not just about showing what’s on your screen; it’s about guiding your audience’s focus to what truly matters, creating an experience that is both informative and engaging.
This guide will walk you through exactly how to do that on your Mac. And if you're still weighing your options, our detailed review of Mac screen recording software is a great place to start. We’ll cover everything from setup to export, so you can start creating videos that truly connect with your audience.
Setting Up Your First Professional Recording on macOS
Jumping into a powerful screen recorder like Screen Charm on your Mac is surprisingly simple. The first time you fire it up, you’ll just need to handle the initial setup—which mostly means giving the app permission to access your screen, mic, and camera. It's a quick, one-time thing that macOS requires for security, but getting it right ensures you won't hit any snags later.
Once that's done, you have a decision to make: are you whipping up a quick product demo or diving deep into a full-blown tutorial? What you choose will shape how you set up your recording.
This little flowchart breaks down the two main paths you might take.
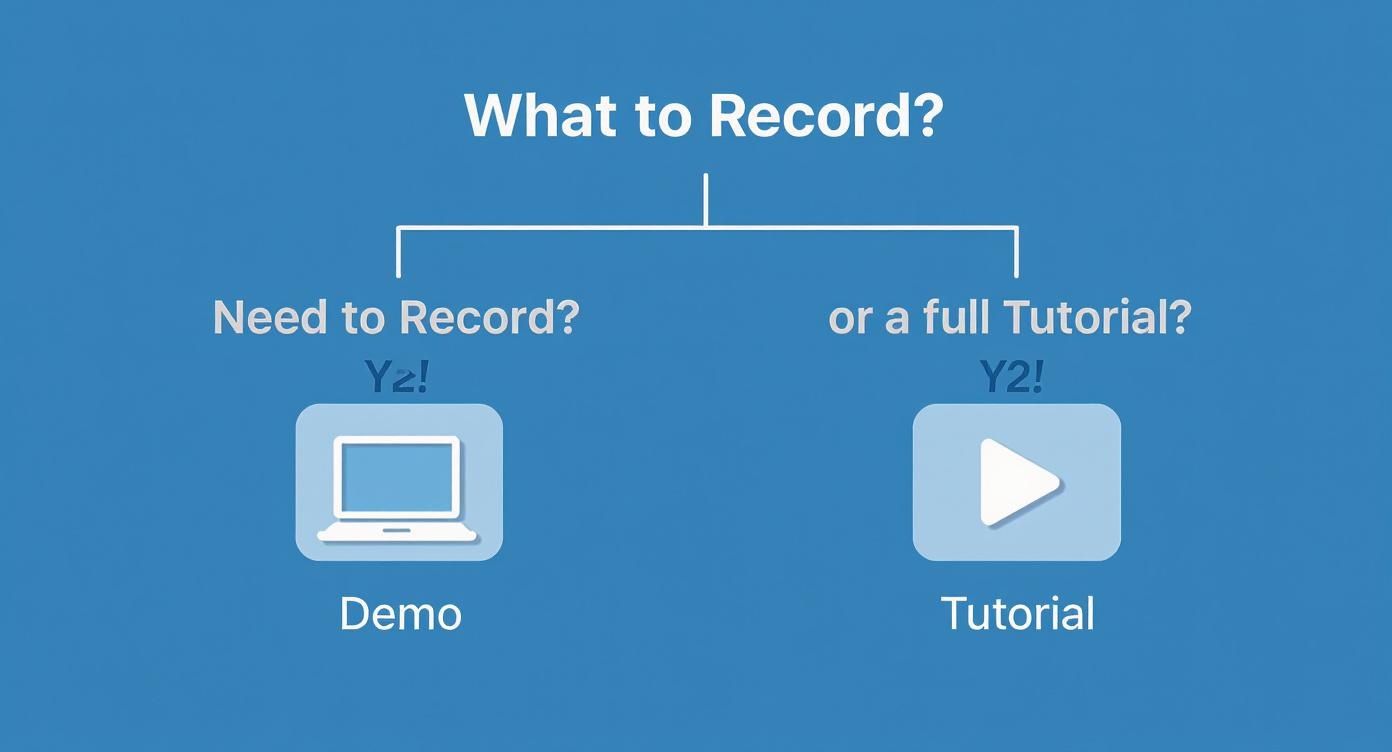
Think of it this way: a quick demo is all about focus, maybe highlighting one killer feature. A comprehensive tutorial, on the other hand, needs to show the bigger picture.
Getting Permissions Right on macOS
Before you can hit that big red record button, you need to give Screen Charm the green light. macOS is built like a fortress, so it asks for your explicit permission before any app can see what's on your screen or hear your voice.
The first time you try to record, your Mac will hit you with a few pop-ups from System Settings. You'll need to approve these:
- Screen Recording: This one’s the biggie. Without it, you can't record your screen at all.
- Microphone Access: If you want to narrate your video (and you probably do), you have to enable this.
- Camera Access: Planning to include a personal touch with a webcam bubble? You’ll need to grant camera access.
If you ever need to change these later, you can always find them in System Settings > Privacy & Security. Trust me, sorting this out upfront saves a ton of headaches.
Choosing Your Ideal Capture Area on Your Mac
With the permissions handled, it's time to decide what your audience will see. Screen Charm gives you a few different ways to frame your shot perfectly, so you can hide that messy desktop or those 50 open browser tabs.
Here's a quick guide to help you pick the right capture mode for the job on your Mac.
Choosing Your Capture Area in Screen Charm
| Capture Mode | Best For | Pro Tip |
|---|---|---|
| Record a Window | Showcasing a single application, like a product demo in a web browser. | This is the cleanest option. It automatically crops to the app, even if you move or resize the window. |
| Record a Region | Highlighting a specific part of your screen, like a menu or a toolbar. | Perfect for zooming in on details without showing your entire interface. |
| Record Full Screen | Tutorials that involve multiple apps or dragging files across the desktop. | Use this when context is key, but be sure to clean your desktop first! Nothing kills a professional vibe faster. |
Selecting the right area is more than just a technical step; it’s about directing your viewer's attention exactly where you want it. A focused demo almost always looks better when you capture just a single window.
The secret to a polished recording is capturing only what your audience needs to see. Recording a specific application window instantly makes your video look cleaner and more professional than showing your entire desktop.
Master macOS Keyboard Shortcuts for a Flawless Take
Here’s a tip that will immediately level up your videos: learn the keyboard shortcuts. Fumbling around with your mouse to find the "stop" button at the end of a recording can ruin an otherwise perfect take.
Most screen recorders have simple hotkeys to manage recordings. In macOS, a go-to shortcut is ⌘ + Shift + 5, which pulls up the system's capture controls, but dedicated apps often have their own. And a quick tap of the Esc key will cancel the setup if you change your mind.
Committing a few of these to memory lets you start, pause, and stop recordings without a single wasted motion. This means you'll have a much cleaner raw file to work with, which saves a ton of time on trimming and editing later.
Sponsored by the makers
Tired of boring screen recordings?
Try Screen Charm.
Auto-zoom, motion blur, camera overlay, and background music. All built in. Record once, export a polished video.
See what it doesAdding Dynamic Motion with Auto-Zoom and Cursor Effects
A static recording shows what happened, but a dynamic one tells a story. This is where you graduate from basic screen captures and start directing your audience’s attention, turning a passive viewing experience into an engaging one. On macOS, tools like Screen Charm have made this remarkably simple.
Honestly, this is where your screen recordings start to look really professional. By adding subtle motion and visual cues, you guide the viewer’s eye exactly where it needs to go, making sure no critical step is ever missed.
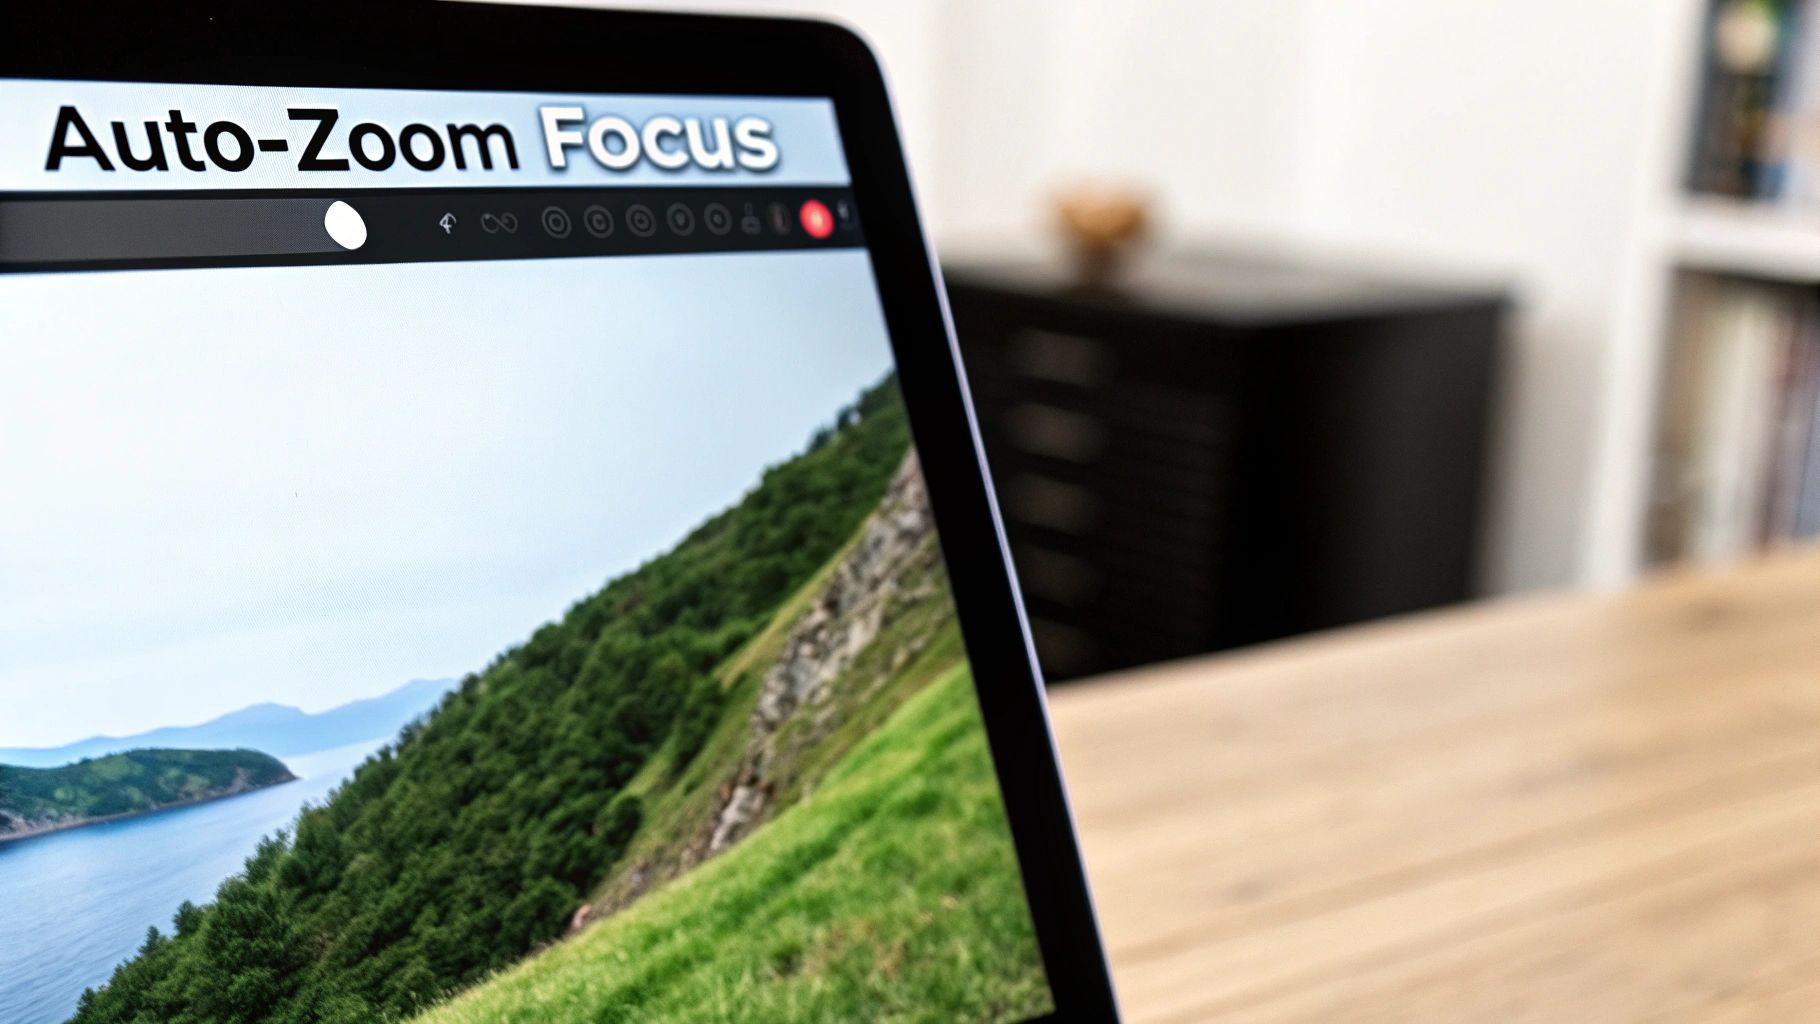
Effortless Focus with Auto-Zoom
One of the most powerful features in my toolkit is Auto-Zoom. Instead of painstakingly adding manual zooms in post-production, this feature intelligently magnifies parts of your screen based on your actions, like when you click the mouse. It mimics a natural focusing effect, instantly drawing the eye to important buttons, form fields, or menu items.
Think about it: you're demoing a new software feature. When you click "Save," the screen automatically zooms in on that button for a beat before pulling back out. That tiny movement makes the action impossible to miss.
Setting this up in Screen Charm is a breeze. Before you even hit record, just pop into the settings to enable and tweak the zoom behavior.
You have simple toggles for enabling automatic zoom and click animations right at your fingertips. From there, you can dial in the zoom’s intensity and speed, giving you creative control over the final look without needing a film degree. For a deeper dive, check out our guide on using a video zoom editor for more precise post-recording adjustments.
Making Your Cursor a Guiding Light
In any screen recording on your Mac, your cursor is the star of the show. But by default, it can be small and easy to lose track of, especially on a busy screen. Enhancing it with visual effects gives your audience clear, constant feedback on every move you make.
This isn't just cosmetic—it's incredibly functional. A highlighted cursor ensures your audience can follow along without getting lost.
Typically, you can customize a few key aspects of your cursor:
- Highlight: This adds a colored circle around the cursor to make it pop. Yellow is a classic for a reason; its high visibility works on almost any background.
- Click Animations: A ripple or flash effect appears every time you click, which provides undeniable visual confirmation that an action took place.
- Size and Color: You can also adjust the cursor's size and the highlight's color to match your company branding or just improve visibility.
Pro Tip: Combining a subtle auto-zoom with a clear cursor highlight is my go-to technique for creating polished instructional videos. It guides the viewer’s focus without you ever having to say, "Now, look here."
The best tools are simplifying these professional touches for everyone. We're seeing AI-powered editing features that have been shown to reduce post-production time by up to 50% for some creators. The entire industry is moving toward efficiency, with over 70% of users now relying on cloud solutions to manage and share their work.
Ultimately, mastering these dynamic elements is what separates a good screen recording from a great one. By bringing auto-zoom and custom cursor effects into your workflow, you transform a simple screen capture into a polished, easy-to-follow tutorial that respects your viewer's time and attention.
Putting a Face to the Voice: Connecting with Webcam and Branding
While all the fancy zoom effects are great, sometimes the best way to connect with your audience is the most direct one: showing your face. Adding a webcam feed transforms a sterile software tutorial into a personal conversation. It helps you build real rapport and trust. For those of us on a Mac, adding a webcam and some simple branding is an easy win for creating videos that feel both professional and human.
This is where you go from just showing someone what to do on screen to showing them who is guiding them. It's a small shift, but it makes a massive difference in how people engage with your content.
Weaving Your Webcam Feed into the Action
Recording your screen and yourself at the same time is a standard feature these days, and Screen Charm makes it dead simple. You can pop a camera overlay right onto your recording, instantly making you a presenter, not just a disembodied voice.
Before you even hit record, you get to decide how you want to appear. You can pick the shape—a classic rectangle or a more modern-looking circle—and drag it to a corner of the screen. I usually stick mine in a lower corner where it won't cover up any important buttons or menus I'm demonstrating.
My Takeaway: The goal here is to be present without being a distraction. Your webcam should support what you're showing on screen, not fight it for attention. I've found that a well-placed, circular overlay usually feels less intrusive and looks cleaner.
Quick Tips for a Pro On-Camera Look
You don't need a fancy studio to look good on camera. A few simple tweaks can make a world of difference to your webcam quality.
- Lighting is Everything: Face a light source, like a window or a simple desk lamp. You never want the main light source behind you, or you’ll turn into a silhouette.
- Declutter Your Background: A messy background pulls focus from you and your message. Tidy up the space behind you, or use a virtual background if you have one.
- Get the Camera at Eye Level: No one likes the up-the-nose shot. Prop your MacBook up on some books or use a small tripod for an external webcam. Looking straight into the lens feels like you're making eye contact with your viewer.
Keeping Your Branding Consistent
If you're creating videos for a company, brand consistency is non-negotiable. This is where custom backgrounds become your best friend. Instead of just showing a raw screen capture, you can frame it on a branded canvas.
Screen Charm lets you upload a custom background image or just pick a solid color (like your company’s hex code). This is perfect for making all your videos look like they belong together. For instance, a software company I worked with used a subtle graphic with their logo as the backdrop for all their product demos. It’s a simple touch, but it makes the content instantly recognizable and adds a level of polish that really sets it apart.
Putting the Finishing Touches on Your Video
Alright, you've captured your screen, and the raw footage is ready. Now comes the part where you turn a good recording into a great one. This is where you polish the rough edges and make sure your video looks as professional as the content it contains. The best part? You can do all of this right inside Screen Charm on your Mac—no need to jump into a complicated external editor.
The single most important first step is trimming. I can't tell you how many recordings I've seen that start with a few awkward seconds of someone getting ready or end with a fumbling mouse click to stop the recording. A quick trim of the start and end makes your video feel clean, confident, and gets right to the point.
This simple cleanup instantly boosts the perceived quality and sets the stage for the finer details.
Fine-Tuning Your Zoom and Motion Effects
Even if you used auto-zoom during the recording, you'll likely want to tweak it a bit. The editor's timeline is your playground for this. You can see every single zoom point the software created and adjust its timing or intensity.
Maybe one zoom kicks in too fast, or another one hangs around a little too long after you've already started talking about the next thing. You can just drag these keyframes around to get the rhythm just right. This is how you make sure the visual focus perfectly syncs up with your narration, guiding your viewer’s eye exactly where it needs to be.
The real art of editing isn't just about cutting out mistakes. It's about refining the flow to match your spoken words. Adjusting the timing of a single zoom effect can be the difference between a viewer understanding a step and having to rewind to catch it again.
This is what makes a tutorial or demo truly effective—every visual cue feels intentional and helpful.
Dialing in the Perfect Export Settings
Once you're happy with the edits, it's time to export the final product. The settings you pick here are a trade-off between final video quality and file size, so it pays to know your options.
Here’s a look at the export settings you’ll find in Screen Charm:
This screen lays everything out clearly, letting you tailor the output for whatever platform you're targeting.
If you're uploading to YouTube or Vimeo, you'll want to go for the highest quality they can handle. Exporting in 4K UHD makes your video look incredibly crisp, especially on larger screens. Just remember that a higher bitrate means better quality but also a much larger file.
Here's a quick rundown of what to choose:
- Resolution: Stick with 4K (3840x2160) for top-tier quality. If you need a smaller file, 1080p is a solid fallback.
- Frame Rate: 30 FPS is the standard for most content. If your recording involves a lot of fast-paced on-screen action, bumping it up to 60 FPS will create a much smoother look.
- Quality: Higher is always better for detail, but be mindful of the file size.
The demand for high-quality screen recordings is exploding. The global market is expected to reach an incredible $3.46 billion by 2033, fueled by creators just like you. Once you get the hang of recording and editing, you'll inevitably run into the challenge of managing huge video files. A great next step is learning how to reduce MP4 file size without losing quality. For even more strategies, be sure to check out our detailed guide on how to reduce video file size.
Got Questions? We’ve Got Answers for macOS Users.
Even with the best tools in hand, you're bound to run into a few snags when you first start screen recording. It’s just part of the process. I've seen Mac users, in particular, hit the same few roadblocks, so let's clear those up right now.
Think of this as a quick troubleshooting guide to help you handle those "What do I do now?" moments. We'll tackle everything from annoying audio bugs to making sure your Mac keeps up.
How Do I Fix Audio That's Out of Sync on my Mac?
It’s one of the most frustrating things that can happen: you finish a recording, and your voiceover is a full second behind the action on screen. This usually means your Mac was struggling to keep up, processing the video and audio streams at slightly different rates.
Luckily, there are a few things you can do to prevent this:
- Free up resources. Before you hit record, close out any apps you aren't actively using. Web browsers with a dozen tabs open are a classic culprit.
- Check your mic connection. If you're using an external USB microphone, plug it directly into your Mac. Going through a USB hub can sometimes add a tiny bit of delay (latency) that throws things off.
- Use the right tool. This is where a dedicated app like Screen Charm really shines. It's built from the ground up to manage audio and video streams efficiently, which dramatically reduces the chance of sync issues from the get-go.
Will Screen Recording Make My Older Mac Crawl?
That’s a fair question. Capturing your screen in high definition definitely asks a lot from your Mac's processor. If you're working on an older MacBook, you might see some stuttering while you're recording.
But don't worry, you're not out of luck. You just need to be a bit smarter about your settings. Lowering the recording resolution from 4K down to 1080p makes a huge difference. Recording a single app window instead of your entire desktop also eases the burden on your system.
The goal is to give your Mac fewer pixels to process every second. A smaller recording area and a standard frame rate (like 30 FPS) are your best friends on less powerful hardware.
This way, you can still produce a crisp, smooth video without grinding your machine to a halt.
What’s the Best Video Format for Sharing Online?
When you’re ready to export, you’ll see options like MP4, MOV, and maybe a few others. For sharing your video with the widest possible audience, MP4 is the undisputed champion. It’s the universal language of the web.
An MP4 file will play perfectly on YouTube, social media, and just about any device out there. MOV files are great, but they are an Apple format and can sometimes cause playback issues on non-Apple devices. Stick with MP4 and you'll never have to worry about compatibility.
And if you need a written version of your tutorial's narration, transcription software for Mac can turn your audio into text in minutes.
Ready to create stunning, professional-quality demos and tutorials on your Mac without the steep learning curve? Screen Charm gives you all the tools you need—from automatic zoom to custom branding—in one simple, powerful package.