If you're working with video on a Mac, you've probably run into the issue of massive file sizes. The good news is, you don't need to be a video guru to shrink them down. A few simple adjustments—trimming excess footage, lowering the video's resolution or bitrate, or picking a more modern codec like H.265—can make a huge difference. You can do all of this using tools already on your Mac, like QuickTime, or with powerful free software like HandBrake.
Why Smaller Video Files Matter on Your Mac
Before we get into the nitty-gritty, let's talk about why you should even care about shrinking your video files. Giant video files are the silent killer of productivity, website speed, and your precious storage space. They don't just sit there; they create drag at every turn, whether you're trying to quickly share a project update or upload a finished marketing piece.
The pain is most obvious when it comes to your website. Large, clunky videos can bring your page load times to a screeching halt, which is a surefire way to frustrate visitors and send them packing. This isn't just about a bad user experience; it directly impacts how many people stick around and even how Google ranks your site. If you're new to this, getting a handle on file management is one of the most practical skills you can learn; you can explore more essential video editing tips to build a solid foundation.
The Real-World Cost of Large Videos
Think about it: when was the last time you waited patiently for a slow website to load? Probably never. Your visitors are the same. Studies consistently show that websites loading in under 2.5 seconds keep about 50% more visitors engaged than slower sites. Suddenly, video compression isn't just a technical tweak—it's a core part of your business strategy.
Key Takeaway: Compressing videos isn't just a technical task—it's an essential strategy for improving user experience, boosting SEO, and making your entire content workflow on macOS more efficient.
Tools like Google PageSpeed Insights are great for putting a number on the problem. They'll show you exactly how much your media files are weighing down your site's performance.
Often, these reports will point directly to unoptimized images and videos as the main culprits behind a poor Core Web Vitals score. Fixing these issues gives you a direct path to improving how both real people and search engine bots see your website.
More Than Just Web Performance
The wins from smaller video files go way beyond just your website's speed. As a Mac user, you’ll feel the benefits in your day-to-day work in several ways:
- Faster Sharing: Ever tried to send a huge video file over Slack? A 50MB clip is no problem, but a 2GB file becomes a whole process of uploading, link-sharing, and waiting. Smaller files make collaboration instant.
- Reduced Storage Costs: Videos are notorious space hogs. Whether you're paying for extra iCloud storage or trying to keep your SSD from filling up, smart compression can literally save you money and keep your machine running smoothly.
- Smoother Editing: Your Mac will thank you. Working with smaller, compressed clips in iMovie or Final Cut Pro means less time staring at a spinning beachball and a much more fluid, responsive editing experience.
Learning to manage video file size isn't just a "nice-to-have" skill. It's a fundamental practice that will pay off in every single video project you tackle on your Mac.
Compressing Videos with Built-in Mac Tools
You don't always need to hunt for third-party software to shrink a video file. Your Mac already has some surprisingly powerful tools baked right in, perfect for those quick compression jobs.
We’ll look at two of the best native apps for the job: QuickTime Player for lightning-fast exports and iMovie for when you need to trim things down a bit. Both are great for getting videos ready for email, Slack, or social media without a steep learning curve.
Using QuickTime Player for Fast Exports
QuickTime Player is much more than a simple viewer—it's a workhorse for basic video conversion and compression. If you've got a massive screen recording or a 4K clip from your phone that's just too big to send, QuickTime’s "Export As" feature is your best friend.
The whole process couldn't be simpler. Just open your video in QuickTime, head up to the menu bar, and click File > Export As. You'll be greeted with a few resolution options, usually 1080p, 720p, and 480p.
- 1080p (Full HD): This keeps your video looking crisp on most modern screens but still gives you a significant size reduction from a 4K or high-bitrate original.
- 720p (HD): This is the sweet spot for web use. It shrinks the file down considerably while keeping things sharp enough for a blog post or social media share.
- 480p (Standard Definition): Go with this option when file size is the only thing that matters. The quality takes a hit, but it’s perfect for getting a clip under that dreaded 25MB email attachment limit.
Pro Tip: Don't overlook the "Audio Only" option in QuickTime's export menu. It's a fantastic way to rip the audio from a video—think podcast interviews or meeting recordings—and save it as a tiny M4A file.
Choosing a lower resolution is a direct way to cut down on file size. Think about it: a 720p video has less than half the pixel data of a 1080p video, which translates directly to a much, much smaller file.
Trimming and Cropping with iMovie
Sometimes, the easiest way to make a video smaller is to simply have less of it. This is where iMovie comes in. Apple’s free video editor is perfect for cutting out the fluff. Trimming just a few seconds of dead air from the beginning or end of a clip can make a bigger difference than you’d think.
Imagine you just finished a product demo. You probably have a few seconds of silence at the start as you got ready, or maybe a slightly awkward sign-off. Snipping those moments out not only tightens up your video but also trims its data footprint.
Here’s how easy it is to trim in iMovie:
- Open iMovie and start a new project.
- Drop your video clip into the timeline.
- Just drag the yellow handles at either end of the clip to shave off the parts you don't need.
The math is simple. If you cut 10% of the video's length, you’ll reduce the file size by roughly 10%—and that’s before any other compression happens.
iMovie also lets you crop the video frame, which is great for changing an aspect ratio or zeroing in on a specific part of the screen. By literally removing pixels from the frame, you're again reducing the amount of data that needs to be stored.
Once your edits are done, just go to File > Share > File.... In the export settings, you can choose your resolution and quality. Selecting "Low" quality will apply a lower bitrate and give you the smallest possible file.
These built-in tools are a fantastic first line of defense. But for more specific file conversions, like when you need to switch video containers, you might need another approach. For instance, if you have a .MOV file and need a universally friendly .MP4, our guide on how to convert MOV files to MP4 walks you through it. Mastering both techniques will give you a solid toolkit for taming any video file on your Mac.
Sponsored by the makers
Tired of boring screen recordings?
Try Screen Charm.
Auto-zoom, motion blur, camera overlay, and background music. All built in. Record once, export a polished video.
See what it doesTaking Control with Pro-Level Compression in HandBrake
When the built-in macOS tools just don't cut it, it's time to call in a specialist. For anyone serious about shrinking video file sizes on a Mac, HandBrake is the undisputed champion. It’s a free, open-source powerhouse that gives you pinpoint control over every single aspect of the compression process, going way beyond the simple presets you'll find elsewhere.
This is where you get to play the balancing act between quality and file size, creating incredibly efficient videos without any noticeable drop in quality. Let's walk through the settings that actually matter so you can get professional results, whether you're archiving raw footage or prepping a quick clip for social media.
This decision tree gives you a good idea of when to use simple tools and when to fire up HandBrake.
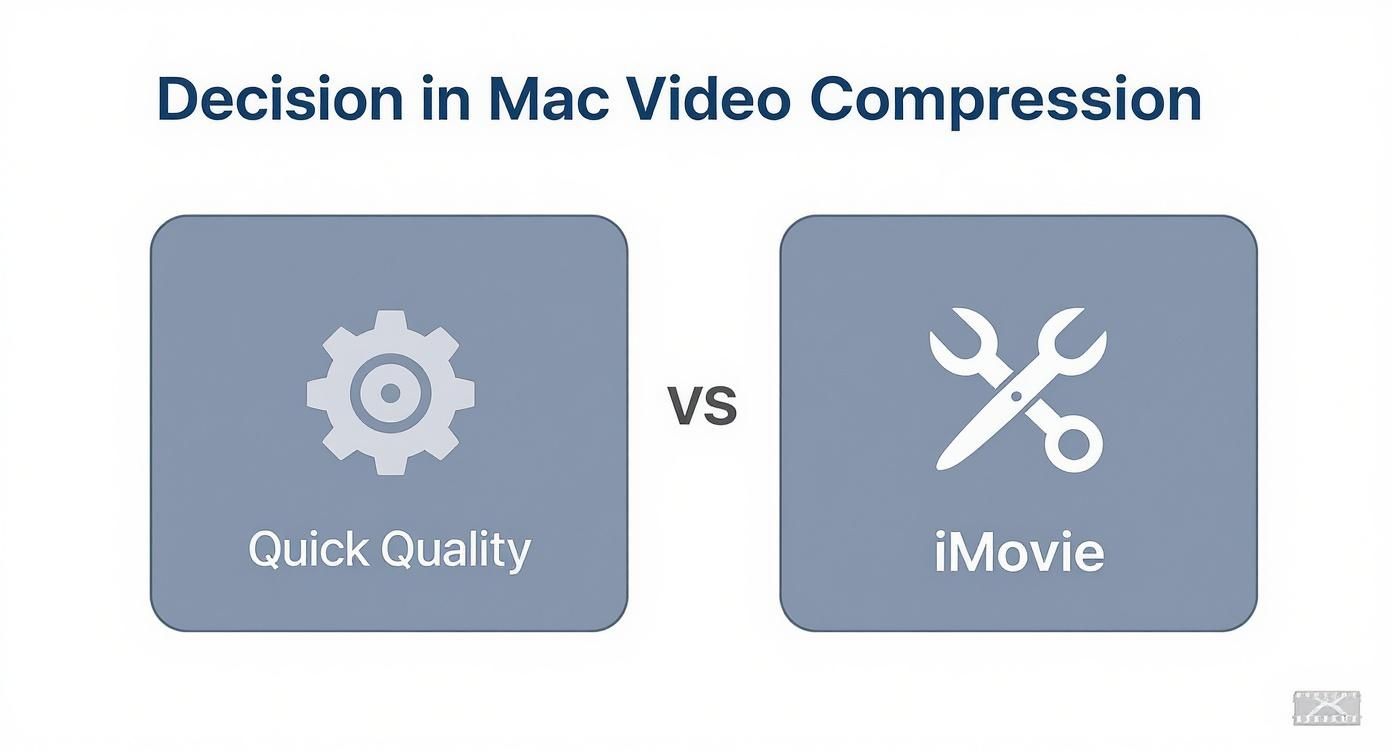
As you can see, while the native Mac apps are perfect for quick trims and exports, true fine-tuning requires a dedicated tool.
First, Choose Your Codec and Container
Before we get into the nitty-gritty, you need to get your head around two key concepts: the container and the codec. The easiest way to think about it is that the container (like MP4 or MKV) is the box, and the codec (like H.264 or H.265) is the method used to pack everything inside that box.
- MP4: This is the gold standard for compatibility. It works on virtually every device, platform, and browser, making it a no-brainer for anything you plan to share or upload to the web.
- MKV: A more flexible container that's great for holding multiple audio tracks or subtitles. It’s fantastic for archiving your media library but isn't as widely supported for playback.
For most people, MP4 is the right call. The real magic, though, happens with the video codec.
- H.264 (AVC): The long-reigning king. It provides a great balance of quality and file size and is supported everywhere.
- H.265 (HEVC): The newer, more efficient heir to the throne. It can deliver the same visual quality as H.264 at roughly half the file size. Even better, modern Apple hardware—from iPhones to Macs—has built-in acceleration for H.265, so it's incredibly efficient.
Unless you're worried about supporting some seriously old devices, choosing H.265 (HEVC) is probably the single biggest move you can make to slash your video file sizes.
Video Codec Comparison H.264 vs H.265 (HEVC)
Understanding the key differences between the two most popular video codecs is crucial for making informed compression decisions on your Mac.
| Feature | H.264 (AVC) | H.265 (HEVC) |
|---|---|---|
| Efficiency | Good compression, but older technology. | Excellent compression, about 50% more efficient. |
| File Size | Larger files for the same quality. | Smaller files for the same quality. |
| Compatibility | Universal. Works on almost any device. | Widespread on modern devices, but may not work on older hardware. |
| Encoding Time | Faster. | Slower, as it requires more processing power. |
| Best For | Maximum compatibility, web video, older devices. | 4K/UHD content, archiving, streaming on modern devices. |
In short, if your audience is using modern devices, H.265 is almost always the better choice for reducing file size without sacrificing quality.
Master the Constant Rate Factor (CRF)
The single most important setting you need to know in HandBrake is the Constant Rate Factor (CRF) slider. This is a game-changer. Instead of telling the encoder to aim for a specific bitrate, CRF tells it to achieve a certain level of visual quality. The encoder then intelligently adjusts the bitrate on the fly—using more data for complex, high-motion scenes and less for simple, static ones.
My Takeaway: Using CRF is a "set it and forget it" approach to quality-based encoding. It’s way more efficient than trying to guess an average bitrate because it puts the data exactly where it's needed to maintain a consistent look.
The CRF scale in HandBrake typically runs from 0 (lossless, but yields massive files) to 51 (heavily compressed and poor quality). Remember, a lower number means higher quality and a bigger file.
Here’s a quick cheat sheet based on my own experience:
- CRF 18-20: Perfect for high-quality archiving. The file will still be pretty big, but it’ll be visually identical to the original source.
- CRF 21-23: This is my go-to sweet spot for most web content, like YouTube tutorials or product demos. You get a fantastic balance of crisp quality and manageable file size.
- CRF 24-28: Use this when file size is your absolute top priority. If you pixel-peep, you might spot some tiny artifacts, but for general viewing, it’s more than acceptable.
Dialing in the right CRF ensures your video looks great without wasting a single kilobyte.
Fine-Tune Your Encoder Settings
Beyond CRF, a couple of other settings in HandBrake can help you squeeze out even more efficiency. The "Encoder Preset" slider is a great one to look at. It basically controls the trade-off between encoding speed and compression efficiency.
A slower preset (like Slow or Slower) gives the encoder more time to analyze the video frames and find more clever ways to compress them. The result is a smaller file for the exact same CRF value. The catch? It takes a lot longer to encode. For a final export where quality and file size are critical, it's almost always worth the extra wait.
You might also want to look into 2-Pass Encoding. This is a different approach where HandBrake analyzes the entire video on a first pass and then uses what it learned to compress it more intelligently on a second pass. This takes longer, but it's especially useful if you're trying to hit a very specific file size by setting an average bitrate instead of using CRF.
If you decide to go the average bitrate route, our handy video bitrate calculator can give you a precise starting point. By getting comfortable with these pro-level controls, you can truly take command of your video compression workflow.
Fine-Tuning Your Exports in Screen Charm
If you’re a macOS user creating product demos or tutorials, you know how important it is to have a workflow that's both powerful and efficient. The good news is, if you're using Screen Charm, you've already got a leg up. Many of the most important controls for shrinking video file sizes are baked right into its export process. This lets you create lean, high-quality files from the get-go, without having to mess around with another app just for basic compression.
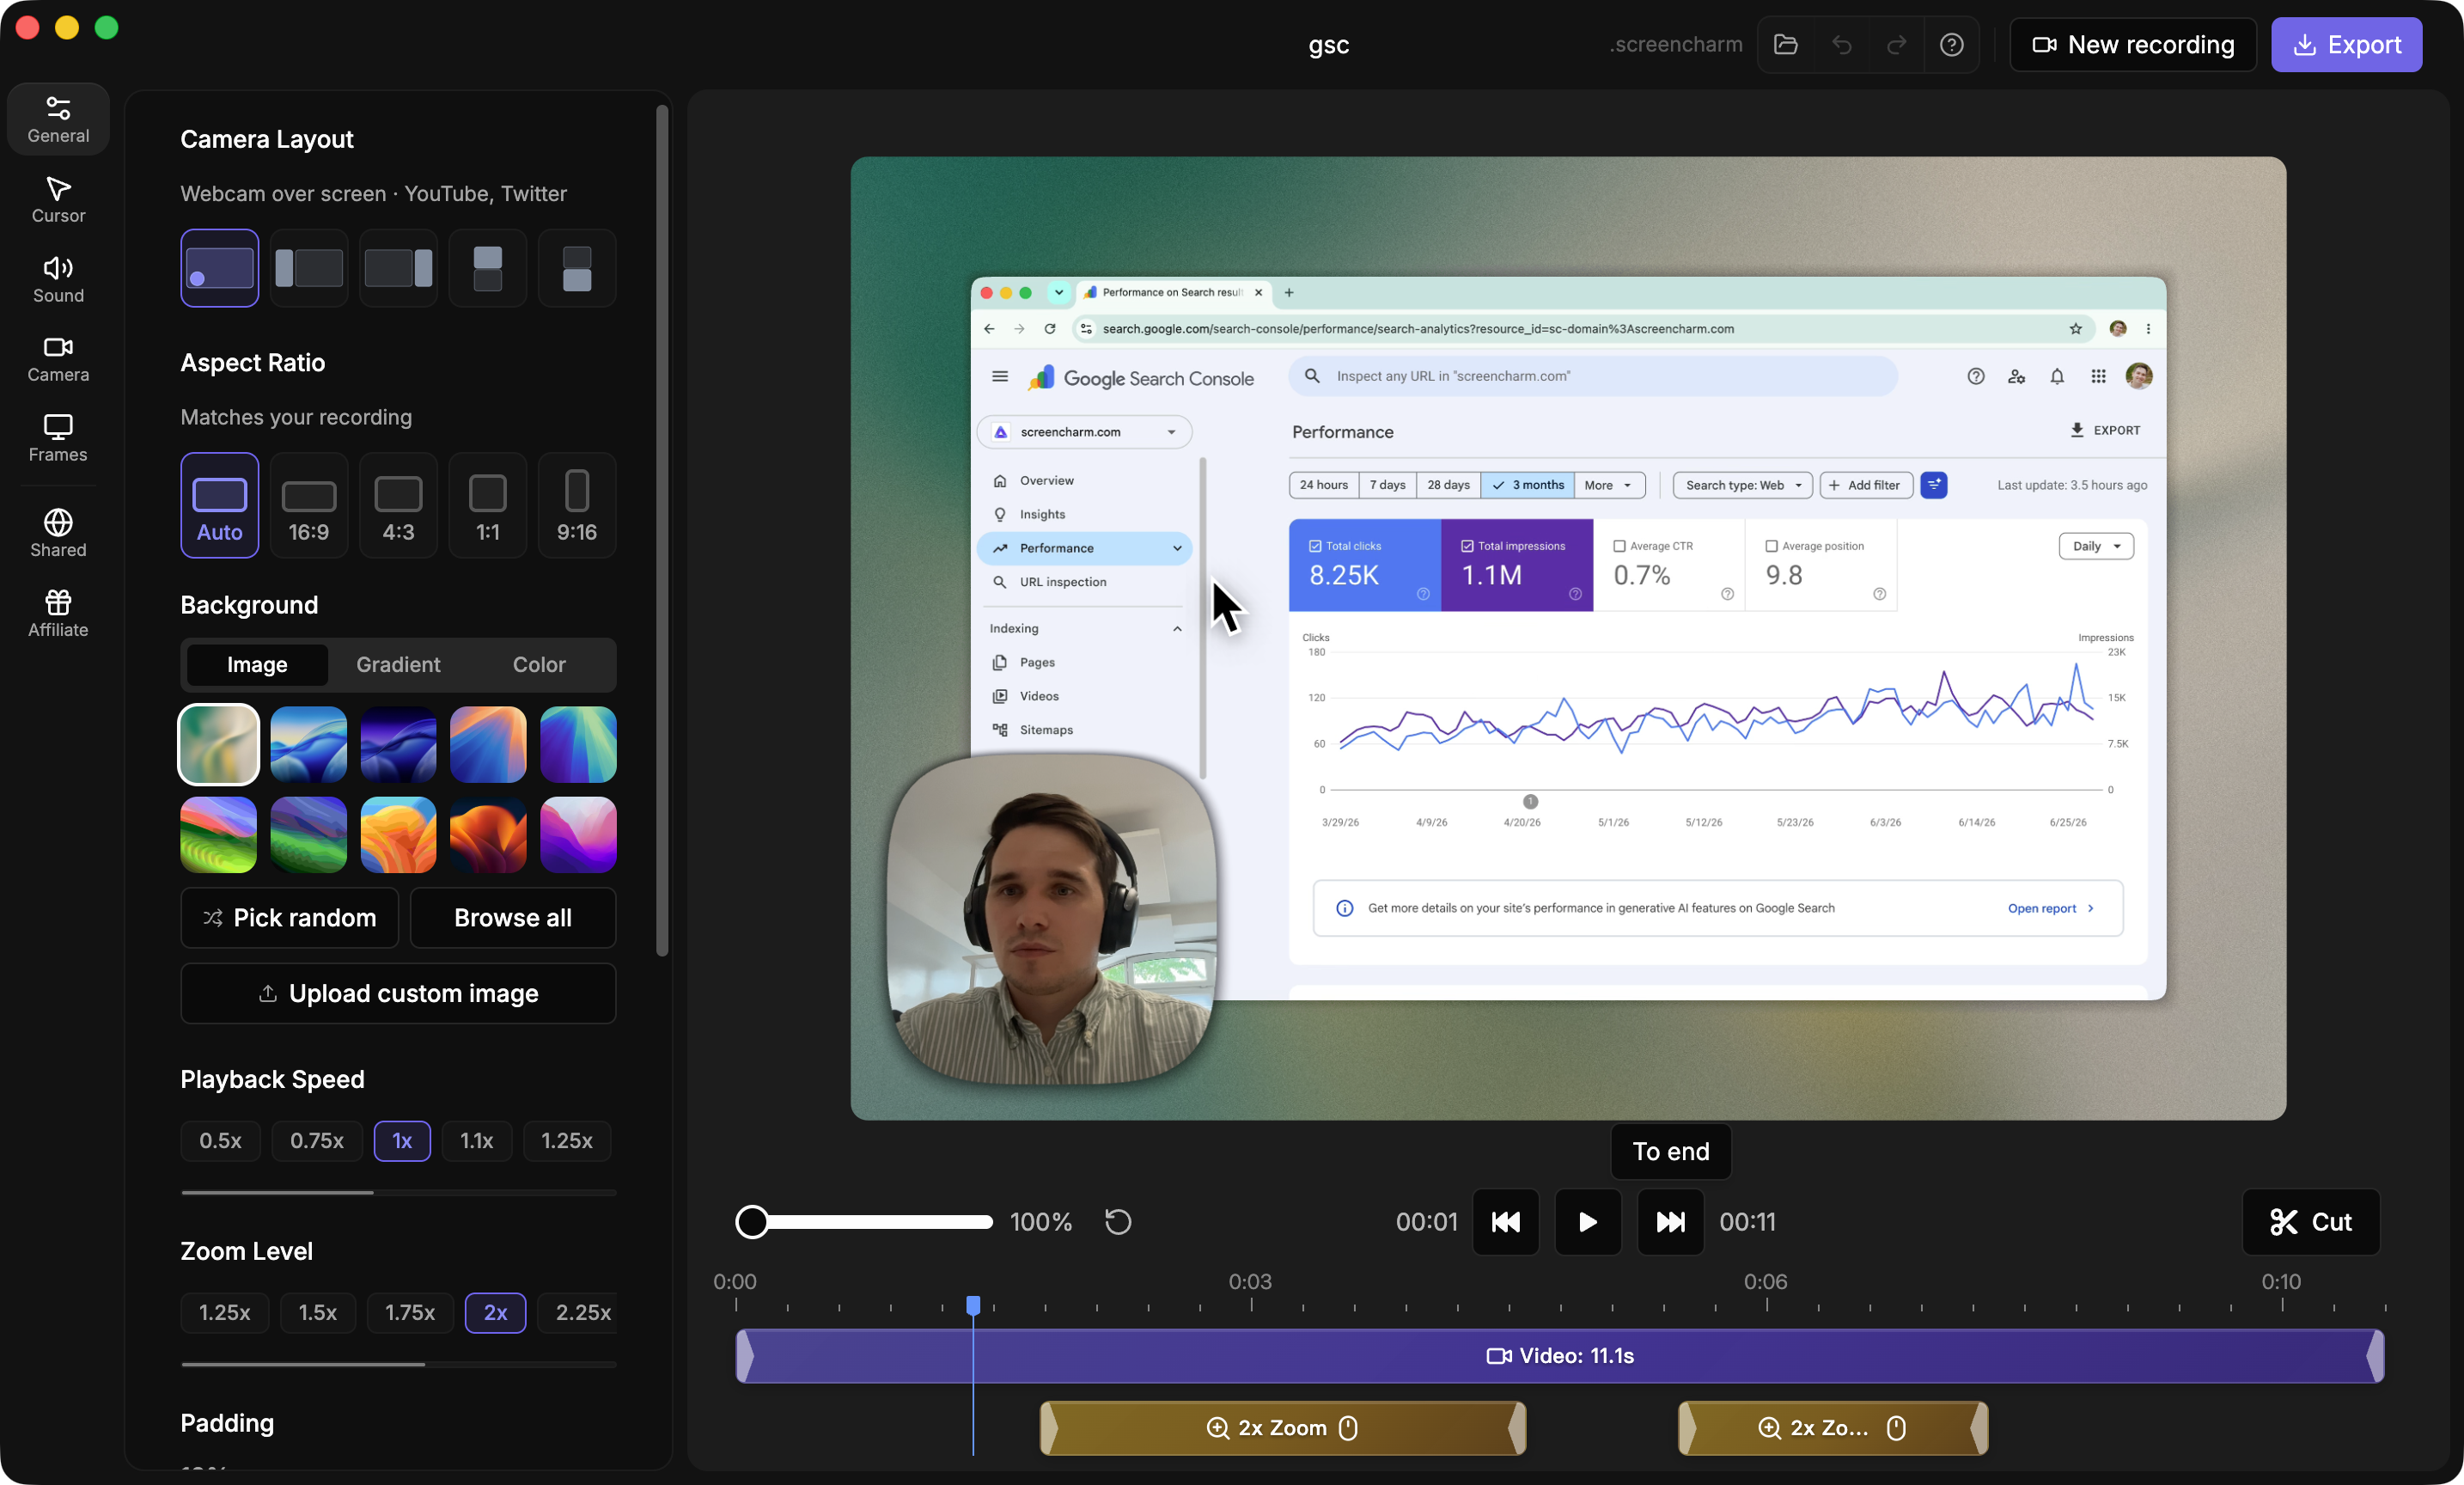
Let’s get into the nitty-gritty of the settings inside Screen Charm that will give you the most bang for your buck on file size. Getting a feel for these options will help you make smarter choices, whether you’re exporting a full HD tutorial for YouTube or a lightweight GIF for a blog post.
Dialing in Resolution and Frame Rate
The quickest and most direct way to manage file size is by adjusting the video's resolution and frame rate before you hit "Export." It's tempting to export everything in glorious 4K, but let's be honest—it’s usually overkill and creates massive files. The real pro move is to match your export settings to where the video will actually live.
Screen Charm makes this a breeze. In the export dialog, you’ll find simple options to change the video's dimensions. Here are a few rules of thumb I stick to:
- 1920x1080 (1080p): This is your go-to for high-quality video on platforms like YouTube and Vimeo. It delivers a crisp, professional look without the insane file size of 4K.
- 1280x720 (720p): A fantastic choice for videos you plan to embed on a website or in a knowledge base article. The quality is still great for most screens, but the file will be significantly smaller than 1080p, which means faster page loads for your visitors.
- Custom Dimensions: For smaller embeds, like a quick feature highlight on a blog, you can set custom dimensions. I find that a width of 800 or 900 pixels is often more than enough.
Frame rate is the other half of this equation. While 60 frames per second (FPS) looks incredibly smooth, especially for fast-paced UI animations, it also just about doubles the file size compared to 30 FPS. For the vast majority of screen recordings—especially tutorials or presentations—30 FPS is perfectly fine and instantly cuts your file size in half. It’s an easy win.
Bitrate Explained: VBR vs. CBR
If there's one setting that has the biggest impact on file size, it's bitrate. Bitrate basically determines how much data is used for each second of your video. In Screen Charm’s advanced export settings, you'll mainly see two ways to handle this: Variable Bitrate (VBR) and Constant Bitrate (CBR).
- Constant Bitrate (CBR): This method is a bit old-school. It applies the exact same amount of data to every single second of the video, no matter what's happening. A static screen gets the same data as a complex animation, which is incredibly inefficient and wastes a ton of space.
- Variable Bitrate (VBR): This is the smarter, modern approach. VBR analyzes your video and gives more data to complex, high-motion scenes while dialing it back for simpler, static parts. For screen recordings, which often have long pauses or static interface elements, VBR is a game-changer. It almost always results in a much smaller file with better overall quality.
My Personal Tip: When I export screen recordings from Screen Charm, I use VBR about 99% of the time. It intelligently adapts to the content, saving a ton of space without you ever noticing a dip in visual quality. For tutorials and demos, it's a no-brainer.
Choosing VBR is usually just a single click that lets the encoder make the smart decisions for you.
Real-World Scenarios for Screen Charm Exports
Okay, let's bring it all together. Knowing which recipe of settings to use for different situations is what separates the pros from the amateurs. This kind of know-how is essential whether you're Mastering Real Estate Video Editing or just trying to make a great product demo.
Here’s a quick cheat sheet for how I’d configure exports for different needs:
| Use Case | Resolution | Frame Rate | Bitrate Method |
|---|---|---|---|
| High-Quality YouTube Tutorial | 1920x1080 | 30 FPS | VBR |
| Website Demo Video | 1280x720 | 30 FPS | VBR |
| Animated GIF for Social Media | 800x600 | 15 FPS | N/A (GIF format) |
| Internal Team Walkthrough | 1280x720 | 30 FPS | VBR (lower quality) |
By tailoring your export settings like this, you stop creating files that are bloated for no reason. Remember, a video's journey doesn't end when you stop recording; making sure it’s sized correctly for its destination is a critical final step. For a deeper look into the tools and workflows that can help, the official Screen Charm website is packed with great info for macOS creators. Taking a moment to pick the right settings is a tiny time investment that pays off big in storage space, upload speed, and your audience's patience.
Shrinking Your Audio Track for Smaller Files
When you're trying to trim down a video file, it's easy to focus only on the visual side of things—resolution, bitrate, frame rate. But the audio track is often an untapped source for savings. While it's a smaller piece of the puzzle, optimizing your audio can shave off those last few crucial megabytes, which really adds up on longer videos like tutorials or presentations.
Most video encoders default to high-quality audio settings that are simply overkill for a lot of content. A sweeping film score? Sure, it needs rich, high-fidelity sound. But a voiceover for a product demo? Not so much. With a couple of smart tweaks, you can slim down the audio portion of your file without anyone noticing a drop in clarity.
Get the Codec and Channels Right
The first thing to look at is the audio codec. For just about any video destined for the web, AAC (Advanced Audio Coding) is the king. Think of it as the audio equivalent of the H.264 video codec—it's incredibly efficient and works everywhere, on every browser and device. This is why it's the standard choice in tools like HandBrake and QuickTime.
Next, you have a simple but powerful choice: Stereo or Mono. This decision directly impacts your file size.
- Stereo uses two channels (left and right) to create a wider, more immersive sound. It's essential for music or videos with layered sound effects.
- Mono uses a single audio channel. The sound is identical in both ears.
Honestly, for any content that's mostly talking—like tutorials, webinars, or screen recordings—stereo is a waste of space. Switching the audio from stereo to mono literally cuts the audio data in half, and for spoken word, you won't hear any difference in quality.
Dial in the Perfect Audio Bitrate
Just like with video, the audio bitrate controls how much data is used for each second of sound. More data means better quality and a bigger file. A lot of software defaults to a bitrate like 192 Kbps or even higher, which is fantastic for music but totally unnecessary for a simple voiceover.
For any screen recording where the main audio is someone talking, you can dramatically lower the audio bitrate without sacrificing clarity. This is one of the quickest and most effective audio optimizations you can perform.
Here are a few practical guidelines you can use in HandBrake or other advanced encoders:
- 96 Kbps: This is my personal go-to for voice-only recordings. It delivers perfectly clear speech while keeping the audio track incredibly lean.
- 128 Kbps: A great middle-of-the-road option. I'll use this if the video has a mix of narration and some subtle background music. It strikes a nice balance between quality and file size.
- 160-192 Kbps: Save these higher bitrates for videos where music or sound design is a core part of the experience.
By combining the AAC codec with a mono channel and a 96 Kbps bitrate, you get an audio stream that is lean, efficient, and perfectly suited for the vast majority of instructional and marketing videos. It's that final bit of polish that makes sure your entire file is as compact as it can be.
Still Have Questions About Video Compression?
Diving into video compression can feel like you’re learning a new language. To clear things up, I’ve put together some of the most common questions Mac users run into, along with simple answers to get you compressing like a pro.
Will Making My Video File Smaller Ruin the Quality?
Not if you do it the right way. It's true that all compression involves removing some data, but the real goal is what's called perceptual lossless compression. This just means making the quality loss completely invisible to the human eye.
By using modern codecs like H.265 (HEVC) and carefully tweaking settings like the Constant Rate Factor (CRF) in an app like HandBrake, you can easily slash file sizes by 50-70% without a noticeable drop in quality on most screens. The secret is simply to avoid being overly aggressive with your settings.
What’s the Best Format for Small Video Files on a Mac?
If you're looking for that perfect blend of small file size, great quality, and universal compatibility, you can't go wrong with an MP4 file using the H.265 (HEVC) video codec and AAC audio.
H.265 is a powerhouse, far more efficient than its older cousin, H.264. Plus, modern Apple hardware is built to handle it, making encoding and decoding super smooth. This combination really gives you the best of all worlds for sharing, streaming, or just archiving your videos.
Key Insight: Picking the right format is about more than just size—it's about efficiency and future-proofing. An H.265 video in an MP4 container ensures your files are compact and ready for playback on just about any modern device.
How Can I Compress a Video to Email from My Mac?
The fastest way is already built into your Mac: QuickTime Player. Just open your video, go to File > Export As, and choose the ‘480p’ option. This setting is practically designed to get your video under the typical 25MB attachment limit for email providers like Gmail.
If the file is still a bit too chunky, the next logical step is to pop it into iMovie and trim any dead space from the beginning or end before exporting again.
What Affects File Size More: Resolution or Bitrate?
Bitrate, hands down. It has a much bigger impact on the final file size.
Think of bitrate as the amount of data you're "spending" on each second of video. You could have a 4K video with a super low bitrate that ends up being smaller than a 1080p video with a very high bitrate (though that 4K video would look pretty awful). The real art is finding the sweet spot: the lowest possible bitrate that still looks great at your chosen resolution.
The need to get this right is only getting bigger. With video content projected to make up 82% of all internet traffic by 2025 and 89% of businesses already using it for marketing, smart file management isn't just a nice-to-have anymore. You can learn more about these video marketing trends to see why optimized files are so essential.
Creating polished product demos and tutorials shouldn't end in a fight with enormous file sizes. With Screen Charm, you get powerful recording tools and smart export options built specifically for macOS. This helps you create high-quality, perfectly sized videos every single time. Stop wrestling with complexity and start creating stunning videos effortlessly by visiting https://screencharm.com today.