You've finished the Zoom call. Great. Now you're left with the raw recording—a file probably packed with awkward silences, rambling side conversations, and the classic "can you see my screen?" moments. The real work begins now: turning that rough cut into a polished, professional video asset on your Mac. This is especially crucial if you want to create genuinely useful training materials, team updates, or marketing content.
From Raw Recording to Polished Video on Your Mac
Let's be honest, a raw Zoom recording is just a starting point. It’s like a block of marble; the potential is there, but it's not a sculpture yet. Left unedited, these files usually end up collecting digital dust in a cloud folder, their value trapped behind all the filler. The goal here is to carve away the noise and reveal a clear, concise final product using the powerful tools available on macOS.
Editing isn't just about snipping out the "ums" and "ahs." It's about sharpening your message and making it incredibly easy for your audience to absorb. For those of us on a Mac, this process is more straightforward than ever, with a whole range of tools from Apple's built-in apps to powerful, specialized software designed for the Apple ecosystem.
This guide is your practical workflow for macOS. We're cutting through the generic advice to give you a process that actually works, whether you're trying to:
- Create clear training modules: Ditch the confusing parts and produce instructional videos that people can actually follow.
- Share key meeting highlights: Boil down an hour-long meeting into a crisp, 5-minute summary for busy stakeholders.
- Produce compelling marketing content: Transform a meandering product demo into a sharp promo video fit for social media.
The infographic below lays out the simple, three-stage workflow we'll follow to get your Zoom recording into shape on your Mac.

As you can see, the real transformation happens during the editing phase. This is where a simple screen capture becomes a valuable piece of communication.
A well-edited recording is a sign of respect for your audience's time. When you cut the fluff, you make every second count. This keeps viewers locked in and focused on your message, and it's what separates content that gets watched from content that gets ignored.
By the time you finish this guide, you'll know exactly how to track down your recordings on a Mac, pick the right editor for the job, and make the essential tweaks that turn a good video into a great one. Think of this as the missing manual for getting your Zoom recordings to work for you long after the meeting has ended.
Sponsored by the makers
Tired of boring screen recordings?
Try Screen Charm.
Auto-zoom, motion blur, camera overlay, and background music. All built in. Record once, export a polished video.
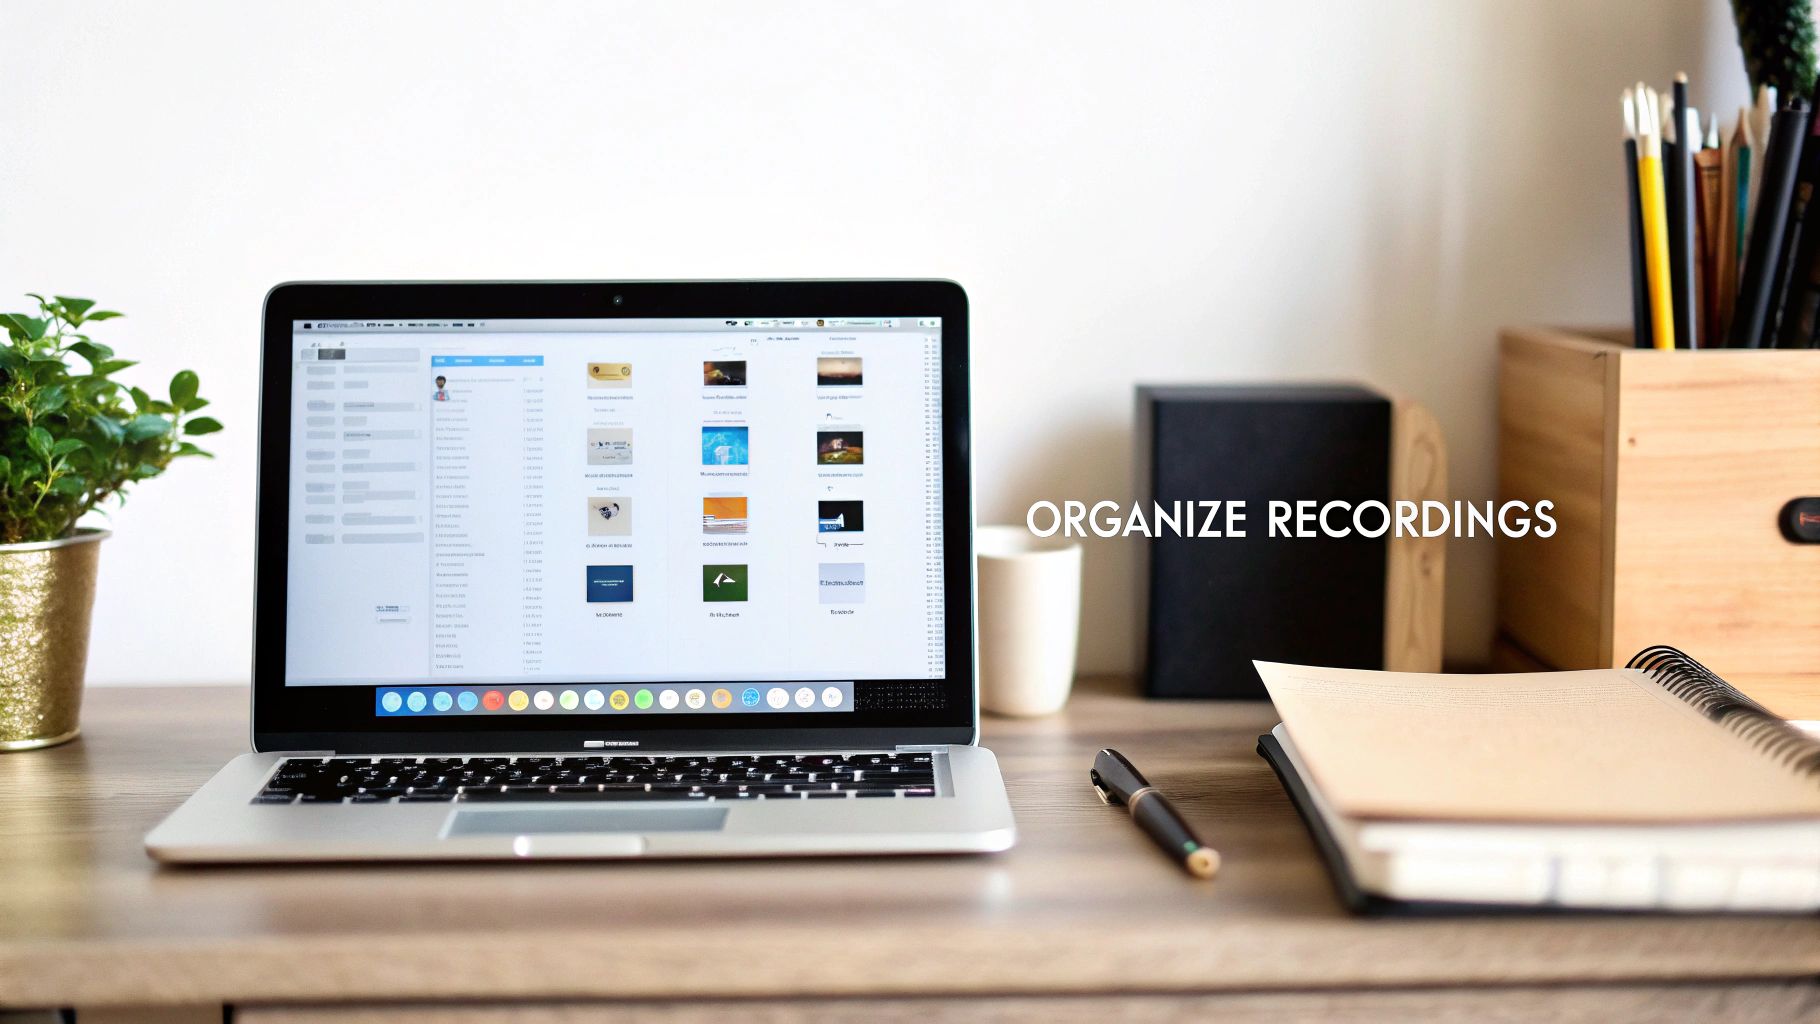
See what it doesFinding and Organizing Your Zoom Files on macOS
Before any editing can happen, you first have to wrangle the source files. On a Mac, Zoom gives you two places to stash your recordings: locally on your hard drive or up in the Zoom Cloud. Your first move in any macOS editing workflow is simply knowing where to look.
Cloud recordings are great because you can get to them from anywhere, but you'll need to download them to your Mac first. Local recordings, on the other hand, are saved right to your Mac's storage, giving you instant access without waiting on an internet connection. Honestly, most Mac users lean towards local recordings just to get to their files faster and sidestep any cloud storage headaches.
The sheer number of meetings getting recorded is staggering. In just over a year, from Q2 2020 to Q3 2021, the time people spent in Zoom webinars ballooned from 2 billion to over 45 billion minutes. That's a jump of more than 2000%. This explosion of content is exactly why having a system for your files isn't just nice—it's necessary. You can discover more insights about Zoom’s growth and what it means for creators.
Grabbing Your Cloud Recordings
If you saved your meeting to the cloud, those files are living on Zoom’s servers. Getting them onto your Mac is pretty simple once you know the drill.
You'll need to head over to the Zoom website in Safari or your browser of choice and sign in. From there:
- Look for "Recordings" in the navigation menu on the left.
- Find the meeting you need from the list that appears.
- Click the "More" button next to it, and then hit "Download."
Zoom will bundle everything up into a folder for you. Inside, you'll usually find an MP4 video, an M4A audio file, and maybe a text file with the chat log. For editing on your Mac, the MP4 file is your golden ticket.
Locating Local Recordings in Finder
When you record locally, Zoom automatically creates a folder on your Mac's hard drive. By default, it tucks them away in your Documents folder, which you can easily access through Finder.
The standard file path is: ~/Documents/Zoom
In that Zoom folder, you'll see a bunch of uniquely named subfolders, one for each meeting. This system works, but it can get messy fast. For a much smoother workflow, I highly recommend changing this default location to a dedicated project folder.
Pro Tip: Open the Zoom desktop app on your Mac, navigate to Settings > Recording, and click "Change" to pick a new spot. Setting up a specific folder like "Zoom Edits" on your desktop or an external drive will save you a ton of time hunting for files in Finder later.
Once you have your MP4 file in hand—whether you downloaded it from the cloud or found it locally—do yourself a favor and rename it immediately. A clear, consistent naming convention like ProjectName_MeetingTopic_Date.mp4 keeps things tidy before you even open your editing software. Trust me, this little habit prevents a world of confusion when you're juggling recordings for multiple projects on your Mac.
Choosing Your Go-To Video Editor on Mac
Alright, you've got your Zoom recording file in hand. Now comes the fun part: picking the right tool for the job. The macOS software you choose will really define your entire editing workflow, whether you're just doing a quick trim or crafting a professional-grade video. For Mac users, the good news is you're spoiled for choice, with everything from free, built-in apps to slick, AI-powered platforms.
Your decision really boils down to what you're trying to achieve. Are you simply snipping off the first five minutes of chit-chat before the meeting really started? Or are you turning a long webinar into a sharp, branded tutorial for your website? Each goal calls for a different kind of Mac-native editor.
The Spectrum of Mac Video Editors
Your editing journey can start with tools you already have on your Mac. For the absolute quickest and simplest edits, QuickTime Player is surprisingly handy. It's perfect for trimming the beginning and end of a recording without any fuss. If you need a bit more control—say, adding titles or cutting a section out of the middle—iMovie is a fantastic, user-friendly step up. It's the go-to for many Mac users for a reason and comes pre-installed.
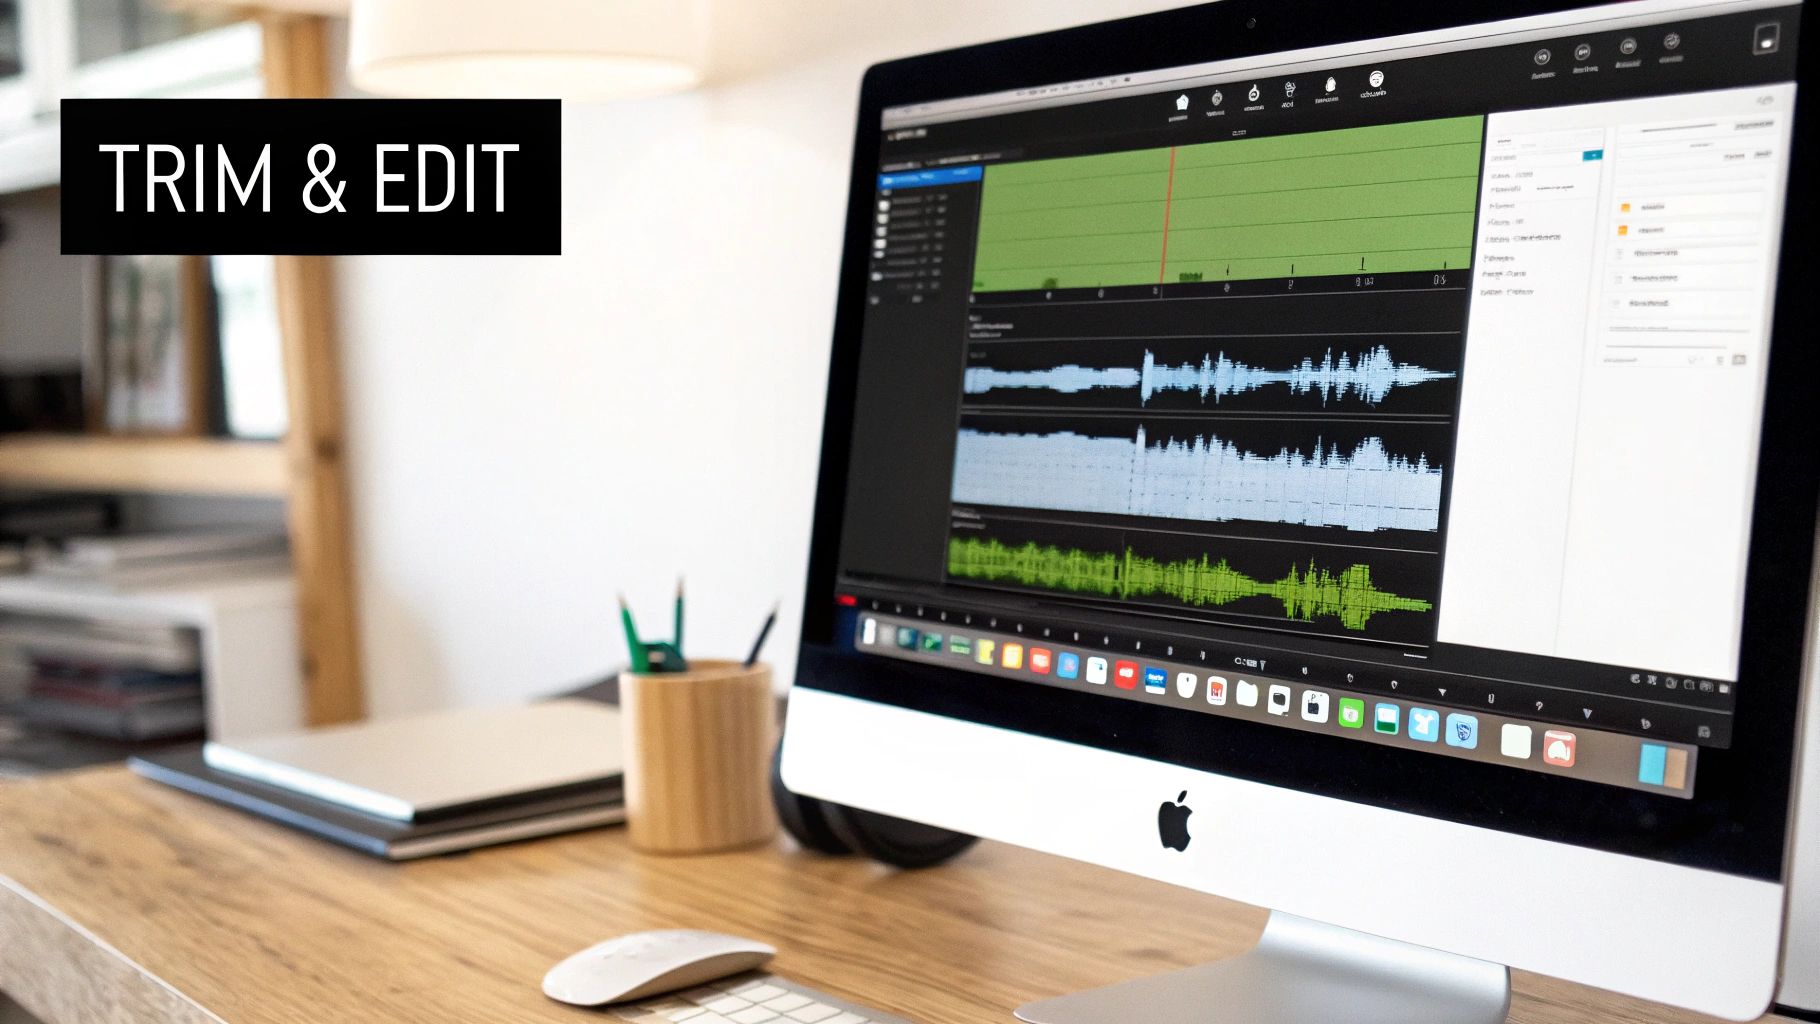
Then you have the professional-grade software built for macOS. This is where you get granular control over every single frame.
Take a look at the interface for Final Cut Pro, a top choice for pros on macOS.
As you can see, that complex timeline and massive toolset are built for deep, detailed editing. It's incredibly powerful but might be overkill for a simple Zoom recording.
For those creating high-stakes marketing content or detailed tutorials, the power of Final Cut Pro is undeniable. However, it comes with a steep learning curve. If you're just starting out, you might find our detailed guide on the best video editing software for beginners helpful for finding a tool that fits your skill level.
To help you decide, here’s a quick comparison of some popular options for Mac users.
macOS Video Editor Comparison for Zoom Recordings
| Editor | Ideal For | Key Features | Learning Curve |
|---|---|---|---|
| Screen Charm | Tutorials, product demos, social media clips | AI auto-zoom, automatic reframing, branding presets, auto-captions. | Very Low |
| QuickTime Player | Basic start/end trimming | Trimming, splitting clips. No complex timeline. | Very Low |
| iMovie | Simple edits, internal videos, basic tutorials | Drag-and-drop timeline, titles, transitions, background music. | Low |
| Final Cut Pro | Professional marketing videos, cinematic content | Advanced color grading, multicam editing, motion graphics, audio mixing. | High |
As the table shows, the "best" editor is really about finding the right fit for your specific project and how much time you want to invest.
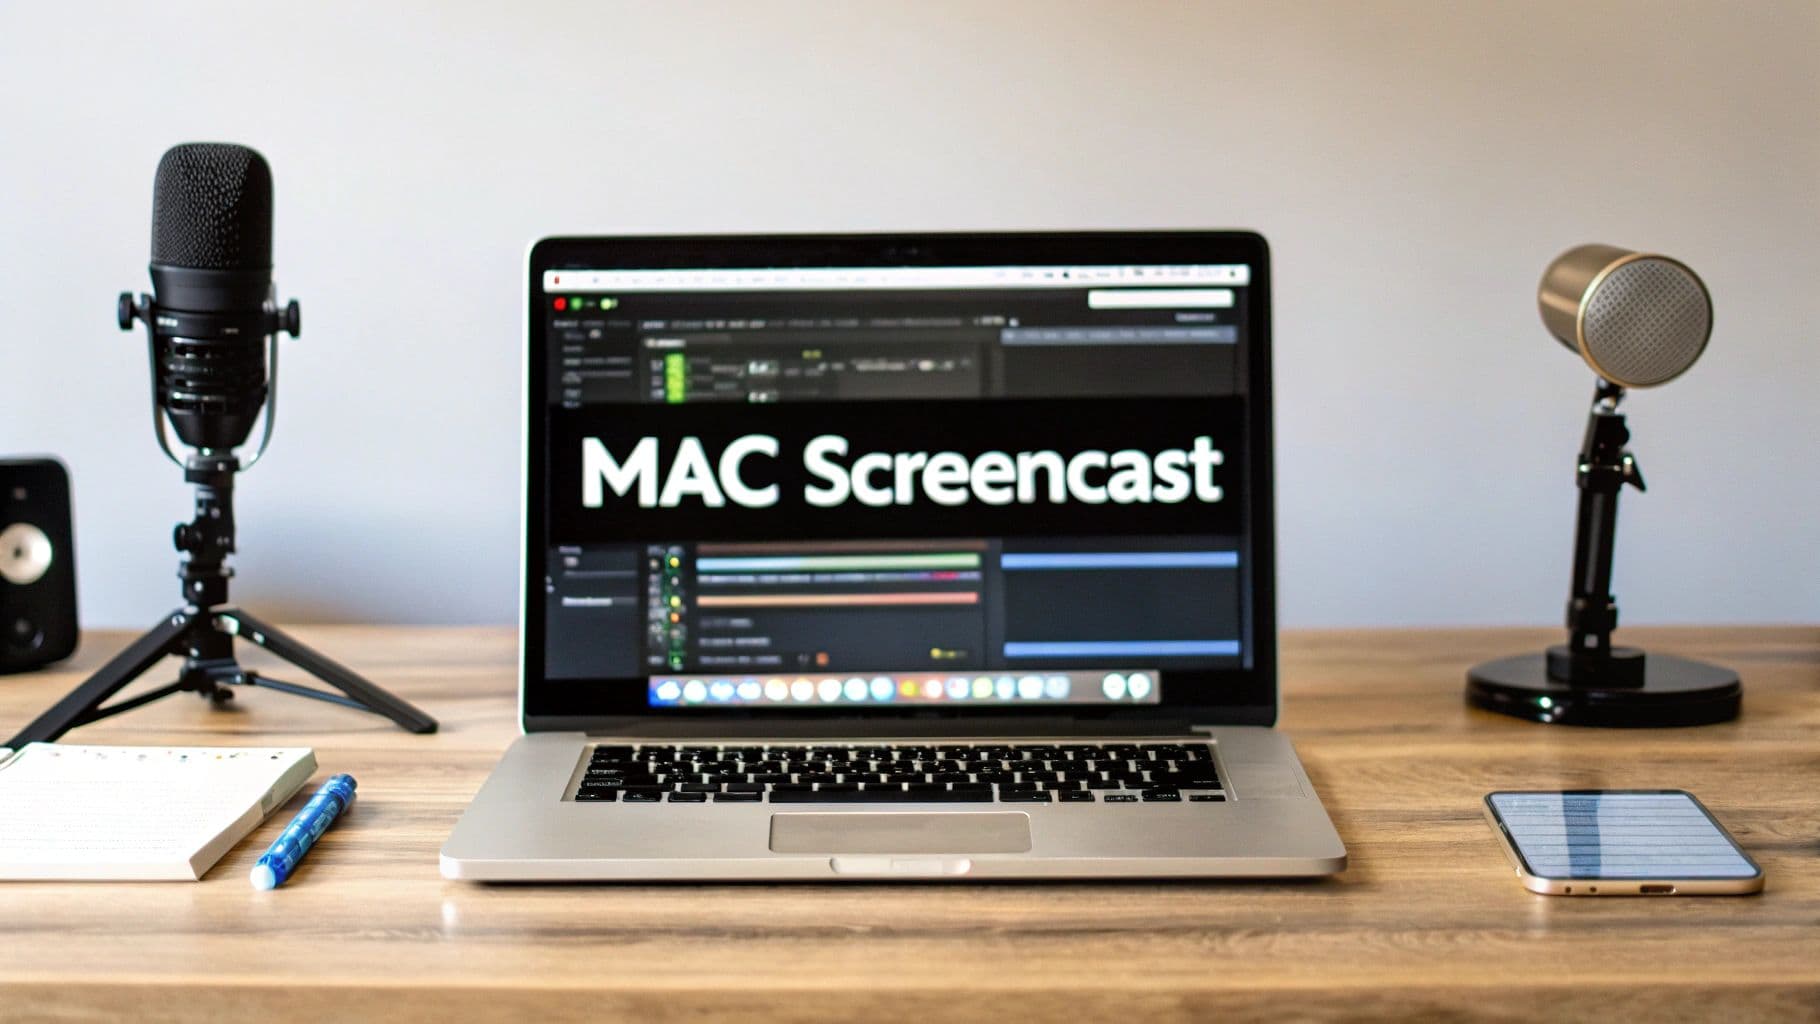
A Smarter Way to Edit Zoom Recordings on macOS
Traditional editors are powerful, but they make you do all the heavy lifting. This is where modern, purpose-built tools are changing the game by using AI to automate the most tedious parts of the process. For Mac users editing screen recordings, an application like Screen Charm really shines.
Instead of manually setting keyframes to zoom in on a speaker or highlight a part of your screen, Screen Charm does it for you. Its main feature intelligently follows the action, keeping your viewer’s focus exactly where it needs to be—automatically.
Think about it: editing a one-hour recording can easily eat up two or three hours with traditional software. AI-driven features like auto-zooming and dynamic reframing can slash that time by more than 50%. You can produce a polished video in a fraction of the time, right on your Mac.
This approach is a lifesaver for anyone who needs to create high-quality content quickly. Imagine using it for:
- Engaging Product Demos: Automatically zooming in on key interface elements as you talk about them.
- Clear Team Updates: Keeping the camera focused on the active speaker without you having to lift a finger.
- Social Media Clips: Instantly reframing a horizontal webinar into a vertical format for Instagram or TikTok.
By picking a Mac editor that actually matches your project's needs, you're setting yourself up for a much smoother, faster, and more enjoyable editing process.
Making Essential Edits for a Cleaner Recording
https://www.youtube.com/embed/jeZphr9v_N8
Alright, you've got your Zoom recording loaded into your Mac editor. Now for the fun part—turning that raw footage into a polished, professional video that people will actually want to watch. This is where the magic happens. We're going to trim the fat, clean up the audio, and make sure your message is front and center.
The single most important edit you can make is cutting the fluff from the beginning and end. Think about it: every Zoom call has that pre-game chatter, the "can you hear me?" checks, and the awkward goodbyes. Slicing that off immediately gets your viewer to the good stuff.
Trimming and Splitting for Clarity
When you look at your video in the editor, you'll see it laid out on a timeline. The easiest win is to just drag the start of the video clip to the point where the real conversation begins. Do the same for the end. Just that one move can make your video feel so much more focused.
But what about those random tangents or technical hiccups that happen mid-call? That's where splitting the clip comes in handy. You don't need to throw out the whole recording just because of a five-minute detour.
Here’s the basic workflow for cutting out a section from the middle:
- Find the exact moment the unwanted part begins and use your editor's "Split" tool (in iMovie and Final Cut Pro, this is often the
Cmd + Bshortcut) to make a cut. - Jump to the end of that section and make another cut.
- Now you have an isolated clip in the middle. Simply select it and hit delete.
The editor will snap the remaining pieces together, making it seem like that interruption never even happened. For more foundational skills, these crucial video editing tips for beginners are a great resource.
Enhancing Your Audio Quality
You can have the most beautiful video in the world, but if the audio is bad, people will click away in a heartbeat. Background noise, different mic levels, and echoes can make a recording almost unwatchable. Thankfully, most modern Mac editors have simple tools to tackle this.
Zoom has set a pretty high bar for video quality, usually recording at 720p and 25 frames per second. It's a big reason why they're expected to hold 55.9% of the video conferencing market share by 2025. Your goal should be to get your audio quality to match that crisp video.
Key Takeaway: Audio consistency is everything. You want every speaker to be at the same comfortable volume so your audience isn't constantly reaching for the volume knob. It's a small detail that makes a huge difference in the viewing experience.
Most Mac editors will have a couple of features that are lifesavers here:
- Noise Reduction: A fantastic tool for filtering out humming sounds from an AC unit, keyboard clicks, or other low-level background distractions. Both iMovie and Final Cut Pro have excellent built-in options for this.
- Volume Normalization: This automatically balances the sound levels across the entire recording, so you don't have one person who's way too loud and another you can barely hear.
One last pro-tip: consider adding a subtle instrumental music track in the background. It can fill any awkward silences and give the whole video a more polished, put-together feel. Just make sure it’s quiet enough that it doesn’t compete with the speakers. For a closer look at these techniques, our guide on simple video editing for Mac is a great next step.
Polishing Your Video: The Finishing Touches
Alright, you’ve trimmed the fat and your audio sounds crisp. Now comes the fun part: adding the professional polish that turns a raw recording into a valuable asset. This is where we focus on the details that make your video more accessible, reinforce your brand, and protect everyone’s privacy, all within your macOS environment.
Think of it as the difference between a rough draft and a published article. These final steps are what build trust and make your content feel intentional, especially if you’re editing a Zoom recording for a tutorial, marketing clip, or any other public-facing content.
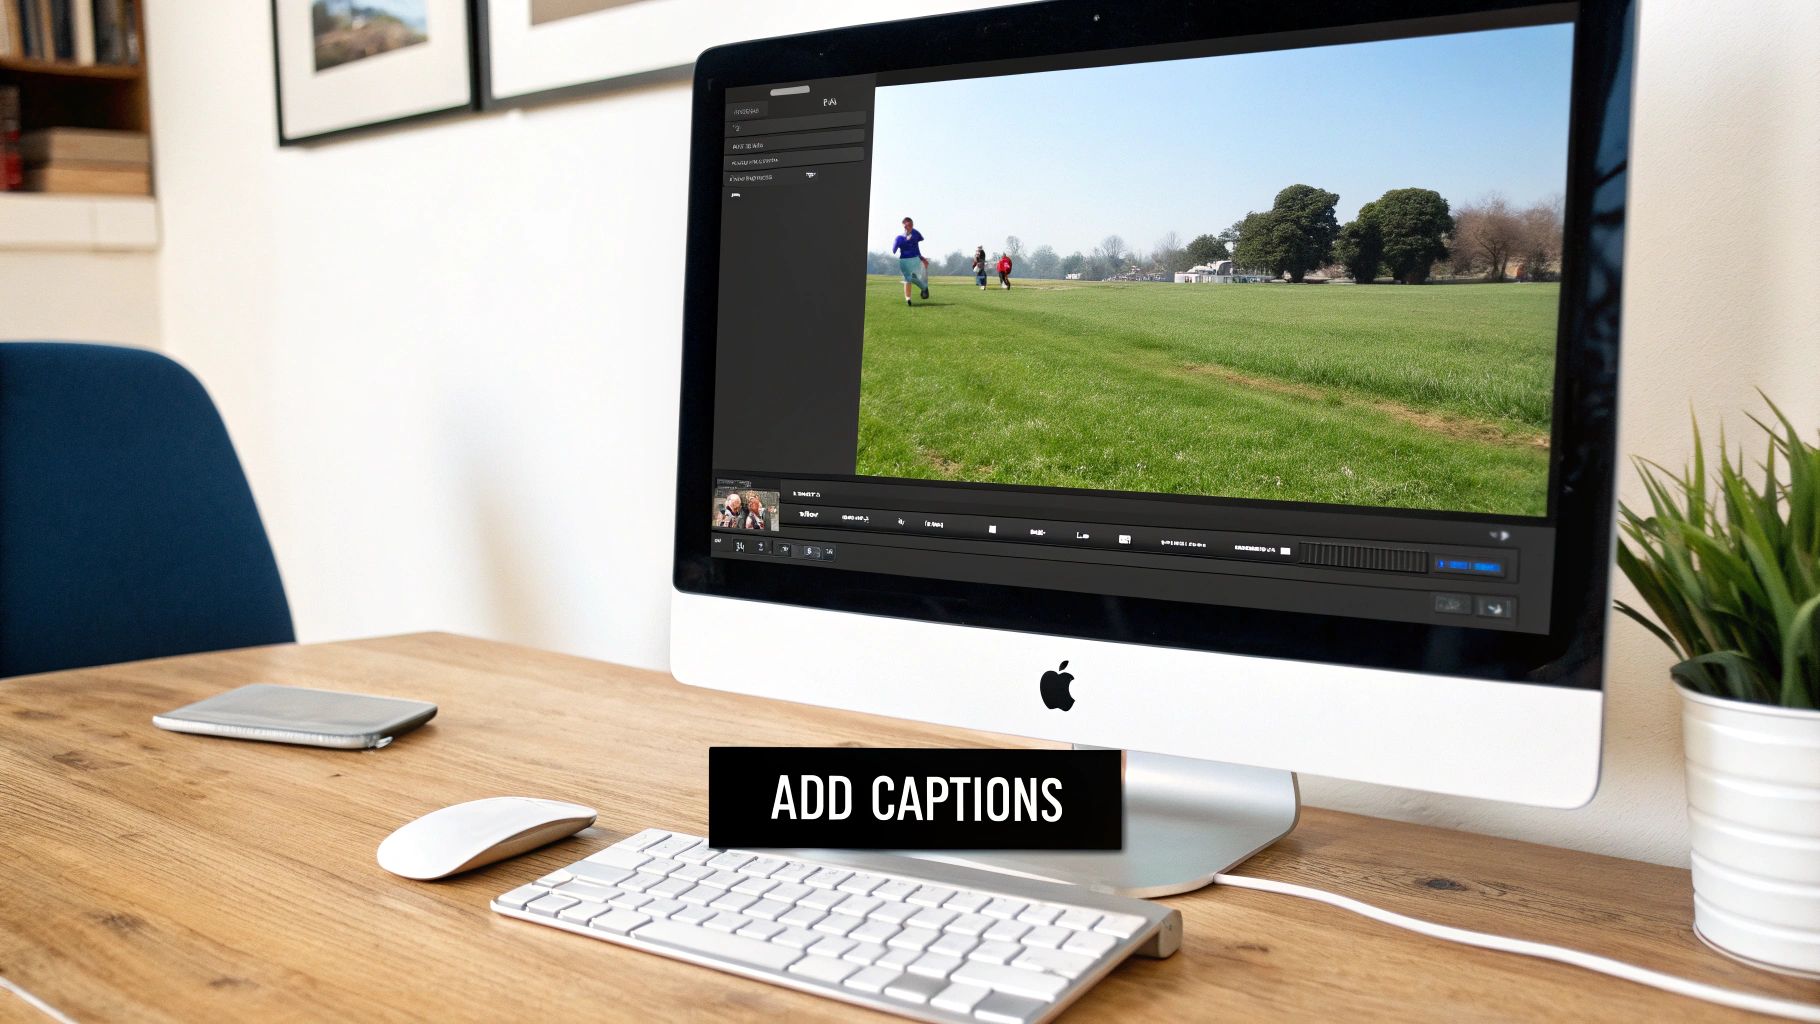
Add Captions to Widen Your Reach
Captions are non-negotiable in today's video landscape. They're a must for viewers who are deaf or hard of hearing, but they also cater to the whopping 85% of social media users who watch videos on silent. Let’s be honest, manually transcribing an hour-long meeting is a nightmare. Thankfully, most modern Mac editors can do the heavy lifting for you.
An auto-captioning tool can generate a full transcript in just a few minutes. The AI is surprisingly good, but you’ll always want to give it a quick once-over. Skim through to catch any misspelled names or funky interpretations of industry jargon. A quick proofread is all it takes to ensure your captions look clean and professional.
Adding accurate captions isn't just about ticking an accessibility box; it's about making your content understandable to the widest possible audience. It’s a small investment of time that pays off big in engagement and clarity.
Weave in Your Brand Identity
Consistent branding makes your content look polished and instantly recognizable. This is especially true for any videos you plan to share outside your organization. You don't need to go overboard; even a few subtle touches can make a world of difference.
Here are a few simple but powerful branding elements to consider:
- A Discreet Logo: Tuck your company logo into a corner of the screen. It’s a constant, non-intrusive reminder of who created the content.
- Lower-Third Titles: When a new speaker appears, pop up a simple graphic at the bottom of the screen with their name and title. It gives viewers crucial context without them having to guess. iMovie and Final Cut Pro have great pre-built templates for this.
- Branded Bumpers: A quick intro and outro clip with your branding can frame the content perfectly, giving it a more "official" feel.
The best part? You can usually save these as templates or presets in your Mac video editor, so adding them to your next project becomes a simple drag-and-drop.
Protect Privacy with Strategic Blurring
Not everything in your recording needs to be public. Before you hit "export," it’s crucial to protect participant privacy and any sensitive information that might have accidentally appeared on screen. This is where a good blur tool becomes your best friend.
For instance, if you shared your screen during the call, you might need to obscure things like:
- Personal email addresses or phone numbers in a contact list.
- Faces of attendees who didn't consent to appear in a public video.
- Confidential project names or financial data visible in open tabs or on your desktop.
Nearly any solid video editor for macOS will have a blur or mosaic effect. You just draw a shape over the area you need to hide, and you can even have it track a moving object, like someone's face. Taking a few moments to do this shows respect for your audience and protects your company, which goes a long way in building trust.
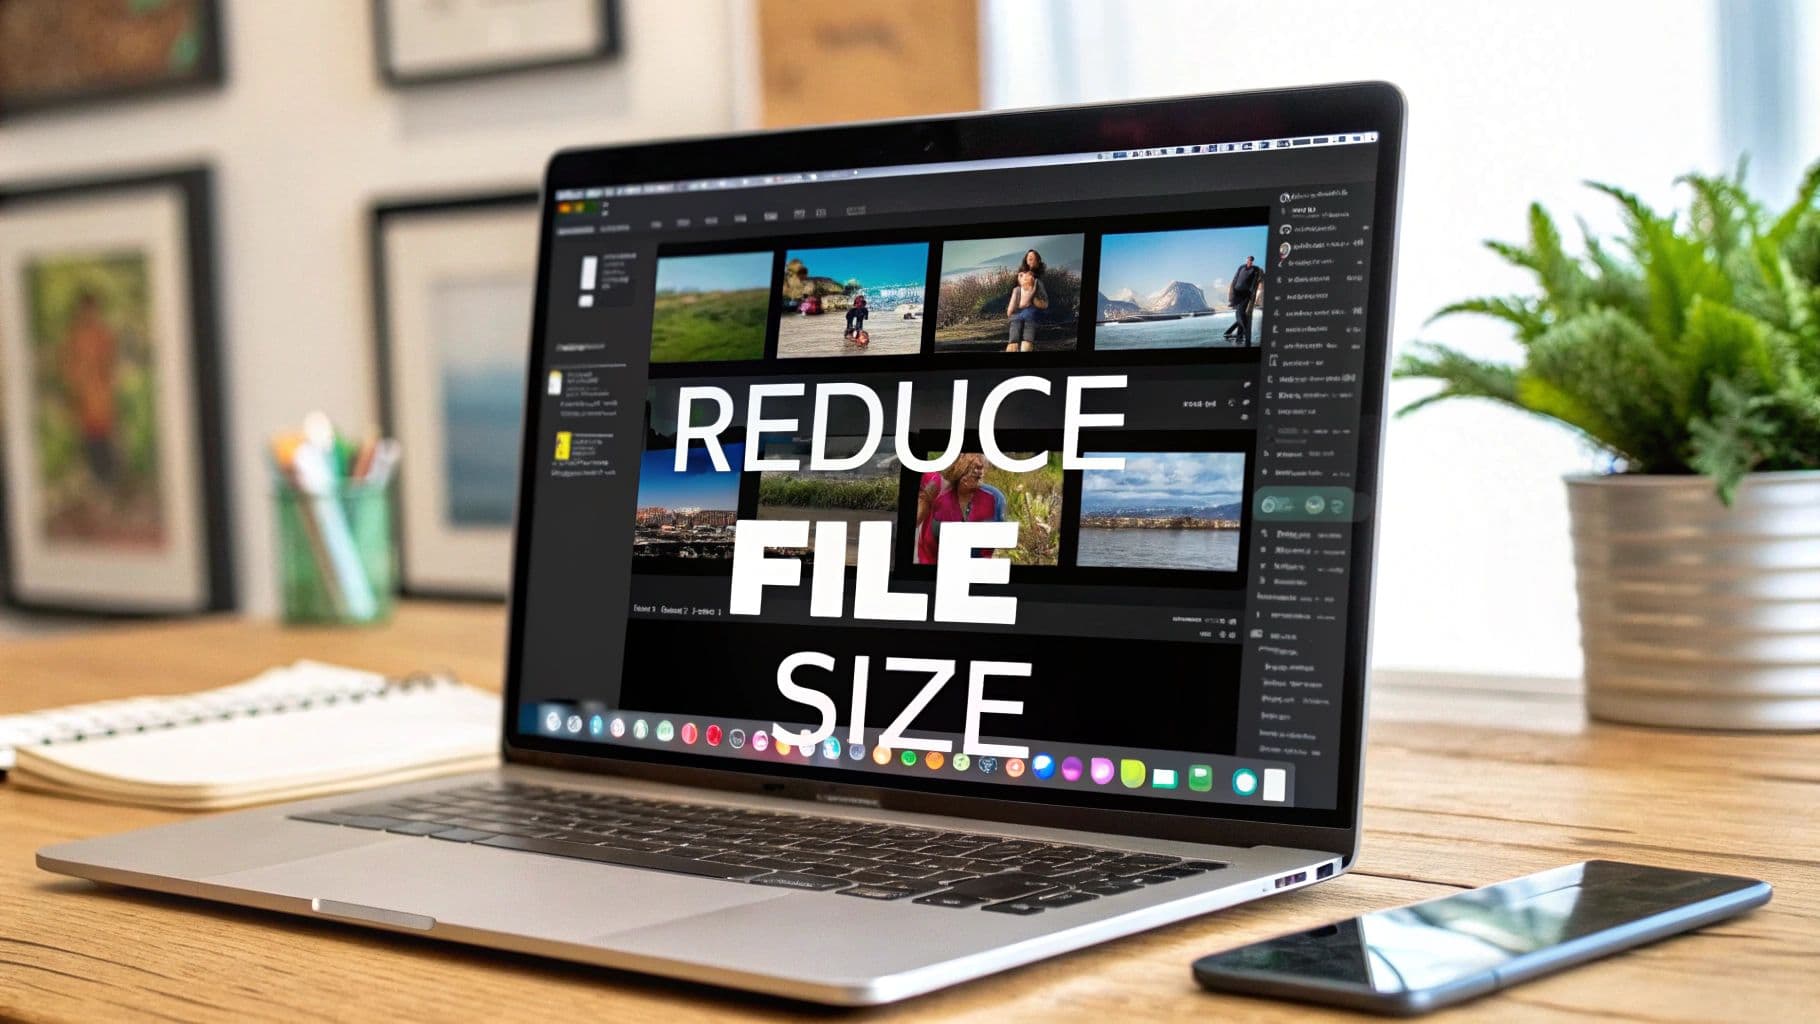
Exporting and Sharing Your Finished Video
You've put in the work—trimming the fluff, polishing the audio, and getting your Zoom recording looking sharp on your Mac. Now for the final step: exporting. This part is just as critical as the editing itself. Choosing the wrong settings can leave you with a pixelated mess or a file so huge you can’t even email it.
Thankfully, you don't need a degree in video engineering to get it right. It really just comes down to thinking about where your video will live and striking the right balance between file size and visual quality.
Choosing the Right Export Settings on macOS
For just about any use case on the web, MP4 is your go-to format. It’s the universal language of online video, offering a fantastic sweet spot between great quality and a file size that won’t take forever to upload. If your editor defaults to a different format, like MOV (which is common on Mac), it’s worth taking a moment to convert it. You can learn more about why that matters and how to convert MOV files to MP4.
Here are a few common scenarios and the settings I've found work best:
- For YouTube or Vimeo: Go for the highest quality you can. Exporting at 1080p (1920x1080) resolution is the standard. These platforms are smart; they'll take your beautiful source file and create smaller versions for viewers on different devices. Give them the best, and they'll handle the rest.
- For an Embedded Knowledge Base or Tutorial: Here, load time is a factor. A massive video can slow your page down. I find 720p (1280x720) resolution is the perfect compromise. It keeps the text and visuals crisp and clear without forcing your users to wait.
- For Sharing on Slack or Email: File size is everything. Nobody wants their inbox clogged with a gigantic video file. Drop the resolution down to 480p and pick a "medium" or even "low" quality preset in your editor. The goal is to get the point across quickly in a small, shareable package.
Your export settings are the final handshake with your viewer. A crisp, high-resolution video conveys professionalism and confidence. A blurry, overly compressed one can cheapen your message before a single word is spoken.
Getting Your Video Seen
Once your file is exported and ready, it's time to get it in front of the right people. Uploading is just the first step. If you're putting it on YouTube, for example, you'll want to make sure it can be found. A great way to do this is to optimize your video's visibility on YouTube with a YouTube Tags Generator, which helps people discover your content through search.
By thinking through your export settings ahead of time, you ensure that the video you spent so much time perfecting on your Mac looks just as good on your audience's screen as it did in your editor.
Pro Tips for Getting More from Your Zoom Recordings
Use a Consistent File Naming Convention
Zoom saves recordings with generic names like zoom_0.mp4 — a nightmare when searching weeks later. Before you edit, rename files with a YYYY-MM-DD_[Topic]_[Version] format. For example: 2026-02-20_ProductDemo_Draft01.mp4. This tells you everything at a glance and makes batch-searching a folder trivial.
Record Separate Audio Tracks Per Participant
In Zoom's recording settings, enable "Record a separate audio file for each participant." This one checkbox is transformative in post-production — if one speaker's mic is too quiet or clipped, you can fix that track without touching everyone else's audio. It also makes noise reduction and volume balancing much more precise.
Repurpose Long Recordings into Shorter Assets
A 60-minute team meeting contains multiple distinct segments. After editing out the dead air and filler, you often have:
- A 3-5 minute highlight clip for LinkedIn or your company blog
- Short standalone clips for onboarding docs or a help centre
- A condensed summary video for team members who missed the call
The editing work you do once pays off across multiple formats.
Cut Between Speaker and Gallery Views
If you recorded to Zoom's cloud, you get separate video files for active speaker view and gallery view. Cutting between them during editing — tight on the speaker when they're explaining, gallery view when there's a reaction moment — creates a much more dynamic, professional-looking video.
Ready to create stunning, professional-looking tutorials and product demos without the steep learning curve? Screen Charm for macOS uses AI-powered auto-zoom to make your screen recordings dynamic and engaging, automatically. Ditch the tedious manual edits and start creating polished videos in minutes. Get Screen Charm today.