If you're looking for a custom cursor for Mac, the simplest workflow is to design a high-quality PNG with a transparent background, import it into your recording app, and use it to make your macOS tutorials easier to follow. A custom cursor turns a basic screen recording into a more polished, branded experience that guides your viewer's eye.
For system-wide personalization outside recordings, see our broader guide to creating a custom cursor on Mac. This guide focuses on custom cursors for Mac screen recordings and product demos.
Why a Custom Cursor Makes Your Recordings Better
The default macOS cursor gets the job done, but it’s pretty forgettable. For anyone creating content on a Mac, swapping it out for a custom design is a small change that delivers a big impact. It’s one of the quickest ways to level up the production value of your tutorials, demos, and presentations.
Think of your cursor as your digital stand-in, pointing out what matters on screen. The standard one just fades into the background, but a unique one becomes a focal point, keeping your audience locked in on the action.
Guide Viewer Attention and Boost Clarity
In a busy macOS software walkthrough, a high-visibility cursor is your best friend. A brightly colored or uniquely shaped pointer makes your every move easy to follow, even when the screen is cluttered. This means viewers won't have to scrub back through the video just to see what you clicked.
This small visual cue significantly improves comprehension and makes your instructions dead simple to follow. A well-designed cursor is also a form of effective micro-interactions, providing constant visual feedback that keeps users engaged.
Reinforce Your Brand Identity
Your cursor is also a sneaky-good branding opportunity. By using your logo's colors or a shape that reflects your brand, you create a consistent, professional look that carries through all of your video content. It’s a subtle touch that signals quality and a real commitment to detail.
A custom cursor transforms a forgotten macOS UI element into a signature part of your content. It proves you’ve considered the entire viewing experience, which goes a long way in building trust and authority with your audience.
In the end, switching to a custom cursor delivers a few key wins:
- Improved Focus: It naturally draws the eye, helping viewers track exactly what you're doing.
- Enhanced Professionalism: It gives your videos a polished, high-end feel that stands out.
- Stronger Branding: It weaves your brand's identity into the very fabric of the tutorial.
It's a minor adjustment, but it makes a major difference in how people perceive and connect with your content.
Making a Cursor That Truly Pops
When you're creating a custom cursor for screen recordings on your Mac, your mission is to find that sweet spot between cool design and practical visibility. The last thing you want is for your audience to lose track of where you're pointing. A great cursor should be impossible to miss, no matter how busy the screen gets. For macOS users, tools like Figma or Sketch are perfect for getting the job done.
It all starts with two fundamental choices: color and shape. Remember, your cursor has to stand out against everything—light backgrounds, dark backgrounds, and everything in between. This is especially true on macOS, where users can flip between light and dark modes in a heartbeat from System Settings.
So, think bright. A bold, saturated color like a vibrant yellow, a sharp cyan, or even a hot magenta works wonders. These hues naturally contrast with most user interfaces. But color alone won't solve the problem.
Designing for Maximum Visibility
Here's a pro tip that makes all the difference: pair your bright color with a contrasting outline. A simple 1-2 pixel black or dark gray border around a yellow cursor, for instance, makes it stand out even when it’s sitting on top of a yellow button or a white page. A subtle drop shadow can achieve a similar effect.
This one little trick dramatically improves legibility by creating separation and depth. It’s this kind of attention to on-screen detail that’s driving huge growth in user experience analysis; in fact, the cursor analytics market is expected to hit $2.5 billion by 2033. Clearly, people are paying more attention to where the pointer goes.
Before you finalize your design, here’s a quick summary of what I’ve learned works best over the years.
Cursor Design Best Practices for High Visibility
This table breaks down the key elements for creating a cursor that's easy for your audience to follow in any recording.
| Design Element | Recommendation | Why It Matters |
|---|---|---|
| Color | Use bright, saturated colors (e.g., yellow, cyan, magenta). | These have high contrast against both light and dark backgrounds, preventing the cursor from blending in. |
| Outline/Shadow | Add a thin (1-2px) black or dark gray outline or a subtle drop shadow. | It creates a sharp, defined edge so the cursor is always visible, even on same-colored elements. |
| Shape | Opt for asymmetrical shapes like a classic arrow or teardrop. | These shapes naturally direct the eye to the clicking point, making your actions clearer. |
| Hotspot | Ensure the design clearly indicates the "click point" or hotspot. | Viewers need to know exactly where the click will register to understand your on-screen actions. |
Paying attention to these details will ensure your cursor doesn't just look good—it actually enhances the clarity of your tutorial or presentation.
The Hotspot and Your Cursor’s Shape
Every cursor has a hotspot—that single, precise pixel where the click happens. For a standard arrow, it’s the very tip. If you design a circle, the center is the intuitive choice. Your design needs to subconsciously guide the viewer’s eye right to that spot.
This is why asymmetrical shapes, like the classic pointer, are often more effective than a perfect circle. An arrow inherently points, communicating its purpose without a second thought.
A great custom cursor isn't just about looking cool; it's about clear communication. If your viewer has to guess where your cursor is clicking, the design has failed, no matter how stylish it is.
As you wrap up the creative part, think about the final file format. You'll probably design in a vector format like SVG, which is fantastic for scalability, but you’ll need a pixel-based image in the end. A good practice is to run your final design through an an SVG optimizer (tools like SVGO work well) to keep the file clean and lightweight.
With a solid design in hand, the next step is getting it ready for macOS.
Sponsored by the makers
Tired of boring screen recordings?
Try Screen Charm.
Auto-zoom, motion blur, camera overlay, and background music. All built in. Record once, export a polished video.
See what it doesExporting Your Cursor for macOS
Alright, you've designed a killer custom cursor. Now comes the crucial part: getting it out of your design tool and ready for macOS. A great design is one thing, but if you export it wrong, you’ll end up with a blurry, pixelated mess.
The only format you need to worry about for macOS is PNG with a transparent background. It's the gold standard because it preserves all the crisp details and, most importantly, the transparency. Without that transparency, you'd have a clunky white box trailing your cursor in every recording—not exactly the professional look we're going for.
Getting the Size and Resolution Right
So, what size should you export? My rule of thumb is to go a little bigger than you think you need. You can always scale a cursor down without losing quality, but scaling up a small image is a recipe for blurriness.
A 64x64 pixel canvas is a great starting point. It's detailed enough for most standard displays. But if you want to ensure your cursor looks absolutely pristine on modern Retina screens (like a MacBook Pro or a Studio Display), I highly recommend exporting a 128x128 pixel version as well.
Think of it like this: a well-exported PNG is the perfect balance. It delivers a sharp, professional look without creating a massive file that could slow things down.
My Pre-Export Checklist
Before I ever hit that export button in Figma or Sketch, I do a quick mental run-through. It takes about ten seconds and has saved me countless headaches.
- Format Check: Is it set to PNG? (It's easy to accidentally leave it on JPG).
- Transparency On? The single most common mistake. Make sure that "transparent background" box is checked.
- Dimensions Locked: Am I exporting at 64x64px and 128x128px? I usually export both to have options.
- Smart Naming: Is the file name descriptive? Something like
Brand-Yellow-Cursor-128.pngis way better thanUntitled-1.png. Trust me, your future self will thank you when you're digging through folders later.
Once you’ve got your perfectly exported PNGs, you're all set. The hard part is over, and you're ready to bring that custom cursor into your recording software.
Getting Your Custom Cursor Set Up in Screen Charm
Alright, you've got your high-quality PNG file ready to go. Now for the fun part: bringing it into Screen Charm and watching it come to life. This is where your design stops being just an image and becomes the star of your next macOS screen recording. The good news is, getting it integrated is a breeze, so you'll be creating, not configuring.
The whole process is pretty simple when you break it down. You design the cursor, export it correctly, and then pop it into the app.
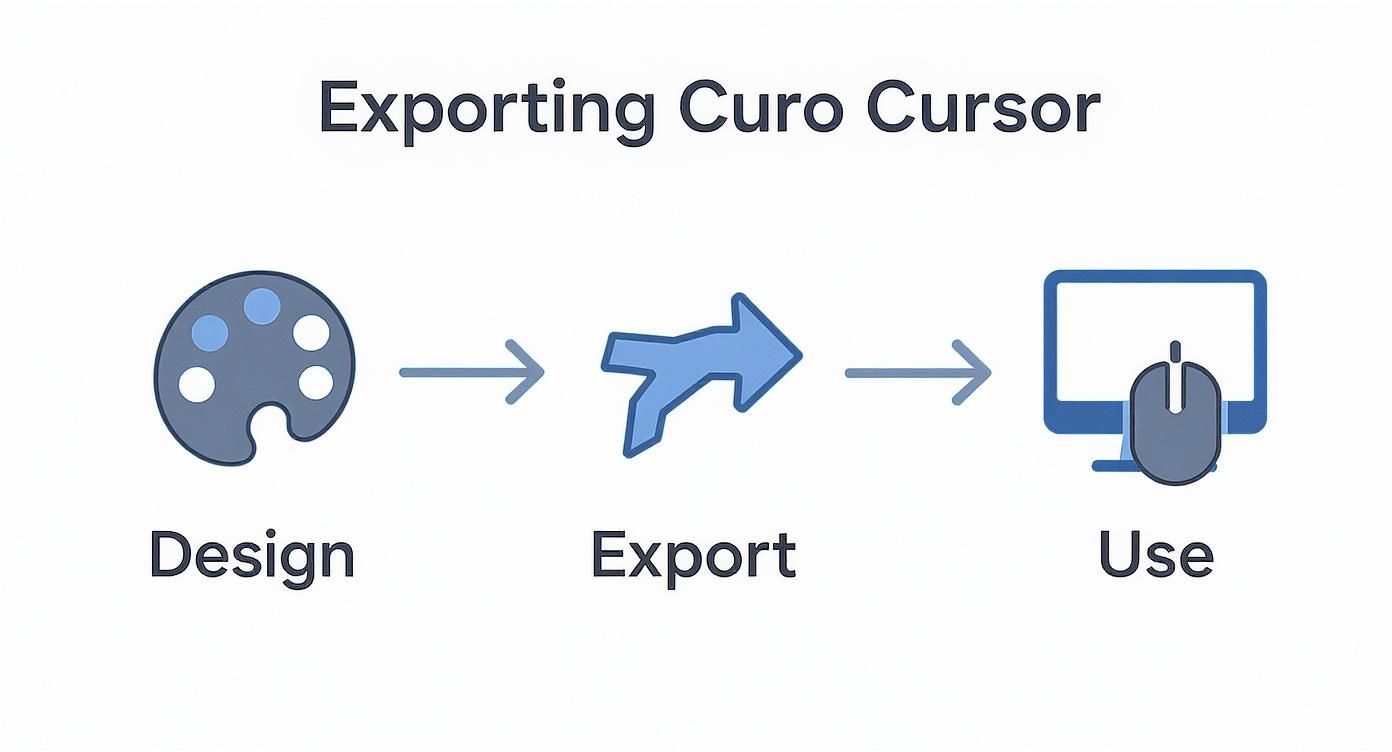
As you can see, each step flows right into the next. Once you upload that file to Screen Charm, you'll find a whole new world of options opens up that go way beyond just swapping out the icon.
Dialing in Your Cursor's Behavior
Importing your design is just the first step. Screen Charm gives you some serious control over how your cursor actually looks and moves on screen. The moment you upload your PNG, you can start tweaking its size.
Maybe you're recording a complex software demo and need a huge, can't-miss-it yellow arrow. Go for it. On the other hand, if you're putting together a polished corporate presentation, a smaller, on-brand pointer might be the more professional choice.
You can also adjust the on-screen smoothing. This is a fantastic feature that makes your cursor movements look more fluid and intentional, cutting out any of that jerky, nervous energy. It’s perfect for when you need to slowly draw the viewer's eye to a specific button or menu option.
A well-tuned cursor feels like an extension of your teaching style. By adjusting its size and smoothing, you control the pace and focus of your tutorial, ensuring your audience never misses a critical step.
These kinds of settings are becoming a bigger deal. In fact, some companies have reported productivity gains of around 126% just by implementing more advanced user interaction tools.
Combining Your Cursor with Effects
To really make your recordings pop, you can layer your custom cursor with some of Screen Charm's other visual tools. A popular move is to add a highlight effect—that colored circle around the cursor—to give it an extra visibility boost. You can also turn on click animations, which create a subtle pulse to confirm every single left or right click.
Here are a couple of combinations I use all the time:
- For a Software Tutorial: I'll go with a large, bright custom cursor and a simple click animation. This combo makes every action perfectly clear without cluttering the interface.
- For a Corporate Presentation: I tend to use a smaller, branded cursor with a gentle highlight. It adds a polished, professional touch and helps guide the audience's focus without being distracting.
Once you get the hang of these settings, you can create the perfect on-screen experience for any kind of project. If you want to explore more native macOS pointer options, check out our guide on how to change your cursor on a Mac.
Recording Techniques with a Custom Cursor
Now that you've got your custom cursor, it's time to put it to work telling a clear visual story. A great cursor is only half the battle; its real power comes from how you move it during your macOS screen recordings. I've seen countless tutorials derailed by frantic, jerky mouse movements that just distract and confuse the viewer. The goal is to guide their attention, not give them whiplash.
Think of your cursor as a presenter's laser pointer. Instead of zipping from one side of the screen to the other, use slow, intentional motions. Need to draw attention to a button or menu item? Gently circle it once or twice. Want to give your audience a moment to read a piece of text? Just let the cursor hover calmly nearby. It’s a simple change that makes a world of difference.
Combining Tools for Professional Results
Your new cursor really shines when you pair it with other recording features inside Screen Charm. My personal favorite combination is pairing deliberate cursor movement with the app's automatic zoom. Imagine moving your cursor toward a settings icon, and as you get close, the screen smoothly zooms in. This creates a really polished, professional effect that makes your action impossible to miss.
Think of your cursor as the director of your viewer's attention. Every movement should have a purpose, whether it's to highlight, emphasize, or transition to the next step. This intentionality is what separates a good tutorial from a great one.
This level of precision is more important than ever. We're seeing a huge emphasis on intelligent, cursor-based interactions across the software world, exemplified by AI-driven tools like the code editor Cursor, which recently hit a stunning $29.3 billion valuation. It’s a clear signal that people value precise, helpful on-screen guidance.
To take your tutorials to the next level, you can master screen capture annotation to complement your cursor work. When you combine smooth cursor movements with smart annotations, you create guides that are not just informative but incredibly easy to follow. For more foundational advice, check out our complete guide on how to record a screen on a Mac.
Got Questions? Let's Talk Custom Cursors
So, you're ready to design your own cursor for macOS. Excellent choice. But as soon as you dive in, a few common questions always seem to surface. I've been there. Let's get those sorted out right now so you can keep moving.
What’s the Best File Format to Use?
Hands down, you’ll want to save your cursor as a PNG with a transparent background. For macOS apps like Screen Charm, this format is the gold standard.
Why PNG? It gives you that perfect mix of high-quality visuals and, most importantly, the transparency needed to avoid that ugly white box trailing your pointer. While you might design in an app that uses SVGs, always export the final version as a PNG for the best compatibility.
Can I Get Fancy with an Animated GIF?
I get the appeal, but unfortunately, it's a no-go. The vast majority of macOS screen recorders, Screen Charm included, are designed to work with static images. This isn't a limitation—it's a deliberate choice to keep performance silky smooth and prevent your computer from bogging down mid-recording.
My Two Cents: If you really want to show viewer interaction, lean on the built-in click animations. A quick visual pulse when you click often looks cleaner and more professional than a distracting, looping GIF anyway.
How Do I Make Sure My Cursor Shows Up on Any Background?
The one-word answer? Contrast.
Your cursor has to pop against everything from a bright white document to a dark-mode macOS interface. The most reliable trick in the book is to pair a vibrant, saturated color (think bright yellow or a sharp cyan) with a subtle dark outline or a soft drop shadow.
This little bit of edge definition is what stops your cursor from getting lost. It creates a crisp border that makes it stand out, no matter what it's hovering over.
Ready to see your new creation in action? With Screen Charm, you can drop in your custom cursor, tweak its size and movement, and start recording polished, on-brand tutorials in minutes. Give Screen Charm a try and see how much of a difference a great cursor can make.