Let's be honest, the standard black arrow on your Mac is functional, but that's about it. It gets the job done, but it’s far from perfect. Learning how to change your Mac's cursor settings can take your user experience from just okay to genuinely fantastic, improving clarity for yourself and anyone watching your screen.
Why a Custom Mac Cursor Is a Game Changer
How many times have you lost that tiny black arrow in a sea of text or a complex design file? We’ve all been there, wiggling the mouse frantically just to find it. For presenters, tutorial creators, or anyone with visual sensitivities, that little pointer isn't just a minor annoyance—it's a real barrier.
A simple tweak, like making the cursor bigger or giving it a bright red outline, can be a revelation. Picture this: you're leading a team demo over a screen share. A large, high-contrast cursor means everyone can follow your every move, from clicking a tiny menu item to dragging a file. No one gets lost, and your instructions land perfectly.
A Brief History of the Mac Cursor
That iconic tilted arrow has been with us since the very beginning. When Apple's first Macintosh launched on January 24, 1984, it brought the graphical user interface—and the mouse cursor—into the mainstream. Its design, a black arrow angled at about 45 degrees, was a brilliant solution for the limited 16x16 pixel grids of the time. The tilt made it clearly visible and directional, a design that has impressively stood the test of time. You can actually dive deeper into its history over at JamesHK.com.
Today, all the built-in controls for changing it live in System Settings (what we used to call System Preferences).
This is your starting point. The Accessibility panel is where Apple has tucked away all the native options for tweaking your cursor.
It's More Than Just Looks
Beyond making presentations clearer, customizing your cursor can genuinely reduce eye strain in your day-to-day work. Bumping up the size and contrast means your eyes don't have to work so hard to track it across a large monitor (or two). It's a small ergonomic win that makes a real difference over a long day.
So, what are the real-world benefits?
- Improved Visibility: A bigger or more colorful cursor is a lifesaver on busy screens, high-res displays, and multi-monitor setups.
- Enhanced Audience Engagement: For tutorials or demos, a custom pointer acts as a spotlight, guiding your viewer’s attention and making sure they don't miss a thing.
- Reduced Eye Strain: Better contrast and a larger pointer make your Mac more comfortable to use, especially during long sessions.
Sponsored by the makers
Tired of boring screen recordings?
Try Screen Charm.
Auto-zoom, motion blur, camera overlay, and background music. All built in. Record once, export a polished video.
See what it doesAdjusting Your Cursor Within macOS Settings
You don't need fancy software to get a better handle on your Mac's cursor. Some of the most practical and powerful customization options are already baked right into macOS, tucked away in the System Settings. These aren't just for show; they're Accessibility features designed to make a real difference in your day-to-day work.
To get there, just open System Settings and click on Accessibility in the sidebar. From there, head into the Display section. You'll see a Pointer tab—that's where all the good stuff is.
Finding the Perfect Size and Color
The first and most obvious control is the Pointer size slider. Give it a nudge to the right, and your cursor will instantly get bigger. This is a game-changer on large 4K monitors or when you're juggling multiple screens, where the standard pointer can feel like finding a needle in a haystack.
Beyond size, you can also play with the colors to make your cursor stand out.
- Pointer outline color: This adds a colored border around the cursor. A vibrant red or a sharp blue can make the pointer pop against virtually any background.
- Pointer fill color: This changes the main color of the arrow. The real trick is to combine a bright fill with a dark, contrasting outline for maximum visibility.
Pro Tip: Think about where you spend most of your time on your Mac. If you're a fan of dark mode, a bright yellow fill with a black outline is fantastic. If you're doing a presentation or a screen share, a bold, can't-miss color ensures your audience can follow along easily.
These small tweaks are essential for content creators. Learning how to record a screen on Mac is one thing, but ensuring your viewers can actually see what you're pointing at is what separates a good tutorial from a great one.
Here’s a quick breakdown of what you can do without leaving your System Settings.
macOS Built-In Cursor Customization Options
| Feature | What It Does | Best For |
|---|---|---|
| Pointer Size | Increases or decreases the cursor's overall size using a slider. | Users with large displays, visual impairments, or for creating screen recordings where visibility is key. |
| Pointer Outline Color | Changes the color of the border around the cursor. | Improving contrast and making the cursor pop against busy or similarly-colored backgrounds. |
| Pointer Fill Color | Changes the main interior color of the cursor. | Pairing with an outline color for maximum visibility, or simply personalizing the look and feel. |
| Shake Mouse Pointer to Locate | Temporarily and dramatically enlarges the cursor when you shake the mouse. | Quickly finding a "lost" cursor on a cluttered screen or across multiple monitors without interrupting your workflow. |
These built-in options provide a solid foundation for making your cursor work better for you, whether for accessibility, productivity, or creating clearer content.
The Overlooked "Shake to Locate" Feature
One feature that often goes unnoticed is Shake mouse pointer to locate. With this enabled, a quick, frantic wiggle of your mouse (or a fast swipe on your trackpad) makes the pointer balloon in size for a second. It's an incredibly simple but effective way to find your cursor when it gets lost in the shuffle.
You can toggle it on or off, but I've found that 9 out of 10 people who try it end up leaving it on. It’s just that useful.
Exploring Third-Party Mac Apps for Unique Pointers
While macOS’s built-in settings are a decent starting point, they barely scratch the surface of what's possible. If you really want to change your Mac cursor into something truly unique—maybe an animated character, a branded logo for your company, or just a completely different icon—you'll need to look at third-party Mac apps. These tools are built from the ground up for deep customization, taking you far beyond simple size and color tweaks.
There are quite a few apps out there, each with its own library of pointers. Some are fun and quirky, others are sleek and professional. They typically work by running a small process in the background that swaps out the standard system pointer for your custom design. This is how you can transform that plain arrow into almost anything, making your desktop feel genuinely yours.
What to Look for in a Mac Cursor App
Before you download the first app that pops up in a search, it’s worth thinking about a few things to make sure you get a good experience. A solid cursor customization app for macOS should be:
- Lightweight: It shouldn't be a resource hog. A cursor app has no business slowing down your Mac by eating up CPU or memory.
- Compatible: Check that the app is actively maintained and supports the latest version of macOS. Nothing is more frustrating than a cool app that causes system glitches.
- Varied: A good app will have a diverse library of both static and animated cursors. The best ones will even let you import your own designs for ultimate control.
Repositories for Mac software are a great place to start your search, as you can easily find and compare different options.
Websites like this let you read user reviews and, most importantly, check the "Last Updated" date. This is a quick way to verify that the app is still being supported and will likely work well with your system.
For those who want to get really technical with their pointers, a tool like the Cursor Sh utility can offer more advanced options for creating something truly one-of-a-kind.
The biggest trade-off with third-party Mac apps is always performance versus personalization. An animated, high-resolution cursor might look fantastic, but it's going to use more system resources than a simple static one. On most modern Macs, you won't even notice. On older machines, though, it’s probably wise to stick with simpler custom designs.
In the end, whether you want a waving cat for a bit of fun or a specific branded icon for professional tutorials, a dedicated app is the only way to get a completely custom look.
Custom Cursors for Professional Screen Recordings on Mac
If you create tutorials, software demos, or product walkthroughs on your Mac, you know your cursor is more than just a pointer—it's the main character. A standard black arrow can easily get lost against a busy app interface, leaving your audience behind. This is exactly why specialized Mac screen recording tools are so valuable; they offer cursor effects that make your videos clearer without permanently changing your system-wide settings.
These apps let you do a lot more than just change your Mac cursor icon. They add dynamic effects that only appear during the recording, giving your videos a polished, professional look. Think highlights that draw the eye, magnification to zoom in on details, and even smoothing to fix jerky mouse movements for a clean final cut.
Taking Your Mac Videos to the Next Level with Cursor Effects
The whole point is to make your on-screen actions impossible to miss. A subtle halo or a spotlight effect keeps the viewer’s focus exactly where it needs to be. Add in a click animation, and you give a clear visual cue that something has happened. This is a game-changer when you're demoing software packed with tiny buttons or complex menus.
Most dedicated screen recorders for Mac come with a solid set of features for this:
- Cursor Highlighting: Puts a colored circle or "halo" around your pointer so it never disappears into the background.
- Click Animations: Triggers a ripple or flash effect with every click, giving your audience visual confirmation of your actions.
- Pointer Smoothing: Magically evens out shaky hand movements for a steady, professional-looking presentation.
- Magnification Zone: Zooms in on the area around your cursor, perfect for showing off fine details without breaking the flow.
This visual guide breaks down just how simple it is to find and start using these tools.
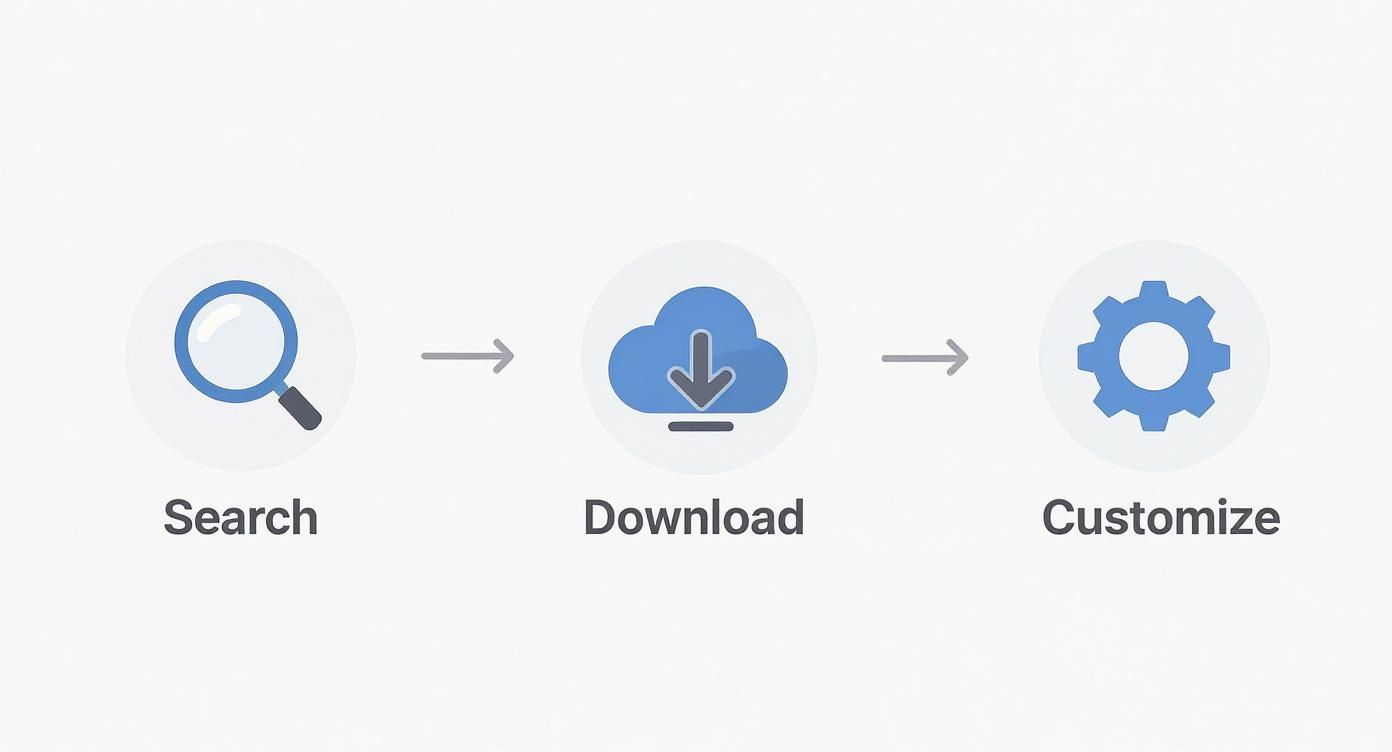
From searching for a Mac app to customizing your cursor, the process is designed to be fast. This lets you spend less time fussing with settings and more time creating great content. To see which tools offer the best features, check out our guide on the best Mac screen recording software out there.
A Quick History of the Cursor
Ever wonder where some of those common cursor icons came from? That classic "hand" icon that pops up over links has a surprisingly long history—it first appeared on the Mac with HyperCard all the way back in 1987. The design was actually inspired by Mickey Mouse's pointing glove, and it's become a universal symbol that has stuck around for decades.
Making sure your professional screen recordings look great is a big part of presenting your app well. Optimizing your visual assets — from cursor visibility to recording quality — is a key part of a strong app presentation.
Troubleshooting Common Mac Cursor Problems
https://www.youtube.com/embed/mPk4E4HYP74
Even the most carefully customized cursor can act up now and then. One minute you're recording a flawless tutorial on your Mac, and the next, your pointer is lagging, freezing, or has vanished completely. Don't worry—most of the time, a few quick checks can get things back on track.
The first thing to figure out is where the problem is happening. Is your cursor misbehaving in just one app, or is it happening everywhere? If it’s isolated to a single program, that app is probably the source of the trouble. If it’s a system-wide issue, it could be a conflict with a customization tool or a deeper system setting.
Isolating the Cause of Pointer Issues on Your Mac
When your cursor starts to get glitchy, your first move should be to disable any third-party customization apps you're running. A simple quit from the menu bar usually does the trick, instantly reverting to the default macOS pointer. If that solves it, you've found your culprit.
If quitting the app doesn't fix it, it's time to dig a little deeper. Here are a few other common causes I've run into on macOS:
- System Overload: Those cool animated cursors can be surprisingly demanding. If you’re on an older Mac or pushing your machine hard with something like video editing, the animation can cause stuttering and lag. Try swapping to a static custom cursor (or the default one) to see if performance smooths out.
- Accessibility Settings Conflict: Occasionally, the built-in macOS settings don't cooperate with third-party apps. If the changes you made in System Settings > Accessibility > Pointer aren't behaving as expected, try resetting them to their defaults. Then, you can relaunch your customization app and see if the conflict is resolved.
- Corrupted Preference Files: This one is less common, but a corrupted system file that stores your settings can cause all sorts of strange and persistent issues. This is a more advanced fix, but it's something to keep in mind if a simple restart doesn't help.
If the cursor problem is happening alongside other issues—for instance, if your screen record is not working—it might signal a broader system conflict. Resetting your Mac's PRAM/NVRAM is a classic Mac user trick that can clear up a surprising number of hardware-related quirks, including pointer weirdness.
Got Questions About Your Mac Cursor?
Once you start tinkering with your Mac's cursor, a few common questions always seem to pop up. It's totally normal, especially if you're dipping your toes into third-party Mac apps for the first time.
Let's clear up some of the usual concerns—like whether these apps are safe, how to get your old cursor back, and why your fancy new pointer sometimes decides to play hide-and-seek.
Are Third-Party Mac Cursor Apps Actually Safe?
Yes, they are—as long as you’re smart about where you get them. My rule of thumb is to only download apps from the official Mac App Store or directly from the developer’s website.
Good, reputable Mac apps don't mess with your core macOS files. Instead, they just run a small process in the background that places a new image over the default system pointer. Before you install anything, it's always a good idea to check that it's compatible with your version of macOS and scan some recent reviews. That little bit of homework can save you a lot of headaches.
How Can I Change My Mac Cursor Back to Normal?
Getting back to the classic black-and-white arrow is easy. The steps just depend on how you changed it.
- If you used macOS settings: Did you just bump up the size or change the color? No problem. Head back to System Settings > Accessibility > Display > Pointer. You'll see a Reset button right at the top. One click, and you're back to the factory defaults.
- If you used a third-party Mac app: The app itself is your off-switch. Look for its icon in your Mac's menu bar at the top of the screen. Clicking it should give you a "disable" or "quit" option. If all else fails, just quitting the app will instantly restore your standard cursor.
The quickest way to troubleshoot any weirdness you think a custom cursor is causing? Just quit the app. It's a foolproof way to hand control right back to macOS.
Why Does My Custom Cursor Disappear in Certain Mac Apps?
This is something you'll definitely run into, and it’s perfectly normal. Some apps, especially high-end creative software or games on your Mac, have their own set of custom pointers.
Think about it—when you open a design program, you expect to see a brush, a crosshair, or an eyedropper, not just a standard arrow. In those situations, the app's own cursors take priority. The moment you click back to your desktop or another app, your custom pointer will pop right back into view.
Can I Get an Animated Cursor on My Mac?
You sure can! But you’ll need a third-party Mac app for that kind of magic. The built-in macOS settings don't support animated cursor files. The good news is that plenty of apps on the Mac App Store have huge libraries of animated pointers, and some even let you import your own.
Ready to make your tutorials and product demos truly stand out? Screen Charm is built specifically for creators who need to guide their audience's attention with a clear, customized, and professional-looking cursor.
Start creating clearer, more engaging videos today with Screen Charm.