Your Guide to Video Screen Grabber Mac Tools
Jan 2, 2026

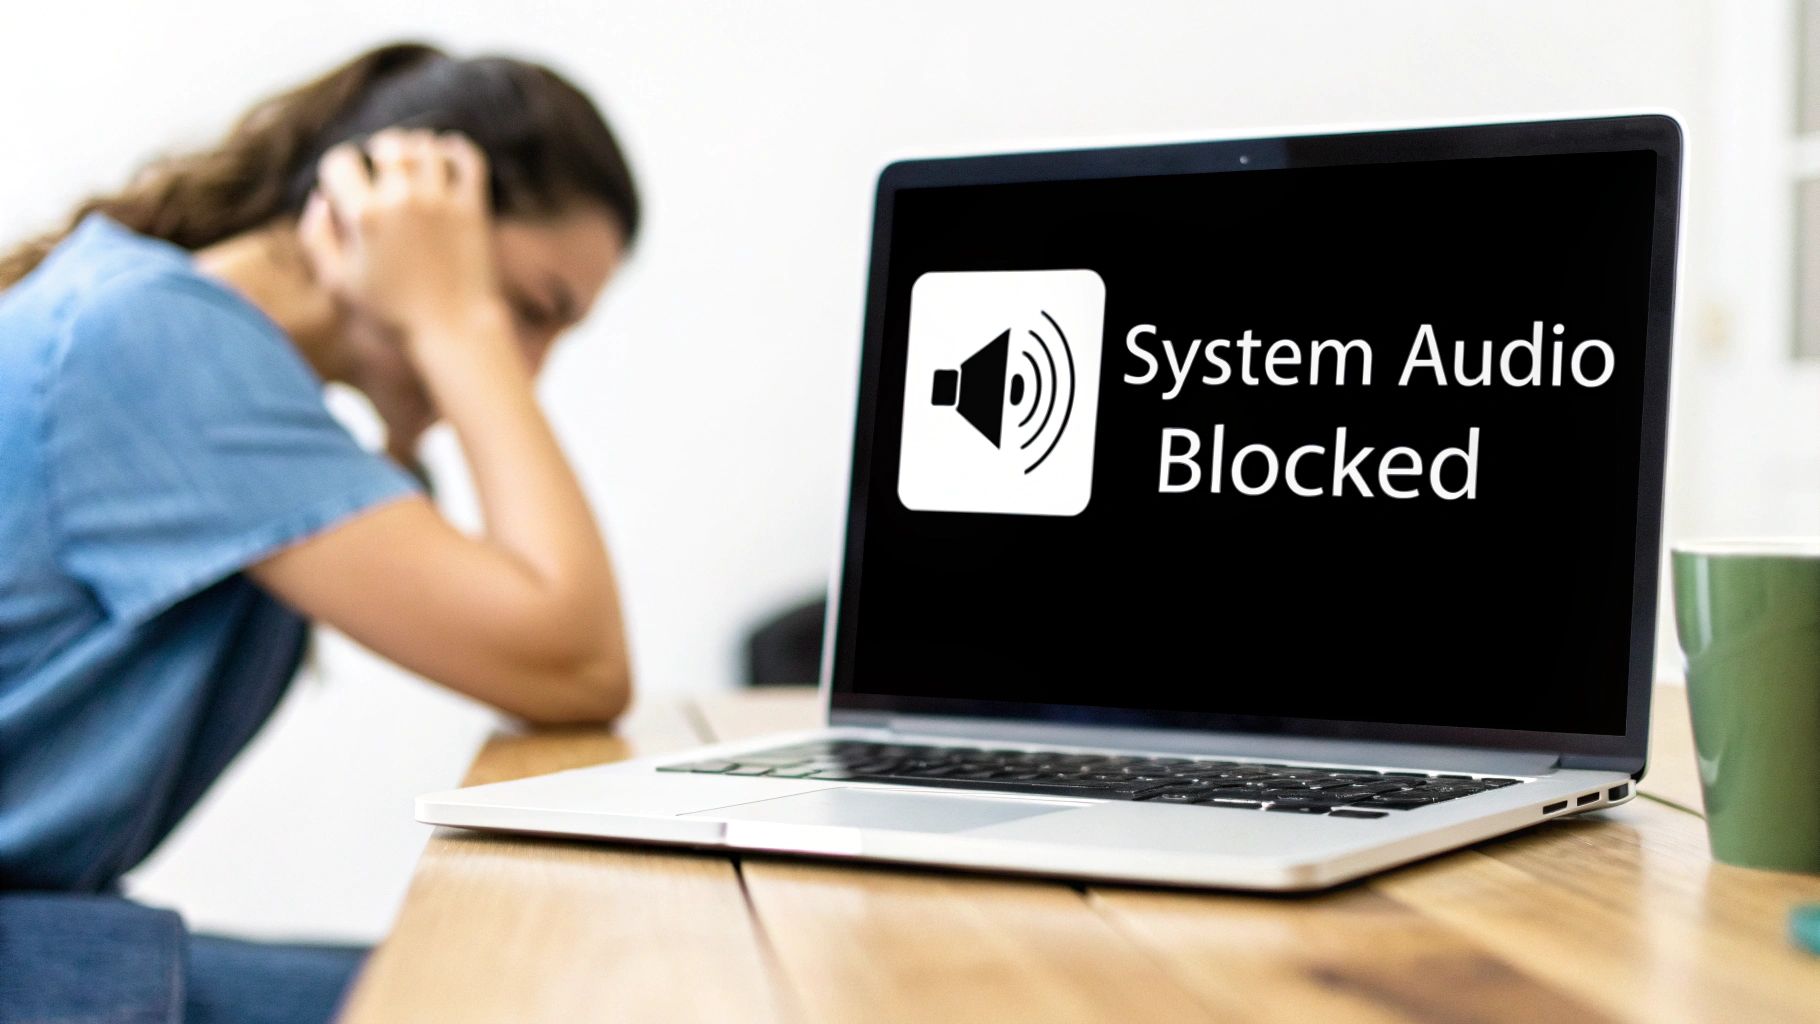
Ever tried to record your Mac's screen with QuickTime, hit play on the finished video, and been met with complete silence? You’re definitely not alone. It’s actually an intentional design choice by Apple. To protect privacy and prevent sneaky apps from listening in, macOS blocks its own built-in tools from directly capturing internal system audio.
Why Your Mac Makes Audio Recording a Challenge
If you've ever tried to record a quick product demo, a snippet from a webinar, or a video call on your Mac, you've probably hit this frustrating wall of silence. Capturing your Mac's internal audio—the sound coming from your apps and the OS itself—isn't as simple as hitting a record button.
This isn't a bug; it's a feature. Apple built macOS with a security-first approach, which is great for keeping your data safe. But for anyone trying to create content, it creates a real headache. Without the right setup, you can't record the essential sounds that make a video useful, like in-app alerts, game audio, or the sound effects in a software tutorial.
This guide is all about getting around that roadblock. We'll walk through the exact steps to turn this confusing problem into a simple, straightforward process on your Mac.
Understanding the Core Problem
At its heart, the issue is that macOS doesn’t offer a native, built-in way to route system audio back into an application as an input source. Think of it as a one-way street: sound goes out to your speakers or headphones, but it can't just make a U-turn and go back in to be recorded. This is precisely why a standard screen recording in QuickTime perfectly captures your screen but misses all the computer sounds.
To successfully record Mac computer audio, you have to create a virtual "loopback." This basically means tricking your Mac into redirecting its own sound output and making it appear as an input, just like a microphone. This requires help from third-party tools, which range from free, open-source drivers to more polished, user-friendly commercial macOS software.
The inability to directly capture system sound is the single biggest obstacle for Mac users. Solving it requires creating a new audio pathway that your recording software can recognize and use as a microphone source.
What This Means for You
So, what does this all mean in practice? Here are the key takeaways for anyone trying to create content on a Mac:
QuickTime's Limitations: The go-to screen recorder on macOS, QuickTime Player, is great for capturing your screen and your voice from a microphone, but it can't grab the computer's internal audio at the same time.
Virtual Drivers are a Must: You'll need to install a special piece of software—a virtual audio driver—that acts as a middleman, catching the sound from your system and feeding it to your recording app.
Configuration is Key: Getting this to work involves a few setup steps in your Mac's System Settings. It might seem a little intimidating at first, but it's pretty straightforward once you know where to look.
For a deeper dive, check out our guide on how to get sound on a screen recording.
The Free Method: Using a Virtual Audio Driver
If you want to record Mac computer audio without spending a penny, the go-to solution in the Mac community is a clever little tool called a virtual audio driver. For years, the gold standard has been BlackHole, an open-source project that works like a digital patch cable inside your Mac.
Think of it like this: normally, an app like Safari sends its audio straight to your speakers or headphones. A virtual audio driver essentially steps in the middle and reroutes that signal. It creates a new, invisible output that your recording software can listen to, just as if it were a microphone.
This workaround is incredibly powerful. It lets you capture pristine, high-quality audio directly from any application on your Mac, completely sidestepping the noisy, low-quality method of blasting sound from your speakers and recording it with your microphone.
Getting BlackHole Installed and Configed on macOS
Getting started with BlackHole is pretty straightforward. The easiest way to install it is with Homebrew, a package manager for macOS. If you don't already have Homebrew, just open the Terminal app (found in /Applications/Utilities) and paste in the installation command from their website. It's a one-and-done setup.
Once Homebrew is ready, installing BlackHole is as simple as running a single line in Terminal: brew install blackhole-2ch. This command grabs the 2-channel version, which is all you'll need for most recording projects.
After the installation wraps up, the real work happens in a built-in macOS tool called Audio MIDI Setup. You can find it in your Utilities folder, but I always just use Spotlight (⌘ + Space) to find it faster. This is where we'll tell your Mac how to use this new virtual audio cable.
The Big Idea: The whole point of this method is to hijack your Mac's sound. By telling your computer to send its audio to BlackHole instead of the speakers, you’re funneling that sound into a place where another app can grab it for recording.
Creating a Multi-Output Device so You Can Actually Hear Things
So, you’ve set your Mac’s sound output to BlackHole. Great! But now you've hit the first snag: you can't hear anything anymore. That's because the audio is going only to the virtual driver, not your headphones.
To fix this, we need to create a Multi-Output Device inside Audio MIDI Setup. This is a special kind of device that lets you send your Mac’s audio to multiple places at the same time.
Here's how to build it:
Open the Audio MIDI Setup application on your Mac.
Click the little plus (+) button in the bottom-left corner and select Create Multi-Output Device.
In the new panel that appears, check the boxes for both BlackHole 2ch and your actual speakers or headphones (e.g., MacBook Pro Speakers or External Headphones).
This is the most important part: make sure the Drift Correction box is checked for your secondary output (your headphones/speakers), but not for BlackHole.
This setup is crucial. It splits the audio, sending one perfectly clean copy to BlackHole for your recording software and another copy to your headphones so you can monitor everything in real-time. For a more detailed walkthrough, you can explore our full guide to capture system audio on Mac.
Because of this built-in macOS limitation, third-party tools like BlackHole have become incredibly popular, with over 500,000 downloads reported on GitHub alone. It has become the standard way to get crystal-clear app audio without any microphone noise. For more on the latest Mac recording trends, check out this in-depth 2025 guide.
Imagine you're an educator preparing an online lecture on your Mac. You need to record a video clip from Safari while narrating over it. With this Multi-Output Device, you can send the Safari audio into BlackHole for the recording, listen to that same audio through your headphones to stay on cue, and then get ready to record your own voice.
Combining System Audio and Your Microphone
Once you’ve figured out how to capture your Mac’s internal audio, the next step is usually adding your own voice to the mix. This is absolutely essential for creating narrated tutorials, product demos, or gaming commentaries. To record mac computer audio and your mic at the same time, you need to combine them into a single virtual input that your recording software can see.
The magic happens back in the Audio MIDI Setup utility, where you’ll create an Aggregate Device. Just think of it as a small digital mixer inside your Mac. It takes multiple audio sources—in this case, your virtual driver like BlackHole and your microphone—and merges them into one clean, unified stream. Once it’s set up, this new device shows up as a single input option in apps like QuickTime, Audacity, or GarageBand.
Building Your Aggregate Audio Device on macOS
The process is a lot like creating the Multi-Output device, but this time, you’re bundling inputs instead of outputs. It’s a quick setup that opens up some seriously powerful recording options using tools you already have on your Mac.
Here’s how to get it done:
Head back into the Audio MIDI Setup application.
Click the plus (+) button at the bottom left and choose Create Aggregate Device.
A new window will appear. Find and check the boxes for both BlackHole 2ch and your microphone (like Built-in Microphone or an external USB mic).
Here’s a pro tip: Tick the Drift Correction box for your microphone. This is a lifesaver for longer recordings, as it helps keep both audio sources perfectly in sync and prevents them from slowly drifting apart.
Now, this new device will be available as an input source in any recording app you open on your Mac. When you select it, the software will capture everything—the sounds from your Mac and the audio from your microphone—onto a single track. For more detailed tips, check out our guide on using a screen recorder with a mic for extra insights.
The Bottom Line: An Aggregate Device is your ticket to merging system audio and your voice. By combining BlackHole and your microphone, you create one powerful input that works with just about any recording app on macOS.
Putting It All Together: A Real-World Example
Let's say you're a course creator filming a lesson on a new piece of macOS software. You need to show the app in action, record its sound effects, and deliver a clear, professional voiceover explaining each step.
With your Aggregate Device configured, the workflow is dead simple. You just open QuickTime, select your new device as the audio input, start a new screen recording, and walk through your lesson. Both your narration and the app’s audio are captured together, perfectly synchronized.
The whole process can be boiled down to three simple stages.
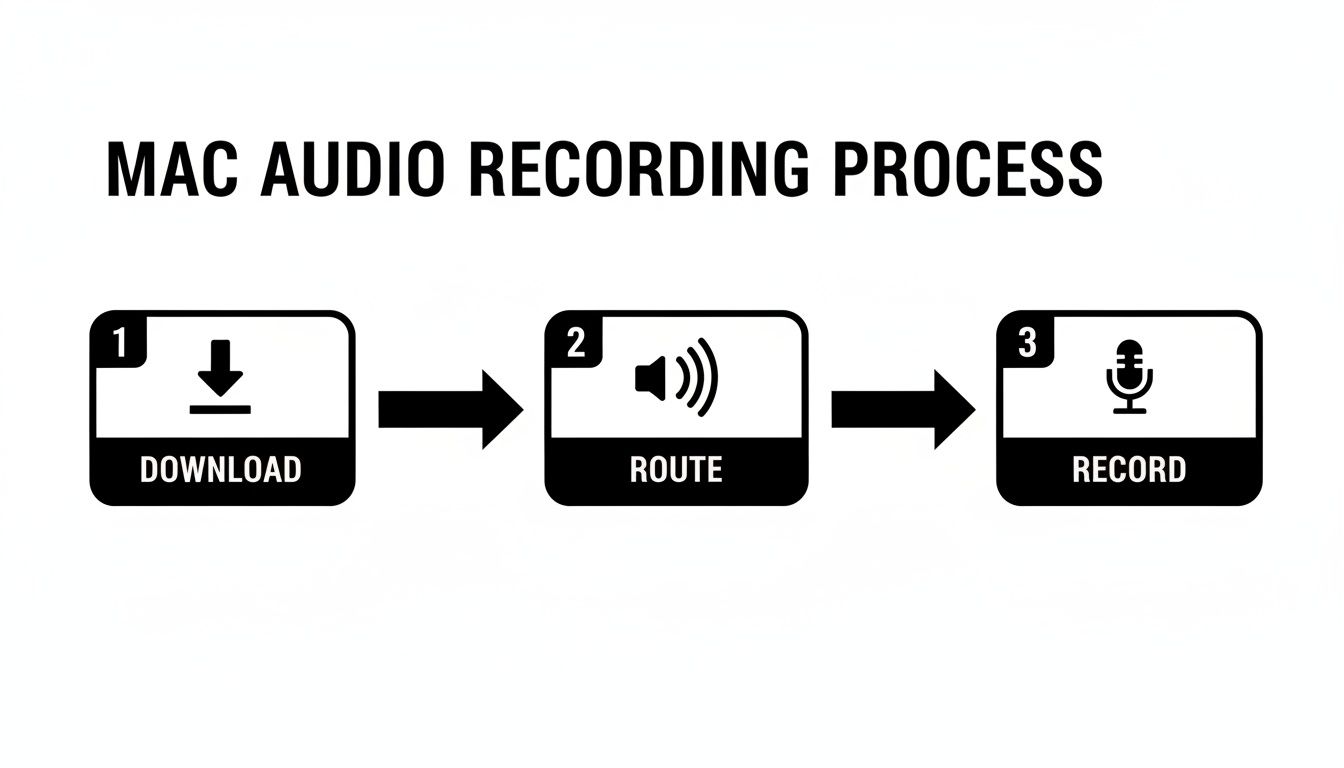
This really drives home the point: after a one-time driver download, the real work is just routing your audio correctly. Once that’s done, you’re ready to hit record and unlock your Mac’s full audio potential.
Choosing Your Free Mac Recording Tool
Once your virtual driver and Aggregate Device are ready to go, you can use several free applications built right into macOS or available online. Each has its own strengths, so choosing the right one depends on your project.
Tool | Best For | Pros | Cons |
|---|---|---|---|
QuickTime Player | Simple screen recordings with audio, quick captures. | Already on your Mac, incredibly easy to use. | Very basic editing, audio is merged into one track. |
GarageBand | High-quality podcasts, voiceovers, music. | Robust editing tools, multi-track support. | Can be overkill for simple screen recordings. |
Audacity | Audio-only recordings, detailed audio editing. | Powerful, open-source, great for cleaning up audio. | Not a screen recorder, interface can feel dated. |
Ultimately, QuickTime is fantastic for simple, all-in-one screen recordings. But if you need more control over your audio tracks after the fact, recording your screen and audio separately with GarageBand or Audacity running in the background gives you much more flexibility in post-production.
Powerful Tools for Effortless Audio Recording on Mac
While the free methods using virtual drivers and aggregate devices absolutely get the job done, they aren't exactly a walk in the park. It takes a bit of technical know-how to get everything configured just right on your Mac.
If you'd rather skip the setup headaches and get straight to recording, investing in a premium macOS tool can be a game-changer. These applications are purpose-built to solve this exact problem: how to record Mac computer audio without all the fuss. They offer slick interfaces and advanced features that make the free, multi-app approach feel clumsy by comparison. If you record audio often, the time you save is well worth the cost.
The Power of a Dedicated Mac Audio Router
When it comes to routing audio on a Mac, one name stands out: Loopback by Rogue Amoeba. Forget tinkering in the Audio MIDI Setup. Loopback gives you a simple, visual, drag-and-drop interface to manage where your sound goes. You can literally draw lines between applications and virtual devices to build your perfect audio setup in seconds.
The flexibility here is incredible. Imagine creating a virtual device that only captures audio from Safari and your USB microphone, completely ignoring dings from your email or other system alerts. That kind of granular control is how you get clean, professional recordings every single time on your Mac.
Loopback essentially replaces the need for both BlackHole and the manual creation of Aggregate and Multi-Output devices. It’s an elegant, all-in-one solution for complex audio routing on macOS.
According to Rogue Amoeba's own analytics, Loopback has 1.2 million active users worldwide. It excels at creating virtual devices that merge system audio (even up to 7.1 surround sound) with your mic input. This is a big deal, especially for users who have run into multichannel issues. For instance, in macOS Sequoia (15), a left-channel bias was reported to affect 22% of pro audio interfaces—a problem a dedicated router can easily solve. For more on this, you can find great insights on modern screen recording over at caasify.com.
The All-in-One Solution for Mac Video Creators
If your main goal is creating screen recordings—think tutorials, product demos, or online courses—an integrated tool is an even better fit. This is where an application like Screen Charm really shines. It bundles high-quality screen capture, system audio recording, and microphone input into one seamless macOS package.
With a tool like Screen Charm, you stop juggling different apps for audio routing and screen capturing. It’s designed to handle everything at once, ensuring your system audio and voice are perfectly synchronized with your video from the moment you press record.
For Mac content creators, an integrated solution offers some serious advantages:
One-Click Setup: No need to configure virtual drivers or create aggregate devices. Just select your inputs and go.
Professional Polish: Screen Charm adds slick video features, like an automatic zoom that follows your cursor and custom pointer effects to guide your viewer's attention.
Integrated Editing: You can trim your clips right inside the app, saving you the hassle of exporting to a separate video editor for basic tweaks.
Of course, your Mac is a powerful audio hub for more than just recording. It's also great for leveraging various tools for making calls directly from your computer. Whether you're producing a polished tutorial or hopping on a client call, having the right software makes all the difference.
Pro Tips for Crystal-Clear Audio Quality on Your Mac
Getting your technical setup right is just the starting line. The real secret to professional-sounding audio lies in the details—those small adjustments that separate a polished recording from an amateur one.
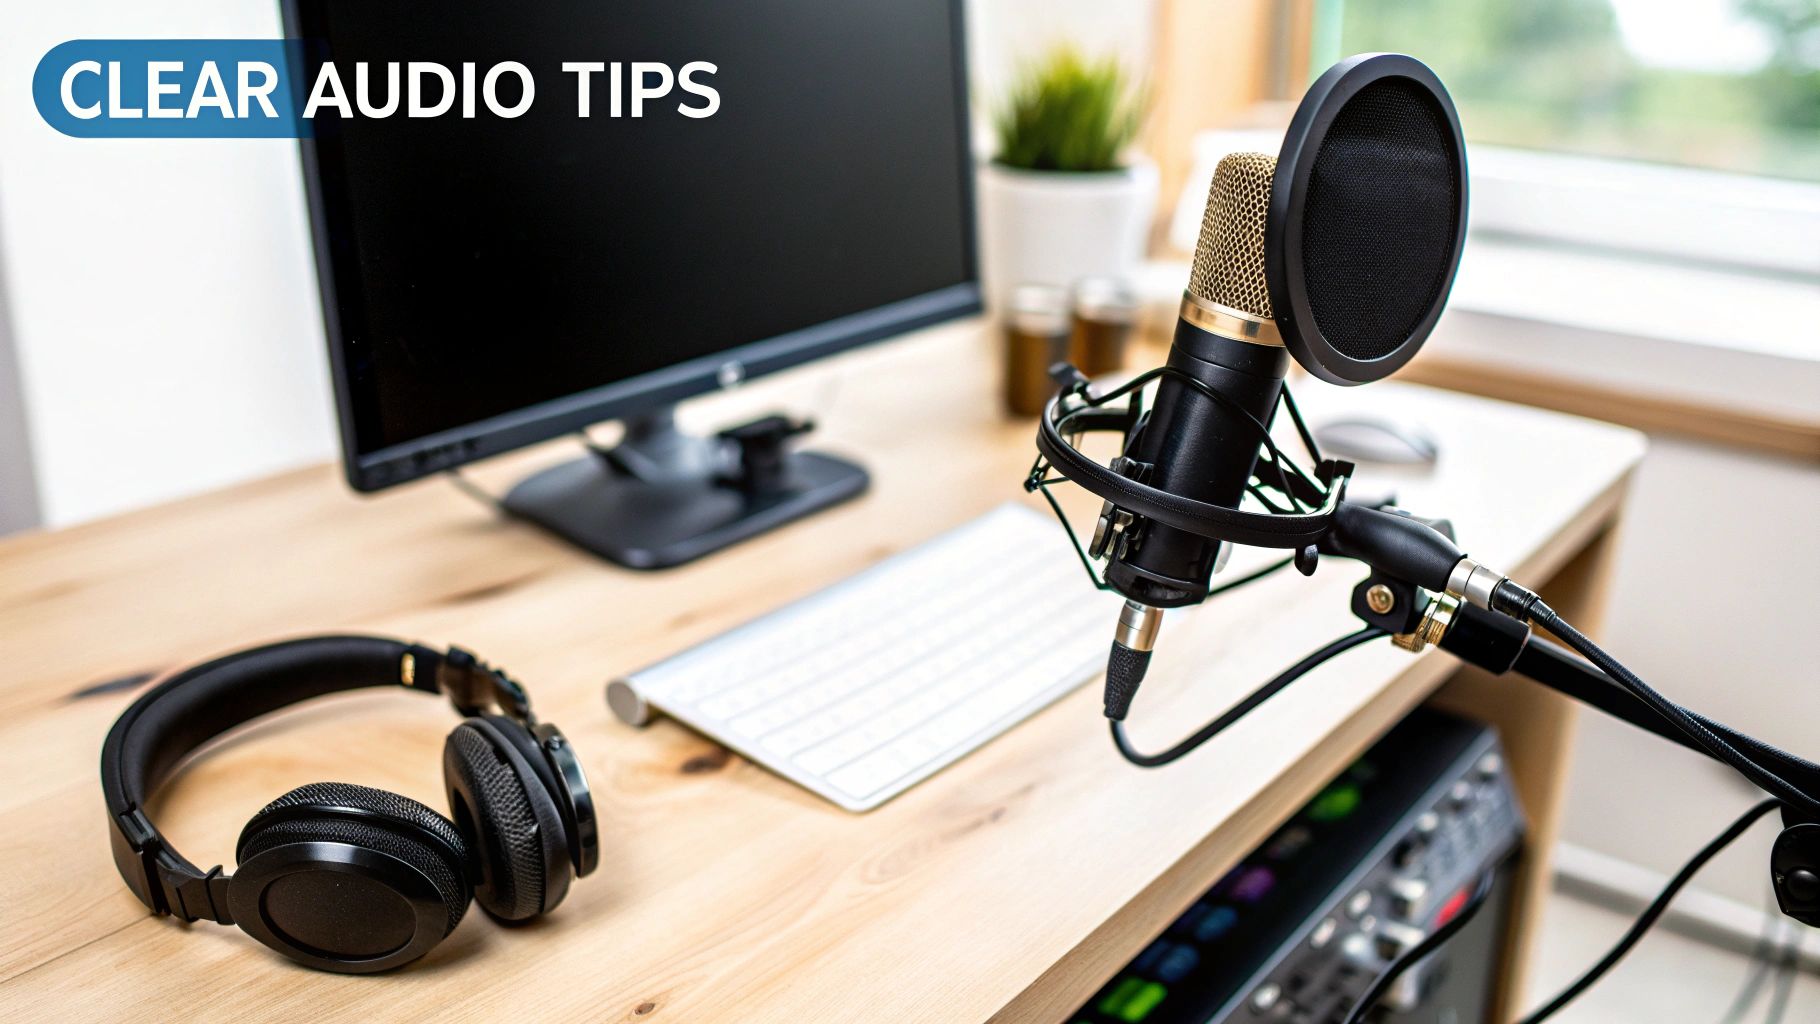
First things first: ditch your Mac’s built-in microphone. Seriously. While it's fine for a quick FaceTime call, it's not built for creating high-quality content. It captures everything you don't want, from keyboard clicks and fan whir to the natural echo of your room, leaving your voice sounding thin and distant.
Investing in a decent external USB microphone is the single biggest upgrade you can make. Even an entry-level model will deliver a richer, more focused sound, making your voice clearer and far more engaging for anyone listening.
Fine-Tuning Your Recording Environment
Where you record matters just as much as what you record with. A room with hard surfaces—think tile floors, bare walls, and big windows—will bounce sound all over the place, creating a nasty echo.
You can fight this by choosing a room with soft furnishings. Carpets, curtains, and even a couch can absorb sound reflections. Some of the best-sounding home recordings I've heard were made in a walk-in closet, where hanging clothes create a surprisingly effective vocal booth.
Before you hit record, run through this quick checklist:
Silence is Golden: Close the windows to block traffic noise, shut off any fans or air conditioners, and mute notifications on all your devices.
Get Your Mic Placement Right: Position your microphone about 6-12 inches from your mouth. This is the sweet spot for capturing a clear, full voice without picking up distracting plosives or breathing sounds.
Your primary goal is to capture the cleanest possible audio at the source. It’s far easier to prevent background noise and echo during recording than it is to try and remove it later in post-production.
Monitoring Levels and Solving Common Problems
You absolutely have to keep an eye on your audio levels to avoid clipping. That's the harsh, distorted mess you get when the input volume is cranked too high. Watch the audio meter in your recording software—if it's constantly bumping into the red, your audio is clipped and likely unusable. Your target is the healthy green and yellow range.
A couple of common headaches on macOS can derail an otherwise perfect take:
Pesky Audio Echo: This almost always happens when your microphone picks up the audio coming out of your speakers. The fix is simple: always wear headphones when you record your Mac's audio. This creates a closed loop, stopping your mic from re-recording the system sound.
Frustrating Audio Drift: Ever notice your voice slowly falling out of sync with a screen recording during a long session? This is often caused by different audio devices having slightly different sample rates. Ticking the "Drift Correction" box when creating an Aggregate Device in Audio MIDI Setup is a crucial step to prevent this.
Once you’ve captured your audio, you can take it a step further. For a truly polished final product, look into techniques for mastering audio with a remove noise plugin to clean up any remaining imperfections.
Tying Up Loose Ends: Your Mac Audio Recording Questions Answered
Even after getting the right tools in place, a few questions always seem to pop up for Mac users. Let's walk through some of the common hurdles people face so you can get your setup ironed out and start recording.
Can I Just Record Audio From One Specific App on my Mac?
You absolutely can, but this is where free tools start to show their limitations. Methods using BlackHole are a bit of a blunt instrument—they grab all the sound your Mac is making. That means your recording will pick up every notification ding and alert sound right alongside the audio you actually want.
To get that surgical precision, you'll need to look at a paid macOS tool. Software like Loopback or Audio Hijack is built for this exact scenario. They let you create a virtual audio pipeline that pulls sound only from a specific app, like Chrome or a game, giving you a perfectly isolated track.
Why Is There an Echo in My Recording?
Ah, the dreaded echo or feedback loop. This is one of the most common audio gremlins, and it almost always has the same cause: your microphone is hearing what's coming out of your speakers and re-recording it.
The fix is refreshingly simple: wear headphones. By routing the system audio directly into your ears, you prevent it from bleeding back into the mic. It’s a small change that makes a huge difference, ensuring your recordings are clean and professional every time.
Pro Tip: Forgetting to pop on headphones when monitoring your Mac’s audio is the number one cause of feedback. The mic picks up the speaker output, which gets recorded, played back through the speakers, picked up by the mic again... and the cycle continues, creating that awful echo.
Is It Actually Legal to Record My Mac's Audio?
This is a big one, and it's incredibly important to get right. From a technical standpoint, you can record pretty much any sound your Mac makes. But from a legal standpoint, you need to be mindful of copyright and privacy.
Recording copyrighted material—like pulling a song from Apple Music to use in your own video—is a clear violation unless you have a license. Likewise, recording meetings or private conversations without getting consent from everyone involved can land you in serious trouble, depending on where you live. Always make sure you have the permission you need before you press that record button.
If you're looking for a way to skip the complex virtual drivers and aggregate devices entirely, Screen Charm was built to solve this exact problem. It handles all the audio routing for you, letting you create polished, professional-quality demos and tutorials with integrated system audio, auto-zoom, and clean cursor effects on your Mac. Learn more and get started at screencharm.com.
