The best screen recording software for Mac depends on what you're making. For free, unlimited recording with no watermark, OBS Studio is unmatched. For premium product demos with advanced styling, Screen Studio is one of the strongest Mac options. For polished demos at a lower one-time price, Screen Charm gives Mac creators auto-zoom, motion blur, background music, system audio, webcam recording, and a built-in editor without a subscription.
New to screen recording on Mac? Start with our guide on how to screen record on Mac. If your recording has no audio, see the screen recording no sound fix guide. Need to capture system audio? See how to record internal audio on Mac.
What Is the Best Screen Recording Software for Mac?
- Best free screen recorder — OBS Studio (no watermark, no limits, no subscription)
- Best premium demo recorder — Screen Studio (auto-zoom, motion blur, style presets)
- Best one-time purchase for polished demos — Screen Charm (auto-zoom, motion blur, background music, built-in editor, Mac-only)
- Best for corporate training — Camtasia (multitrack editor, quizzes, templates)
- Best Mac-native editor — ScreenFlow (timeline editor, Apple silicon optimised)
- Best for quick capture — CleanShot X (fastest capture-to-share on macOS)
- Best for team messaging — Loom (instant cloud share, AI summaries)
If you want the shortest answer: use OBS Studio if you need a free Mac screen recorder with no watermark, QuickTime Player if you only need a basic built-in recording, Screen Studio if you want deeper style controls and iOS recording, and Screen Charm if you want polished Mac product demos with one-time pricing.
Sponsored by the makers
Tired of boring screen recordings?
Try Screen Charm.
Auto-zoom, motion blur, camera overlay, and background music. All built in. Record once, export a polished video.
See what it doesMac Screen Recording Software Comparison
| Tool | Pricing | System Audio | No Watermark | Best For |
|---|---|---|---|---|
| OBS Studio | Free | Needs setup | Yes | Full control, streaming, free |
| Screen Studio | $29/mo or $108/yr | Native | Yes | Premium demos, advanced visual polish |
| Screen Charm | $79 one-time | Native | Yes | Polished demos, tutorials |
| Camtasia | $179+/yr | Native | Yes | Corporate training, e-learning |
| ScreenFlow | $149 one-time | Native | Yes | Mac-native pro editing |
| CleanShot X | ~$29 one-time | Native | Yes | Quick captures, annotations |
| Loom | Free / $12.50+/mo | Limited | Yes (paid) | Team async communication |
| QuickTime Player | Free | Mic only | Yes | Basic built-in Mac recording |
How we picked these: macOS compatibility, no-watermark on paid tier, system audio support, webcam recording, editing workflow, and price-to-value ratio.
Which Mac Screen Recorder Should You Choose?
| If you need... | Choose... | Why |
|---|---|---|
| Free screen recording with no watermark | OBS Studio | Unlimited recording, no subscription, strong audio/video control |
| Premium product demo polish | Screen Studio | Auto-zoom, motion blur, style presets, GIF export, and iPhone/iPad recording |
| Polished demos without a subscription | Screen Charm | Auto-zoom, motion blur, background music, webcam, system audio, built-in editor, 4K export, and one-time pricing |
| Built-in recording for simple captures | QuickTime Player | Already on every Mac and easy for basic screen recordings |
| Corporate training or courses | Camtasia | Multitrack editor, templates, annotations, and quiz features |
| Mac-native timeline editing | ScreenFlow | Strong editor for detailed Mac tutorials and lessons |
| Fast annotated screen captures | CleanShot X | Quick screenshots, short recordings, annotations, and sharing |
| Async team communication | Loom | Instant cloud sharing, comments, summaries, and team libraries |
1. OBS Studio — Best Free Screen Recorder for Mac (No Watermark)
OBS Studio is completely free, open-source, and has no watermark, no recording limits, and no subscription. It's the best free screen recorder for Mac with audio that handles professional-grade multi-source compositions.
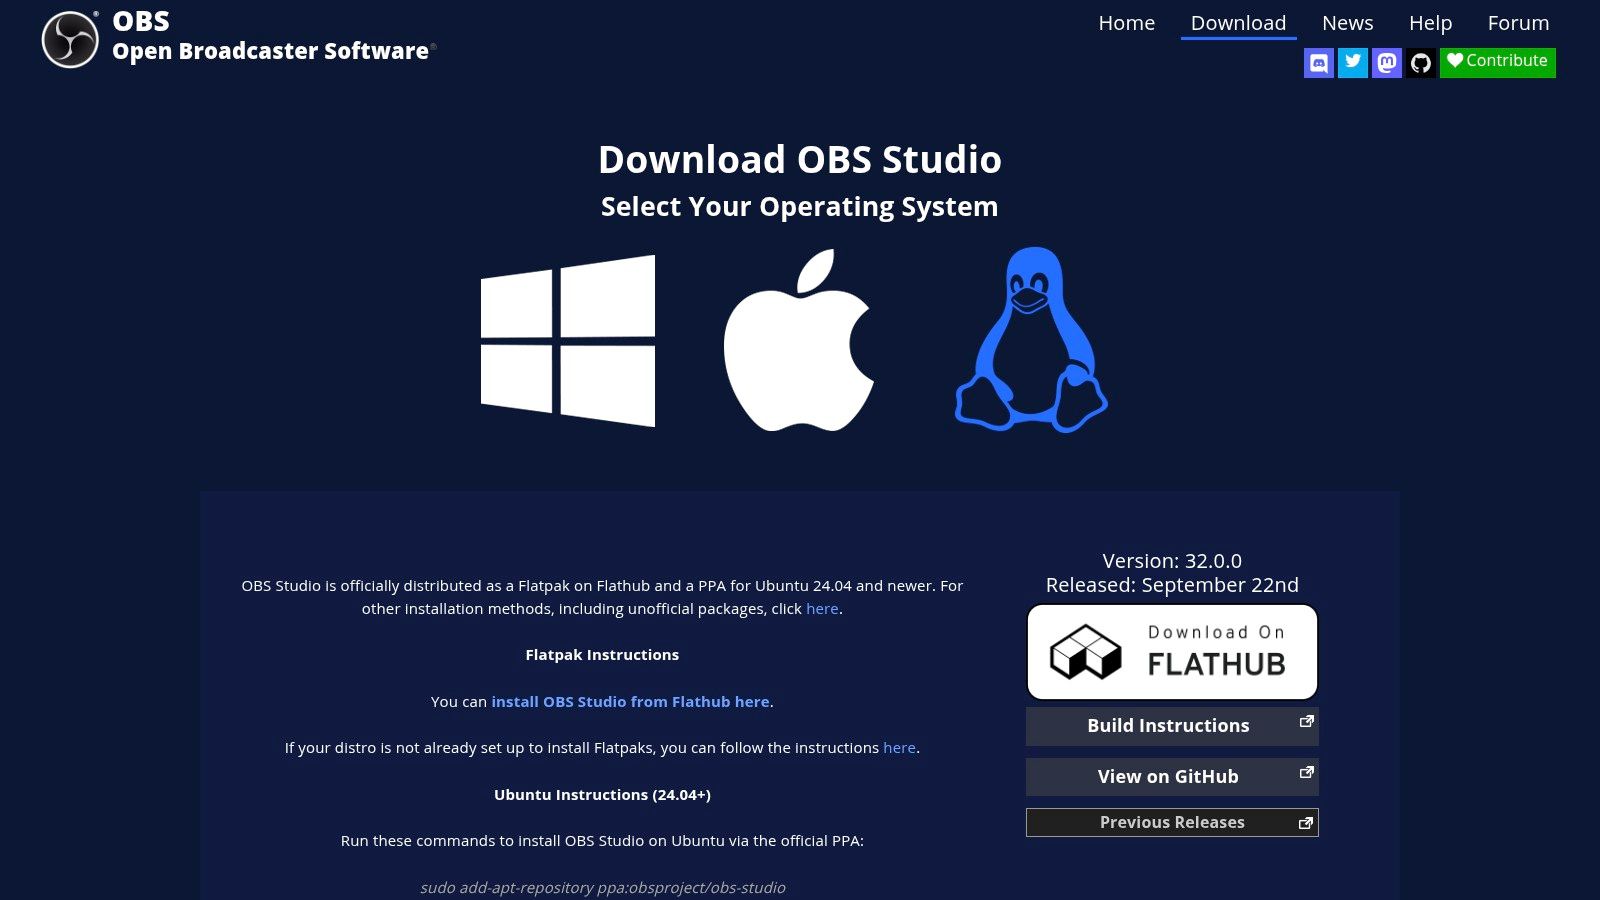
OBS records your screen, webcam, microphone, and system audio simultaneously. You can build multi-scene layouts, apply noise filters, control bitrate, and extend functionality via plugins. It runs natively on both Intel and Apple silicon Macs.
Pricing: Free — no watermark, no limits.
Pros:
- Completely free with no watermark
- Records screen, webcam, mic, and system audio together
- Granular control over every recording parameter
- Native Apple silicon support
Cons:
- Steep learning curve for new users
- No built-in video editor — requires separate post-production
Website: obsproject.com
2. Screen Studio — Best Premium Screen Recorder for Product Demos
Screen Studio is a Mac screen recorder built for high-end product demos, launch videos, and polished software walkthroughs. It is especially strong if you want the popular "startup demo video" look with smooth zooms, motion blur, cursor styling, and ready-made visual presets.
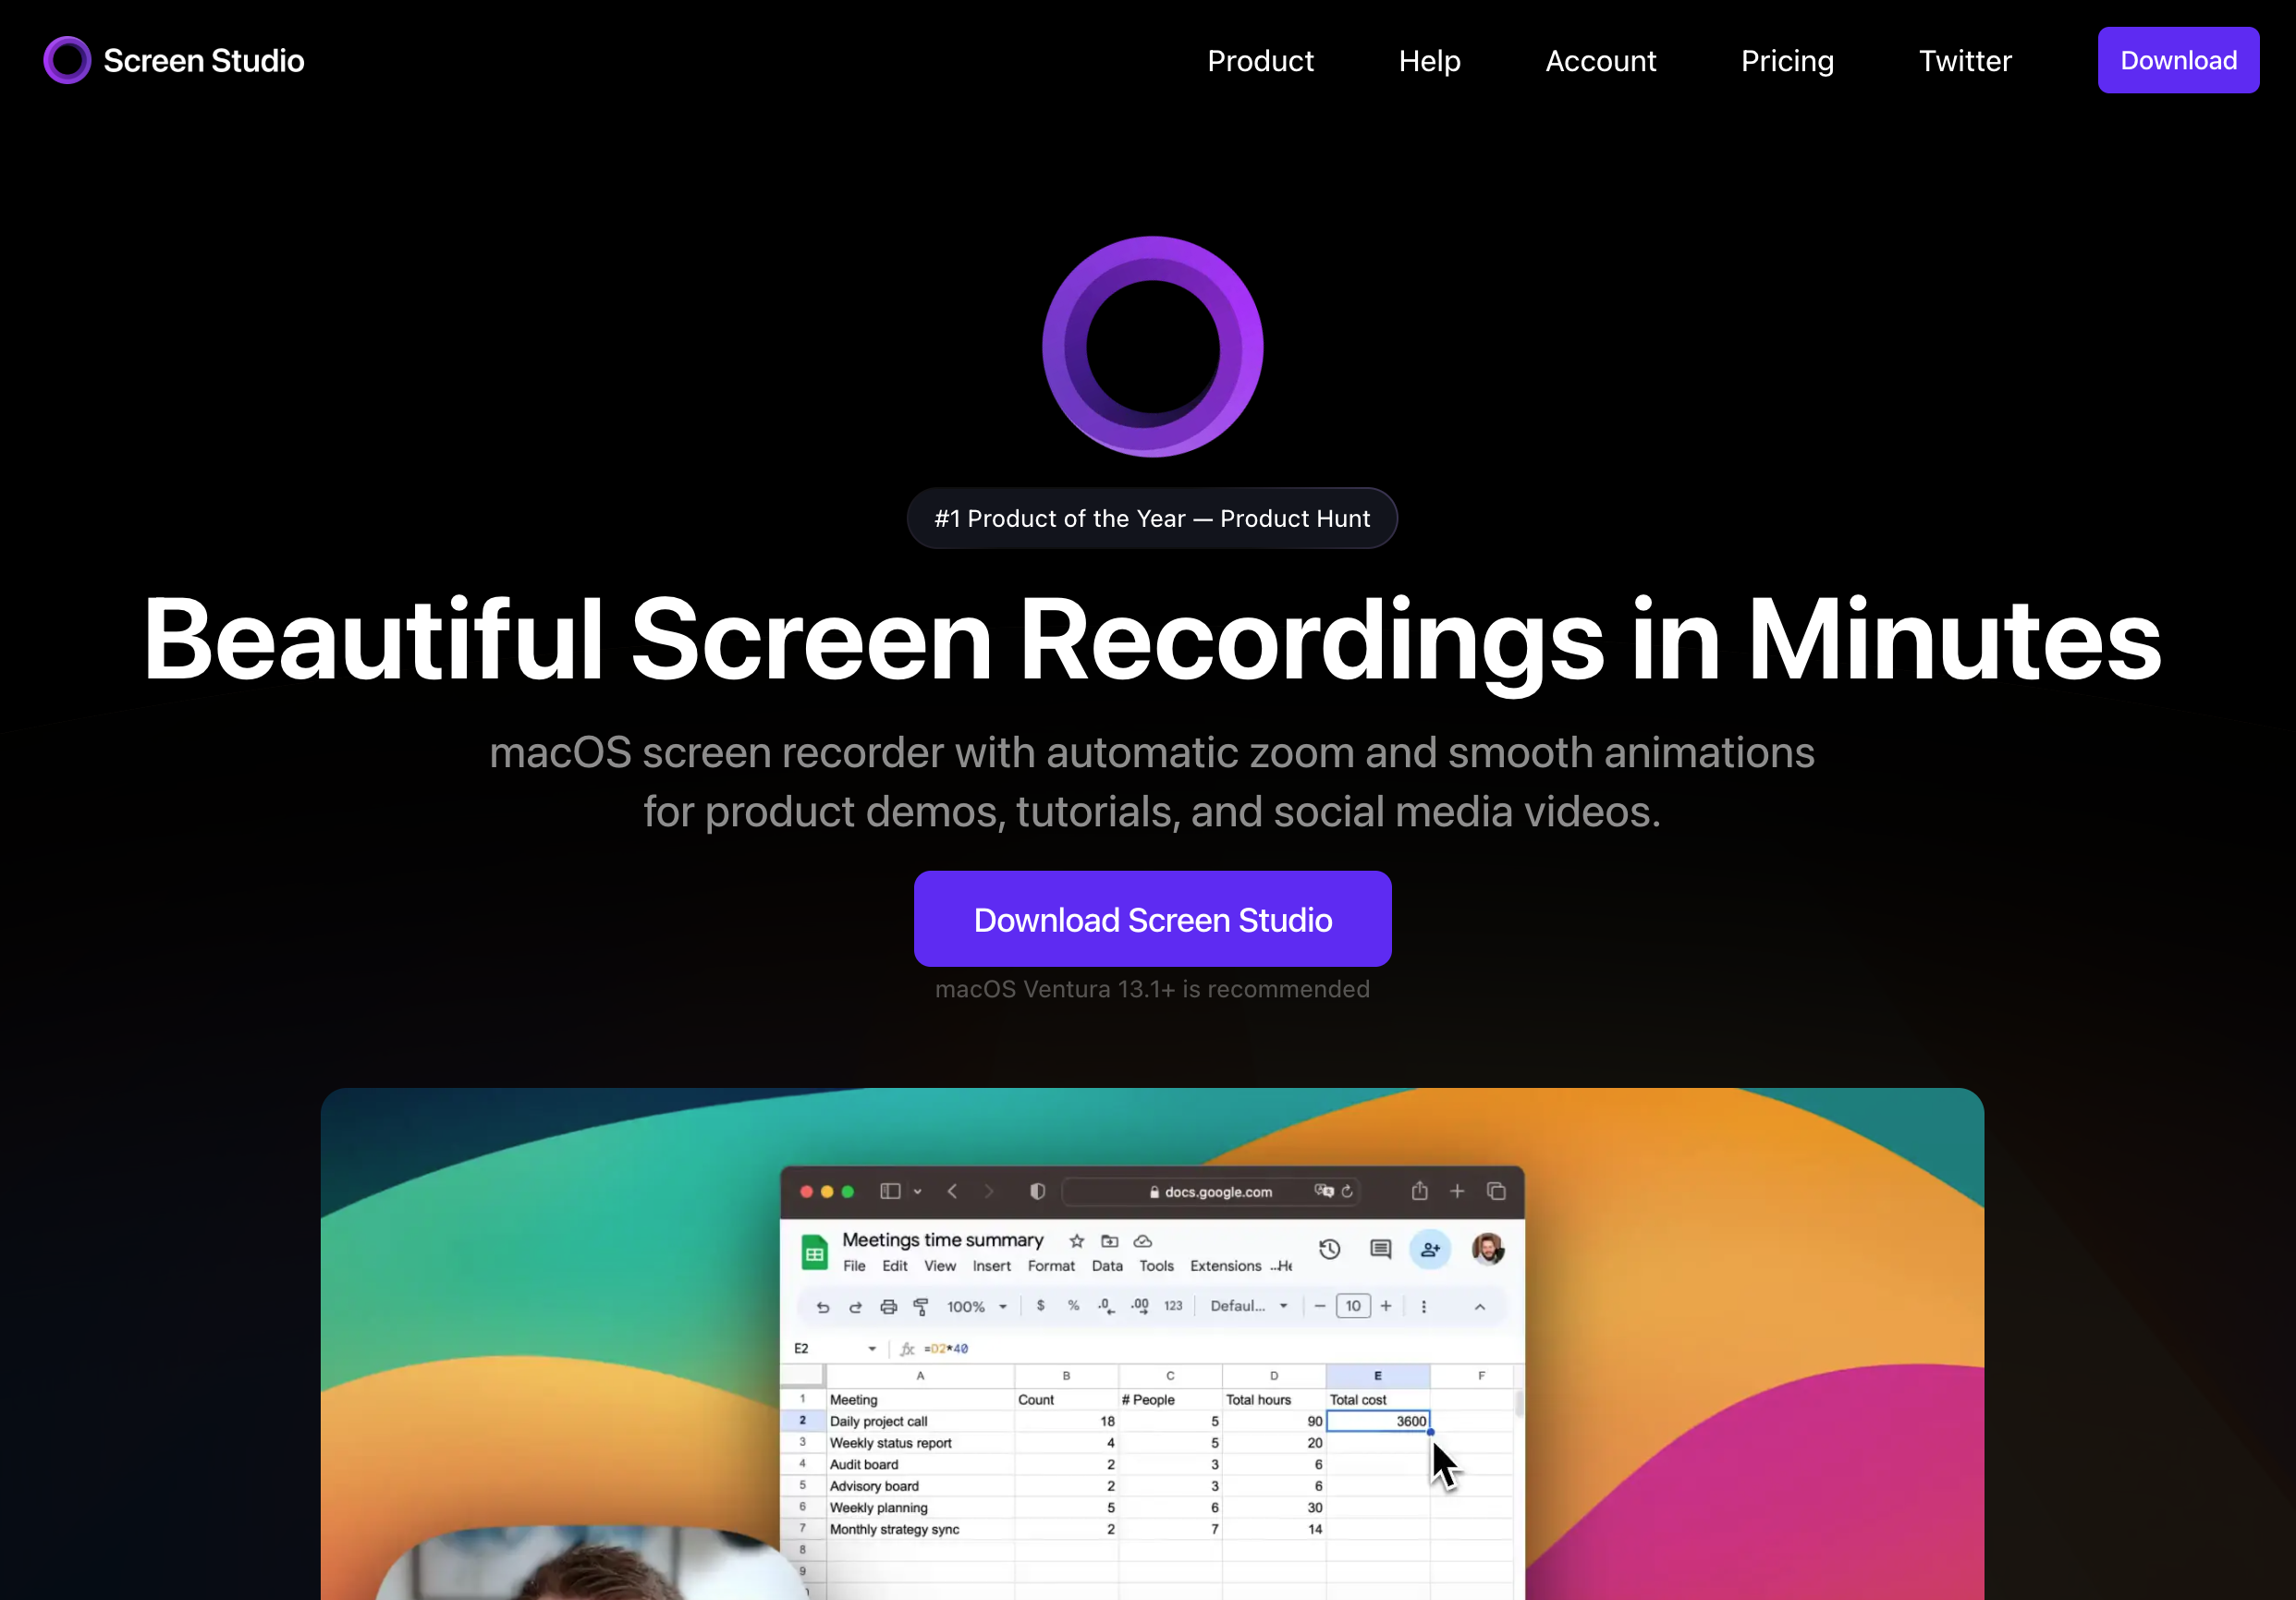
Screen Studio records your screen, camera, microphone, and system audio, then gives you a focused editor for trimming, styling, zooming, and exporting. It also supports iPhone and iPad recording, GIF export, and advanced visual controls that go beyond basic screen capture tools.
Pricing: $29/month or $108/year.
Pros:
- Polished auto-zoom and motion blur
- Strong style presets for product demos
- iPhone and iPad recording
- GIF export and advanced visual controls
Cons:
- Subscription pricing
- More expensive over time than one-time purchase tools
Website: screen.studio
3. Screen Charm — Best One-Time Purchase for Polished Demos and Tutorials
Screen Charm is a Mac screen recorder designed for one thing: turning a raw screen recording into a polished, professional video without hours of manual editing.

Its signature feature is intelligent auto-zoom — the recorder automatically tracks your cursor and zooms in on interface elements as you interact with them, creating a cinematic focus effect with zero manual keyframing. Automatic motion blur smooths fast cursor moves and zooms, and background music helps finished demos feel more complete. The integrated editor lets you trim, fine-tune zoom points, and export in 4K without leaving the app.
Additional features include simultaneous webcam recording, customizable cursors, and branded backgrounds for consistent visual identity across videos.
Pricing: $79 one-time purchase — lifetime license, unlimited 4K exports, all future updates.
Pros:
- Auto-zoom creates pro-quality focus without manual editing
- Automatic motion blur and background music for finished demos
- All-in-one: record, edit, and export in a single app
- Records microphone and system audio simultaneously
- One-time purchase with lifetime updates
Cons:
- macOS only — no Windows version
- No multi-track timeline for complex video editing
Website: screencharm.com
Screen Studio vs Screen Charm
Screen Studio and Screen Charm are the two strongest options here for polished Mac product demos. Both can create screen recordings that look more professional than a raw QuickTime or OBS capture, but they make different trade-offs.
Choose Screen Studio if you want iPhone and iPad recording, GIF export, style presets, and more detailed control over the final look.
Choose Screen Charm if you want a simpler Mac screen recorder for product demos, tutorials, launch videos, and SaaS demo recordings, especially if auto-zoom, motion blur, background music, and one-time pricing matter more than advanced visual presets. For a deeper breakdown, see Screen Charm vs Screen Studio.
4. Camtasia — Best for Corporate Training and E-Learning
Camtasia by TechSmith is the industry standard for corporate training videos, e-learning courses, and instructional content. It combines a full-featured screen recorder with a professional multitrack video editor in a single Mac-compatible package.
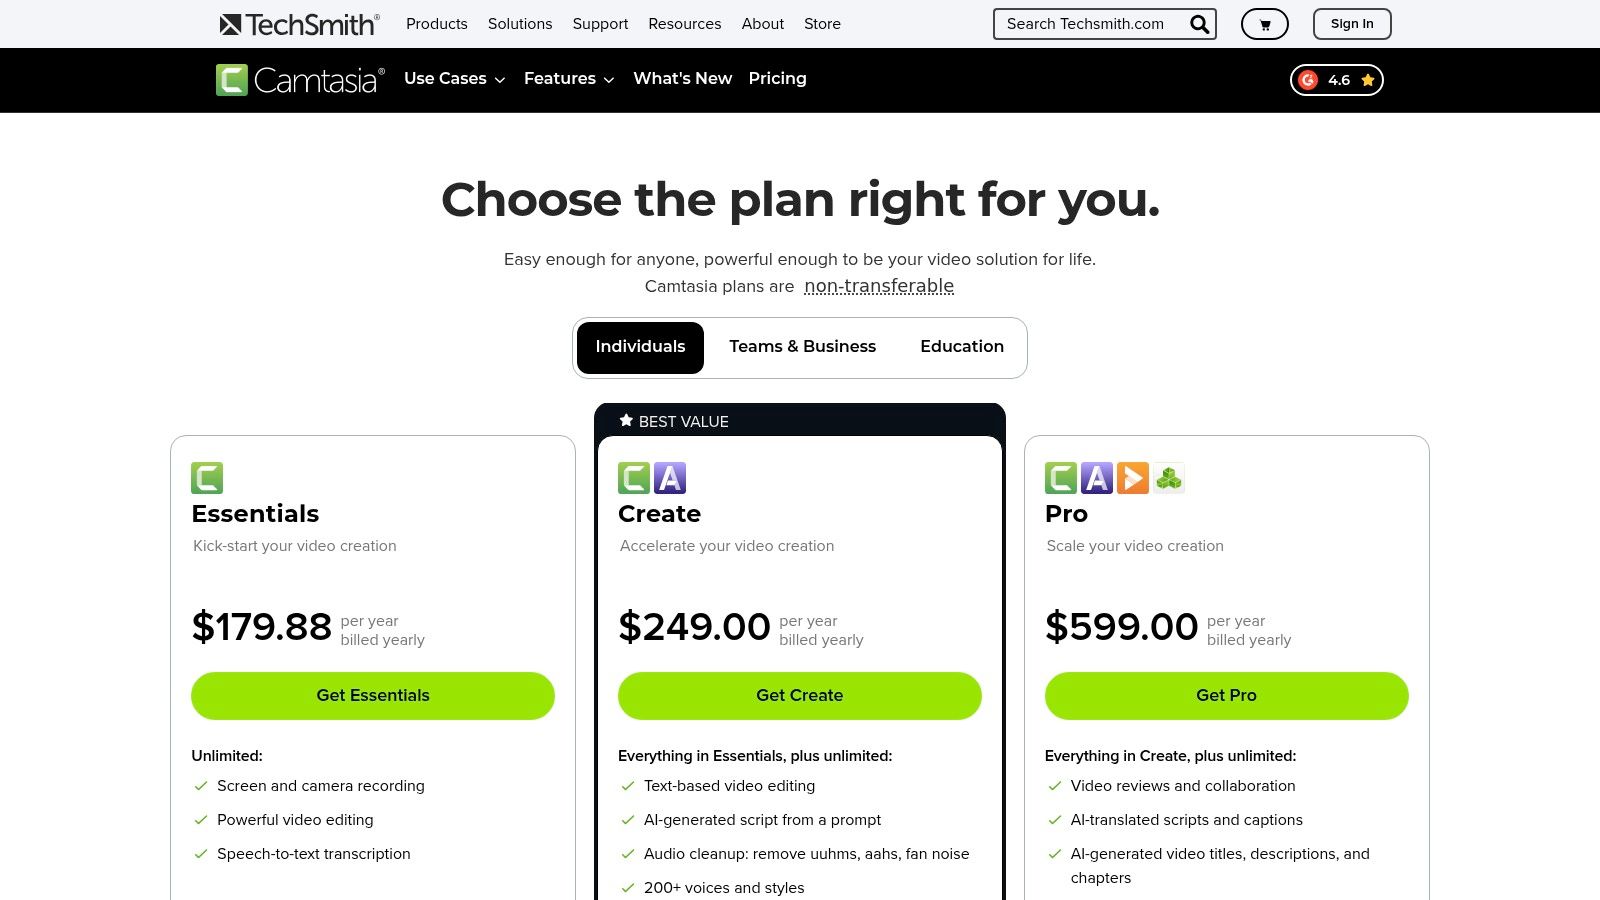
Camtasia records screen, webcam, and all audio sources, then places them on a multitrack timeline for editing. It includes a library of royalty-free assets, templates, annotations, and quiz interactions — making it a complete production platform for serious instructional designers.
Pricing: $179+/year subscription. Free trial available.
Pros:
- Multitrack editor with quizzes and interactive elements
- Cross-platform: one license covers macOS and Windows
- Extensive template and asset library
Cons:
- Highest price point of any tool on this list
- Heavier learning curve than lightweight recorders
Website: techsmith.com/camtasia
5. ScreenFlow — Best Mac-Native Video Editor + Recorder
ScreenFlow is a Mac-only screen recorder and timeline editor built specifically for macOS and Apple silicon. It captures your screen, webcam, microphone, and system audio onto separate tracks, ready for immediate editing in its integrated timeline.
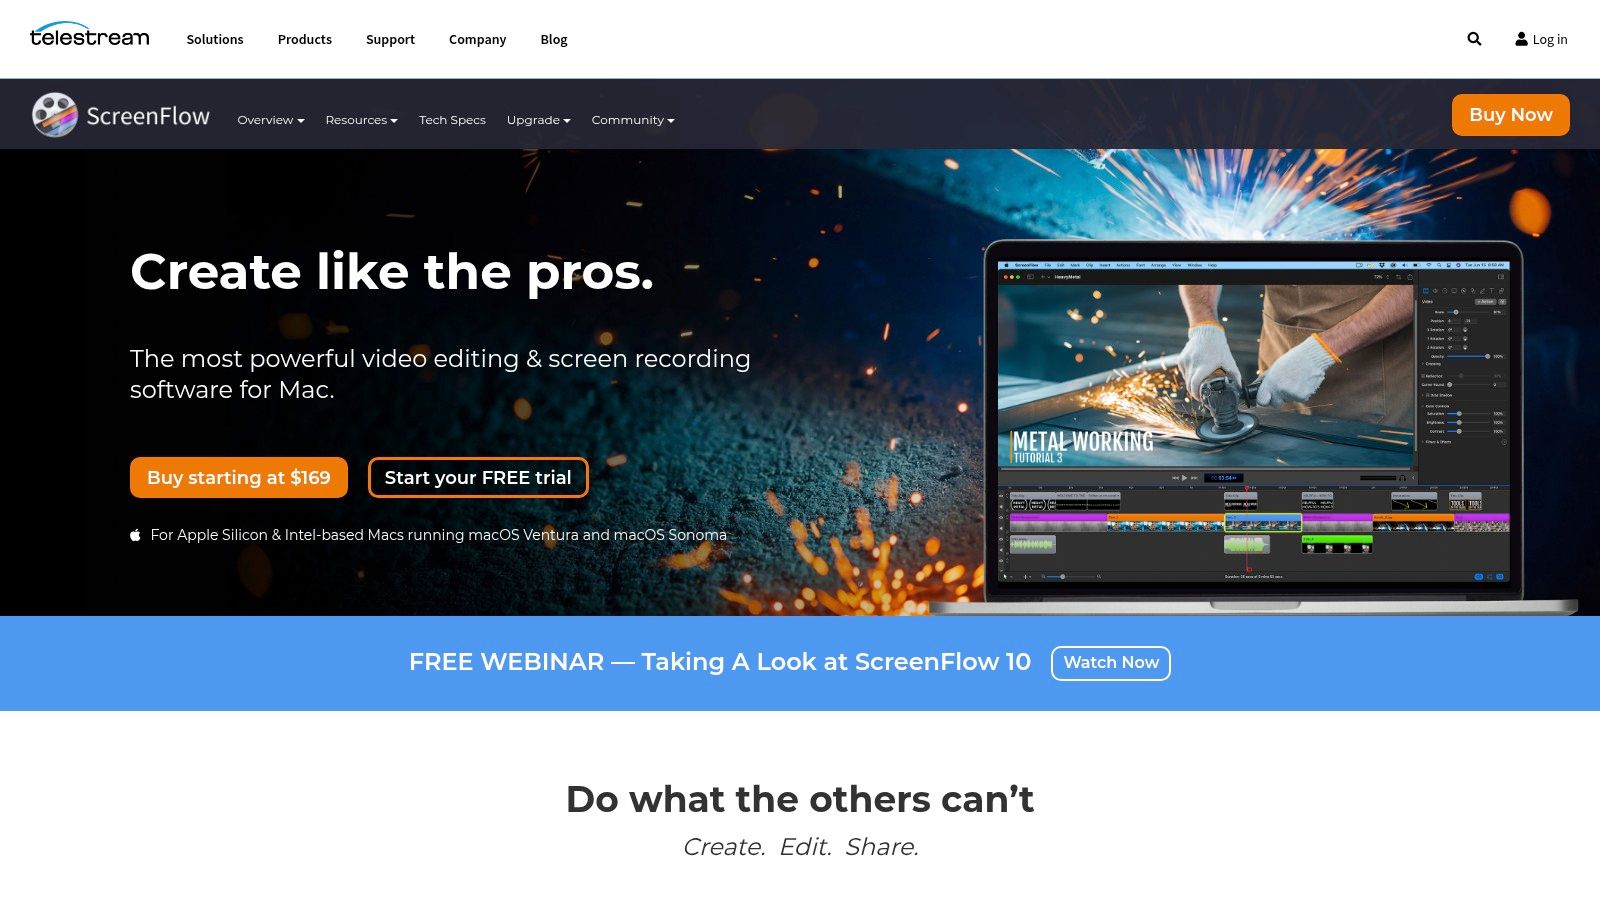
Where ScreenFlow stands apart is its Mac-first optimisation — it takes full advantage of Apple silicon for smooth performance on high-resolution recordings. The timeline editor supports annotations, callouts, text overlays, transitions, and cursor effects. It's the go-to for Mac creators who want a dedicated non-linear editor without switching to Final Cut Pro.
Pricing: $149 one-time purchase. Free trial available.
Pros:
- Deep macOS and Apple silicon optimisation
- Full timeline editor with multi-track support
- One-time purchase with direct upgrade path
Cons:
- macOS only — no Windows version
- Single-machine license by default
Website: telestream.net/screenflow
6. CleanShot X — Best for Quick Mac Screen Capture With Annotation
CleanShot X is a Mac-only capture utility that handles both screenshots and screen recordings from a menubar icon. It's built for speed — capture, annotate, and share in seconds without opening a dedicated editor.
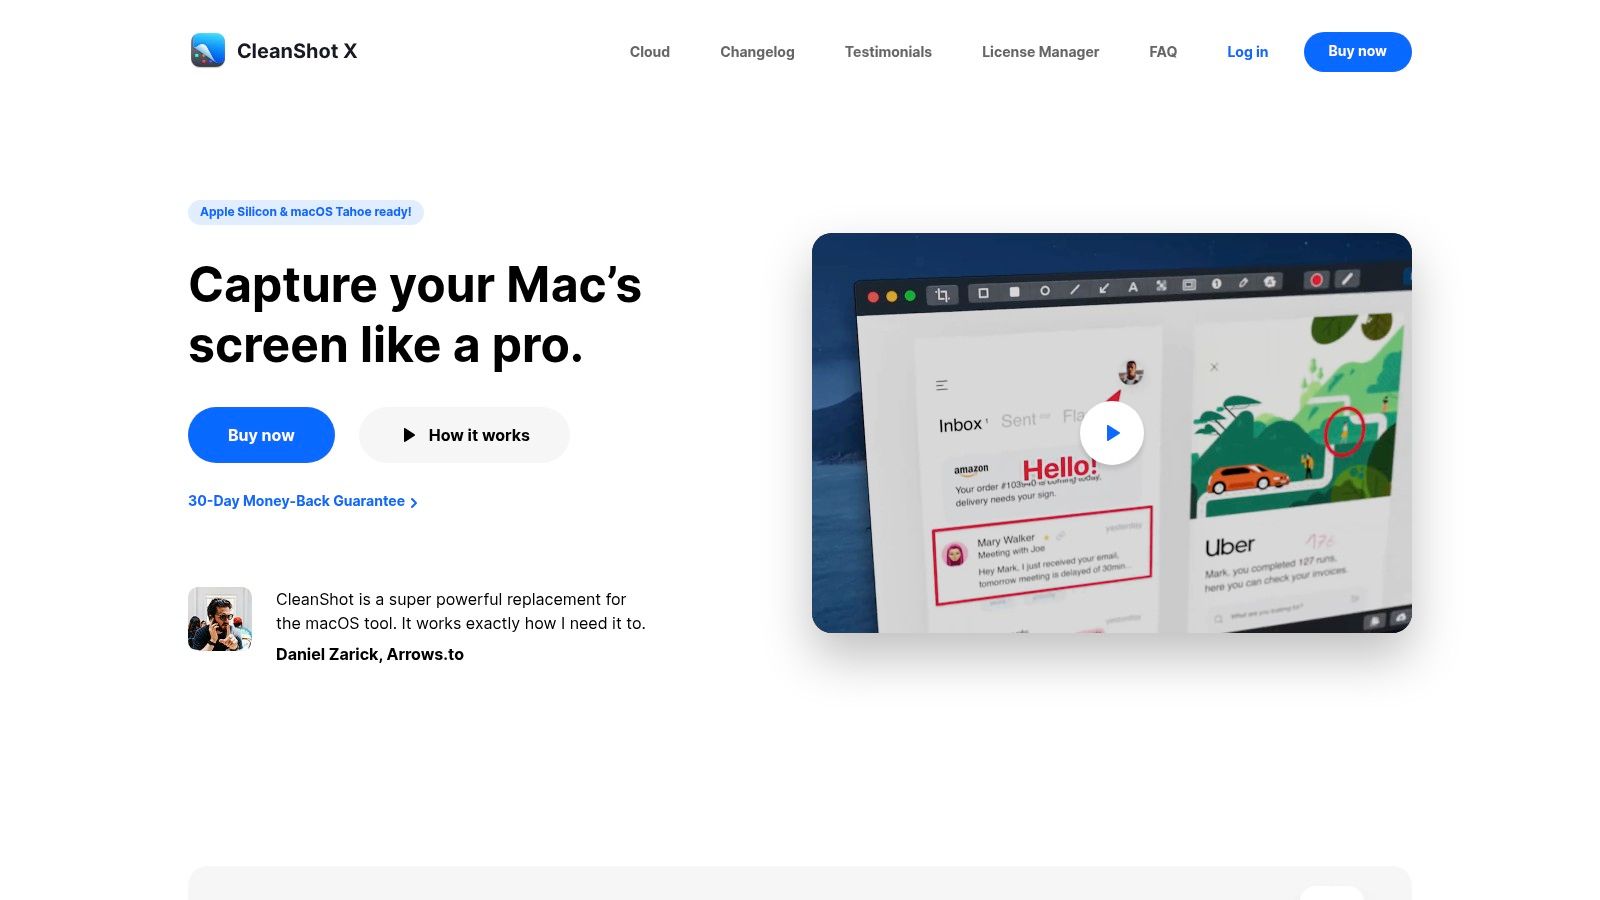
CleanShot X records screen video with microphone and system audio, highlights mouse clicks, and lets you trim and annotate immediately after stopping. You can export as MP4 or GIF, or upload with one click to CleanShot Cloud for an instant shareable link.
Pricing: ~$29 one-time + optional annual renewal for cloud and updates.
Pros:
- Fastest capture-to-share workflow on macOS
- Annotation tools built into the capture flow
- Instant cloud sharing with auto-copied link
Cons:
- Not a full video editor — trim only, no timeline
- Cloud features require annual renewal
Website: cleanshot.com
7. Loom — Best for Team Async Video Messaging
Loom transforms screen recording into a communication tool. Record your screen and face, stop, and your video is immediately uploaded to the cloud with a shareable link copied to your clipboard — no rendering, no uploading manually.
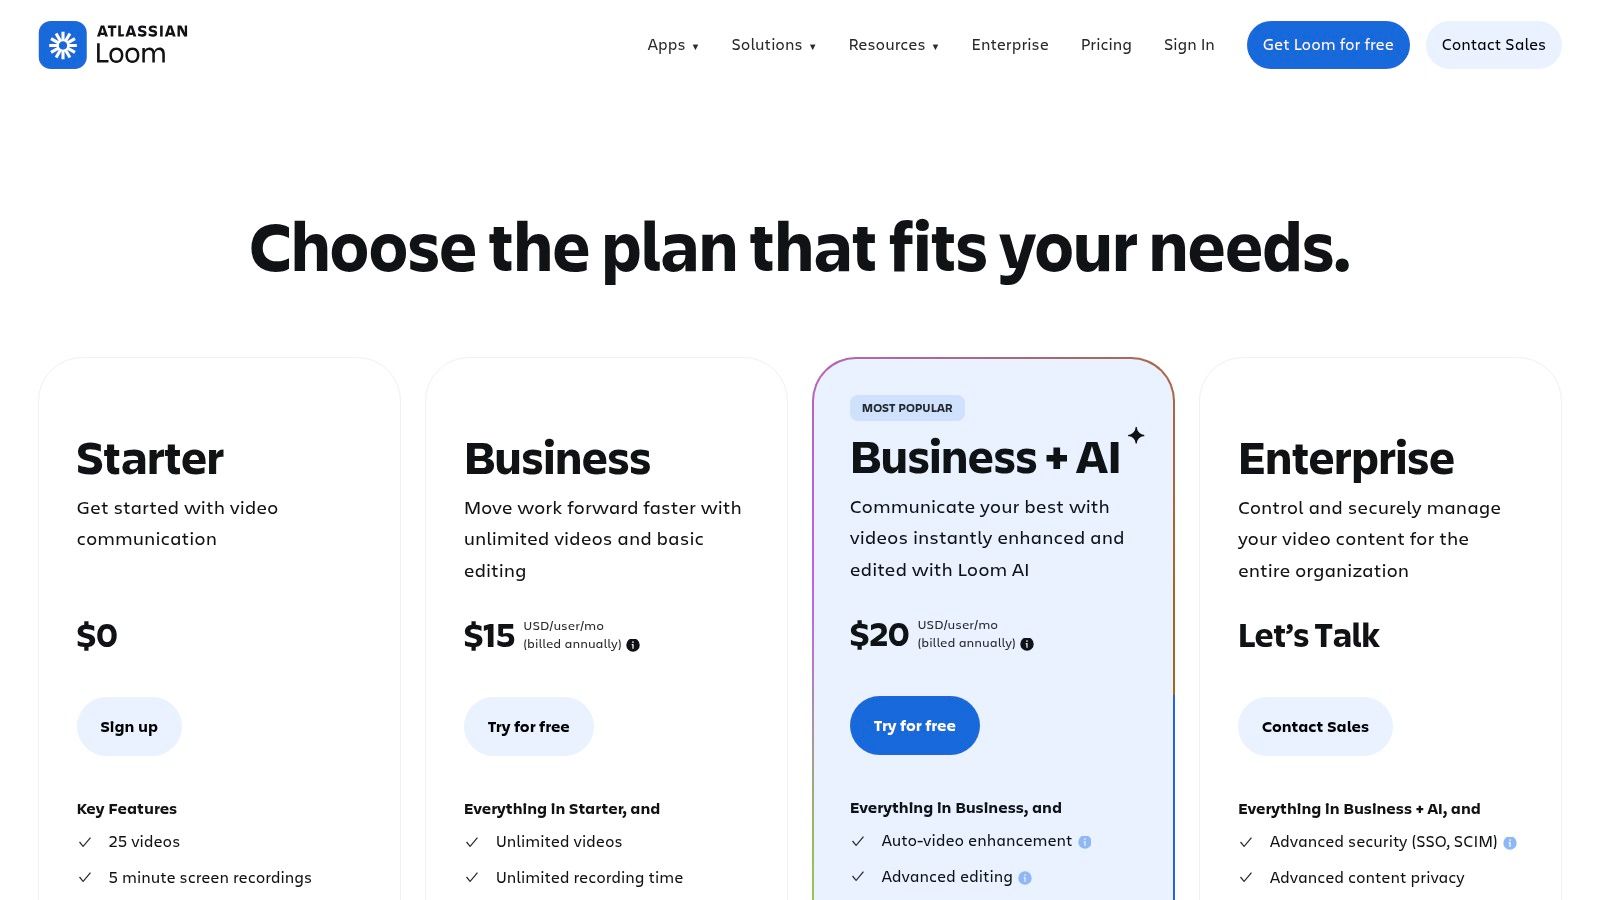
Loom AI can auto-generate titles, summaries, and chapters, and remove filler words from your recordings. Team workspaces provide shared libraries, time-stamped comments, and permission controls. Available on Mac, Windows, iOS, Android, and Chrome.
Pricing: Free (25 videos, 5 min limit) / $12.50+/month for unlimited.
Pros:
- Instant share as soon as you stop recording
- AI summaries and filler-word removal
- Built for team feedback with timestamped comments
Cons:
- Minimal editing — no timeline editor
- Free plan limits recordings to 5 minutes
Website: loom.com
8. QuickTime Player — Best Built-In Screen Recorder for Mac
QuickTime Player is the screen recorder already included with macOS. It is simple, free, and reliable for basic screen recordings when you do not need editing, system audio, webcam overlay, or visual polish.
QuickTime can record your full screen or a selected area, making it useful for quick internal captures, simple walkthroughs, or recordings you plan to edit later in another app.
Pricing: Free — included with macOS.
Pros:
- Built into every Mac
- Free with no watermark
- Very low CPU impact
- Simple full-screen or selected-area recording
Cons:
- No system audio recording by default
- No built-in video editor beyond basic trimming
- No webcam overlay, auto-zoom, cursor effects, or branded backgrounds
Apple guide: QuickTime Player User Guide
Best Free Screen Recorder for Mac With No Watermark
OBS Studio is the clear winner — completely free, no watermark, no time limits, no subscription. It records screen, webcam, mic, and system audio together in a single session with no quality restrictions.
If OBS feels too complex, Loom's free plan records up to 5 minutes per video with no watermark. For screenshot-heavy workflows, CleanShot X offers a free trial.
Best Screen Recorder for Mac With Audio
Every tool on this list records microphone audio. The distinction is system audio (sounds from apps and videos):
- Screen Charm — records mic + system audio natively, no extra setup
- Screen Studio — records mic + system audio natively for polished demos
- OBS Studio — records system audio using a virtual audio driver (e.g., BlackHole)
- ScreenFlow and Camtasia — both record system audio natively on Mac
- QuickTime Player (built-in) — records microphone only; cannot capture system audio without a virtual driver
If your recording has no audio, see the screen recording no sound fix guide.
Best Screen Recorder for Mac With Webcam
All tools on this list support simultaneous screen + webcam recording:
- Screen Charm — webcam overlay with customisable position and background replacement
- Screen Studio — webcam overlay with polished styling and visual presets
- Camtasia — webcam on a separate track for flexible editing
- ScreenFlow — webcam on its own timeline track
- OBS Studio — free, supports webcam as a scene source alongside screen capture
- Loom — webcam bubble overlay, instant cloud share after recording
Best Screen Recorder for Mac for YouTube
For YouTube-ready recordings you need: 1080p or 4K export, microphone + system audio, and ideally some editing capability.
- OBS Studio — free, outputs high-bitrate video, no quality restrictions
- Screen Studio — polished zoom, motion blur, and style presets for public-facing videos
- Screen Charm — 4K export, auto-zoom, motion blur, and background music create engaging tutorials without heavy editing
- Camtasia — professional editor, chapter markers, royalty-free music library
- ScreenFlow — timeline editor with transitions and annotations
Best Screen Recorder for Mac by Use Case
For a dedicated product-demo workflow, also see our guides to product demo videos and Mac screen recording for SaaS product demos.
For Educators and Course Creators
Teachers and instructors need tools that are powerful but don't require a steep learning curve. Common workflows: recording a slideshow, demoing software, annotating key points, exporting for an LMS or YouTube.
- Top pick: Camtasia — built-in annotation tools, interactive quizzes, a large asset library, and callout effects designed for breaking down complex subjects. Ideal when the editing suite matters as much as the recording.
- Alternative: ScreenFlow — similarly powerful editor that feels more native on macOS. Great for detailed tutorials and lesson plans.
- Budget option: OBS + DaVinci Resolve — free combination if you're comfortable editing in a separate app.
For Developers Documenting Bugs and Processes
Developers need precision and speed — capturing the exact sequence of UI interactions, console output, or a bug reproduction. Production value is secondary to clarity.
- Top pick: Loom — record and instantly get a shareable link to drop in Slack, Jira, or GitHub. Zero friction from recording to sharing.
- Alternative: Screen Charm — when a bug report needs more detail, auto-zoom automatically highlights every click and menu interaction without manual keyframing.
For Podcasters and Musicians Needing Multi-Source Audio
When audio has to be perfect, general-purpose screen recorders fall short. Podcasters and musicians need to manage multiple sources simultaneously — a high-quality USB mic, a specific app's output, and sometimes a co-host feed.
- Top pick: OBS Studio + Loopback — OBS handles the recording; Loopback routes per-app audio to separate tracks with a drag-and-drop interface. Full control, no guesswork.
- Alternative: Audio Hijack — purpose-built for macOS audio routing, records any app or device independently, ideal when the recording is audio-only or audio-primary.
For Marketers and Product Teams Creating Demos
Product demos need to look polished, load fast, and stay on-brand. Key requirements: smooth walkthrough, webcam overlay, custom branding, and 4K export.
- Top pick: Screen Studio — best when you want style presets, GIF export, iPhone/iPad recording, and detailed visual control for polished launch videos.
- Alternative: Screen Charm — better if you want auto-zoom, motion blur, background music, branded demos, 4K export, and a lower one-time price instead of a subscription.
- Alternative: Camtasia — best if the campaign calls for complex animations, multiple video tracks, or a large stock media library.
Screen Charm Workflow: Product Demo in 5 Steps
A typical Screen Charm workflow from idea to finished file:
- Select recording area — full screen, app window, or custom region
- Configure audio — pick microphone + enable system audio capture with one toggle
- Add webcam — choose position, enable background replacement with your logo or brand colour
- Record — auto-zoom follows your cursor and magnifies menus, buttons, and text fields automatically
- Trim and export — remove dead air at start/end, export at 4K UHD — done in minutes
CPU and Performance Impact on Mac
A recorder that hogs system resources is counter-productive — especially if you're recording demanding apps like Figma, Xcode, or a browser with many tabs.
| Tool | CPU Impact | Notes |
|---|---|---|
| QuickTime Player | Very Low | Native app, minimal overhead — but no system audio, no editing |
| Screen Charm | Low | Built as a native macOS app, optimised for Apple Silicon |
| Screen Studio | Low–Medium | Mac-native workflow with more visual processing for zoom, motion blur, and styling |
| Loom | Low–Medium | Cloud-based processing helps; slow internet can be a bottleneck |
| OBS Studio | Medium–High | Scene rendering is CPU-intensive; settings need tuning for lower footprint |
| Camtasia / ScreenFlow | Medium | Recording is reasonable; editing is heavier, especially with multi-track projects |
Practical tip: Before any long recording, open Activity Monitor → CPU tab and close any process above 15–20% that you don't need. On Apple Silicon Macs, also check the Energy Impact column.
Free vs Paid Screen Recorder for Mac
Use a free tool if: You need occasional recordings, have time to learn OBS, or are just starting out.
Use a paid tool if: You're making client-facing videos, product demos, tutorials, or anything that needs to look polished.
| Situation | Recommendation |
|---|---|
| Occasional recording, no budget | OBS Studio (free, no watermark) |
| Quick team communication | Loom free plan |
| Premium product demo polish | Screen Studio ($108/yr or $29/mo) |
| Polished demos and product videos | Screen Charm ($79 one-time) |
| Corporate training / e-learning | Camtasia ($179+/yr) |
| Mac video editor with recording | ScreenFlow ($149 one-time) |
| Fast annotation + sharing | CleanShot X (~$29) |
The main trade-off with free tools is post-production time — OBS gives you raw footage that still needs editing. Paid tools like Screen Charm automate polish during the recording itself, saving significant time per video.
Mac Screen Recorder FAQs
What is the best free screen recorder for Mac?
OBS Studio is the best free screen recorder for Mac if you want no watermark, no recording limits, webcam support, and detailed control. QuickTime Player is easier for basic recordings because it is already included with macOS, but it does not record system audio by default and has very limited editing.
What is the best Mac screen recorder with no watermark?
For free recording with no watermark, choose OBS Studio. For paid no-watermark tools with easier editing, Screen Studio, Screen Charm, Camtasia, ScreenFlow, and CleanShot X are all viable depending on your workflow.
Is QuickTime Player good enough for screen recording on Mac?
QuickTime Player is good enough for simple screen recordings, internal walkthroughs, and quick captures. It is not ideal for polished tutorials or product demos because it lacks system audio capture by default, webcam overlay, auto-zoom, cursor effects, backgrounds, and a real editor.
Is Screen Studio or Screen Charm better for product demos?
Choose Screen Studio if you want premium visual controls like style presets, GIF export, and iPhone or iPad recording. Choose Screen Charm if you want polished Mac product demos with auto-zoom, motion blur, background music, system audio, webcam recording, 4K export, and a one-time purchase.
What is the best screen recorder for SaaS product demos on Mac?
For SaaS product demos, Screen Studio is strong when advanced styling, GIF export, and iOS recording are the priority. Screen Charm is a good fit when you want a faster workflow: record your Mac screen, add webcam and system audio, let auto-zoom and motion blur polish the walkthrough, add background music, then export or share the finished demo.
Ready to create polished product demos without hours of editing? Screen Charm is purpose-built for macOS — intelligent auto-zoom, automatic motion blur, background music, built-in editor, records mic and system audio, $79 one-time with lifetime updates. Try Screen Charm today.
For dedicated comparisons: Screen Charm vs Screen Studio | Screen Charm vs Loom | Screen Charm vs OBS | Screen Charm vs Camtasia | Screen Charm vs ScreenFlow