Your Guide to Video Screen Grabber Mac Tools
Jan 7, 2026

A great product demo video looks effortless, but that’s the trick. The real magic happens long before you ever hit the record button. It's a carefully crafted story designed to show your macOS app's true value, not just a laundry list of features. Success always starts with a solid plan—knowing exactly who you're talking to and what you need them to do next.
Laying the Groundwork for a Winning Mac Demo
Before you can even think about recording, you have to establish a clear foundation. A little bit of prep work up front goes a surprisingly long way, ensuring your final video is polished, persuasive, and professional. This planning phase is your blueprint for success, turning a simple screen recording into an asset that actually works for you.
This strategic approach is why product demo videos have become such a cornerstone of modern marketing. We're not just guessing here; the numbers back it up. 48% of marketers are actively using them, and for good reason. A staggering 69% of consumers say that product demos directly influence their decision to buy. If you're curious, you can dig into more of these powerful video marketing statistics to see just how much they're shaping customer behavior.
Define Your Single Most Important Goal
First things first: what is the one thing you want the viewer to do after watching? Without a specific, measurable objective, your demo will feel aimless and confusing. Are you trying to drive sign-ups for a brand new macOS app? Maybe you're onboarding a paying customer, or perhaps you're just highlighting a game-changing new feature for your existing users.
Each of these goals demands a totally different narrative.
Driving Sign-Ups: Keep it short, punchy, and focused on the core value. Get to that "aha!" moment as quickly as humanly possible.
Onboarding New Users: This is where you can slow down and get more detailed. Guide them through the crucial first steps to get set up and feel comfortable in your macOS interface.
Announcing a New Feature: Speak directly to your existing fans. Show them how this new tool solves a problem they already have or dramatically improves a workflow they use every day.
A common mistake I see all the time is trying to show everything. Resist the urge to give a grand tour of your app. Instead, focus on a single, compelling workflow that solves one specific user problem. A focused story is always more effective and memorable.
This simple three-step process is the key to getting it right: define your goal, target your audience, and prep your environment.
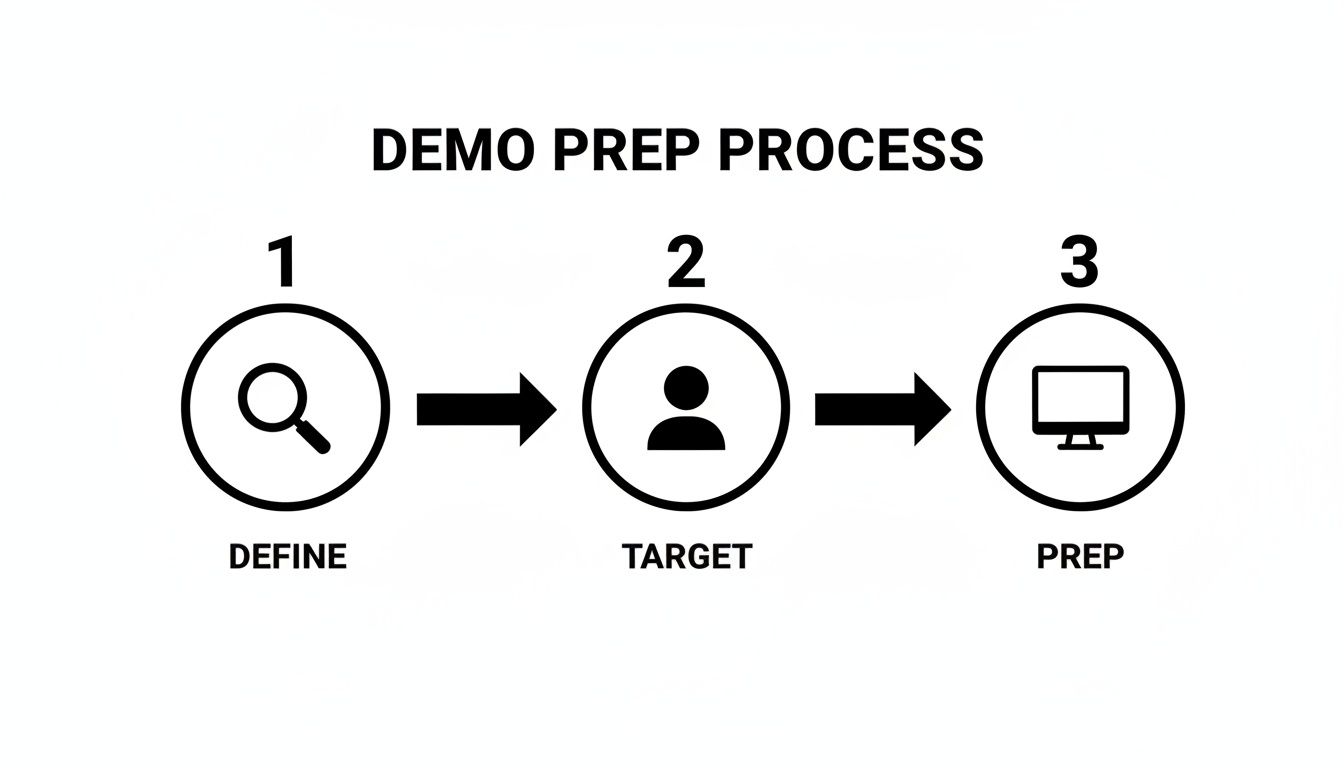
It really just reinforces that a great video is built on strategy, not just fancy recording techniques.
Identify Your macOS User's Pain Points
Once you have your goal locked in, it’s time to connect with your audience. Who are they, really? What specific problems are they trying to solve on their Mac every day? A demo for a busy project manager who lives in spreadsheets will look worlds apart from one created for a freelance graphic designer who needs pixel-perfect tools.
You have to put yourself in their shoes. Are they constantly fighting with a cluttered workflow in Finder? Do they need a faster, less chaotic way to manage their notifications? Your demo needs to frame your macOS software as the perfect solution to these very real frustrations. When you speak directly to their needs, you build an instant connection and make your product feel essential.
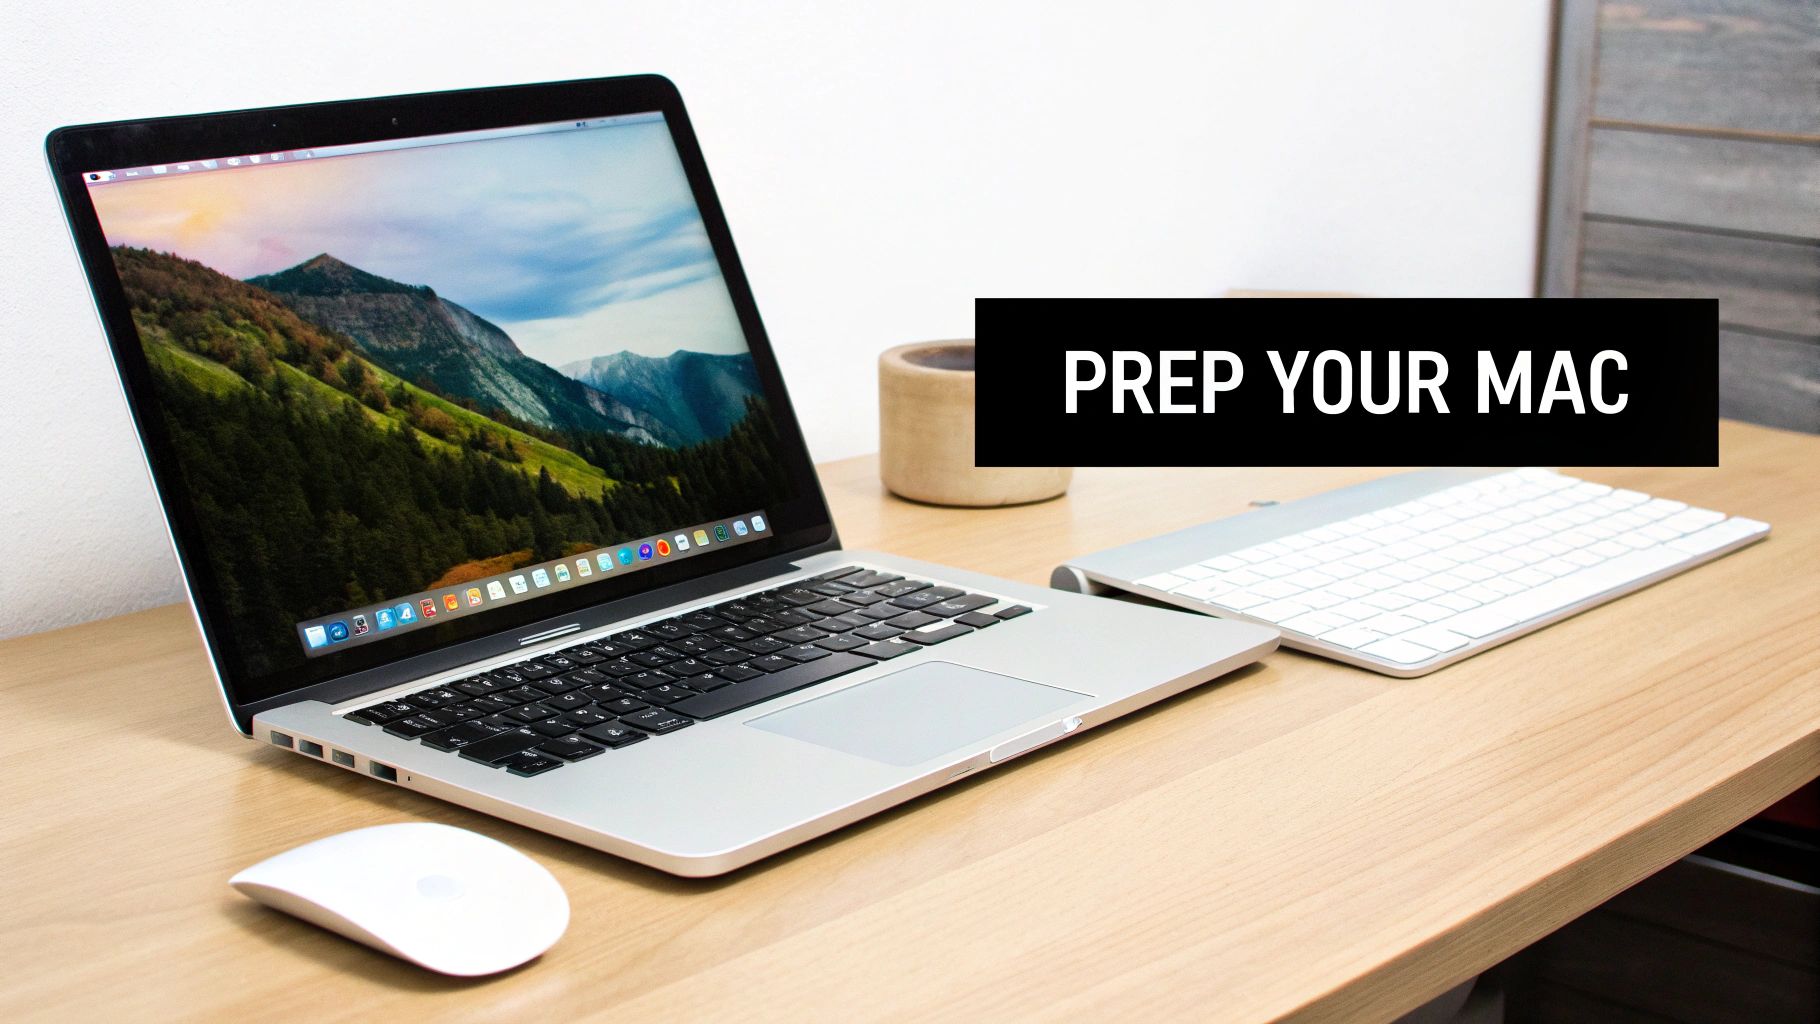
Prepare a Clean and Professional Mac Environment
Your recording environment is a direct reflection of your product's quality. A messy desktop, a million menu bar icons, and random notifications popping up are massive distractions. They make your whole presentation look amateurish. Before you even think about opening your recording software, take five minutes to prep your Mac.
Here’s a quick checklist to get you started.
Declutter Your Desktop: Hide every last file and folder. A clean, branded wallpaper is all anyone needs to see.
Tidy the Menu Bar: Use a simple app like Bartender or Dozer to temporarily hide all those non-essential icons for a minimalist look.
Silence All Notifications: Head straight to your Mac's Control Center and flip on "Do Not Disturb." This prevents any embarrassing or distracting alerts from ruining your take.
Set the Right Screen Resolution: Record in a standard 16:9 aspect ratio, like 1920x1080. This ensures your video looks great on platforms like YouTube and Vimeo without any weird black bars.
Before you start recording, run through this quick pre-production checklist. It's a simple way to make sure you've covered all your bases.
Your macOS Demo Pre-Production Checklist
A checklist of essential planning steps to complete before recording your product demo video to ensure a smooth and effective production process.
Phase | Key Action | Why It Matters |
|---|---|---|
Strategy | Define one clear Call-to-Action (CTA). | Gives your video a single, clear purpose and prevents viewer confusion. |
Audience | Identify the target macOS user and their specific pain point. | Ensures your demo resonates by solving a real-world problem they actually have. |
Environment | Clean the desktop, hide menu bar icons, and turn on "Do Not Disturb." | Creates a professional, distraction-free viewing experience that builds trust. |
Technical | Set screen resolution to 1920x1080 (or another 16:9 ratio). | Guarantees a high-quality, standard format that looks good on any platform. |
Content | Outline a script or a bulleted list of key talking points. | Keeps you on track during recording and ensures you don't forget crucial details. |
Getting this foundational work done first means that when you finally hit record, the viewer's attention is exactly where you want it—on the incredible value your macOS product delivers.
How to Script a Demo That Keeps Viewers Watching
Let’s be honest: even the most "off-the-cuff" product demos that feel completely natural are almost always built on a solid script. Going in without one is a recipe for disaster. You'll ramble, forget to mention a killer feature, and watch your viewer count drop off a cliff.
A script isn't about sounding like a robot. It’s your roadmap. It creates a tight, compelling story that respects your audience's time and gets your point across without the fluff. The best macOS demos follow a simple story arc: a hook, the core demo, and a clear call to action.
Hook Your Audience in the First 10 Seconds
You've got a ridiculously short window to grab someone's attention. Forget introducing yourself or your company. Your first words should dive straight into a pain point your target macOS user knows all too well.
For instance, don't say this: "Hi, I'm from Acme Apps, and today I'll show you our new organization tool."
Instead, lead with their problem: "Is your Mac's desktop a chaotic mess of old screenshots and random files? What if you could clean it all up with just one click?"
See the difference? The second one is all about them. It makes them think, "Yes, that's my exact problem!" and gives them a powerful reason to stick around for your solution.
The 90-Second Rule for Your Core Demo
Once you’ve hooked them, it’s time to deliver the goods. The heart of your demo needs to be ruthlessly efficient. This is where I live by the 90-second rule: get to the "aha!" moment and show off the core value in under a minute and a half.
This doesn't mean your entire video has to be that short, but the main problem-solving sequence should be. Resist the urge to give a grand tour of every single setting and preference pane in your macOS app. It’s overwhelming and unnecessary.
Instead, zero in on one powerful workflow.
Problem: Show the screen in its messy, inefficient state.
Action: Walk through the one or two key steps in your app to fix it.
Outcome: Reveal the beautiful, organized, or super-efficient end result.
The goal is to show the benefit, not just list the features. It's a classic mistake. Instead of saying, "Our app has a smart folder feature," you should say, "Now watch as these smart folders automatically sort every invoice by quarter. You just saved yourself hours of tedious dragging and dropping."
Focusing on a single, outcome-driven story makes your product's value crystal clear. It's infinitely more impactful than a long, rambling tour that leaves viewers confused.
Write for the Ear, Not the Eye
A script for a video is a totally different beast than a blog post. It has to sound natural when spoken, so you absolutely must read your script out loud while writing it. If it sounds clunky or overly formal when you say it, rewrite it.
A few tips I've learned for writing a conversational voiceover:
Use simple language. Ditch the jargon and corporate buzzwords.
Keep sentences short. They're easier to say in one breath and much easier for a listener to follow.
Ask questions. Little things like, "Ever wonder how to...?" can make a demo feel more personal and engaging.
Use contractions. "You'll," "it's," and "can't" are how real people talk. It makes your script feel less stiff and more approachable.
Syncing Narration with On-Screen Actions
For a product demo on a Mac, timing is everything. What you're saying needs to align perfectly with what the viewer is seeing. The single best way to nail this is with a simple two-column script.
It's a game-changer. You plan out exactly what happens on screen and what you'll say at that exact moment.
Visual Cue (What's on screen) | Voiceover (What you're saying) |
|---|---|
Open System Settings. Show a Finder window with a messy, cluttered Downloads folder. | "We all know this feeling—a downloads folder that’s completely out of control. It slows you down and makes finding anything impossible." |
Drag and drop our 'Sorter' app icon onto the folder. The files animate into new subfolders. | "With Sorter, you just drag the app onto any folder and watch what happens. In a second, everything is filed away into organized categories." |
Click into the newly created 'Screenshots' and 'PDFs' folders to show the sorted files. | "And just like that, all my screenshots are in one place, and my documents are neatly filed. It’s that simple." |
Screen fades to the app's logo and website URL on a clean background. | "Ready to reclaim your desktop? Head over to our website to download your free trial of Sorter today and get organized in seconds." |
Using this format forces you to think through the entire experience, both visually and audibly. Trust me, it makes the recording and editing process a thousand times smoother because you already have a clear blueprint for every second of your video.
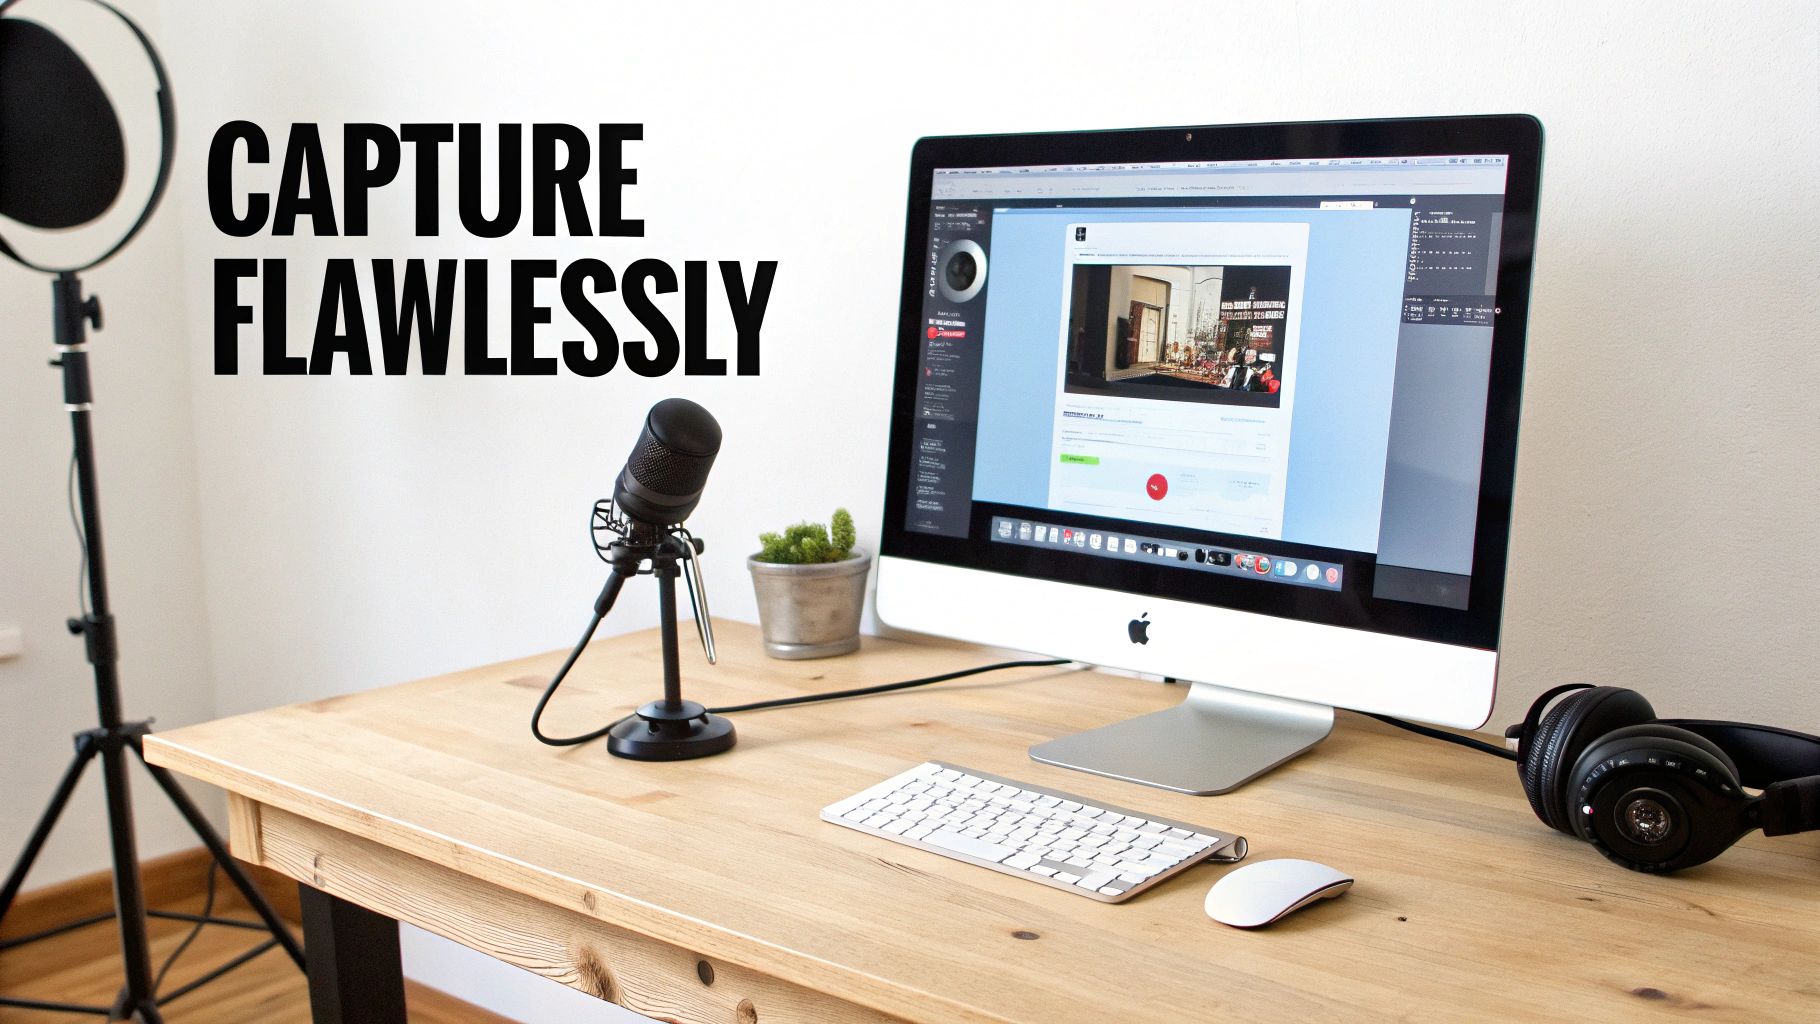
Recording Your Mac Screen Like a Pro with Screen Charm
Alright, your script is polished and your Mac’s desktop is clean. It’s showtime. This is where all that prep work pays off, and we start capturing the footage for your product demo. We're not just making a simple screen capture; we're creating a polished, professional-looking video, and a tool like Screen Charm is built for macOS to make that happen without a ton of post-production headaches.
The goal here is to create something that’s genuinely engaging and guides your viewer’s eye exactly where it needs to go. Modern recording software for Mac gives you the power to craft that narrative on the fly, saving you a massive amount of editing work later on.
Dialing in Your Recording Setup
Before you hit that big red record button, spending a couple of minutes in the settings can make a huge difference in the final quality. Think of it as setting up your virtual studio—a little prep goes a long way.
Bring Your Webcam into the Mix: Nothing builds trust like putting a face to the voice. A webcam feed makes your demo instantly more personal. In Screen Charm, you can pop your webcam overlay into a corner where it’s visible but doesn't cover up any important parts of your app.
Use a Branded Background: Let's be honest, nobody needs to see your messy office. Screen Charm lets you swap out your real-world background for a simple, branded image. This keeps things looking clean and professional, ensuring the focus stays on you and your product.
Check Your Audio (Twice!): A great script can be totally undermined by bad audio. Double-check that your external USB mic is selected as the input source. I always recommend doing a quick 10-second test recording just to check the levels. You want your voice to be crisp and clear, with no annoying echo or background hum.
Directing the Viewer’s Eye with Auto-Zoom
One of the trickiest parts of any macOS software demo is making sure your audience is actually looking at the right thing. It’s so easy for them to miss a tiny button you clicked or a subtle change in the interface. This is where Screen Charm’s signature auto-zoom feature becomes your best friend.
Instead of you having to manually zoom in and out later—which often looks jerky and amateurish—auto-zoom intelligently follows your cursor. As you move to click a button, the view smoothly zooms in, highlighting the action. When you move away, it gracefully zooms back out. It feels almost cinematic.
This isn't just a cool effect; it's a powerful storytelling tool. It silently tells the viewer, "Hey, look here. This is important." You can even adjust the zoom speed to match your speaking pace so the whole thing feels completely natural.
The real magic of auto-zoom is that it gives you the confidence to record a complex workflow without worrying that your audience will get lost. It anticipates where their focus needs to be and creates a guided tour that feels effortless.
Making Your Cursor the Star of the Show
In a macOS product demo, your cursor is the main character. It's the stand-in for the viewer's own hand, pointing and clicking its way through your software. Making it impossible to miss is non-negotiable.
Screen Charm gives you a ton of control over how the cursor looks. You can make it bigger, add a colorful highlight around it, or even change the animation when you click to really draw attention to an action. For instance, putting a bright yellow halo around the cursor on a busy, complex interface can make a world of difference.
This one small tweak has a massive impact on the video's clarity, making every click and drag perfectly obvious. If you want to see exactly how these features work together, you can find more examples on the official Screen Charm for macOS website.
And this isn't just about making slick marketing videos. The results speak for themselves. 84% of marketers say video has directly helped them increase sales, and 62% report that it helps cut down on support tickets. That shows these demos aren't just fluff; they're essential tools that help customers succeed.
While this guide is all about recording on a Mac, you can sometimes pick up useful nuggets from articles with general tips on recording digital content. Now that your settings are dialed in, you're ready to capture footage that looks fantastic right from the start.
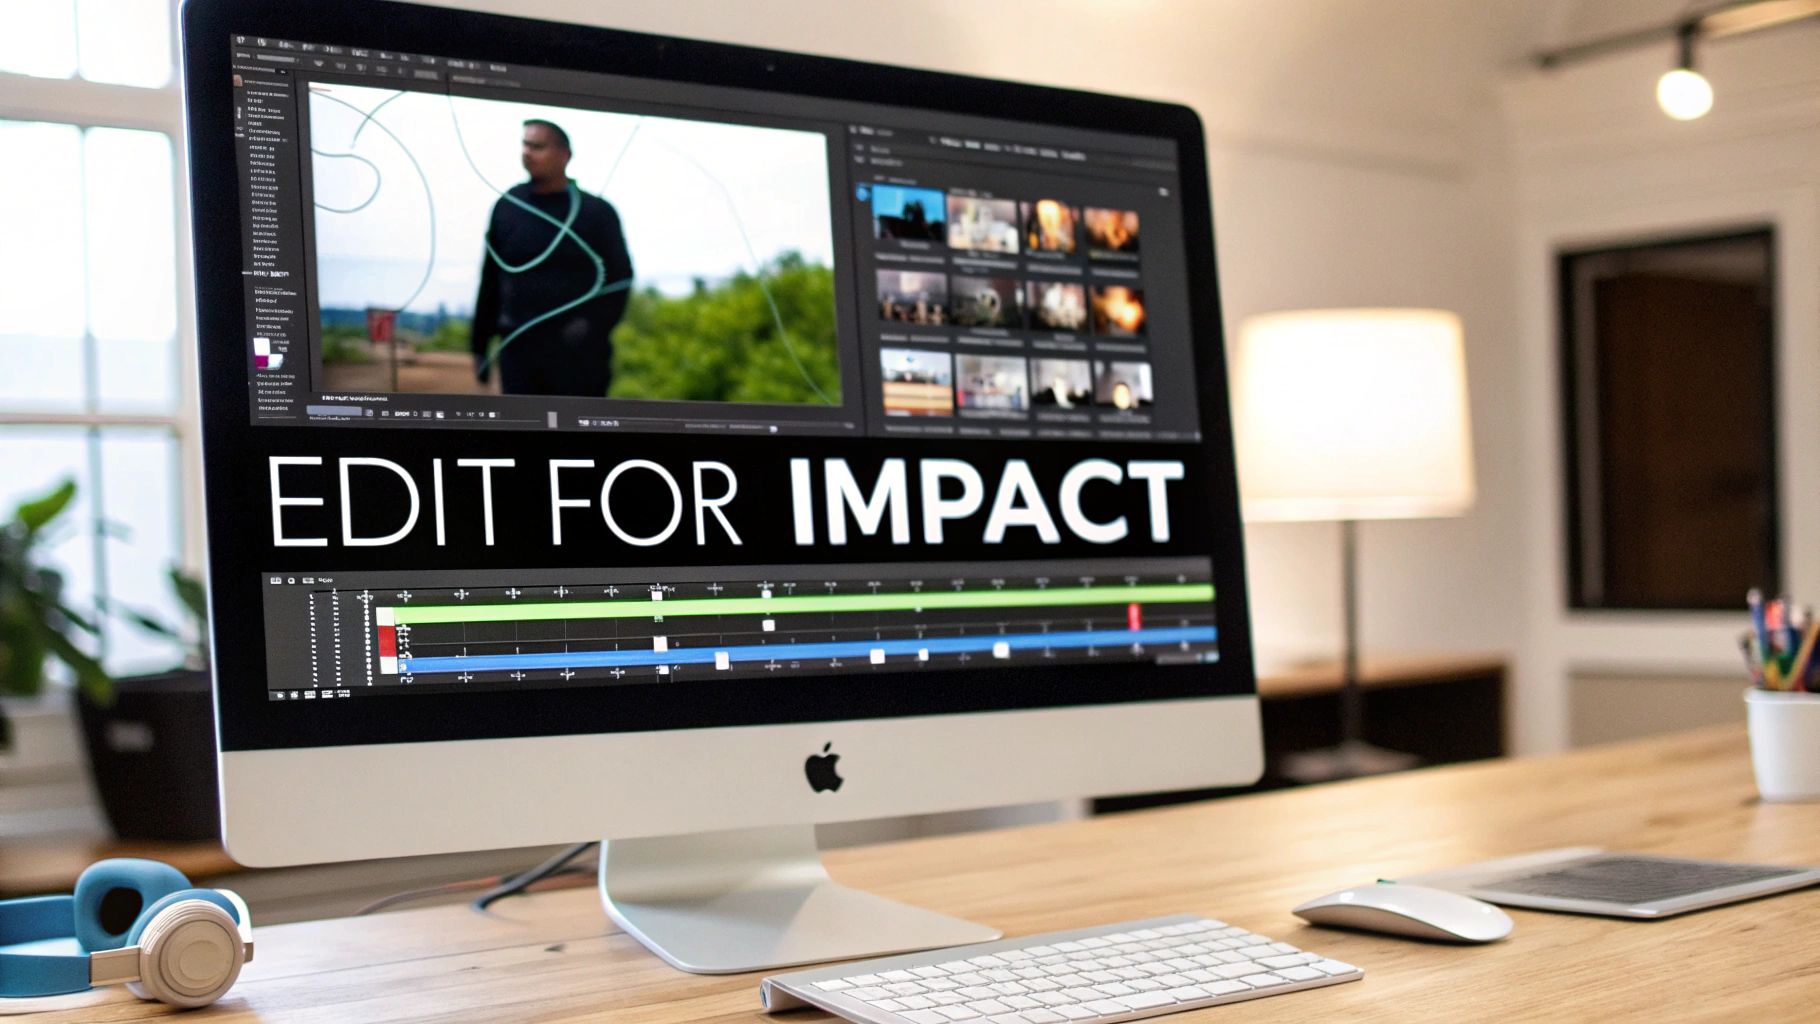
Editing Your Demo for Impact and Clarity
You’ve captured all your footage. Great! Now, the real magic happens. Editing is where you transform a raw screen recording into a polished, persuasive story that actually sells.
Thankfully, if you're on a Mac, you can skip the hassle of juggling different software. Screen Charm’s built-in editor has all the tools you need to create a professional product demo video without ever leaving the app. This is your chance to tighten the pacing, punch up your key points, and add a layer of credibility that makes people trust you.
Trimming the Fat for a Tighter Pace
Your first job in the editor is to be ruthless. Cut anything and everything that doesn't push the story forward. I'm talking about the long pauses while a page loads, the moment you stumbled over a word, or every little "um" and "ah" in your narration.
This is a piece of cake in Screen Charm. Just highlight the dead air or mistakes on your video timeline and hit delete. It’s amazing how much more confident and authoritative your demo feels once you've cleaned up those little imperfections.
This isn't just about damage control; it's about dictating the rhythm. A quick, punchy demo keeps your viewer hooked, while a slow, rambling one is an invitation to click away.
Fine-Tuning Your Auto-Zoom Effects
Screen Charm’s auto-zoom is a lifesaver for pointing out what matters during a recording, but editing is where you get to dial it in perfectly. Maybe you noticed a zoom effect lasted a second too long, or another one felt a bit jarring. Now's the time to fix it.
Right inside the editing timeline, you can tweak every zoom with pinpoint accuracy.
Adjusting Zoom Intensity: Need to highlight a tiny icon? Crank up the zoom. Want a more subtle focus? Tone it down a notch.
Controlling Timing: You can easily stretch out a zoom to perfectly match your voiceover or shorten it to create a rapid, dynamic flow that keeps things moving.
Getting this right is what separates a basic screen recording from a professionally guided tour. Every zoom should feel intentional and seamlessly connected to what you're saying.
Think of your editor as the final quality control check. The goal isn't just to remove errors, but to enhance clarity at every step. Each trim and adjustment should make the product's value easier to understand.
This is the part of the process that truly refines your message. If you’re just getting started with editing, we’ve got a fantastic resource full of helpful video editing tips for beginners to help you get the hang of it.
Polishing with Transitions and Audio
With the core of your video tightened up and your zooms looking sharp, it’s time for the final touches that make a demo look and sound truly professional.
Screen Charm includes a handful of simple editing techniques that can dramatically improve the final product. Here’s a quick look at how you can use them.
Key Editing Techniques in Screen Charm
Editing Technique | Screen Charm Feature | Impact on Demo |
|---|---|---|
Pacing Control | Timeline Trimming/Cutting | Removes dead air and mistakes for a fast-paced, engaging video. |
Visual Emphasis | Auto-Zoom Adjustment | Refines zooms to perfectly highlight features as you discuss them. |
Seamless Flow | Cross-Dissolve Transitions | Softens cuts between scenes for a smoother, less jarring experience. |
Audio Clarity | Volume Level Adjustment | Ensures your voiceover is clear and balances it with any other audio. |
Atmosphere | Background Music Track | Adds a layer of polish and sets the right tone for your brand. |
These small details add up to create a much more cohesive and impressive final video.
A simple cross-dissolve between two different parts of your app can make the jump feel much smoother. Then, turn your attention to the audio. Make sure your voiceover is loud and clear, and if you have a webcam feed, balance its volume so it doesn't overpower your narration.
Finally, consider adding a subtle background music track. Something upbeat can add energy, while a more mellow track works well for in-depth tutorials. Just keep the volume low—it should support your voice, not compete with it. With these final polishes in place, your demo is ready to impress.
Sharing Your Video to Maximize Reach and Engagement
You've made it through the edit and your product demo is looking sharp. That's a huge win, but the job's not quite done. Now it's time to get your video in front of the right eyeballs.
How you export and share your demo is just as important as how you recorded it. This last step is what turns a video file sitting on your Mac into a powerful asset that can educate users, drive traffic, and ultimately grow your business. Luckily, Screen Charm handles the technical heavy lifting, so you can focus on distribution strategy.
Choosing the Right Export Settings in Screen Charm
Before you can upload your masterpiece, you need to get it out of the editor in the right format. Screen Charm’s export dialogue was built for macOS users who need professional results without getting bogged down in confusing video specs.
Here’s a quick rundown of what to choose:
Resolution is Key: For platforms like YouTube, Vimeo, or your own website, always go with 1080p (1920x1080). It's the gold standard for crisp HD video and looks great on almost any device. If you went the extra mile and recorded in 4K, feel free to export in 4K for that premium quality, but just be aware the file size will be significantly larger.
Format Matters: Stick with MP4 (H.264). This format gives you a fantastic balance between high quality and a reasonable file size. Plus, it’s universally compatible, so you won't have to worry about it playing on different platforms or browsers.
Frame Rate Consistency: You’ll want to export at the same frame rate you recorded in—which is usually 30 fps (frames per second). This simple step keeps your on-screen motion looking smooth and natural, avoiding any weird, jarring stutters.
Your export settings are the final handshake between your creative vision and the platform it will live on. Getting them right ensures your demo looks just as professional online as it did in your editor.
Once you hit that "Export" button, Screen Charm will bundle everything up into a single, high-quality file that’s ready for the world.
Optimizing Your Video for Discovery
Just uploading your video and calling it a day is a recipe for getting lost in the noise. You have to optimize it so people can actually find it. Think of it as SEO for your video. A few small tweaks can make a huge difference, helping search engines and platform algorithms understand what your content is all about.
Start with a compelling title. It needs to be descriptive while also hitting your main keyword. Instead of a generic "New Feature Demo," try something like, "How to Instantly Organize Files on Your Mac with [Your App Name]."
Next up is the description. This is your chance to explain the problem your demo solves. Don't forget to include a clear link back to your website or product page. A polished video becomes even more powerful when it's part of a cohesive marketing effort, so it's smart to integrate it with your strategic product launch planning.
And finally, that thumbnail. The thumbnail is arguably the single most important visual for grabbing attention. A bright, high-contrast image with a bit of text overlay will always beat a random, blurry frame pulled from the video.
Embedding Your Demo Across Your Digital Footprint
Your new product demo is a flexible asset that shouldn't live in just one place. The whole idea is to meet your audience where they already are. Since websites with video are a whopping 53 times more likely to land on the first page of Google, placing your demo strategically is a huge traffic driver.
Here are a few high-impact places to embed your new demo:
On Your Website's Homepage: This is your chance to make a great first impression by showing your product in action right away.
On Specific Landing Pages: Got a page dedicated to a particular feature? Embed the relevant demo there to boost conversion rates.
In Your Knowledge Base or Help Docs: You can significantly cut down on support tickets by offering visual, step-by-step answers to common questions.
Within Email Nurture Campaigns: Engage new leads and help onboard new users by sending them helpful demos at just the right moment.
By spreading your video across these different channels, you transform a single piece of content into a workhorse for your marketing and support teams. And if you're hungry for more ideas on getting the most out of your content, check out our guide on essential https://screencharm.com/blog/video-marketing-best-practices.
Common Questions About Creating Product Demos for macOS
Even with the best script in hand, you're bound to hit a few snags or second-guess your approach when making a product demo for your Mac app. It happens to everyone. Let's walk through some of the most common questions that come up and get you some clear, practical answers.
How Long Should My Product Demo Video Be?
This is the classic "it depends" question, but I can give you some solid guideposts based on where the video will live and who's watching it. There's no single perfect length, but context is everything.
Top-of-Funnel (Website, Ads): Keep it tight. You're fighting for attention, so aim for 90 to 120 seconds. The goal here is to hook the viewer, present one major pain point, and deliver that "aha!" moment that shows how you solve it. Get in, make your point, and get out.
Deeper in the Funnel (Knowledge Base, Tutorials): Here, you have permission to go longer. Viewers are actively looking for detailed instructions. A length of 3 to 5 minutes is perfectly fine for a feature tutorial because your audience is already invested and wants the specifics.
The golden rule I always follow is to be as short as possible but as long as necessary. Respect your viewer’s time. If you can deliver the full value in two minutes, don’t pad it out to three.
Is the Built-In Mac Microphone Good Enough for Narration?
Honestly, probably not. While the mics on newer Macs have gotten much better for FaceTime calls, they’re not designed for high-quality voiceovers. They’re notorious for picking up every keyboard click, trackpad tap, and bit of room echo.
If there's one piece of gear to invest in, it's an external USB microphone. Crisp, clean audio is arguably more important than perfect video quality. It makes you sound credible and keeps people from clicking away. It's a small investment that makes a massive difference in how professional your final video feels.
What Is the Biggest Mistake to Avoid in a macOS Software Demo?
Without a doubt, the single biggest mistake is trying to show everything. I see it all the time—creators feel compelled to give a grand tour of every feature, button, and dropdown menu in their macOS app. This is a surefire way to overwhelm and bore your audience.
Instead of a feature dump, focus your demo on one single, compelling workflow. Tell a story. Show how a real user solves a specific, painful problem using your product.
Think of it as guiding your viewer down a single path that leads to a clear win. That focused narrative is what sticks with people and makes them understand the true value of what you've built. It's far more powerful than a rambling tour ever could be.
Ready to create stunning product demo videos on your Mac without the steep learning curve? With features like auto-zoom and a built-in editor, Screen Charm gives you all the tools you need to produce professional, engaging demos quickly. Download Screen Charm today
