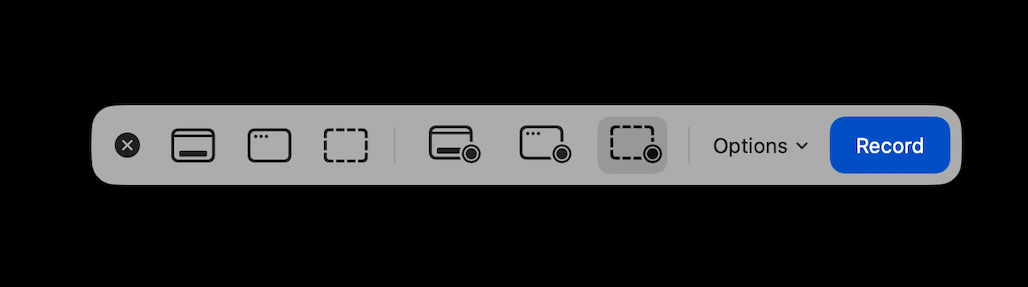
If you need to record your screen right now, your Mac has you covered. The quickest way is to use the built-in Screenshot toolbar. Just hit the keyboard shortcut Command + Shift + 5, and a control panel will pop right up.
From there, you can choose to record your entire screen or just drag a box around the specific area you want to capture. It's an incredibly handy macOS feature.
Knowing Which Built-in macOS Tool to Use
Mastering screen recording on a Mac is a game-changer. It’s perfect for everything from creating a quick how-to video for a coworker to documenting a weird software bug for a support ticket. While there are plenty of third-party apps out there, the free tools baked right into macOS are often all you need.
The trick is knowing which one to grab for the job at hand.
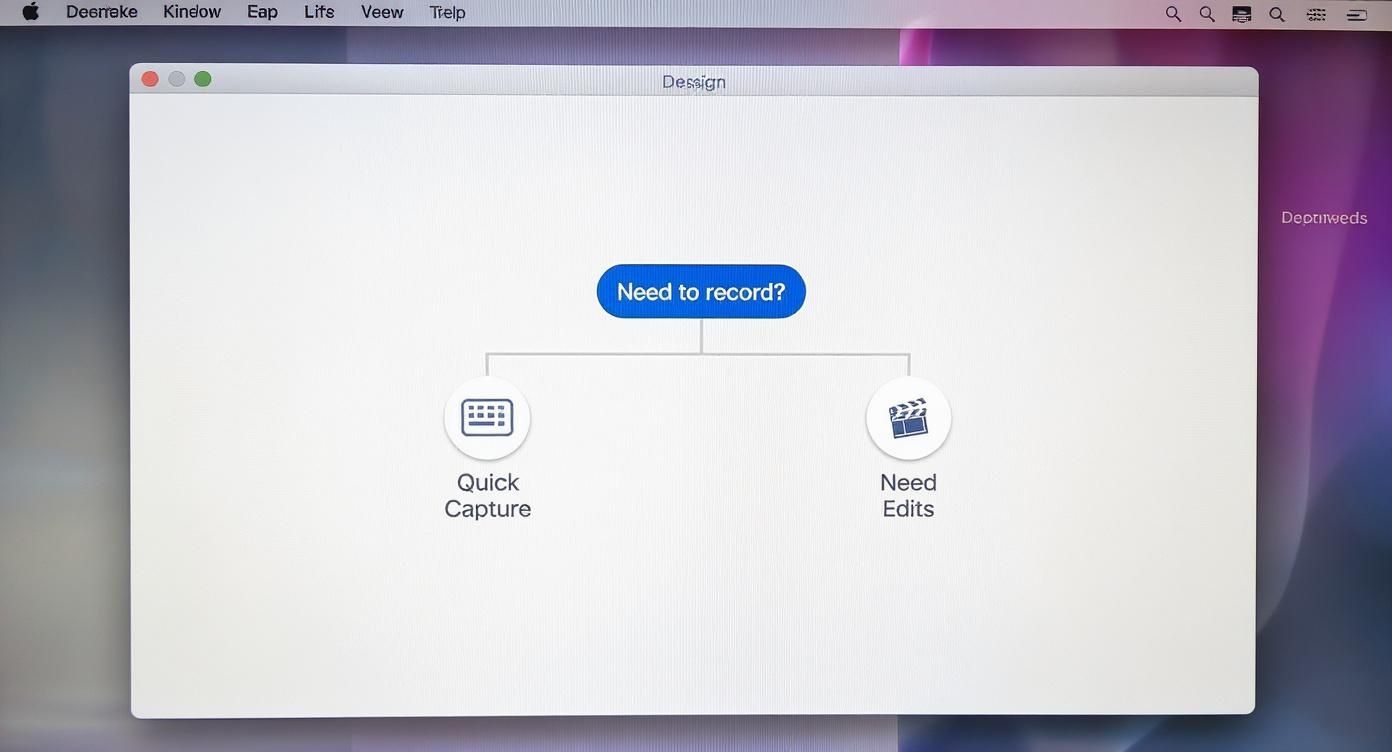
This decision tree nails it: for simple, on-the-fly captures, the keyboard shortcut is your best friend. But if your recording needs a little polish afterward, QuickTime is the way to go.
The Screenshot Toolbar: For Speed and Simplicity
The Screenshot toolbar is your go-to for most day-to-day recording tasks. Since its introduction in macOS Mojave, it’s become the standard for quick captures.
Pressing Command + Shift + 5 instantly brings up all the controls you need. You can record the entire display or just a specific section. This method is all about speed and convenience—no frills, just a fast recording.
QuickTime Player: When You Need More Control
For situations that require a bit more finesse, QuickTime Player is the better choice. It's the macOS app I turn to when I know I'll need to do some light editing, like trimming the start or end of the video. It also gives you more control over audio inputs, which is a big plus.
And if you find yourself needing even more specialized features, you might look into other solutions like recording your screen via a portal for more complex workflows.
Which macOS Screen Recorder Should You Use?
So, how do you decide between the two? This little table breaks it down.
| Feature | Screenshot Toolbar (Cmd+Shift+5) | QuickTime Player |
|---|---|---|
| Best For | Instant, simple recordings. | Recordings that need basic edits or audio input control. |
| How to Access | Keyboard shortcut: Cmd + Shift + 5 | Launch the app from the Applications folder. |
| Key Advantage | Unbeatable speed and ease of use. | Includes simple editing tools (trim, split, rotate). |
| Editing | None. You'll need another app. | Yes, basic trimming and clipping are built-in. |
Ultimately, both are fantastic tools. The Screenshot toolbar is for the "I need this now" moments, while QuickTime gives you a little more breathing room and post-production power.
Using the Screenshot Toolbar for Quick Captures
One of the handiest tools built right into macOS is the Screenshot toolbar, and you can get to it instantly with the Command + Shift + 5 shortcut. This is my go-to for grabbing a quick video of my screen without having to hunt for an application. It just pops up a small control panel with everything you need.
From there, you’ve got a couple of choices right away. You can record the entire screen, which is perfect for showing a full process from start to finish. Or, you can choose “Record Selected Portion.” This is what I use most of the time, especially when I’m making a tutorial. If I'm just trying to show someone how to use a specific menu in an app, I can draw a box around just that area, keeping everything else out of the frame. It makes for a much cleaner, more focused video.
Fine-Tuning Your Recording Settings
Now, where this little toolbar really shines is in its Options menu. This is how you go from just a raw screen capture to something that looks a lot more polished. Before you even think about hitting that record button, taking a moment here can save you a ton of editing time later.
Here are the key settings I always check:
- Choose a Save Location: By default, everything lands on your Desktop, which gets messy fast. I always change this to a specific project folder or Documents to keep things organized from the start.
- Set a Countdown Timer: A 5 or 10-second timer is a lifesaver. It gives you just enough time to get your windows arranged and your cursor in the right starting spot before the recording actually kicks off.
- Include Audio Narration: This is essential for tutorials. You can pick your Mac’s built-in microphone or any external mic you have plugged in. This lets you record your voiceover live, right as you're demonstrating the steps.
Getting these settings right makes a huge difference. For a more comprehensive look at these keyboard commands, you should check out our guide on the essential screen record Mac shortcut.
By taking a few seconds to configure these options upfront, you can create a clean, ready-to-share video without needing to spend ages editing it later. It’s all about working smarter with the tools you already have on your Mac.
Honestly, that little bit of prep saves so much headache down the road. Just setting your save location and making sure your microphone is selected can elevate a simple screen capture into a professional-looking tutorial. Mastering this macOS toolbar is the first real step to creating great content without a lot of extra effort.
Sponsored by the makers
Tired of boring screen recordings?
Try Screen Charm.
Auto-zoom, motion blur, camera overlay, and background music. All built in. Record once, export a polished video.
See what it doesUsing QuickTime Player for More Control
While the Screenshot toolbar is great for quick captures, sometimes you need a bit more control. That's where QuickTime Player comes in. It’s the classic macOS app that gives you more robust options, especially when you need to polish your video after recording. I usually reach for QuickTime when I'm putting together a tutorial that needs a clean start and finish.
First, you'll need to open QuickTime Player from your Applications folder. With the app open, just look up to the menu bar at the top of your screen and select File > New Screen Recording. You'll see a control panel pop up that looks almost identical to the Screenshot toolbar, giving you the same familiar choices to record your entire screen or just a specific section.
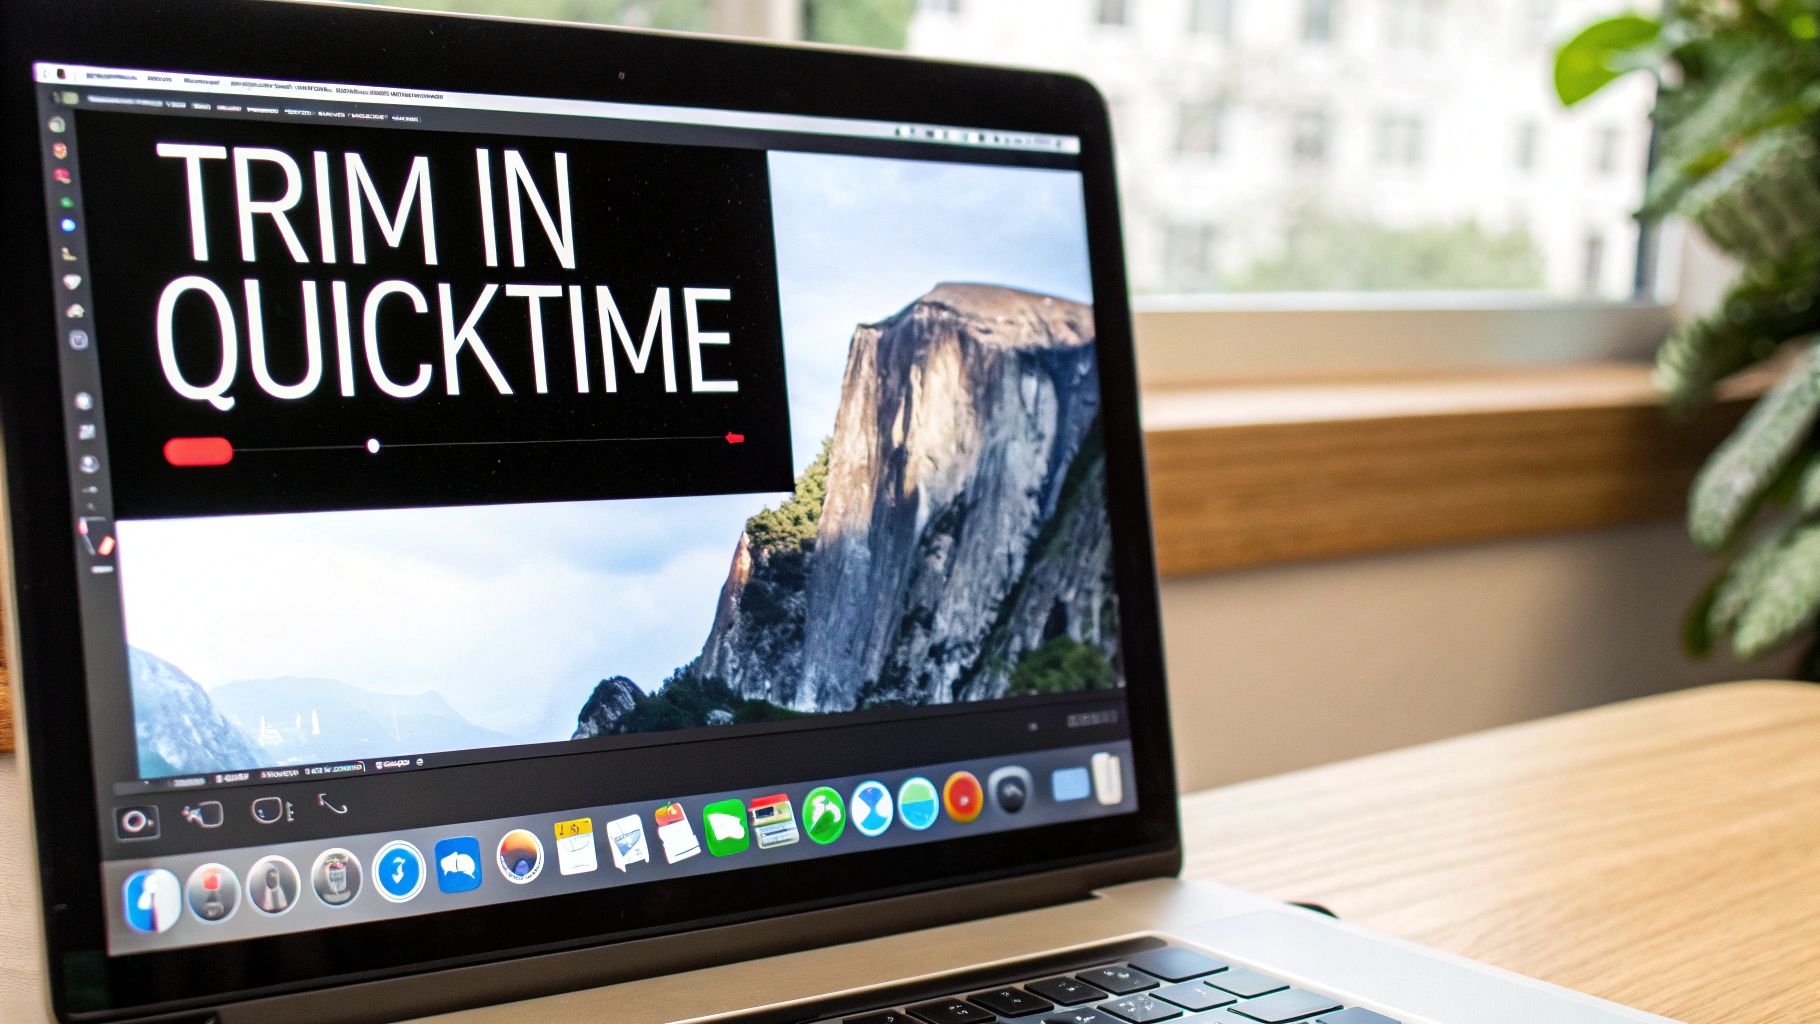
Trimming Your Video for a Clean Finish
The real magic of using QuickTime happens after you hit the stop button. Your recording instantly opens in a preview window, ready for some basic edits. This is QuickTime's best feature: the ability to trim your clip right away without needing to fire up another app.
It's perfect for snipping off those awkward moments at the beginning and end—like when you’re fumbling to get the recording started or clicking to stop it.
- Once your recording opens, go to Edit > Trim in the menu bar. The shortcut is even faster: Command + T.
- A yellow trimming bar will appear along the bottom of your video.
- Just drag the handles at both ends to highlight the exact part of the video you want to keep.
- Click the "Trim" button, and all the unwanted footage is gone.
This simple function is a lifesaver for creating professional-looking demos and tutorials right on your Mac.
A Quick Word on File Sizes
One thing to keep in mind with QuickTime is file size. Even though QuickTime Player has been a staple on macOS since the beginning, it produces pretty hefty files. On my MacBook Pro, recordings average around 13 megabits per second (Mbps), which means even a short video can easily top 100 MB. You can dig deeper into video data rates on Apple's forums to see how this all works.
Be mindful of your disk space. If you're planning on making a lot of recordings, it’s a good idea to save them to an external drive or have a plan to compress them later. Otherwise, you might find your Mac's storage filling up faster than you expect.
Taking Your Videos to the Next Level with Screen Charm
The built-in Mac tools are great for quick-and-dirty recordings, no doubt about it. I use them all the time for simple tasks. But there's a point where you need to create something that doesn't just show your screen, but actually sells your idea.
When you're ready to produce polished, professional-looking videos that grab and hold attention, you'll want to reach for a dedicated macOS app. This is especially true for creators, marketers, and developers who aren't just recording—they're communicating.
Go Beyond a Simple Screen Capture
Think about it. You could create a software demo that automatically wraps your recording in a sleek MacBook frame. Or you could film a tutorial with a custom background that perfectly matches your brand colors. These are the small touches that make your content look seriously professional, but they usually mean spending hours in a separate video editor.
Specialized macOS tools bake these features right into the recording process, which is a massive time-saver. If you want to create high-quality, shareable content without all the post-production headaches, I'd suggest you explore the features of Screen Charm over at https://screencharm.com/ to see what’s possible.
With a tool like this, you can streamline your entire workflow. For instance, you could:
- Instantly add a device frame to make your app demo look sharp.
- Record with a branded or blurred background to hide a messy office.
- Pop in a custom title card right from the recording app.
This approach is a game-changer for anyone who needs to produce consistent, high-quality videos on a schedule. It’s also incredibly useful if you’re camera-shy. Learning how to make videos without showing your face becomes much easier when your tool can add professional graphics that keep the focus on your screen content.
By rolling recording and presentation features into one app, you can create a final video that looks like it came from a pro editor—in a fraction of the time. You get to spend more time on your message and less on the technical grind of video production.
Practical Tips for Polished Screen Recordings
Knowing the right buttons to press is one thing, but creating a screen recording that’s actually easy to watch takes a bit more thought. A little prep work goes a long way. Before you even think about hitting that record button, take a look at your digital workspace.
Think of your screen as a stage. A messy desktop full of random files is the equivalent of a cluttered set—it’s just distracting. Take a minute to close out of any apps you don’t need, switch on Focus mode to silence notifications, and tuck away any personal desktop icons. Your viewers will thank you for keeping their attention locked on what matters.
Don't Neglect Your Audio
You can have the most beautiful visuals in the world, but if your audio is scratchy, distant, or full of background noise, people will click away. Seriously, sound quality can make or break your video. You don’t need a professional recording booth, but you do need a quiet space.
Here are a few things that have a massive impact:
- Find a quiet room. This sounds obvious, but it’s the most important step. Shut the door to muffle the sounds of traffic, pets, or your roommate making a smoothie.
- Use an external mic. Your Mac’s built-in microphone is okay in a pinch, but even a basic USB mic or the one on your headphones will be a huge step up.
- Run a quick soundcheck. Record 10 seconds of you talking, then play it back. Is the volume okay? Can you hear a weird hum? It’s much easier to fix it now than after you’ve recorded the whole thing.
Guide the Viewer with Your Cursor
In a screen recording, your cursor is the main character. It tells your audience exactly where to look. Wild, jerky mouse movements are confusing and hard to track, so try to be intentional.
Move the cursor smoothly and deliberately from one point to the next. When you’re about to click on a button or menu item, let the cursor rest there for a second. This small pause gives your viewer a moment to catch up and see what you're doing, making your instructions crystal clear.
After you’ve captured the perfect take, you’ll want to add some final polish. Managing the final file size is a common next step. Learning how to improve video quality can help you compress large recordings for easier sharing without turning them into a pixelated mess.
Got Questions About Mac Screen Recording?
Even with macOS's straightforward tools, you'll probably hit a few snags the first couple of times you try to record your screen. Let's walk through some of the most common questions I hear, so you can get a perfect recording every time.
Why Can't I Hear Anything in My Recording?
This is, without a doubt, the number one problem people run into. By default, your Mac won't record the sound coming from your speakers. This is mostly to prevent accidental copyright infringement.
If you want to narrate your video, you have to tell your Mac which microphone to use. Before you hit record, pop open the Screenshot toolbar's "Options" menu (or do it in QuickTime) and select your microphone. If you need to capture the internal audio from an app or a video, you'll need a third-party tool.
The most common mistake is just hitting record without checking the settings. I always make it a habit to open the "Options" menu from the Command + Shift + 5 toolbar to double-check that my mic is selected and I know where the file is being saved.
How Can I Save My Recording as an MP4 Instead of MOV?
Apple saves all screen recordings as .mov files, its native QuickTime format. These files look great, but they can be massive.
If you need a more web-friendly format like .mp4, you'll have to convert the file after you finish recording. There are plenty of video conversion apps on the App Store that can handle this for you, both free and paid.
If you'd rather skip the extra steps and create professional-looking videos from the get-go, you should take a look at Screen Charm. It's designed specifically for making polished demos and tutorials on a Mac, complete with nice backgrounds and automatic zoom effects that save you a ton of editing time. You can learn more at https://screencharm.com.