Your Guide to Video Screen Grabber Mac Tools
Jan 9, 2026

Trying to capture your Mac's internal audio can feel like a maze, and trust me, you're not wrong. The simple fact is that macOS is designed to keep your computer's sounds and your microphone's input completely separate. This is why built-in tools like QuickTime can't record both at the same time.
Let's break down exactly how to solve this common headache for good.
Why Is Recording System Audio on a Mac So Hard?
If you've ever tried to record a software demo or a video tutorial on your Mac, you’ve probably run into this wall. You can get your screen and your voice, no problem. But the sounds from the actual application—the clicks, the notification dings, the background music—are completely missing.
This isn't a bug. It's an intentional security and privacy feature from Apple.
macOS treats system audio and external inputs (like your microphone) as two totally separate channels. This is designed to prevent one app from secretly listening in on another's audio output without you knowing. It's a solid security measure, but it creates a huge roadblock for anyone trying to make high-quality, professional-looking videos. The native tools just aren't built to grab audio from both places at once.
A Common Problem for Creators
This design quirk affects a ton of people who use screen recordings in their daily work.
Software Developers: When you're demoing a new product, those little interface sounds provide critical feedback and make the whole experience feel more real and polished.
Educators and Tutors: For online courses, capturing application audio is non-negotiable. You need to show students what the software is supposed to sound like.
Customer Support Teams: A walkthrough video is way more helpful when the viewer can hear the same confirmation chimes and alerts they'll encounter themselves.
Without system audio, a recording just feels flat and incomplete. It doesn't quite match what people expect. For a deeper dive, our guide on what audio screen recording captures breaks this down even further.
Mac Users Have Been Dealing With This for Years
This isn't a new issue. Back in 2018, when Apple introduced native screen recording with macOS Mojave 10.14, they deliberately left out system audio capture, only allowing for microphone input. That decision forced millions to hunt for third-party workarounds.
Think about this: according to Stack Overflow’s 2023 Developer Survey, over 20% of professional developers create video tutorials or demos every month, and a huge chunk of them are on macOS. This means the inability to easily capture computer audio is a constant hurdle for tens of thousands of creators.
The real issue is that macOS doesn't have a built-in feature to internally route audio for recording. To capture computer audio on a Mac, you have to create a virtual "bridge" that takes the system's output and routes it back in as an input that your recording software can actually hear.
Don't worry, it's not as complicated as it sounds. This guide will show you exactly how to build that bridge with a simple, free tool, finally letting you record everything you see and hear on your screen.
Laying the Foundation: Installing Your Virtual Audio Device
To capture your Mac’s internal audio, you first need a clever workaround. By default, macOS security prevents applications from simply “listening in” on other apps. The solution is to create a virtual audio "bridge"—a bit of software that catches your system's sound output and reroutes it as an input that can be recorded.
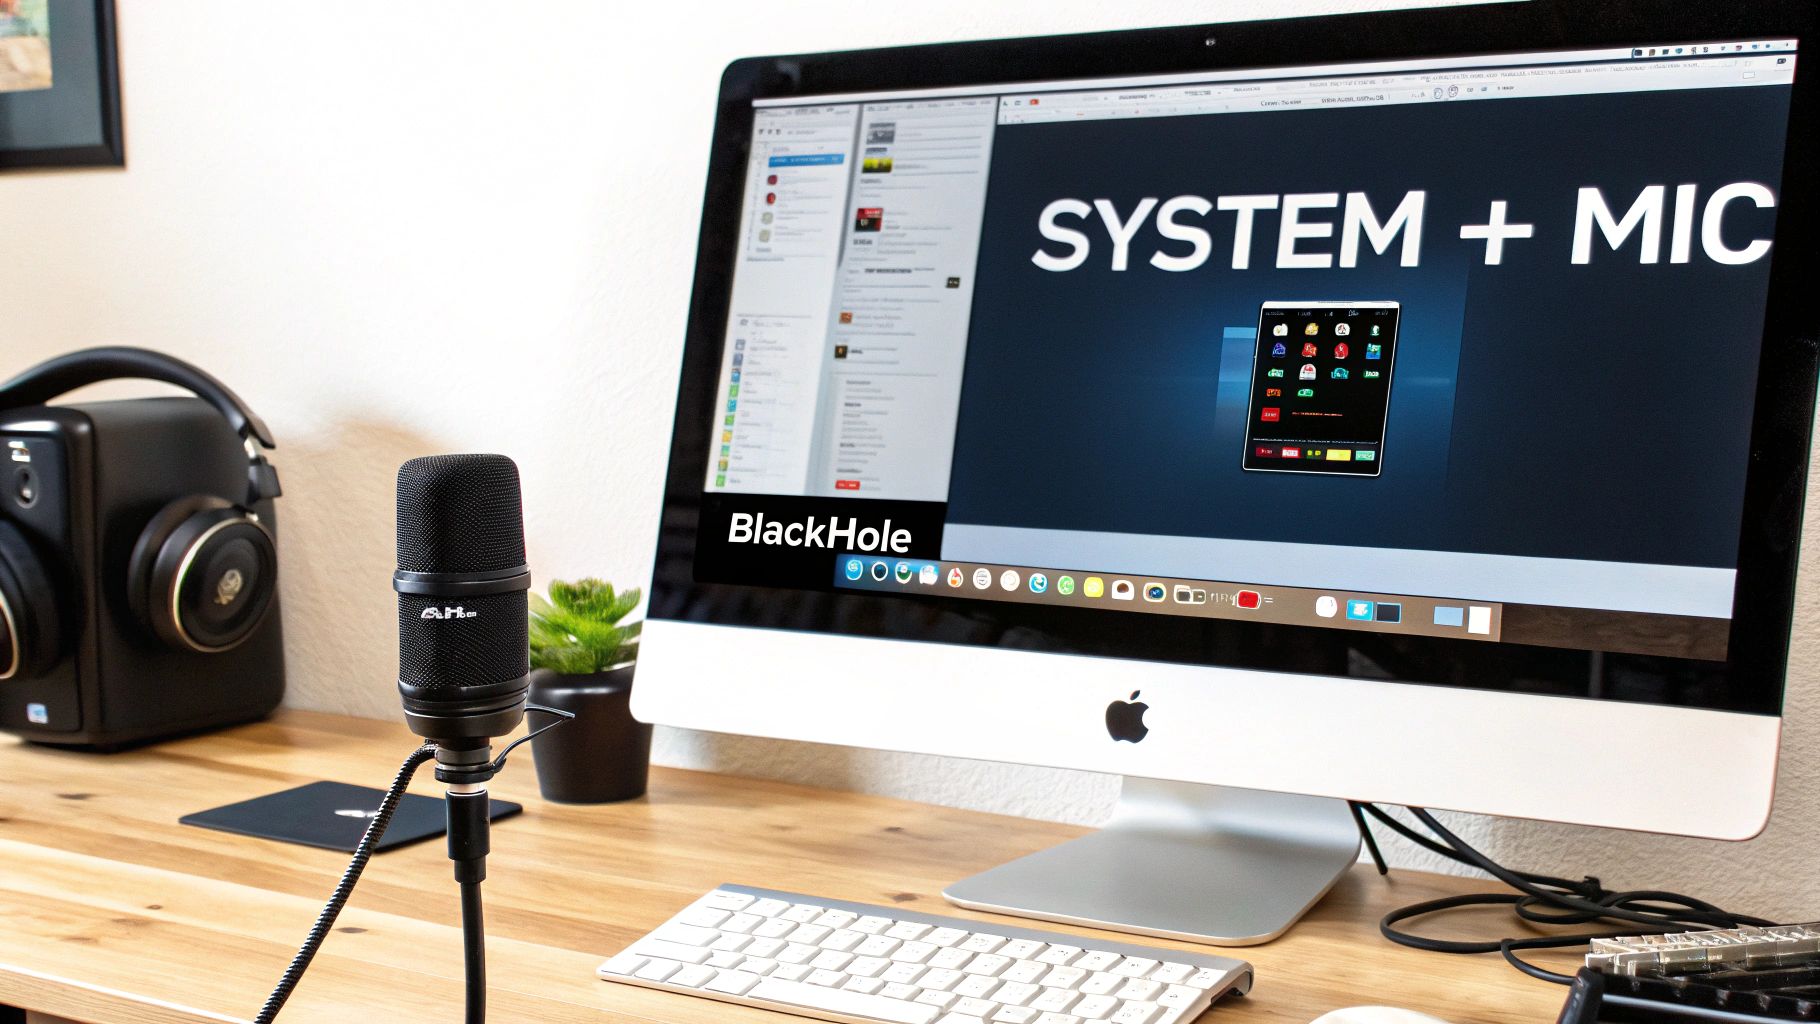
This is the cornerstone of getting a clean recording. For this job, we’ll use a fantastic, free, and open-source tool called BlackHole, which has become a staple for Mac-based creators.
Getting BlackHole on Your Mac
First things first, let's get the software installed.
Download the Installer: Head over to the official BlackHole website. You'll see a few options, but the 2-channel version is all you need for most screen recording projects.
Run the Installer: Once the
.pkgfile is downloaded, open it up and run through the standard Mac installation process. It’s quick and painless.
Because BlackHole functions as a third-party audio driver, macOS will put up a security checkpoint. You’ll need to give it explicit permission to run. During the installation, you'll likely get a security pop-up.
To approve it, navigate to System Settings > Privacy & Security. Look for a message in the "Security" area that says system software from "Existential Audio Inc" was blocked. Just click "Allow" and pop in your password.
A Quick Check to Confirm It’s Working
After the install, it's always a good idea to make sure your Mac sees the new virtual device. The easiest way to do this is with a built-in tool called Audio MIDI Setup.
Just use Spotlight (⌘ + Space) to search for "Audio MIDI Setup" and open it. In the list of audio devices, you should now see "BlackHole 2ch" alongside your built-in microphone and speakers. If it's there, you're golden.
What BlackHole Actually Does: It's important to understand that BlackHole itself doesn't record anything. Think of it as a silent middleman. Its only job is to create a new audio pathway, catching your Mac’s system sounds so an app like Screen Charm can grab them for your recording.
Solving the "Silent Recording" Problem
Here’s a classic snag people hit: they set their Mac's sound output to BlackHole to record it, but then they can’t hear anything themselves. The audio is going only to the virtual device, leaving them in silence.
Thankfully, macOS has a built-in fix for this called a Multi-Output Device. It lets you pipe your computer's audio to multiple destinations at the same time. We'll set one up to send audio to both BlackHole (for the recording) and your headphones (for you).
This flowchart shows exactly why this workaround is necessary in the first place—macOS security is designed to isolate app audio.
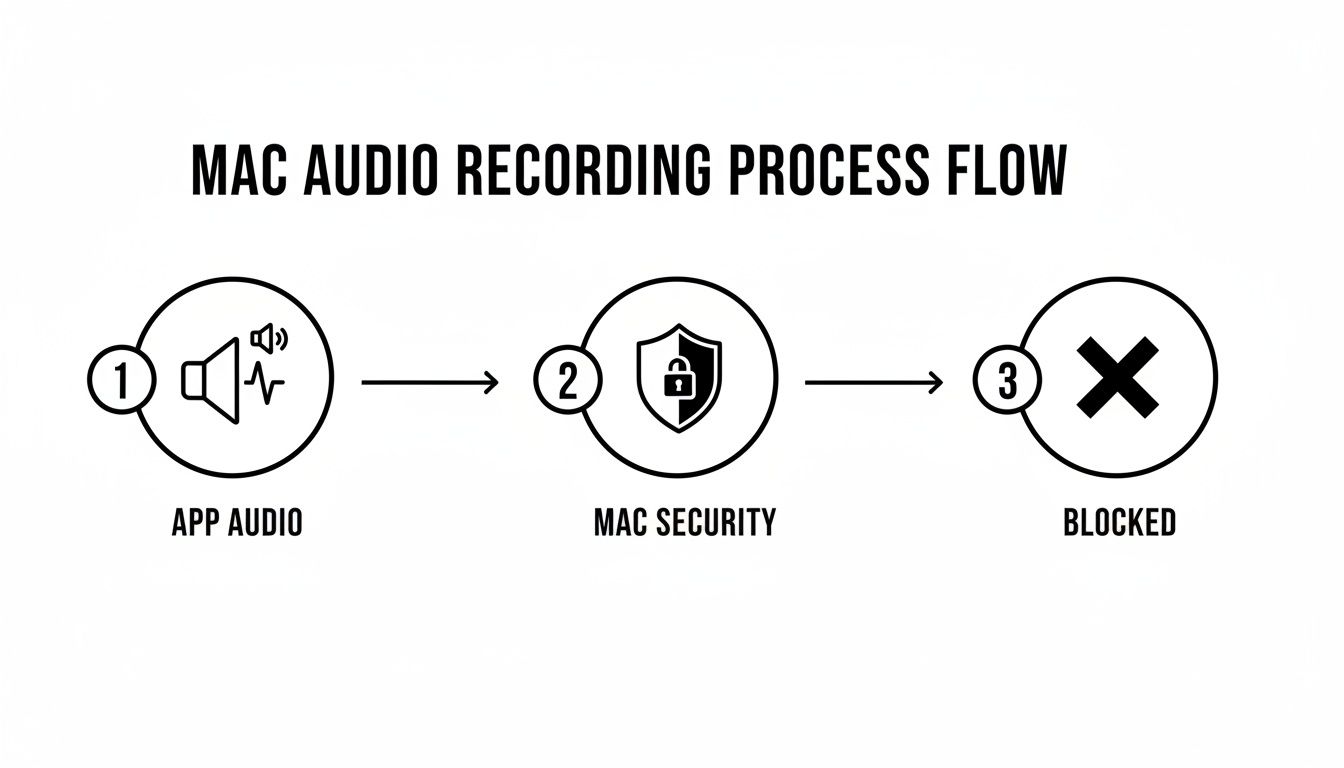
As you can see, the security measures force us to route the audio around the block, and that's precisely what our Multi-Output Device will do.
How to Create Your Multi-Output Device
This is a one-time setup that will make your life much easier. Jump back into the Audio MIDI Setup utility.
Find the plus icon (+) in the bottom-left corner and click it.
Choose "Create Multi-Output Device" from the little menu.
A new panel will show up. Check the boxes for your primary listening device (like "External Headphones" or "MacBook Pro Speakers") and "BlackHole 2ch".
Crucially, in the "Master Device" dropdown, select your headphones or speakers. This keeps everything perfectly in sync.
I recommend renaming this new device to something intuitive like "Recording Output" or "Stream Mix." Now, whenever you're ready to record, just click the sound icon in your menu bar and select "Recording Output" as your Mac's sound output.
With that simple switch, all your Mac’s audio will play through your headphones and get sent to BlackHole, ready for Screen Charm to capture. You've now built the essential audio plumbing needed for any high-quality screen recording.
Bringing Your Audio into Screen Charm
Alright, you've done the tricky part. Getting the virtual audio device installed and setting up that Multi-Output Device is the real heavy lifting. Now for the fun bit: pulling it all together inside Screen Charm so you can finally record your Mac's system audio right alongside your voice. This is where all that behind-the-scenes configuration pays off in a smooth, creative workflow.
Screen Charm is built for exactly this kind of task. It’s designed to turn what used to be a frustrating audio juggling act into just a couple of clicks. The app will see both your physical microphone and the virtual device you just made, letting you manage them as two separate, distinct audio sources.
Setting Up Your Recording Session
When you fire up Screen Charm for a new project, you'll see the familiar options for your camera and audio inputs. This is your command center for telling the app exactly what you want it to hear.
First up, let's grab those system sounds. In the audio input settings, you'll want to select "BlackHole 2ch" (or whatever name you gave your virtual device). This tells Screen Charm to start listening to everything being piped through that virtual channel. And thanks to the Multi-Output Device you configured, that includes all your Mac’s system alerts and application audio.
Next, we'll get your voice into the mix. Screen Charm can handle multiple audio inputs at once, which is crucial here. In a second audio source slot, simply choose your external microphone—whether that’s a Blue Yeti, a Rode NT-USB, or even your AirPods. This keeps your narration on its own clean track, totally separate from the computer's audio.
This separation is the secret sauce for professional-sounding recordings. When your voice and the system audio are on independent tracks, you have total control in post-production. Need to turn up your voiceover without boosting the game audio? Easy. Need to dip the app sounds during a key explanation? No problem.
This multi-track setup is also your best defense against audio nightmares like feedback or echo. Since the system audio is captured digitally through BlackHole, it never actually plays out loud in the room for your mic to pick up again. The result is a perfectly clean recording.
A Real-World Scenario: The Product Demo
Let's put this into practice. Imagine you're making a tutorial for a new music production app. You need to record the app's audio output as you showcase its features, all while providing crystal-clear spoken instructions.
Here’s how you'd set it up in Screen Charm:
System Audio Source: Select "BlackHole 2ch". This will capture every rich synth pad and crisp drum loop the app produces.
Microphone Source: Choose your USB microphone. This will be the channel for your voice as you walk your audience through the software.
macOS Sound Output: In your Mac's main sound settings, set the output to your "Recording Output" (that Multi-Output Device we made). This lets you monitor both the app's music and your own voice in your headphones as you record.
Once you hit that record button, Screen Charm captures both streams perfectly. Your viewers will hear the software in action, and your voiceover will guide them clearly through every step. No audio bleed, no tedious syncing later on. It just works.
Why This Integrated Approach Is a Game-Changer
While there's a bit of one-time setup involved in macOS, the payoff is huge. Once it's done, you have a reliable, repeatable system ready to go for every recording. You can say goodbye to fumbling with a half-dozen settings across multiple apps every time you want to capture your screen.
This integrated method solves the core challenge that has long pushed Mac creators toward complicated and often buggy software workarounds. Some audio routing techniques can even introduce subtle quality loss, especially when the sound is re-routed multiple times. By keeping the signal path short and sweet (System Audio → BlackHole → Screen Charm), you ensure the audio stays as clean and high-quality as possible.
Ultimately, this setup frees you to concentrate on what really matters: creating great content, not fighting with the tech to get it made.
Pro Techniques for High-Quality Recordings
Getting your virtual audio device and microphone talking to your recording software is a huge win, but honestly, that's just the starting line. Now, let's get into the details that separate a decent recording from a truly great one. These are the little things experienced creators do to make their videos feel polished and professional.
First up, a simple rule that is absolutely non-negotiable: always monitor your audio with headphones. Recording with your speakers on is a recipe for disaster. Your microphone will inevitably pick up the speaker output, creating a nasty echo or a painful feedback loop.
Wearing headphones gives you a direct, real-time preview of what your final recording will sound like. This lets you catch problems like audio peaking, distracting background hum, or an unbalanced mix before you've recorded the whole thing.
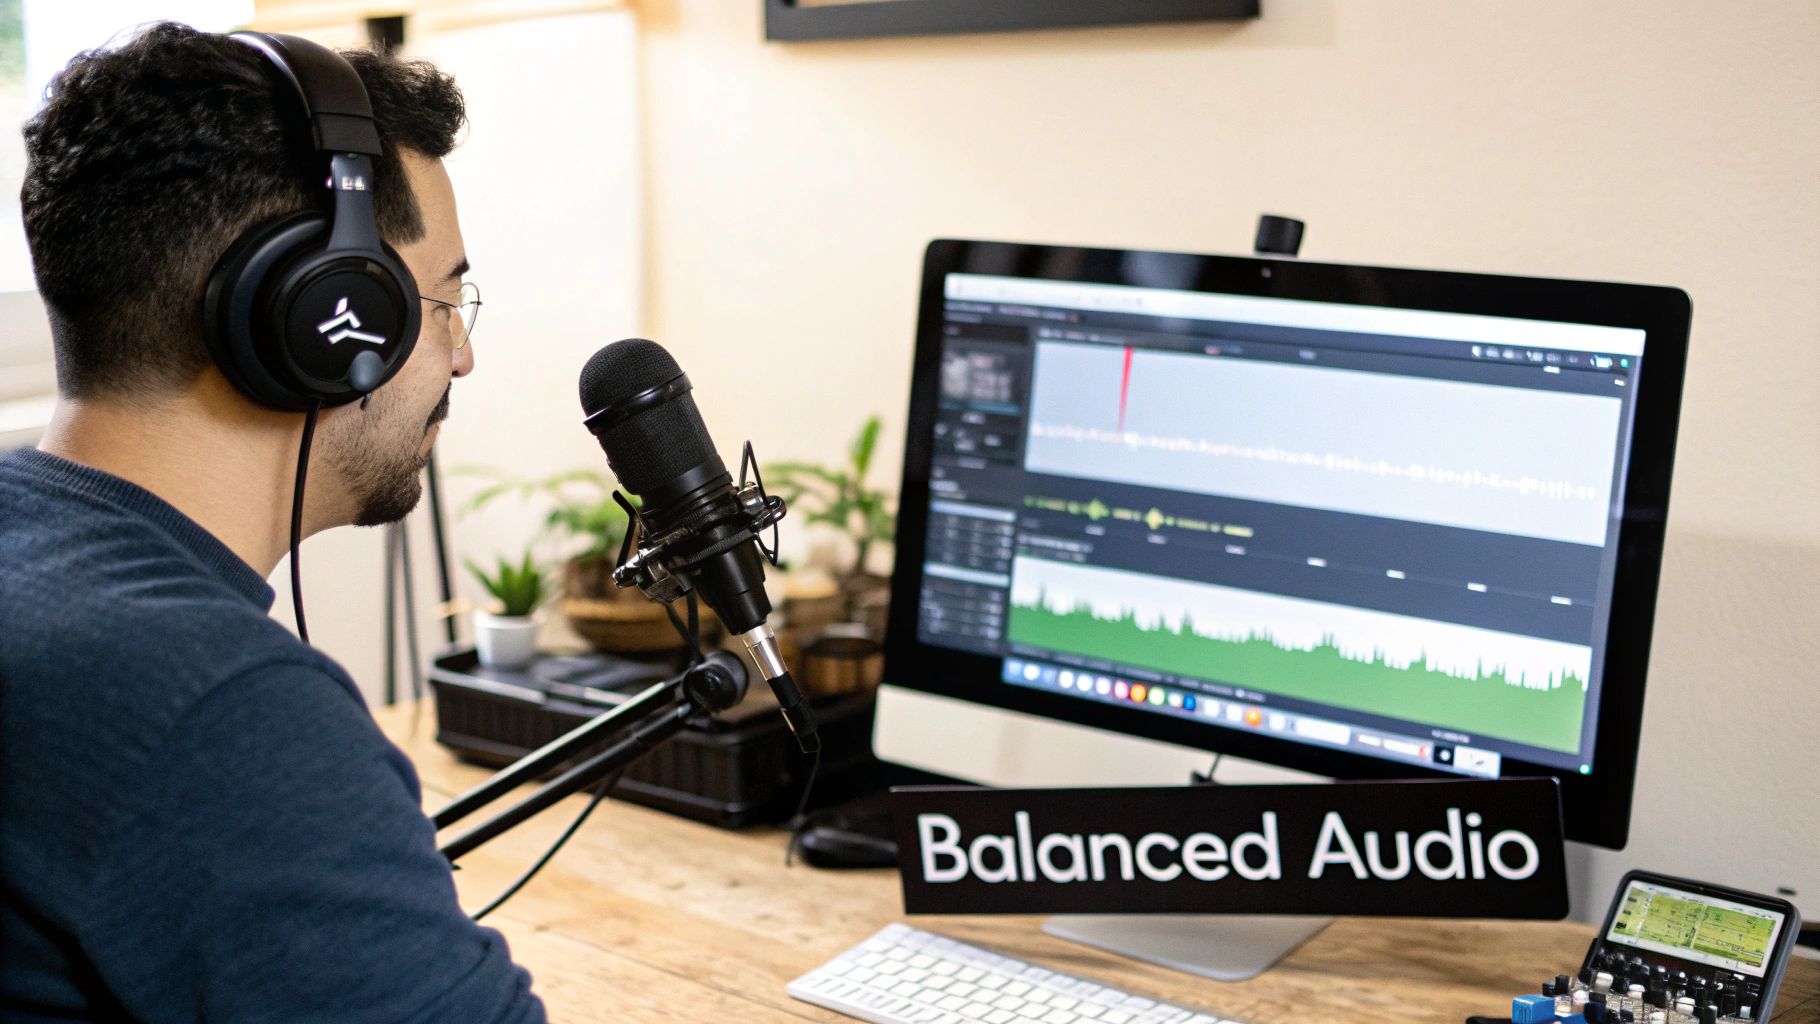
Mastering Your Audio Mix
The goal here is to find that perfect balance between your voice and the system sounds from your Mac. Your narration needs to be the star of the show—clear, present, and easy to follow. Think of the computer audio as the supporting cast; it adds context without stealing the spotlight.
A classic mistake is just leaving both audio levels at their default settings. More often than not, this makes the system sounds way too loud, completely drowning out your voice.
Your Voice: Aim for your microphone levels to consistently hit around -6dB to -12dB. This sweet spot gives you plenty of headroom and prevents digital clipping—that awful, distorted sound that you can't fix in post-production.
System Audio: Tweak your Mac’s overall volume so that application sounds are audible but sit comfortably underneath your narration. They should complement what you're saying, not fight for attention.
Think of it like a conversation. Your voice is the main speaker, and the system sounds are the occasional, brief interjections that add emphasis. If the system sounds are shouting over you, the viewer will lose the thread of what you're trying to explain.
Syncing Audio Quality with Visual Storytelling
Great audio does more than just sound good; it actually makes the visuals better. When you capture computer audio on Mac with real clarity, every click and notification chime reinforces what’s happening on screen. This is especially powerful when you combine it with dynamic visual features.
For example, a feature like Screen Charm’s auto-zoom, which follows your cursor, feels so much more impactful when the sound of the click happens at the exact same moment. The sound confirms the action, while the zoom directs the viewer's eye. It creates a seamless, intuitive experience that makes even complex software tutorials easy to follow.
To get that professional sound, you'll want to eliminate any distracting noise. This handy guide on how to remove background noise for clear audio has some great, actionable tips for a cleaner final product.
The Link Between Resolution and Audio Clarity
It's also crucial to remember that your video's export quality directly affects how people perceive both the visuals and the audio. In a real-world Mac workflow, resolution and audio are tightly connected. For instance, I saw a user on a MacRumors forum with a 5K display complain that their recorder was downsampling their screen capture.
This is a huge deal. For teams making SaaS demos for YouTube, where 4K is standard, that downsampling can make UI text and other small details look fuzzy after compression. It totally undermines the crispness of your audio cues. Using a tool that offers unlimited 4K UHD exports ensures your visuals stay sharp and your audio remains crystal clear.
Finding the best screen recorder for Mac with audio often comes down to finding tools that handle both high-res video and multi-channel sound without compromise. You can check out some of the top options here: https://screencharm.com/blog/best-screen-recorder-for-mac-with-audio
By focusing on these finer points, you move beyond just capturing your screen to actually crafting a professional and effective video.
Audio Recording Quality Checklist
Use this checklist before and during your recording session to ensure professional-grade audio for your product demos and tutorials.
Check Point | Best Practice | Why It Matters |
|---|---|---|
Use Headphones | Always monitor your audio with closed-back headphones. | Prevents echo and feedback loops from speakers and allows you to hear exactly what's being recorded. |
Set Microphone Levels | Aim for your voice to peak between -6dB and -12dB. | Provides enough headroom to avoid digital clipping (distortion) while ensuring your voice is loud and clear. |
Balance System Audio | Lower system volume so it’s audible but sits beneath your voice. | Ensures important system sounds are heard without overpowering your narration, keeping the focus on your explanation. |
Check for Noise | Listen for background hum, fans, or keyboard noise. | A clean audio track sounds more professional and is easier for viewers to listen to for extended periods. |
Do a Test Recording | Record a 30-second clip and play it back before starting the full session. | Catches any unexpected issues with your setup (e.g., wrong mic selected, audio out of sync) early on. |
Running through these quick checks will save you a ton of headaches in editing and help you produce a much more polished final video.
Troubleshooting Common Mac Audio Issues
Even when you follow every step to the letter, macOS audio can have a mind of its own. Audio routing is a delicate dance, and one wrong move can leave you with a completely silent recording. This is your field guide for figuring out—and fixing—the most common headaches you’ll run into when you capture computer audio on Mac.
Don't worry, most of these problems are easier to solve than you think. We'll walk through the classic snags, from a totally dead audio track to that maddening echo that can ruin a perfect take.
Problem: The Recording Has No Sound at All
This is, by far, the most common and frustrating issue. You’ve just recorded a masterpiece, you hit play, and… nothing. It’s almost always a simple routing mistake somewhere in the chain.
Check Your Mac's Main Sound Output: The very first place to look is your Mac's own sound settings. Pop open the Control Center (or go to System Settings > Sound) and make sure your sound output is actually set to the Multi-Output Device you created (e.g., "Recording Output"). If it's still sending audio to your normal speakers or headphones, the sound was never routed to BlackHole to be captured in the first place.
Verify Screen Charm's Input: Now, inside Screen Charm, double-check that your primary audio source is set to "BlackHole 2ch". It's incredibly easy to accidentally leave it on your default microphone, which would explain why you recorded your voice but none of the system sounds.
If you’ve confirmed both of these are correct and you're still getting silence, a quick restart of your Mac can often give the core audio services the kick they need to work properly. For a deeper dive on this, check out our guide on how to get sound on a screen recording.
Problem: Only the Microphone or System Audio Was Captured
This one’s a classic. You get one audio source but not the other. This usually means you’ve correctly set up one part of the audio chain but missed a small step for the second source.
If you only hear your voice, it means Screen Charm is picking up your mic perfectly, but the system audio isn't being funneled through. This almost always points back to your Mac's main sound output not being set to your Multi-Output Device.
On the flip side, if you only hear system sounds but not your voice, you probably forgot to add your physical microphone as a second audio source inside Screen Charm. The app can juggle multiple inputs at once, so just make sure both "BlackHole 2ch" and your external mic are selected and active before you hit record.
Problem: I Hear an Echo or My Voice Sounds Robotic
An echo is the tell-tale sign that your microphone is picking up the audio coming out of your speakers. This is precisely why monitoring with headphones is so important.
The Culprit: Sound from your Mac plays through the speakers. Your microphone hears that sound and records it. The system then records your microphone's input. That tiny delay between the sound playing and being re-recorded is what creates the echo.
The Fix: Just plug in a pair of headphones. This keeps the audio contained where your microphone can't hear it, which instantly kills the feedback loop.
If you're already using headphones and still hear a weird, doubled, or robotic effect on your voice, take a look at your audio sources in Screen Charm. Make sure you haven't accidentally selected the same microphone twice, as this can cause phasing issues that sound completely unnatural.
Expert Insight: It's worth remembering that the virtual audio routing APIs on macOS, while powerful, aren't perfect. They can introduce little quirks from time to time. The key is to keep your setup as simple and methodical as possible to avoid confusing the system.
Advanced Issue: Stereo Channels Are Missing
Sometimes, the problem isn't your setup—it's a bug in macOS itself. API quirks can break professional workflows in some really unexpected ways. For instance, some users on macOS 15 found that Apple’s native screen recorder was only capturing the left audio channel from multichannel interfaces. For a creator blending a mic, app audio, and music, losing an entire stereo channel can completely ruin a project. You can find community reports on issues like this over on Apple Discussions.
This is where a dedicated, macOS-native tool like Screen Charm really shines. It's built to correctly interpret and manage these complex audio streams, effectively shielding you from the weirdness of device routing and ensuring you get a solid, full-stereo recording every time. By handling these complexities for you, it helps maintain audio integrity even when the operating system gets a little buggy.
Common Questions About Mac Audio Capture
Diving into audio routing on a Mac for the first time can feel like a maze. But once you get the hang of a few core ideas, it all clicks into place. To help you get there faster, I've put together answers to the most common questions people have when they're figuring out how to capture computer audio on a Mac.
Can I Capture Computer Audio on Mac Without Third-Party Software?
This is the big one, and the short answer is no, not really. By design, macOS keeps its internal system audio locked down for security reasons, so native apps like QuickTime can only grab audio from a microphone.
The standard, community-accepted solution is to use a free virtual audio driver. The go-to for years has been BlackHole. Think of it as a set of virtual audio cables. It creates a new "output" that you can send your Mac's sound to, which then becomes a new "input" that a recording app like Screen Charm can listen to. It's a simple, elegant bridge.
Will Using a Virtual Audio Driver Slow Down My Mac?
It’s a fair question, but you can relax. Virtual audio drivers like BlackHole are incredibly lightweight. They have one simple job—rerouting audio—and they do it with almost zero impact on your Mac’s performance. You won't even notice it's there.
Honestly, the screen recording software itself is what uses the real processing power, especially if you’re recording in high resolutions like 4K. Using an efficient, native app like Screen Charm helps a lot. If you want to be extra safe, just close any other apps you aren't using before you hit record.
What Is a Multi-Output Device and Why Is It Necessary?
This is a fantastic feature tucked away inside the macOS Audio MIDI Setup utility. A Multi-Output Device lets you send your Mac's audio to multiple places at the same time. This becomes absolutely essential once you start recording your system audio.
Here's the scenario: the moment you tell your Mac to send its audio to BlackHole (so your software can record it), you can no longer hear anything through your own headphones or speakers. You're recording blind. By creating a Multi-Output Device that combines both BlackHole and your headphones, you solve this problem instantly.
Simply put, a Multi-Output Device tells your Mac: "Send all the sound to BlackHole for the recording, but also send a copy to my headphones so I can actually hear what’s happening."
Is There an All-In-One App to Simplify This Process?
While installing a virtual driver is the first piece of the puzzle, a really good screen recorder is what makes the whole process feel effortless. That’s where a tool like Screen Charm comes in.
Once BlackHole is installed, Screen Charm gives you a simple dropdown menu where you can select your system audio (via BlackHole) and your microphone as separate inputs. It handles all the mixing and keeps everything perfectly in sync for you. This means you don't have to juggle different apps or waste time trying to line up audio tracks in a video editor later. It just works, letting you focus on your content, not the configuration.
Ready to finally capture professional-quality demos and tutorials on your Mac without the headache? Screen Charm provides all the tools you need in one elegant package, from seamless audio integration to dynamic cursor effects. Start creating stunning product videos today at screencharm.com.
