Your Guide to Video Screen Grabber Mac Tools
Dec 31, 2025

In today's digital-first educational landscape, simply moving lessons online is not enough. Creating truly effective and engaging learning experiences requires a deliberate and thoughtful strategy. This is especially true for educators and creators on macOS, who have a powerful suite of tools ready to produce high-quality instructional content. The core challenge is cutting through digital noise to deliver clear, memorable, and impactful instruction that resonates with learners.
This guide moves beyond generic advice to provide a concrete framework of best practices for teaching online. We've compiled 10 essential strategies that cover the full spectrum of online instruction, from sophisticated course design principles and content delivery techniques to crucial accessibility standards and continuous improvement loops. To truly elevate your digital classroom and ensure success, consider diving deeper into comprehensive guidance on the overall 10 best practices for online learning to build a strong foundation.
Whether you are a seasoned professor adapting a university curriculum, a corporate trainer developing onboarding materials, or a software developer creating product tutorials, these actionable strategies will help you build a more effective digital classroom. Implementing these techniques will help you captivate your audience, achieve specific learning objectives, and transform standard screen recordings into powerful and lasting educational assets. Let’s explore the methods that make a real difference.
1. Progressive Disclosure and Attention Guidance
One of the most effective best practices for teaching online involves managing your learner's cognitive load. Progressive disclosure is an instructional strategy that reveals information sequentially, preventing overwhelm by showing learners only what they need to see at any given moment. This is particularly crucial in software tutorials or complex demonstrations where a busy interface can easily distract from the core lesson.
Instead of presenting an entire application window and hoping students follow your cursor, you can guide their attention dynamically. This technique, often called attention guidance, uses visual cues like zoom and pan effects to direct focus to specific parts of the screen exactly when they become relevant. By doing this, you create a clear, uncluttered learning path that mirrors how an expert would navigate a process step-by-step.
How to Implement Attention Guidance
Implementing this strategy is straightforward with the right tools. The goal is to create a seamless viewing experience that feels intentional and professional, much like the guided onboarding tutorials from companies like Slack or the polished product demos from Apple.
Plan Your Sequence: Before you even press record, outline the exact steps you will demonstrate. A clear, logical flow is the foundation of effective progressive disclosure.
Use Dynamic Zoom: Employ software that can automatically track and zoom in on your cursor movements. For instance, tools on macOS like Screen Studio can automate this process, smoothly enlarging the area around your cursor as you click or type. This eliminates shaky, manual zooms and keeps the focus sharp.
Pace Your Narration: Adjust the speed and intensity of the zoom effects to match your verbal explanations. The visual movement should complement your words, not compete with them.
Test and Refine: Always get feedback. Show your recording to a colleague or a small group of learners to ensure your attention guidance is effective and not disorienting.
Key Insight: The goal isn't just to show a screen; it's to tell a story. Progressive disclosure and attention guidance turn a cluttered interface into a structured narrative, ensuring your audience follows every critical step without getting lost. For a deeper dive into this concept, you can learn more about how it fits into broader instructional design best practices.
2. Microlearning and Modular Content Chunks
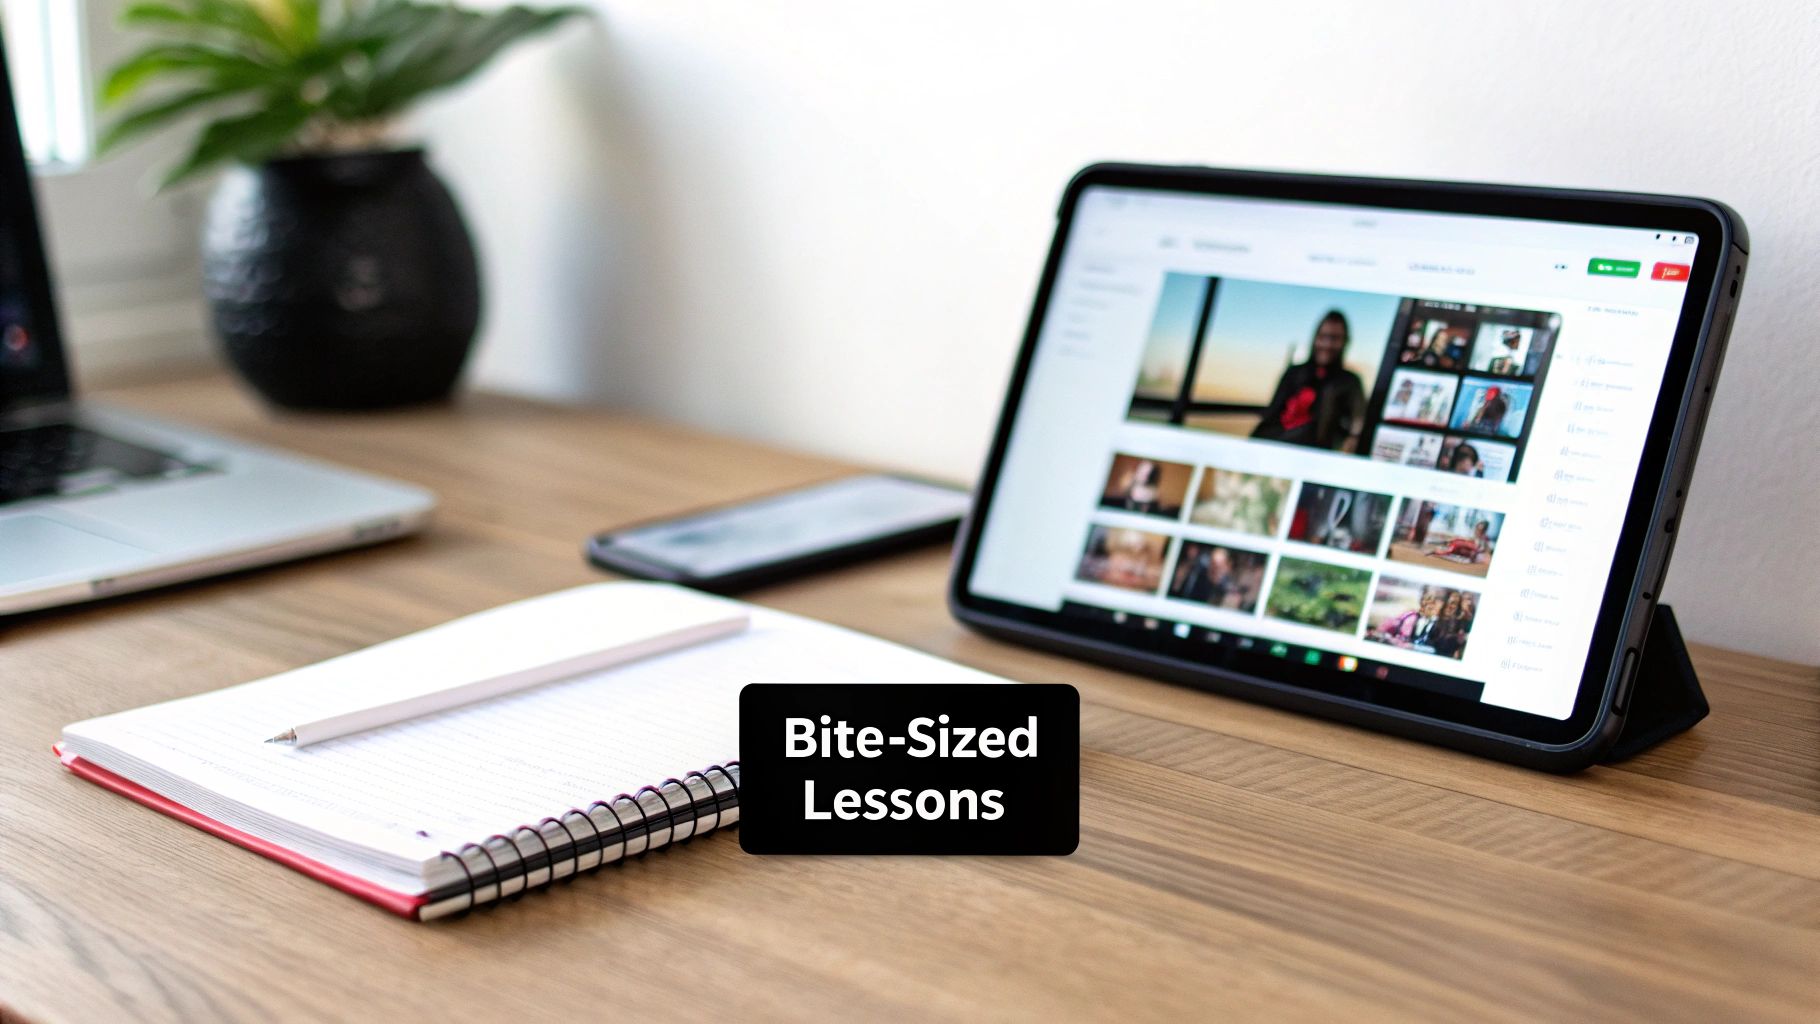
Another of the most impactful best practices for teaching online is structuring your course using microlearning. This approach breaks down complex topics into short, highly focused segments, typically lasting just two to five minutes. Each module is designed to achieve a single, specific learning objective, making it far easier for learners to absorb and retain information without feeling overwhelmed.
This modular design is perfectly suited for the digital environment, where attention is a scarce resource. It allows learners to engage with content at their own pace, easily revisit specific concepts, and fit learning into busy schedules. Instead of a monolithic hour-long lecture, students get a playlist of digestible lessons they can consume whenever they have a spare moment.
How to Implement a Microlearning Strategy
Adopting a modular structure requires a shift in how you plan and produce content. The goal is to create self-contained yet interconnected learning assets, similar to the bite-sized lessons in Duolingo or the focused professional development videos on LinkedIn Learning.
Map Your Content: Before recording, create a content map that breaks down your entire course into individual learning objectives. This visual plan will define your modules and show how they connect to form a cohesive curriculum.
Script for Brevity: Write scripts that are intentionally short and to the point. Each script should have a clear beginning (the objective), middle (the core instruction), and end (a quick recap or call-to-action).
Use Efficient Tools: To create these focused modules efficiently, leverage macOS tools designed for quick, polished recordings. For example, an application like Screen Studio can help you record a quick demo of a single software feature and automatically add professional finishing touches, saving you hours in post-production with tools like Final Cut Pro.
Add Clear Navigation: Use clear titles, chapter markers, and timestamps to make your content library easy to navigate. This allows learners to quickly find the exact information they need, when they need it.
Key Insight: Think of your course not as a single movie, but as a season of a TV show. Each module is an episode that stands on its own while contributing to the larger narrative. This modular approach respects your learner's time and attention, leading to higher engagement and better outcomes.
3. Narration and Voiceover Integration
One of the most essential best practices for teaching online is mastering the art of narration. High-quality voiceover transforms a silent screen recording from a simple demonstration into a rich, guided learning experience. It provides the crucial context, explains the "why" behind the "what," and maintains learner engagement through tone, pacing, and clarity, which visual-only content can rarely achieve.
Effective narration acts as a personal guide, leading students through complex workflows and ensuring they don't just mimic actions but truly understand the concepts. By synchronizing a clear, conversational voiceover with on-screen actions, you create a cohesive and professional instructional video. This approach is exemplified in the polished tutorials from companies like Apple or the engaging, expert-led lessons found on MasterClass.
How to Implement Effective Narration
Integrating professional-sounding voiceovers is achievable without a complex studio setup. The primary goal is to produce audio that is clear, intentional, and complementary to your visual content, making the entire lesson more accessible and effective.
Script Your Content: Before recording, write a script. This ensures your explanation is concise, logically structured, and free of filler words. A script helps you control pacing and deliver a polished final product.
Record Audio Separately: For the best quality, record your narration separately from your screen capture. Use a quality microphone in a quiet space to eliminate background noise. On macOS, you can use built-in tools like Voice Memos or QuickTime for simple recordings, or dedicated apps like Logic Pro or Audacity for more advanced audio control.
Adopt a Conversational Tone: Speak naturally, as if you were explaining the concept to a colleague. Avoid a robotic, monotonous delivery. Vary your pitch and pace to emphasize key points and maintain listener interest.
Incorporate Strategic Pauses: Add brief pauses after explaining a critical step or instruction. This gives learners a moment to process the information and absorb what they just saw on screen before you move on to the next point.
Key Insight: Your voice is the primary tool for building a connection with your online learners. A well-executed narration doesn't just explain; it builds trust, provides encouragement, and transforms a sterile screen recording into a supportive, one-on-one teaching session.
4. Interactive Elements and Viewer Engagement Techniques
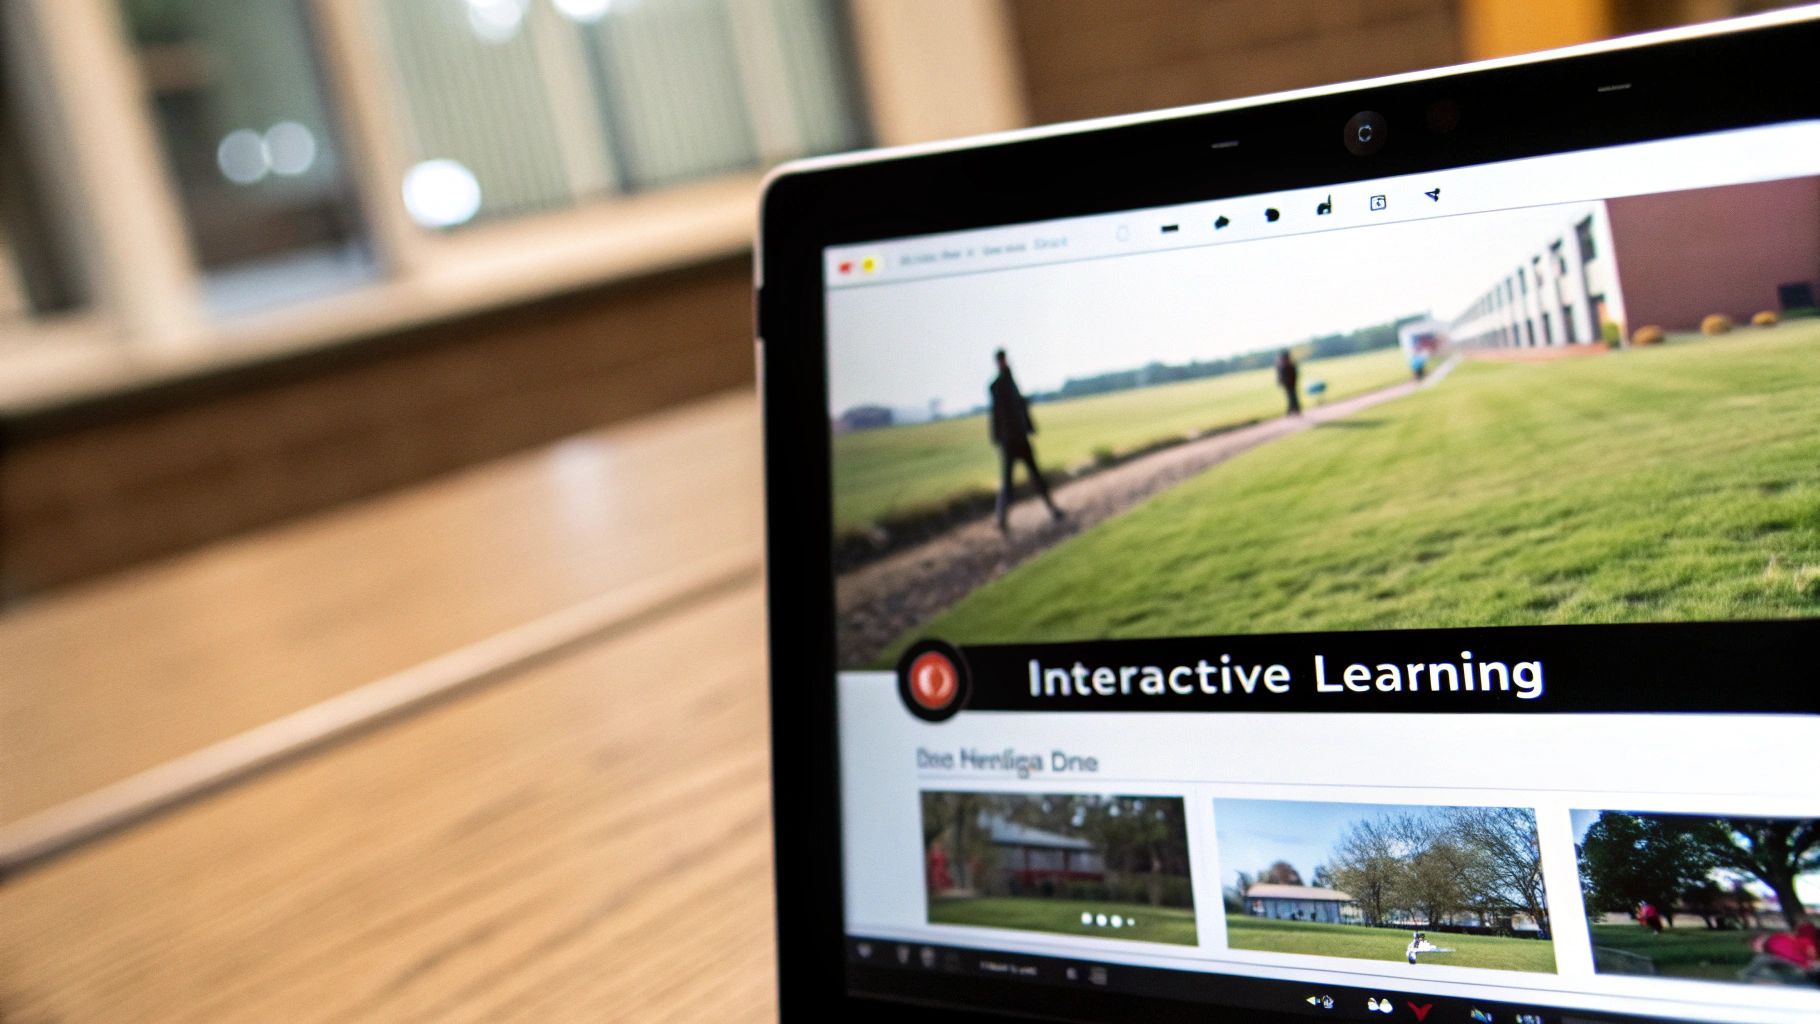
One of the most powerful best practices for teaching online is to transform passive video consumption into an active learning experience. Interactive elements like clickable hotspots, in-video quizzes, and branching scenarios directly involve your audience, shifting them from simply watching to actively participating. This approach boosts engagement, enhances knowledge retention, and provides valuable, real-time feedback on learner comprehension.
Instead of a linear, one-way information delivery, you create a dynamic, two-way conversation. This technique is especially effective for complex tutorials or skill-based training, as it allows learners to self-assess their understanding and explore content paths relevant to their needs. By integrating interactivity, you turn a standard screencast into a personalized learning module that adapts to the viewer.
How to Implement Interactive Elements
Integrating interactivity requires strategic planning to ensure it enhances, rather than distracts from, the learning objectives. The goal is to create meaningful engagement points that reinforce key concepts, similar to how platforms like LinkedIn Learning use branching scenarios for decision-making exercises or how Teachable embeds quizzes directly into lessons.
Plan Your Interaction Points: Identify natural pauses in your content, such as after explaining a key concept or completing a multi-step process. These are ideal moments for a quick knowledge-check quiz or a clickable link to more resources.
Use the Right Tools: Leverage platforms and software that support interactive video. For a macOS-based workflow, you can create the core video content and then use web-based platforms like H5P or Articulate Storyline to add interactive layers before publishing to your LMS.
Keep It Simple and Clear: Ensure interactive overlays are minimal and don't obscure important visual information. Provide clear, concise instructions, such as "Click here to learn more" or "Choose the correct next step," so viewers know exactly how to engage.
Analyze Engagement Data: Review analytics to see how learners interact with your elements. High drop-off rates at a quiz or low click-through rates on a hotspot can indicate points of confusion or content that needs clarification, allowing you to refine your teaching approach.
Key Insight: Interactivity transforms your video from a monologue into a dialogue. By giving viewers agency to click, choose, and test their knowledge, you create a more memorable and effective learning experience that keeps them invested from start to finish.
5. Visual Consistency and Branding
One of the most powerful best practices for teaching online involves establishing a strong, cohesive visual identity for your educational content. Visual consistency is the practice of using a standardized set of colors, fonts, layouts, and graphical elements across all your videos and learning materials. This creates a professional, predictable, and trustworthy learning environment that helps build brand recognition and recall.
Instead of treating each video as a standalone creation, a consistent visual brand ties your entire library together. This approach transforms your content from a collection of lessons into a recognizable course or series. Think of the unified design language in Apple's product tutorials or the distinct visual style of Shopify’s educational content; this deliberate branding builds audience trust and makes your material instantly identifiable in a crowded online space.

How to Implement Visual Consistency
Implementing a consistent brand is less about artistic skill and more about disciplined execution. The key is to create a set of reusable assets and templates that streamline your production workflow and ensure every video feels like part of the same family.
Create a Brand Style Guide: Define your primary and secondary colors, select two or three consistent fonts for titles and body text, and design a simple logo or watermark. This guide will be your reference for all future content.
Design Reusable Templates: Use macOS-native tools like Keynote to create templates for title cards, lower-thirds graphics, and end screens. In video editing software like Final Cut Pro or iMovie, you can save presets for transitions and text styles that align with your brand.
Customize Your Visuals: Pay attention to small details that reinforce your identity. Tools like Screen Studio on macOS allow you to set custom backgrounds with your brand colors and even style the cursor to match your brand's aesthetic, creating a polished and unique look.
Maintain Technical Consistency: Standardize your technical specifications. Always record and export videos in the same aspect ratio (e.g., 16:9) and resolution (e.g., 4K) to ensure a uniform viewing experience across your entire content library.
Key Insight: Your brand is your promise of quality and reliability. Visual consistency is how you communicate that promise non-verbally, building learner confidence and making your content stand out long before they press play. It turns your lessons into a signature experience.
6. Closed Captions and Accessibility
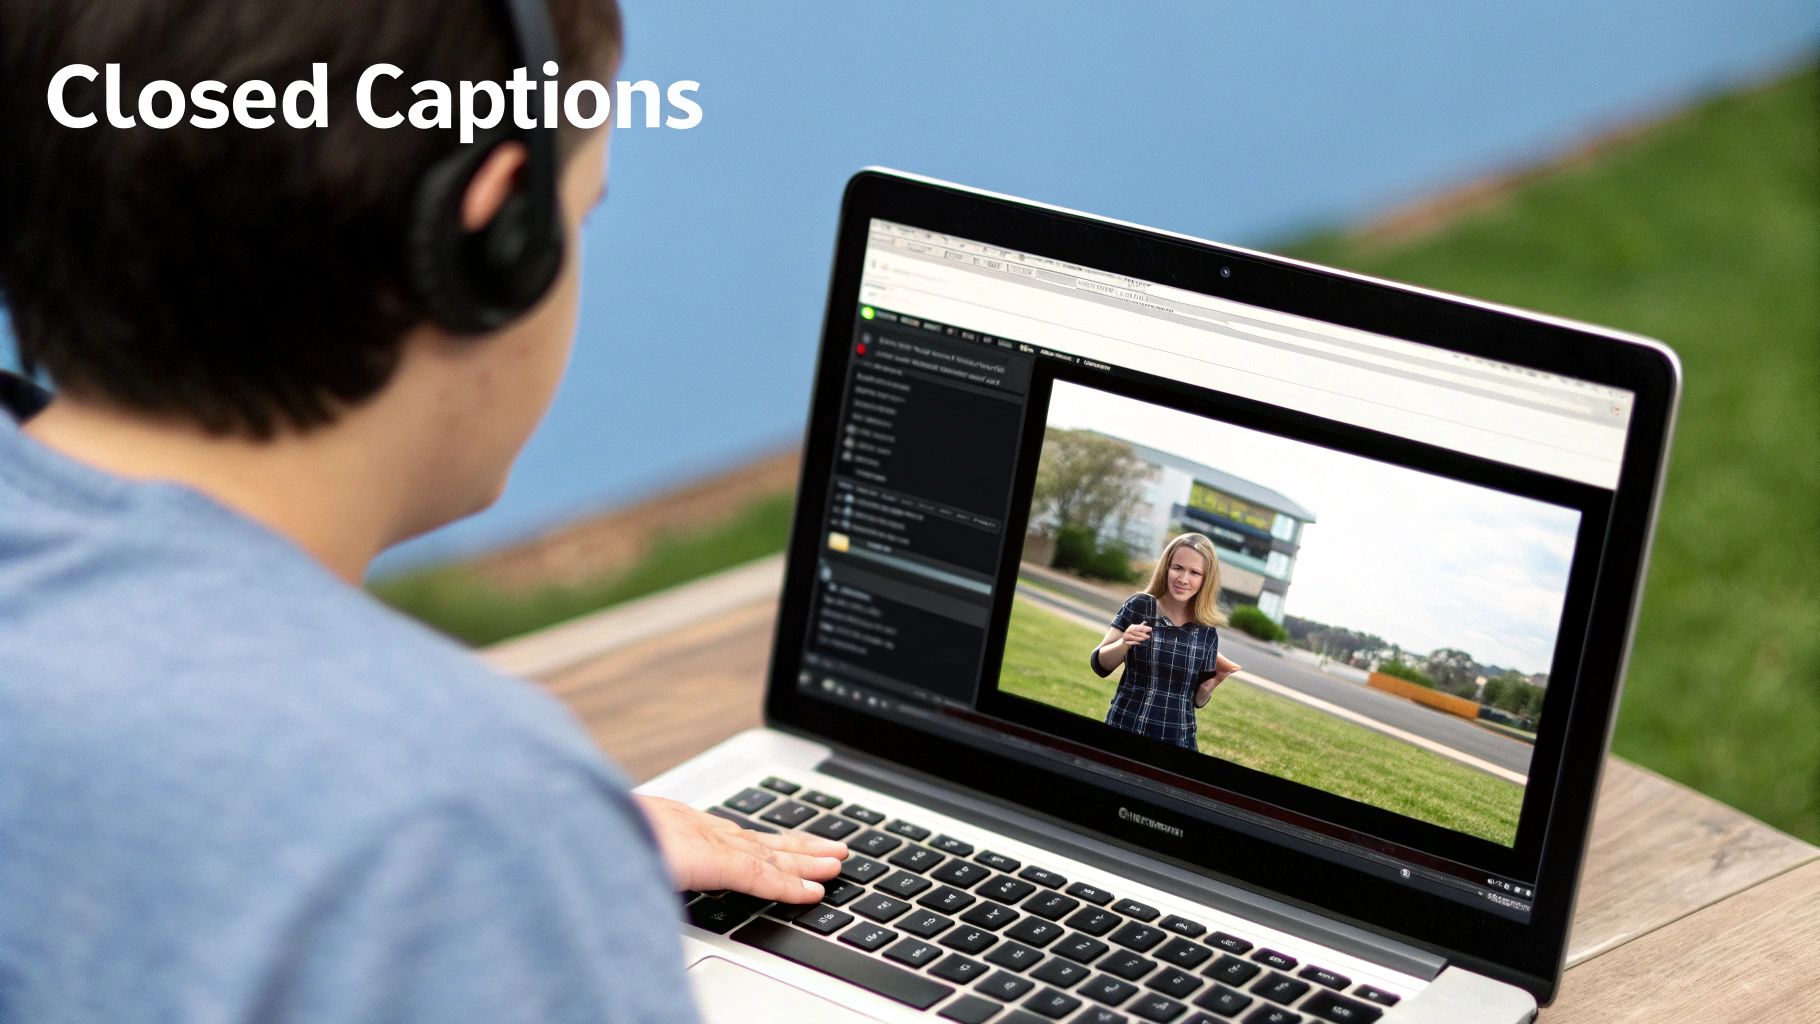
Integrating closed captions and transcripts is one of the most impactful best practices for teaching online. This goes far beyond a simple compliance checkbox; it is a fundamental aspect of inclusive design that benefits every single learner. While essential for deaf and hard-of-hearing students, captions also improve comprehension and retention for all viewers, especially when covering complex topics or technical jargon.
They also enable learning in sound-sensitive environments, like a library or a shared office, making your content more versatile and accessible. Platforms like Coursera and TED have set a high standard by demonstrating how comprehensive captioning enhances the learning experience for a global audience, proving that accessibility is both an ethical responsibility and a powerful practical advantage.
How to Implement Effective Captioning
Creating accurate and useful captions is a manageable process that significantly elevates the quality of your instructional videos. The goal is to provide a text-based alternative that is just as clear and informative as your audio narration.
Prioritize Accuracy: While auto-generated captions from platforms like YouTube are a good starting point, they often contain errors in punctuation, spelling, and technical terms. Always review and edit them for accuracy or use professional services like Rev for guaranteed quality.
Format for Clarity: Use a tool like MacWhisper on macOS, which leverages AI to generate highly accurate transcripts with speaker labels and timestamps locally on your machine. This makes editing and exporting to standard formats like SRT files straightforward.
Provide Full Transcripts: Alongside captions, offer a downloadable transcript. This serves as searchable study notes for students and improves your video's SEO, making it easier to discover. To further support diverse learning needs and ensure content is accessible, considering various tools like the best transcription apps for students can empower learners to engage with material in the way that suits them best.
Include Speaker Identification: If your video features multiple speakers, ensure your captions identify who is talking. This context is critical for following conversations and interviews.
Key Insight: Accessibility isn't an afterthought; it's a core component of effective course design. By treating captions and transcripts as integral to your content creation process, you build a more inclusive, flexible, and professional learning environment for everyone.
7. Pacing and Silence Optimization
One of the most overlooked yet powerful best practices for teaching online is mastering the rhythm of your delivery. Effective pacing maintains viewer engagement by matching the speed of your instruction to the complexity of the content. This involves the strategic use of silence, or purposeful pauses in narration, which prevents cognitive overload and gives learners crucial moments to process what they are seeing and hearing on screen.
Instead of rushing through a demonstration with constant talking, you can deliberately build in moments for reflection. The goal is to avoid a monotonous, overwhelming firehose of information. Pacing varies based on the material: quick, energetic delivery works well for simple interface tours, while a slower, more deliberate pace is necessary for explaining complex code or abstract concepts. This intentional control over tempo ensures your lesson is absorbed, not just watched.
How to Implement Pacing and Silence
Implementing this strategy requires a conscious shift from merely narrating actions to orchestrating a learning experience. The goal is to create a rhythm that feels natural and supportive, much like the clear, measured explanations in Khan Academy videos or the impactful pauses used by TED Talk speakers to emphasize a key point.
Script Your Pauses: Don't leave silence to chance. When writing your script, explicitly mark where you will pause. A simple note like "[PAUSE 2-3 sec]" after revealing a new piece of information or completing a complex step can make a significant difference.
Follow the Two-Second Rule: A good rule of thumb is to pause for at least two to three seconds after introducing a new visual element or concept. This gives the learner’s brain time to catch up and connect your words with the on-screen action.
Record Narration Separately: To gain maximum control over pacing, record your voiceover after you’ve captured the screen recording. This allows you to time your narration perfectly to the visuals, add or lengthen pauses as needed, and re-record lines without having to redo the entire demonstration.
Adjust Cursor Speed: Ensure your cursor movement speed matches your narration pace. A frantic, fast-moving cursor paired with slow narration can be jarring. Tools on macOS like Screen Studio can automatically smooth cursor movements, creating a calmer, more professional feel that aligns with deliberate pacing.
Key Insight: Silence isn't empty space; it's an active instructional tool. Strategic pacing and well-placed pauses transform a monologue into a dialogue, giving learners the mental breathing room they need to process, understand, and retain complex information effectively.
8. Real-World Context and Practical Application
One of the most impactful best practices for teaching online is to ground your instructional content in authentic, real-world scenarios. Instead of using sanitized, artificial examples, demonstrating concepts within genuine projects and workflows makes the material immediately relevant. This approach significantly boosts learner motivation and facilitates the transfer of knowledge from the course to their actual work.
When learners see how a skill applies to a practical problem they might actually encounter, the content becomes more than just theoretical. It transforms into a tangible solution. This is why coding tutorials from developers using Xcode, or design demos showcasing complex projects in Sketch or Figma for Mac, resonate so strongly with their audiences. They mirror the complexities and nuances of real-world application on the macOS platform.
How to Implement Real-World Context
Integrating authenticity into your teaching doesn't mean you have to reveal sensitive company data. The goal is to create a believable and relatable context that reflects how tools and concepts are used in practice. This shows learners not just the "how" but the "why" behind each step.
Use Realistic Projects: Base your demonstrations on a complete, realistic project. For instance, if teaching a design tool on macOS, don't just show isolated features; use them to build a complete app interface mockup in Sketch from start to finish.
Show Practical Workflows: Instead of just demonstrating a single feature, embed it within a common workflow. Show how a developer might debug code in Xcode, encounter a common error, and use specific tools to resolve it. This includes showing the non-linear, problem-solving parts of a process.
Leverage Realistic Data: Populate your examples with data that reflects real-world complexity and volume. If teaching data analysis in Numbers or a specialized Mac app, use a dataset that has missing values or inconsistencies, as this prepares learners for the messy reality of their own projects.
Anonymize, Don't Sanitize: When using real examples, be sure to obscure any confidential or private information. The key is to maintain the project's authentic structure and complexity while protecting sensitive details.
Key Insight: Abstract knowledge is forgettable, but practical application is memorable. By framing your lessons within real-world contexts, you bridge the gap between theory and practice, empowering learners to apply their new skills with confidence the moment they finish your course.
9. Multi-Format Content Repurposing and Distribution
One of the most impactful best practices for teaching online involves maximizing the value of every piece of content you create. Strategic repurposing is the art of transforming a single, comprehensive tutorial into multiple assets designed for different platforms and consumption habits. This approach ensures your instructional efforts reach a wider audience by meeting them where they are, whether they prefer short video clips, in-depth articles, or audio-only formats.
Instead of adopting a "one-and-done" mindset, you can view each primary video as the core of a content ecosystem. A single detailed product walkthrough, for example, can be deconstructed into bite-sized social media clips, a text-based blog post with embedded video, and even an audio-only podcast episode. This strategy not only increases your content's reach and shelf-life but also improves the return on investment for your production time and resources.
How to Implement Content Repurposing
A successful repurposing strategy begins before you even hit record. By planning for multiple formats from the outset, you can capture content in a way that makes adaptation seamless. The goal is to create a master version that can be efficiently sliced, transcribed, and reformatted, similar to how content hubs like Hootsuite or Buffer leverage a single topic across their blog, YouTube, and social media channels.
Plan for Repurposing: Before creating your main video, outline which smaller topics or key moments can be extracted. This informs your script and recording process, ensuring you capture clean, standalone segments.
Create a Master Version: Record your primary content in the highest possible quality and detail. This long-form asset will serve as the source material for all other variations.
Extract Micro-Content: Use video editing software on your Mac, like iMovie for quick cuts or Final Cut Pro for more complex edits, to pull out key segments of 15-60 seconds. These are perfect for social media platforms like TikTok, Instagram Reels, or LinkedIn.
Generate Transcripts and Audio: Use macOS transcription tools to convert your video's audio into text for blog posts or documentation. You can also export the audio track directly in QuickTime to create a podcast episode, catering to learners who prefer listening on the go.
Adapt for Vertical Video: As more content is consumed on mobile devices, create vertically formatted versions of your key clips. macOS tools can help you easily reframe your horizontal video for a mobile-first viewing experience.
Key Insight: Don't think of content creation as a series of isolated tasks; see it as building an interconnected library of knowledge. Repurposing turns one piece of high-effort content into a dozen opportunities to engage, educate, and reach your audience on their preferred terms.
10. Feedback Mechanisms and Continuous Improvement
Creating effective online courses isn't a one-and-done process; it's an evolving dialogue with your learners. One of the most critical best practices for teaching online is building a robust feedback loop that allows you to continuously monitor, analyze, and refine your content. This system ensures your material remains relevant, addresses learner confusion, and adapts to their evolving needs, transforming a static course into a dynamic learning experience.
By actively gathering data through various channels, you can move beyond assumptions and make data-driven instructional decisions. Whether you’re reviewing video analytics to see where attention drops or analyzing survey responses to pinpoint unclear explanations, this iterative approach demonstrates a commitment to your learners' success. Platforms like Coursera and Udemy have mastered this, using learner data to constantly enhance course quality and effectiveness.
How to Implement a Feedback Loop
Integrating continuous improvement into your workflow involves establishing channels for both implicit and explicit feedback. The goal is to collect actionable insights that guide your content updates, ensuring your teaching methods are as effective as possible.
Monitor Video Analytics: Use analytics to understand learner behavior. Platforms like YouTube or Vimeo show audience retention graphs that highlight exact moments where viewers lose interest or re-watch sections. This data is invaluable for identifying confusing explanations or segments that need re-recording.
Deploy Post-Lesson Surveys: Attach short, simple surveys to your videos or modules using tools like Google Forms or Typeform. Ask direct questions like, "On a scale of 1-5, how clear was this explanation?" or "What was the most confusing part of this lesson?" to gather targeted feedback.
Create Q&A Channels: Establish a dedicated space, such as a discussion forum, a Slack channel, or a course-specific Q&A section, where learners can ask questions. Pay close attention to recurring themes, as they often signal areas in your content that require clarification or revision.
Establish a Review Cycle: Don't let feedback accumulate without action. Schedule a monthly or quarterly content review to analyze the data you've collected and create a plan for updates. Sharing your improvement plans with your audience also builds trust and shows you value their input.
Key Insight: Your first version is just the starting point. Treat your course like a piece of software that receives regular updates based on user feedback. This continuous improvement model ensures your content not only teaches effectively but also evolves to meet the needs of your audience over time.
10-Point Comparison of Online Teaching Best Practices
Technique | Implementation complexity 🔄 | Resource requirements ⚡ | Expected outcomes ⭐📊 | Ideal use cases 💡 | Key advantages ⭐ |
|---|---|---|---|---|---|
Progressive Disclosure and Attention Guidance | 🔄 Medium — planning + tooling | ⚡ Medium — auto-zoom tools, editing time | ⭐📊 High — better retention, less confusion | Software tutorials, product demos | ⭐ Directs attention; reduces cognitive load |
Microlearning and Modular Content Chunks | 🔄 High — scripting & sequencing many modules | ⚡ Medium — many short recordings; efficient per clip | ⭐📊 High — higher completion & spaced retention | Mobile learning, just-in-time training, social clips | ⭐ Scalable engagement; easy updates |
Narration and Voiceover Integration | 🔄 Medium — scripting & synchronized recording | ⚡ Medium — quality mic, quiet space, editing | ⭐📊 High — improved comprehension & accessibility | Explanatory lessons, walkthroughs, demos | ⭐ Humanizes content; aids retention |
Interactive Elements and Viewer Engagement Techniques | 🔄 High — authoring + platform integration | ⚡ High — interactive tooling, QA, dev support | ⭐📊 Very high — active learning, measurable results | Assessments, branching scenarios, course modules | ⭐ Increases engagement; provides assessment data |
Visual Consistency and Branding | 🔄 Low–Medium — design guide and templates | ⚡ Low–Medium — assets and templates | ⭐📊 Medium — stronger brand recall, trust | Series content, marketing-forward training | ⭐ Professional polish; faster production via templates |
Closed Captions and Accessibility | 🔄 Medium — transcription & review | ⚡ Medium–High — transcription services or time | ⭐📊 High — wider reach, better SEO, accessibility | Public courses, compliance training, diverse audiences | ⭐ Inclusivity; improved discoverability |
Pacing and Silence Optimization | 🔄 Medium — scripted pauses and rhythm control | ⚡ Low — editing/time to refine pacing | ⭐📊 Medium–High — improved processing & retention | Concept-heavy lessons, demonstrations needing processing | ⭐ Prevents overload; improves clarity |
Real-World Context and Practical Application | 🔄 Medium–High — sourcing realistic scenarios | ⚡ Medium — access to data, mockups, setup time | ⭐📊 High — greater relevance and transfer | Professional training, case-based learning, demos | ⭐ Increases motivation; shows practical ROI |
Multi-Format Content Repurposing and Distribution | 🔄 High — planning for multiple formats | ⚡ High — editing for aspect ratios, transcribe, clips | ⭐📊 High — broader reach, better ROI across channels | Omnichannel marketing, long-term content strategy | ⭐ Maximizes ROI; diversifies audience channels |
Feedback Mechanisms and Continuous Improvement | 🔄 Medium — analytics setup and review process | ⚡ Medium — analytics tools and staff time | ⭐📊 High — data-driven improvements and retention | Ongoing courses, scalable programs, product training | ⭐ Enables iterative refinement; evidences effectiveness |
Putting Theory Into Practice: Your Next Steps
Navigating the landscape of online education can feel complex, but the journey from good to great is built on a foundation of intentional, actionable strategies. We have explored ten core best practices for teaching online, moving from the foundational principles of course design to the nuanced details of delivery and improvement. These are not just theoretical concepts; they are practical tools designed to transform how your audience learns, engages, and retains information. The true power of these practices is unlocked when they are integrated into a cohesive teaching philosophy, creating a learning experience that is not only effective but also memorable and engaging.
The journey begins with recognizing that effective online instruction is fundamentally about designing a clear, guided path for your learners. Concepts like progressive disclosure and creating modular, microlearning content chunks are your primary tools for managing cognitive load. They ensure that learners are never overwhelmed, receiving precisely the right information at the right time. This structured approach respects the learner's attention, making complex topics feel approachable and manageable.
From Passive Viewing to Active Learning
A core theme woven throughout these best practices is the shift from passive information consumption to active, engaged learning. Simply presenting information is no longer enough. Your narration and voiceover must be more than just a script reading; it should be a conversation that guides and reassures. By incorporating interactive elements, you invite learners to participate in their own education, transforming them from spectators into active contributors.
Similarly, building a strong visual identity and maintaining brand consistency creates a professional and trustworthy environment. This is complemented by a commitment to accessibility through accurate closed captions and thoughtful pacing that strategically uses silence. These details may seem small, but they accumulate to create an inclusive and respectful learning space where every student feels supported. When you combine these elements, you create a holistic experience that values the learner's time, attention, and unique needs.
Your Action Plan for Implementation
Mastering the best practices for teaching online is an iterative process of refinement and application. The key is to avoid feeling overwhelmed and instead focus on incremental improvements. Your next step is not to implement all ten principles at once, but to choose one or two that resonate most with your current challenges.
Here’s a simple framework to get started:
Select Your Focus: Review the ten practices. Does your content suffer from pacing issues? Could your engagement be higher? Choose one area to prioritize for your next video or course module. For example, you might decide to focus solely on improving your narration and voiceover integration.
Leverage Your Tools: As a macOS user, your creative ecosystem is rich with powerful software. For creating tutorials, demos, and instructional videos, a dedicated tool is essential. It handles the technical complexities, allowing you to concentrate on pedagogy and content quality.
Implement and Test: Apply the chosen practice to a small, manageable project. If you chose microlearning, break down a single, lengthy lesson into three smaller, focused videos. If you chose feedback, add a simple one-question survey at the end of your next tutorial.
Gather Feedback and Iterate: Use the feedback you receive to refine your approach. This continuous improvement loop, as we discussed, is the engine that will drive the long-term quality of your instructional content. By consistently applying and refining these principles, you will not only see better learning outcomes but also build a stronger, more connected community around your teaching.
Ready to elevate your online teaching videos and tutorials on macOS? The best practices we've covered, from progressive disclosure to pacing, are built directly into Screen Charm. Stop wrestling with generic video editors and start creating polished, professional instructional content with features like auto-zoom, cursor highlighting, and a seamless workflow. Download your free trial of Screen Charm today and see how easy it is to put these principles into practice.
