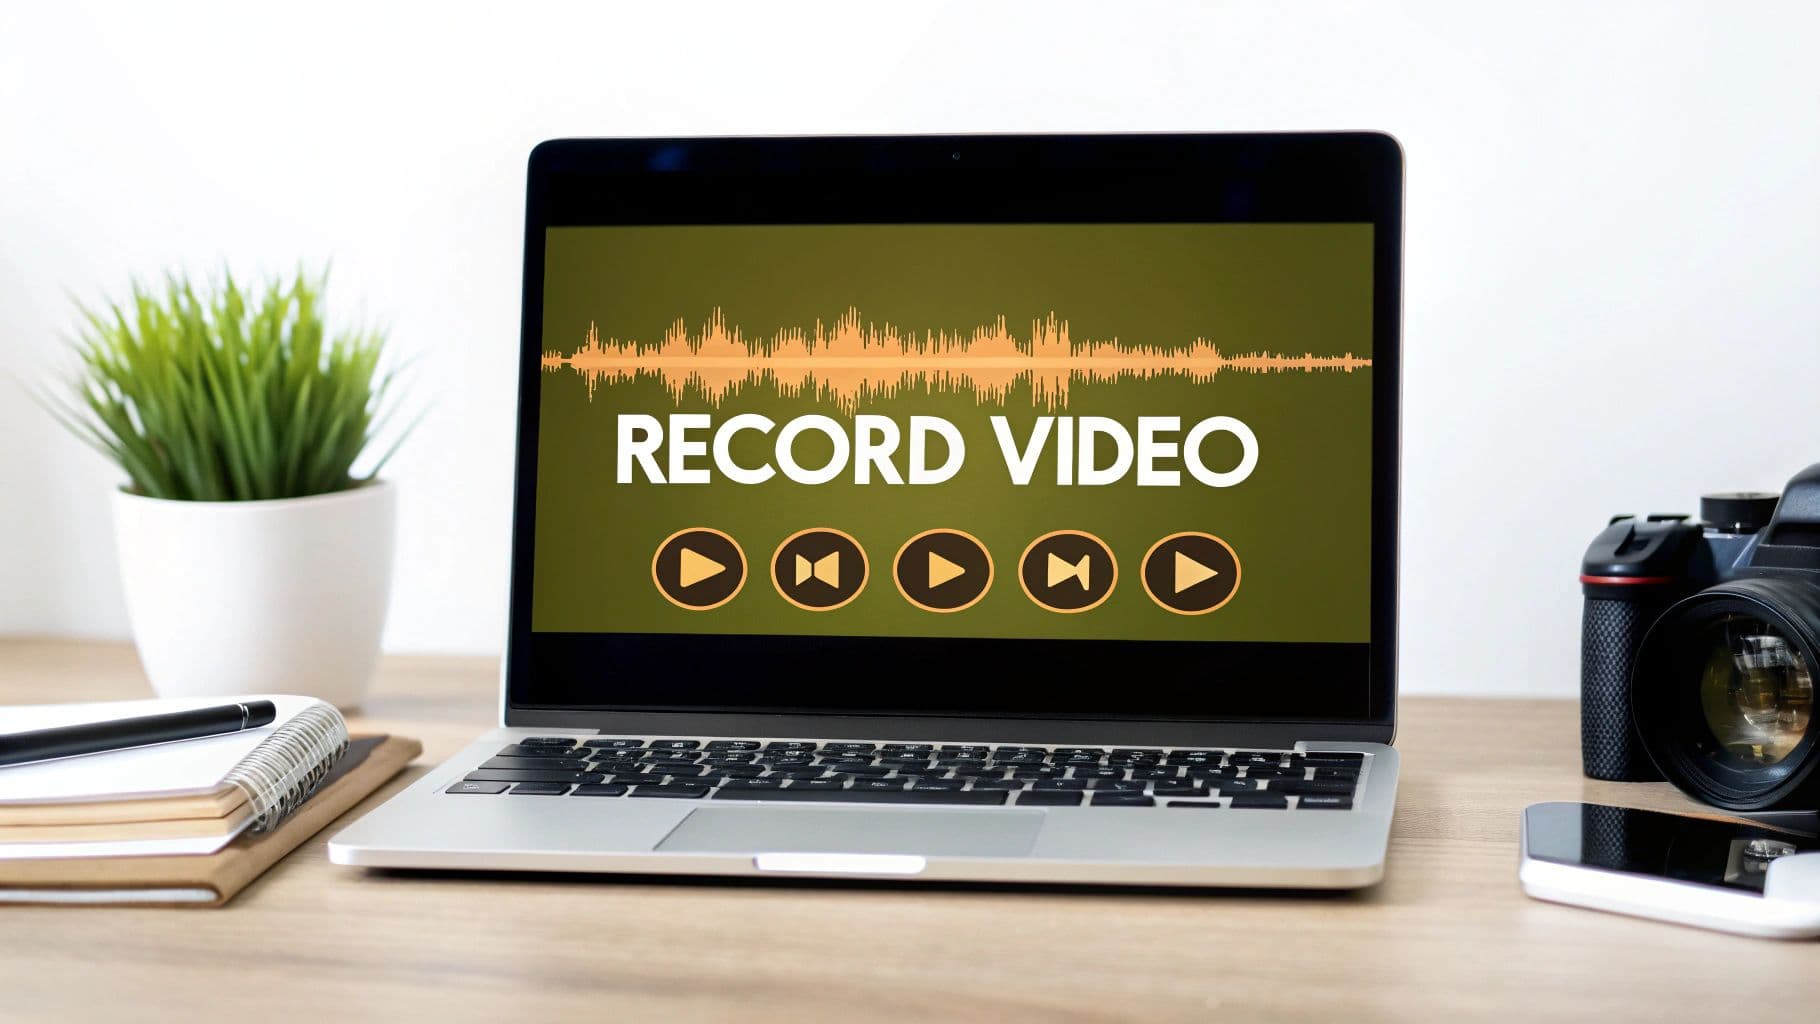
How to Record Your Webcam on a Mac: Tips for Flawless Video
Before you can hit record, you need to pick your tool. The good news is, your Mac already has everything you need for simple recordings. But for more ambitious projects, you might want to bring in a specialist.
Let's break down which path is right for you.
Choosing Your Mac Webcam Recording Tool
Creating a great video—whether it's a product demo for a new client or a quick tutorial for your team—starts with the right software. Your Mac comes with some surprisingly capable free tools, but sometimes you need a bit more firepower.
The best choice really boils down to what you're trying to accomplish. If you just need to record a quick, personal message, one of the built-in macOS apps will do the job beautifully. No fuss, no downloads. But if you're creating a polished software tutorial where you need to show your screen and your face at the same time, you'll want a tool built specifically for that.
This little decision tree can help you choose in a heartbeat.
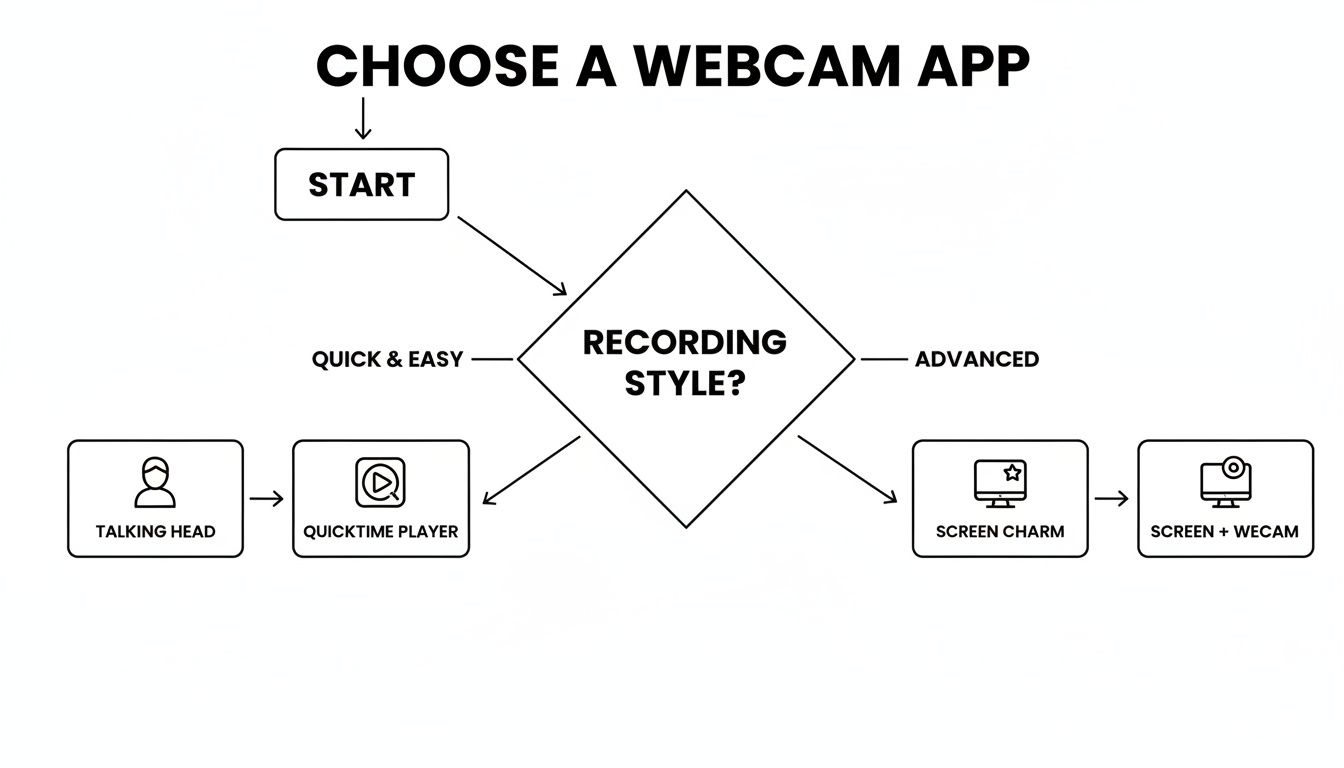
As you can see, it's pretty straightforward. Stick with what’s already on your Mac for simple talking-head videos, or grab a dedicated app when you need to layer your webcam feed with other visuals.
Built-in Apps vs. Dedicated Software
Your Mac is ready to go right out of the box. QuickTime Player, for instance, is perfect for creating clean, high-quality "talking head" videos. It's my go-to when I just need a simple, direct-to-camera recording without any extra bells and whistles.
But when a project calls for more, a dedicated app like Screen Charm is a serious upgrade. These tools are designed from the ground up to make creating polished content easier. They handle things the native apps just can't, like:
- Recording your screen and webcam at the same time
- Adding a virtual background to hide a messy room
- Making quick edits without needing another program
- Exporting in high resolution for a crisp, professional look
The need for this kind of quality is only growing. The webcam market is expected to hit USD 16.15 billion by 2033, largely because of remote work and online learning. With over 65% of us using webcams daily for work, having a recording app that's both powerful and easy to use is more important than ever. You can dive deeper into the best webcam recording software and see what makes a great tool stand out.
My two cents: Picking the right app from the start saves a ton of headaches later. A simple recording shouldn't feel like a complex technical challenge, and a professional demo shouldn't be held back by basic tools. Match the app to the task—it’s the single best thing you can do for an efficient workflow.
Your Mac Webcam Recording Method at a Glance
To make the choice even clearer, here’s a quick comparison of what you get with the built-in macOS tools versus a dedicated app like Screen Charm.
| Feature | QuickTime Player | Photo Booth | Screen Charm |
|---|---|---|---|
| Best For | Clean, simple "talking head" videos | Quick snaps and fun, filtered clips | Polished screen and webcam presentations |
| Screen Recording | Yes (separate from webcam) | No | Yes (simultaneous with webcam) |
| Webcam Only Recording | Yes | Yes | Yes |
| Virtual Backgrounds | No | Yes (limited effects) | Yes (customizable) |
| Editing Features | Basic trimming | None | Trimming, cropping, and annotations |
| Export Quality | Up to 4K | Lower resolution | Up to 4K |
| Ease of Use | Very easy | Extremely easy | Easy, with more advanced options available |
Ultimately, the best tool is the one that fits your project. For quick and easy, Apple's built-in options are fantastic. For anything that needs a little more polish and flexibility, a specialized app is the way to go.
Using Your Mac's Built-In Apps for Quick Recordings
You don't always need fancy software to record your webcam. Believe it or not, your Mac comes with two surprisingly solid apps right out of the box: QuickTime Player and Photo Booth. They're perfect for those times you need a quick, no-fuss video without downloading a thing.
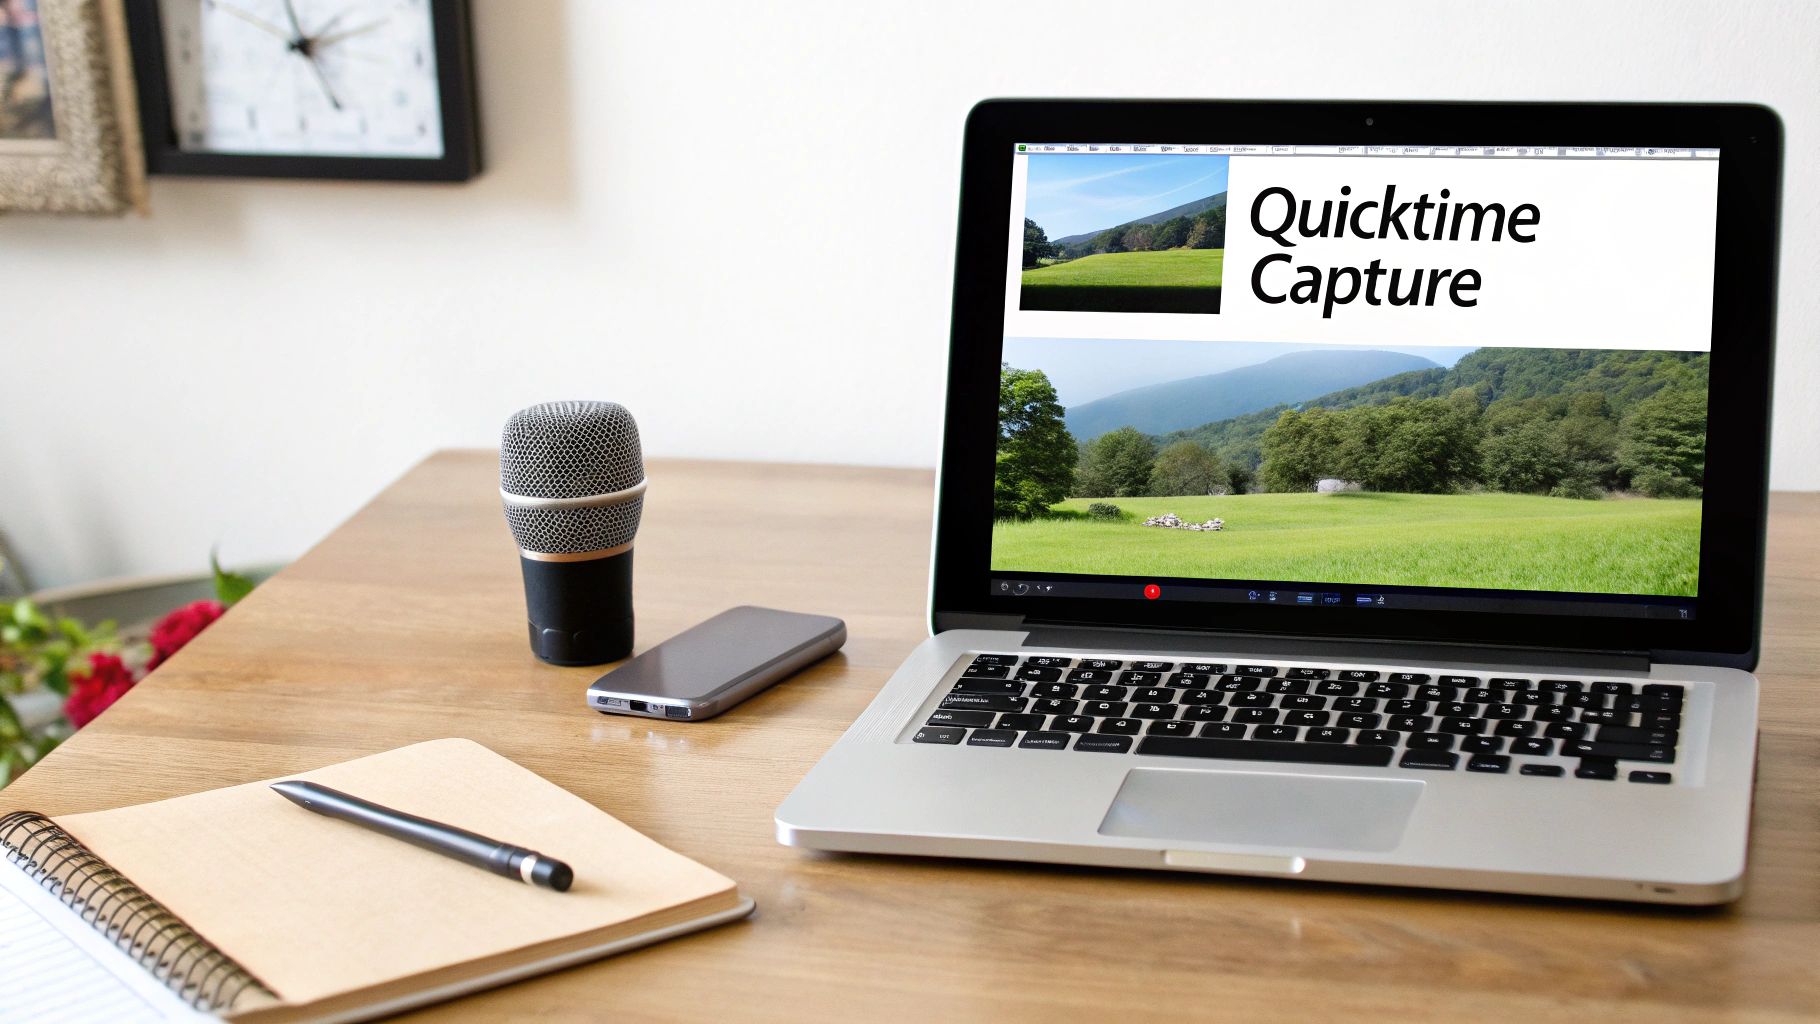
For most straightforward recordings, I always point people toward QuickTime Player. It’s known as a simple media player, but it’s hiding a pretty capable recording tool. It’s my personal go-to when I need to record a clean "talking head" video for a team update or a quick personal message.
Create Crisp Videos with QuickTime Player
Getting started is a breeze. Just open QuickTime Player (you'll find it in your Applications folder) and head up to the menu bar. Click File > New Movie Recording, and your webcam will spring to life, giving you a live preview.
Before you hit that big red record button, take a second to dial in your settings. See that little downward-facing arrow next to the record button? That’s where the magic happens. Clicking it brings up a few crucial options.
- Camera: Make sure your Mac's built-in FaceTime HD Camera is selected. If you have an external webcam plugged in, you can choose it here.
- Microphone: This one is huge for good audio. Always select your best mic. An external USB microphone will give you far better sound than the one built into your Mac.
- Quality: You'll see two options here: "High" and "Maximum." While "High" saves a bit of disk space, I almost always recommend choosing Maximum. The difference in clarity is noticeable, and it gives you a much crisper final video.
This simple setup puts everything you need at your fingertips. While QuickTime is fantastic for capturing your face, it's also a powerful tool for capturing your screen. For a deep dive, check out our guide on how to screen record on a Mac.
My Take: For a clean, unedited webcam video, QuickTime Player is the best built-in tool you have. It gives you just enough control over the camera, mic, and quality to produce a professional-looking result without bogging you down with complicated settings.
Photo Booth for Fun and Informal Clips
Your other pre-installed option is Photo Booth. Most people know it for taking silly selfies with zany visual effects, but it records video, too. Just open the app and look for the small video camera icon in the bottom-left corner. Click it, and you're ready to record.
Photo Booth’s appeal is its pure simplicity and fun filters. It’s great for super informal video messages to friends or family where professional quality isn't a concern.
The trade-off? You get almost zero control. You can’t choose your microphone or tweak the video quality, which makes it a non-starter for anything beyond casual clips. But if you just need to hit record and go, it doesn't get much faster.
Both of these macOS apps are great to have in your back pocket. But you’ll start to see their limits when you need to do more, like recording your screen and your face at the same time for a product demo.
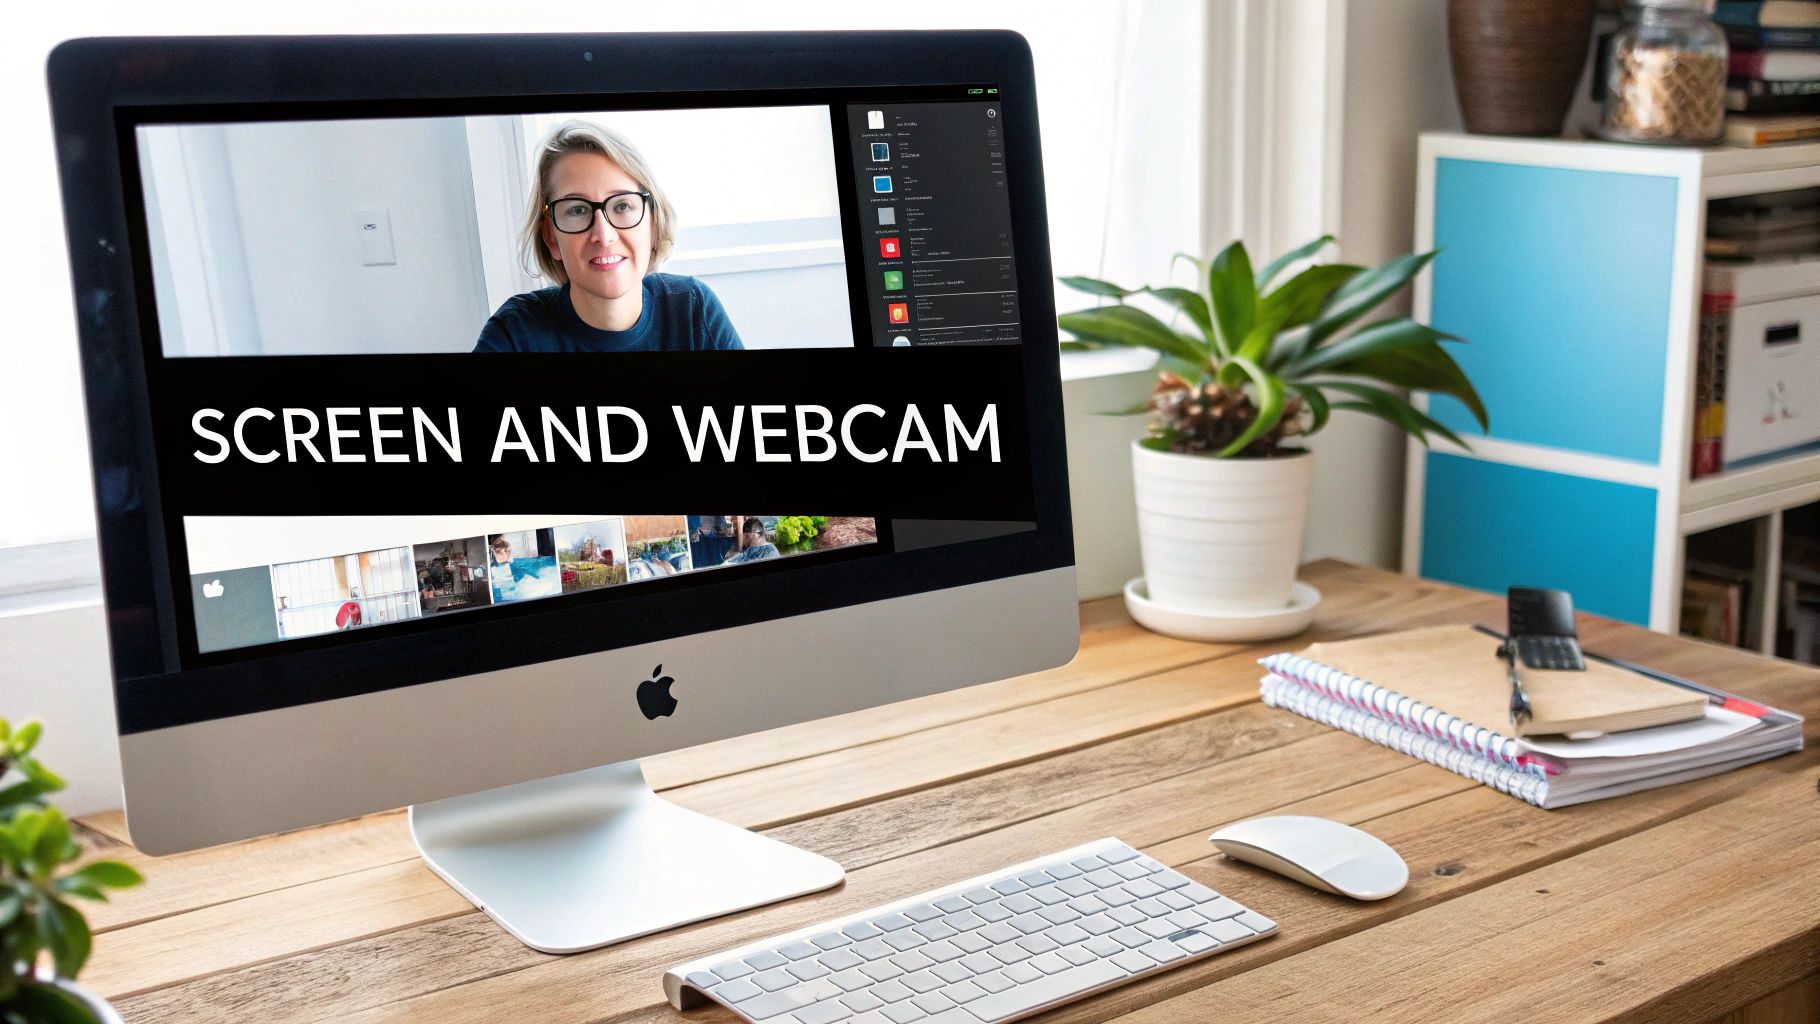
Recording Your Screen and Webcam Together with Screen Charm
Let's be honest: while your Mac’s built-in tools are fine for a quick webcam clip, they fall short when you need to create something more polished. If you're making a software demo, a detailed tutorial, or a professional presentation, you need to show your screen and yourself at the same time. This is where a dedicated app makes all the difference, turning what used to be a complicated editing job into a smooth, one-shot recording. For this, Screen Charm is my go-to on macOS.
Here's a practical walkthrough of how to combine your screen and webcam into a single, cohesive video.
Setting Up Your First Recording
When you first open Screen Charm, you’ll notice the clean, uncluttered interface. The first thing you need to do is decide what part of your screen to capture. You can choose the entire display, a specific app window, or just drag a box to select a custom area. My personal preference for software demos is to select the specific application window—it keeps my messy desktop and any pop-up notifications out of the final video.
With your screen selected, it's time to add your webcam. Look for the camera overlay toggle and flip it on. Your face will pop up in a small, circular bubble. You can click and drag this bubble to any corner you like. I usually stick it in the bottom-right; it feels natural and keeps my face visible without covering up important menus or buttons in most apps.
Adding a Professional Touch with Standout Features
This is where you graduate from a simple screen capture to a genuinely professional-looking video. Let's face it, a cluttered office or a distracting background can completely derail your message. Screen Charm tackles this head-on with its virtual background feature. You can instantly blur your real background, drop in a clean, preset image, or even upload your own company-branded graphic.
This isn't just a gimmick; it's a direct response to how we create content now. Webcams have become essential, and the home webcam market is on track to hit USD 6.88 billion by 2030. This growth shows that features like webcam overlays and clean backgrounds are no longer a "nice-to-have"—they're expected for high-quality tutorials and demos.
Another feature I absolutely love is the auto-zoom. Once you enable it, the software intelligently follows your cursor, automatically zooming in on the buttons and menus you click. This is a game-changer for tutorials. It guides your viewer's eye exactly where it needs to be, saving you from having to do tedious zoom-and-pan edits later on.
Pro Tip: Before you hit record, take a second to customize your cursor. You can make it bigger, change the color, or add a highlight effect. It's a small detail, but it makes your movements much easier for viewers to follow, especially if they're watching on a phone.
Editing and Exporting Your Final Video
Once you stop recording, the video doesn't just save to a random folder—it opens right up in Screen Charm’s built-in editor. This is a massive time-saver. You don't have to bother exporting the raw file and importing it into a separate program like iMovie or Final Cut Pro for basic tweaks.
From here, you can handle all the essential post-production clean-up:
- Trim the Ends: Quickly snip off the awkward bits at the beginning and end where you're starting and stopping the recording.
- Adjust Auto-Zoom: If the automatic zoom wasn't quite perfect, you can manually fine-tune the zoom points and timing.
- Crop the Frame: Cut out any unnecessary parts of the screen to keep the focus tight and professional.
When you’re happy with your edits, it’s time to export. This is another area where a dedicated tool shines. Screen Charm gives you unlimited exports in brilliant 4K UHD resolution. Your video will look incredibly sharp and clear, whether you're uploading it to YouTube or embedding it in an online course.
The simple, one-time purchase model is also a refreshing change from the endless sea of software subscriptions, making it a really accessible tool for creators and developers alike. By merging powerful recording capabilities with a dead-simple editor, it lets you create truly high-end videos without the steep learning curve.
Practical Tips for Polishing Your Webcam Videos
Having the right recording app is only half the battle. The real magic in creating a professional-looking video often happens before you even hit the record button. A few simple tweaks to your setup and environment can make a massive difference in your final product, elevating your content from amateur to polished and engaging.
These tips work no matter what you're using—QuickTime, a third-party app, or even Photo Booth for a quick clip.
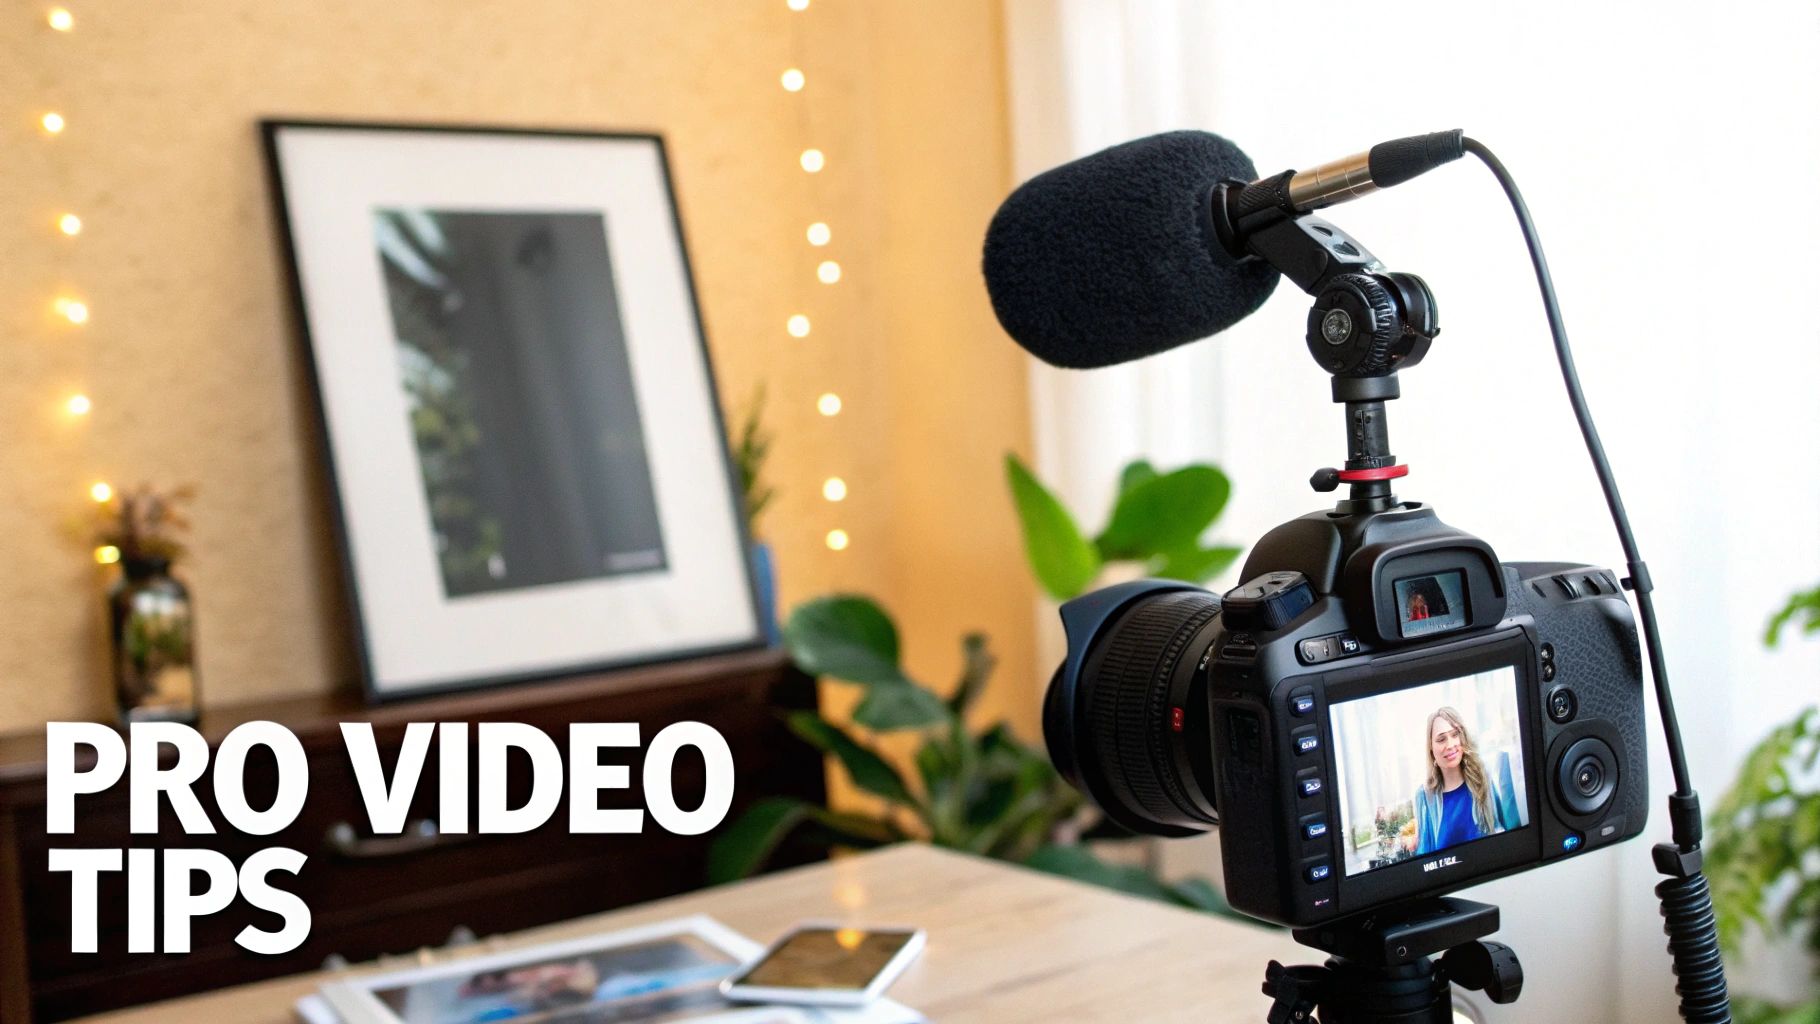
Nail Your Lighting and Audio
If you want to know the two things that instantly separate a pro video from an amateur one, it's always lighting and audio. Your Mac’s built-in webcam is actually quite decent, but it's starved for light. If your video looks grainy or fuzzy, it’s almost always because the room is too dark, not because the camera is bad.
The easiest, cheapest fix? Sit facing a window. Natural light is your best friend. It’s soft, even, and makes everyone look better. Just make sure the window is in front of you, not behind you. A window at your back will turn you into a dark silhouette, which is a look nobody is going for.
If you don't have a good window, a simple ring light or a small LED panel can work wonders. Understanding the optimal home office lighting setup is a game-changer.
Audio is just as critical. The internal mic on your Mac is okay for a quick FaceTime call, but for recordings, it tends to pick up every echo and keyboard tap.
Pro Tip: An external USB microphone is the single best investment for better videos. Crystal-clear audio makes you sound more credible and is just plain easier for your audience to listen to. You don't need a high-end studio mic; even an entry-level one will be a huge step up.
Frame Your Shot and Tidy Your Background
With light and sound handled, it's time to think about what people actually see. Your framing and background communicate a lot, so a little intentionality goes a long way.
A simple trick for a more dynamic shot is to follow the rule of thirds. Picture a tic-tac-toe grid over your screen. Instead of planting yourself dead center, position your eyes along the top line and shift yourself slightly to one side. It’s a subtle change that makes the composition much more visually appealing.
What’s behind you matters, too. A messy, chaotic background is distracting and undermines your message. You have a couple of solid options here:
- Find a Clean Space: The simplest solution is a clean wall. A minimalist bookshelf or a single piece of art can add a touch of personality without creating clutter.
- Use a Virtual Background: If your physical space isn't cooperating, a virtual background is a fantastic alternative. Apps like Screen Charm let you blur out the mess or swap it with a custom image, giving you a professional look instantly. This is particularly handy for software tutorials where you need the viewer focused on your screen, not your laundry basket.
Spending just five minutes on these details before you record webcam mac video will pay off big time. It’s what separates a video that looks like a last-minute effort from one that truly captures your audience's attention.
Getting Your Video Ready to Share
You’ve finished recording and trimmed the rough edges. Now comes the final, crucial step: exporting. This is where you decide how your video will look and feel out in the wild, balancing visual pop with a practical file size.
It might sound a little technical, but it really just boils down to a few key choices. Your goal is to find that sweet spot between a crystal-clear picture and a file that isn't a nightmare to upload or send. The right settings depend entirely on where your video is going.
Choosing the Right Resolution and Format
First up, let’s talk about resolution. Think of it as the sharpness or detail of your video. The two big players here are 1080p (Full HD) and 4K (Ultra HD).
For most everyday tasks—like a quick video update for your team on Slack or a message to a client—1080p is your best bet. It looks fantastic on almost any screen and produces a file that’s small enough to share without a fuss.
But if your ambitions are bigger, like creating high-quality YouTube content or a polished online course, exporting in 4K is the way to go. It gives you a stunningly detailed image that’s essentially future-proof. Your content will still look amazing years from now as screen technology continues to advance.
For creators using Screen Charm, this choice is simplified. The ability to do unlimited 4K UHD exports means you never have to compromise on quality. You can create top-tier, professional content without worrying about export limits or extra fees.
Next, you'll need to pick a file format. On a Mac, you'll almost always run into two options: MOV and MP4.
- MOV: This is Apple’s own format. It’s fantastic if you plan to keep editing within the Apple ecosystem, like with Final Cut Pro, but it can sometimes be a headache for people on other platforms.
- MP4: This is the universal language of web video. It’s the perfect mix of high quality and smart compression, making it the go-to format for sharing just about anywhere.
My advice? When in doubt, always go with MP4 for sharing online. It’s the safest bet to ensure everyone can watch your video, no matter what device they’re using.
Finding the Balance Between Quality and File Size
Compression is what makes your video file small enough to actually send over the internet. When you export, you're choosing how much to shrink it. The trade-off is simple: more compression means a smaller file, but you might lose a little bit of visual quality.
Think about the context. For a detailed YouTube tutorial, you want to keep compression to a minimum to preserve every pixel of detail. But for a quick video message to your team, a smaller file size is way more important than perfect quality.
Thankfully, most modern apps make this easy with presets like "Web," "Social Media," or "High Quality." When you record webcam mac footage, picking one of these presets takes the guesswork out of the equation and gives you a great result every time.
Common Questions and Quick Fixes for Mac Webcam Recording
Even when you have the right tools, recording on a Mac can sometimes throw you a curveball. Let's tackle some of the most common issues and questions that pop up.
Why Does My Webcam Video Look So Grainy?
This is almost always a lighting problem. In a dimly lit room, your Mac's webcam has to work overtime, cranking up its digital sensitivity to see you. The unfortunate side effect of this is digital "noise," which looks like graininess or static in your video.
The fix is simple: add more light! The best thing you can do is position yourself facing a soft light source, like a window with indirect sunlight. If that’s not an option, a simple ring light can make a world of difference. Whatever you do, avoid having a bright window or lamp directly behind you—that just throws your face into a silhouette and makes the grain even worse.
Can I Use My iPhone for Better Webcam Quality?
Absolutely. In fact, if you have a recent iPhone, it’s one of the easiest ways to get a massive quality boost. Apple’s Continuity Camera feature is a game-changer, letting you wirelessly use your iPhone’s powerful camera system as your Mac’s webcam.
Just make sure your iPhone is nearby, unlocked, and oriented horizontally. It should automatically show up as a camera option in QuickTime, Photo Booth, or an app like Screen Charm. The difference in clarity, color, and low-light performance is often night and day compared to the built-in FaceTime camera.
Sometimes the problem isn't quality, but the camera not showing up at all. If you find your Mac's camera is completely unresponsive, you'll need to dig a little deeper. This guide on how to troubleshoot a non-functional MacBook Pro camera can walk you through checking permissions and potential hardware issues.
What’s the Best Format to Export My Recording?
For almost any use case online—YouTube, social media, a video for your website—the gold standard is an MP4 file using the H.264 codec.
There's a good reason for this. It strikes the perfect balance between great video quality and a reasonably small file size, which means it will upload quickly and play smoothly for your viewers without much buffering. Thankfully, most modern macOS recording apps default to this format, so you often don't have to change a thing.
Ready to create stunning screen and webcam recordings without the hassle? Screen Charm gives you all the tools you need—from simultaneous recording and virtual backgrounds to auto-zoom and 4K exports—in one simple app. Download Screen Charm today and transform your product demos and tutorials.