Looking for the right tool to record and produce product demo videos on your Mac? This page compares the seven most-used options — from the fastest for async sharing to the most polished for marketing pages — with honest trade-offs for each.
Need the how-to guide instead? See How to Make Product Demo Videos on Mac for scripting, recording, and editing workflow. Recording SaaS walkthroughs? See the dedicated Mac screen recorder for SaaS product demos page.
Quick Picks
| Goal | Best tool | Price |
|---|---|---|
| Quick async demo to share in Slack or email | Loom | Free / $12.50/mo |
| Premium polished demo for a landing page or launch | Screen Studio | $29/mo or $108/yr |
| Polished Mac demo without a subscription | Screen Charm | $79 one-time |
| Heavy editing, animations, interactive quizzes | Camtasia | $179.88/yr |
| Full Mac video editor that records | ScreenFlow | $149 one-time |
| Demo with viewer analytics (who watched, when) | Vidyard | Free / $19/mo |
| Free, no watermark, no limits | OBS Studio | Free |
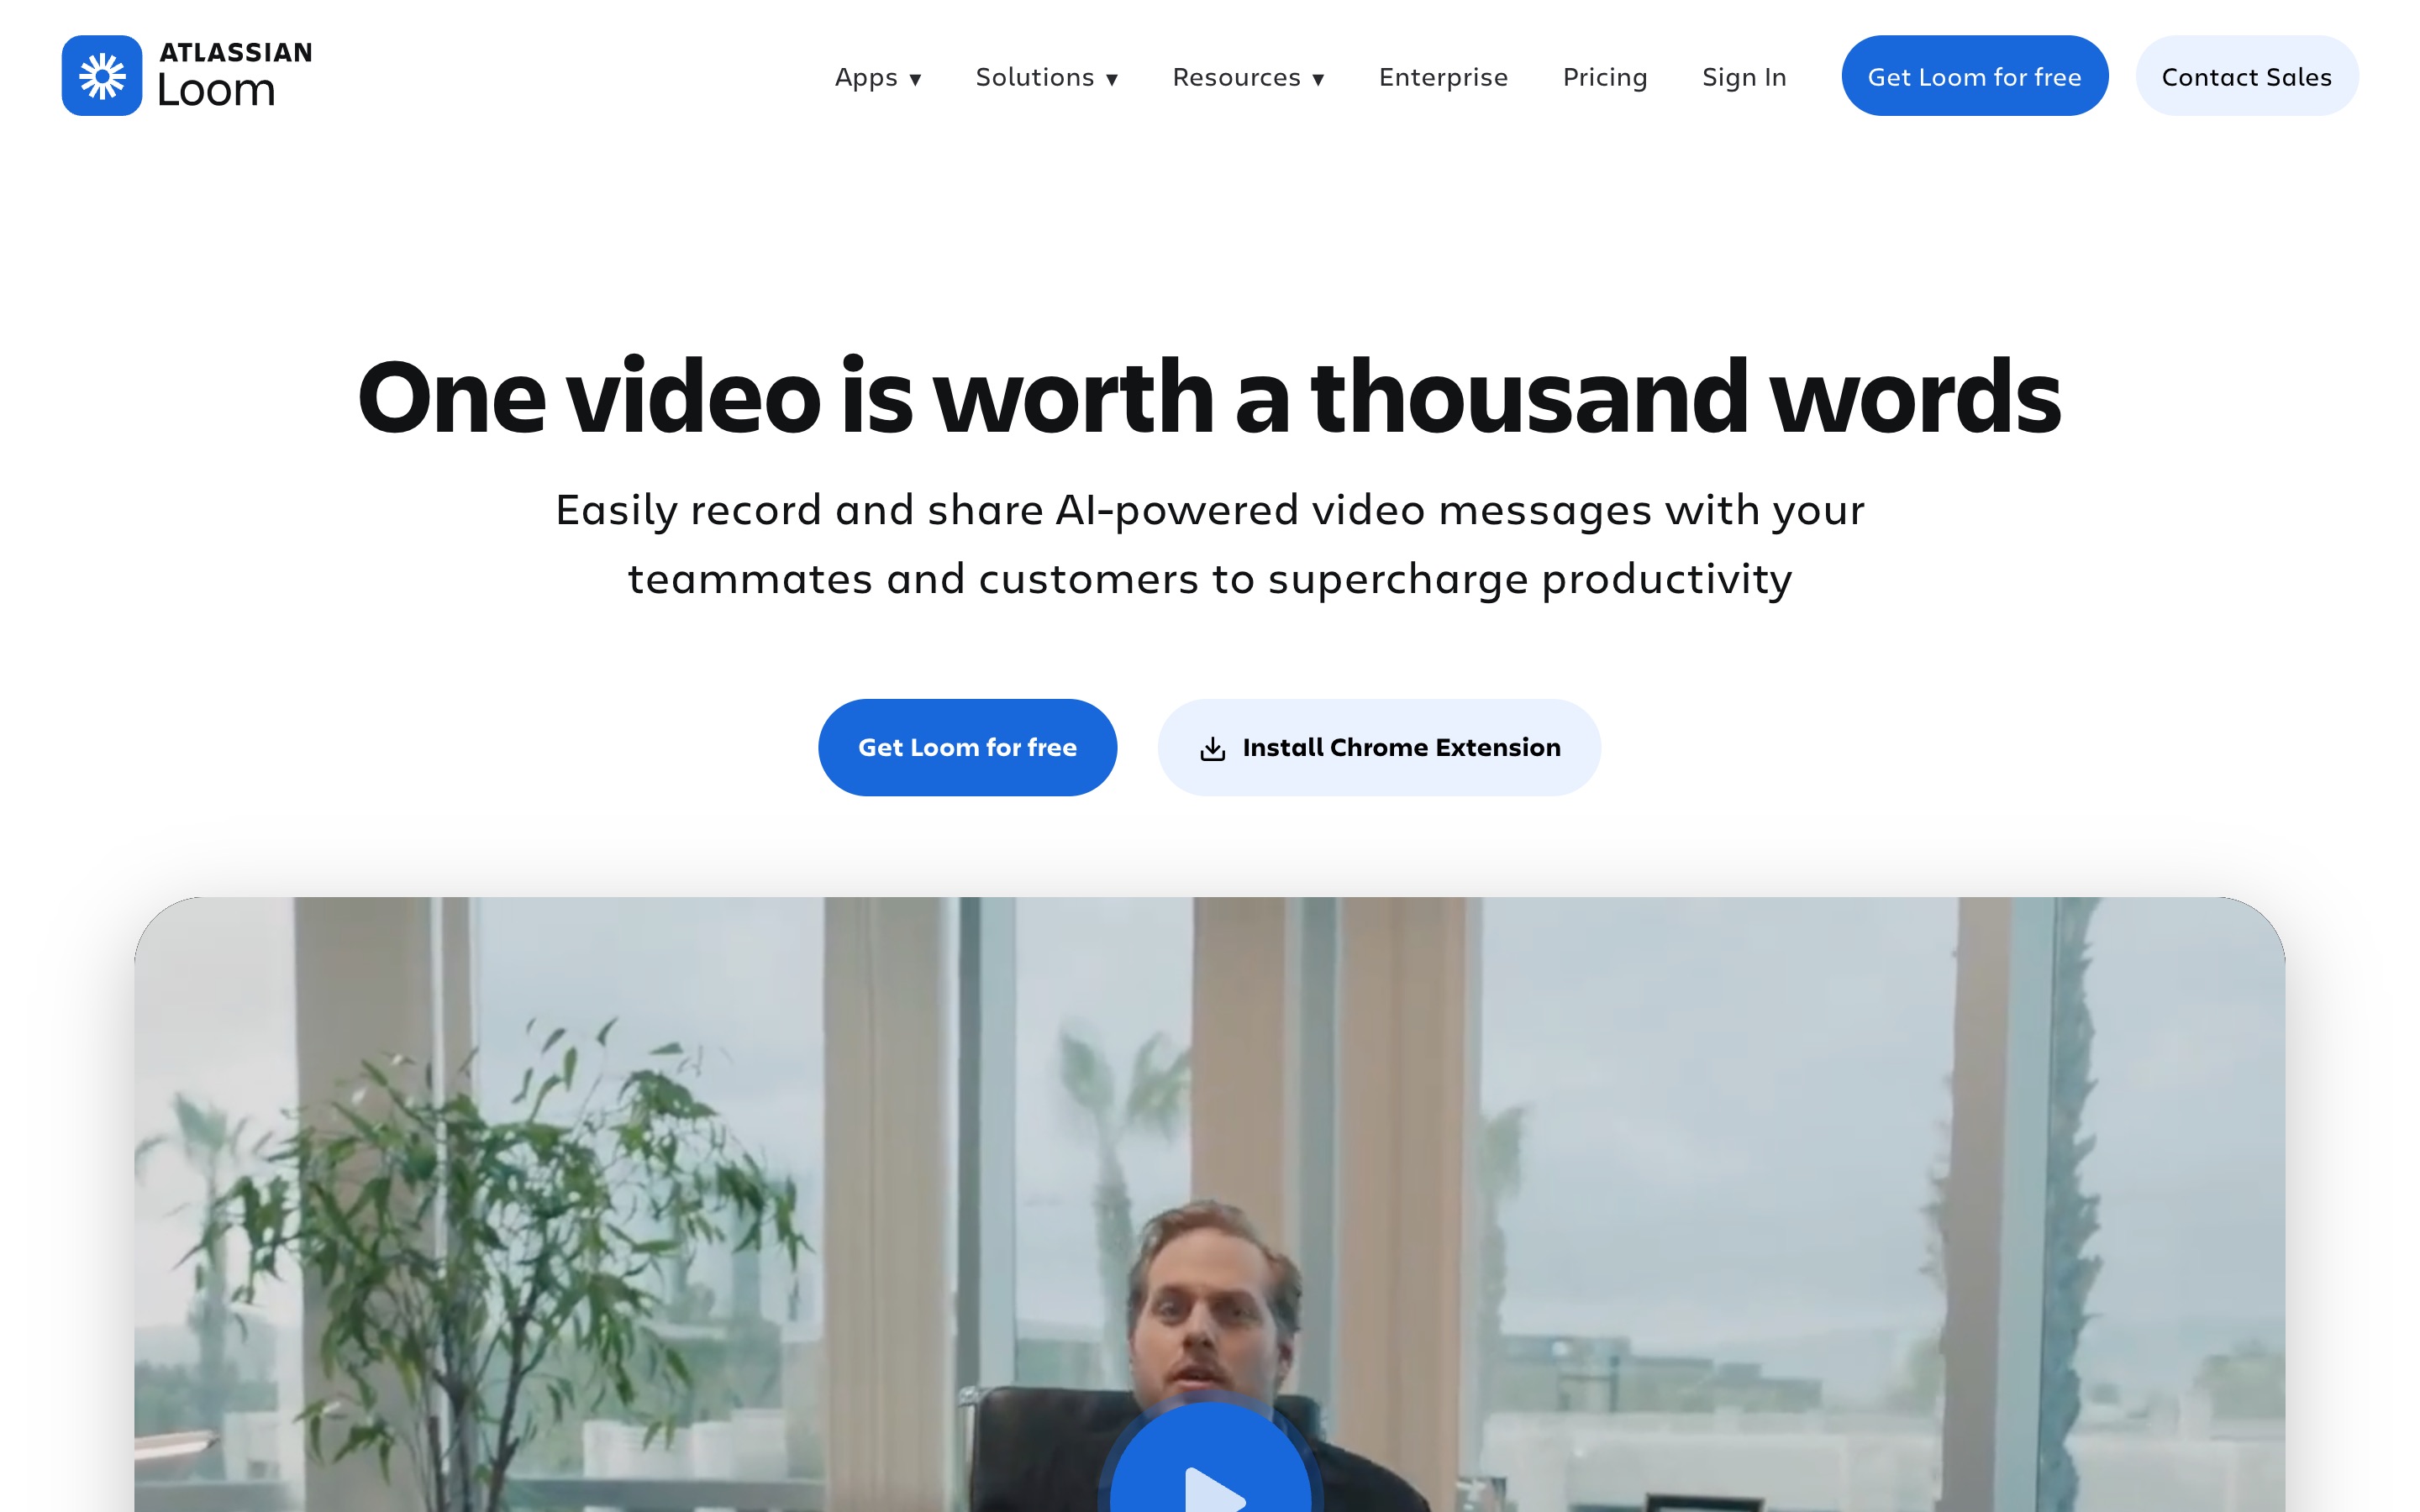
1. Loom — Best for Fast Async Demos
Loom records screen + webcam in one click and gives you a shareable link the moment you stop. No editing, no export, no upload — the video is ready to embed in a Slack message, Jira ticket, or email within seconds.
Who it's for: Sales reps doing personalised video outreach, developers recording bug reproductions, product teams sending async updates.
Key demo features:
- Instant shareable link on stop
- Viewer analytics (who watched, how much, where they dropped off)
- AI-generated captions and summaries
- Basic trimming and CTAs inside the viewer
- Team library for storing and organising demos
What it doesn't do: No auto-zoom, no advanced editing, limited customisation. All your demos are hosted on Loom's servers — you download an MP4 only on paid plans.
| Details | |
|---|---|
| Platform | macOS, Windows, browser extension |
| Price | Free (5 min limit); Starter $12.50/mo; Business $22.50/mo |
| Best for | Async communication, sales outreach, quick feedback videos |
| System audio | Yes |
Sponsored by the makers
Tired of boring screen recordings?
Try Screen Charm.
Auto-zoom, motion blur, camera overlay, and background music. All built in. Record once, export a polished video.
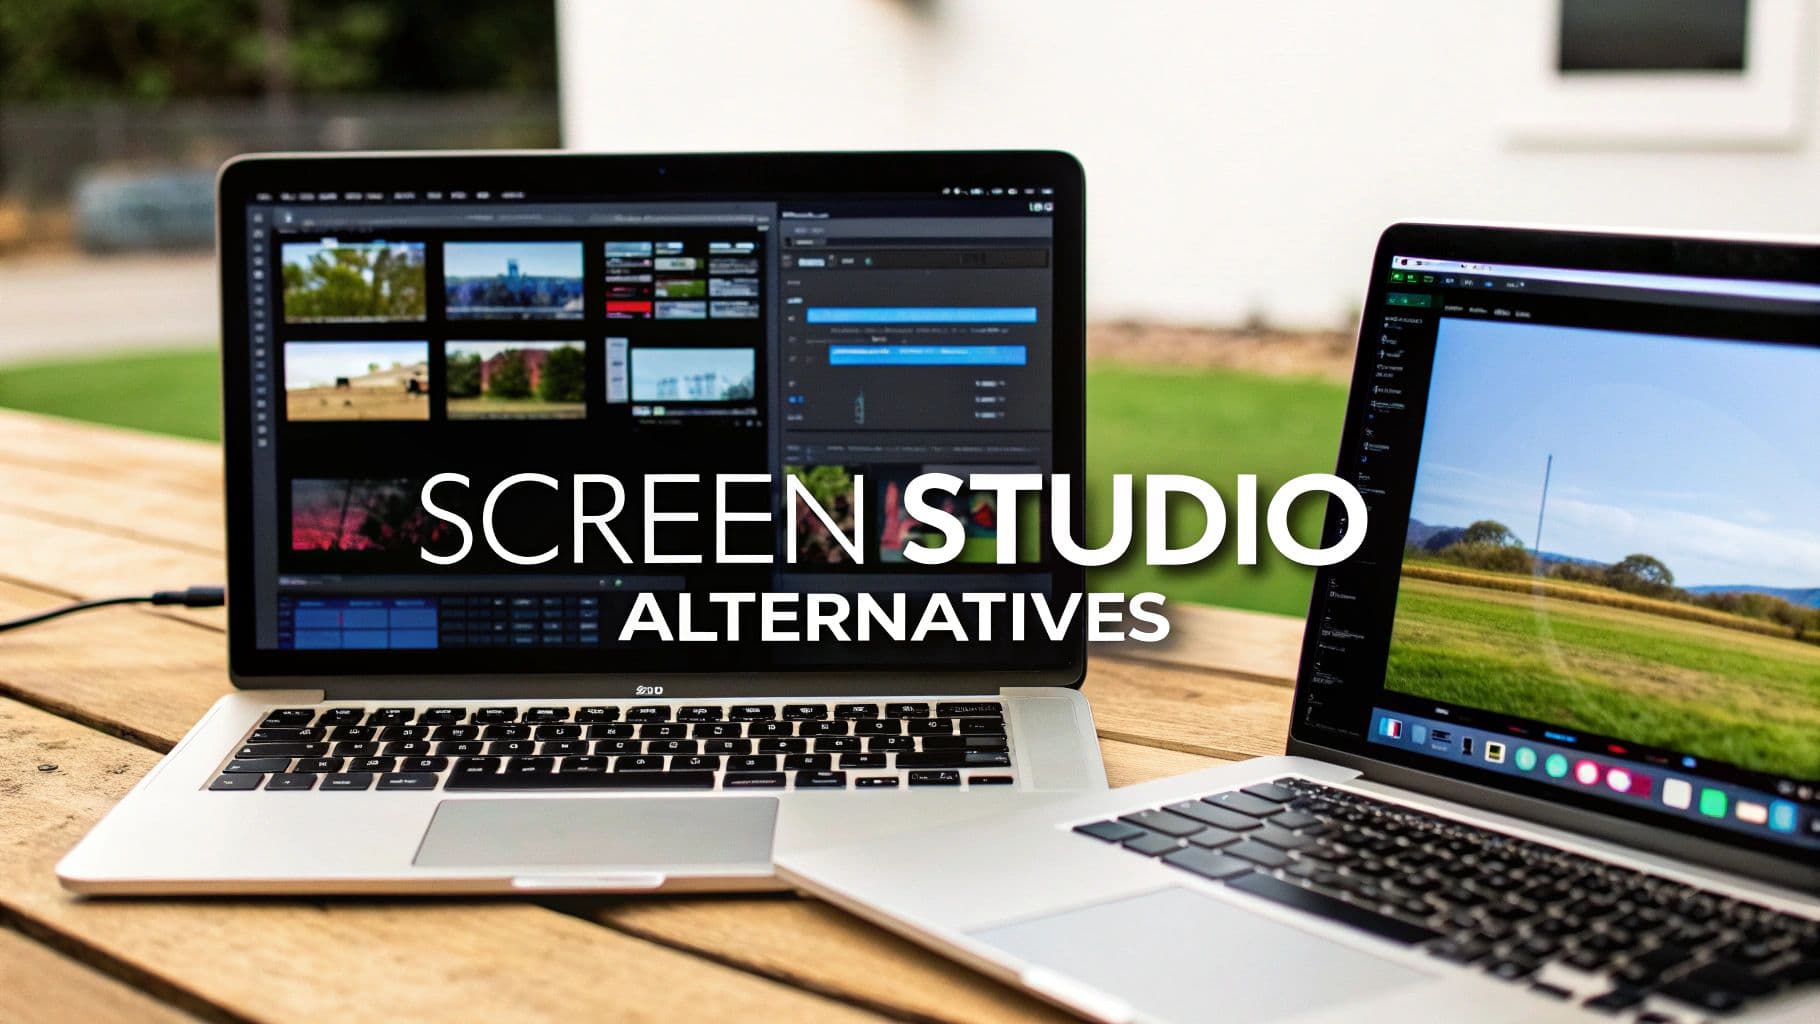
See what it does2. Screen Studio — Best for Premium Product Demo Polish
Screen Studio is one of the strongest product demo makers for Mac when visual polish matters most. It is built for software demos, launch videos, SaaS walkthroughs, and tutorials that need smooth motion, automatic zoom, cursor styling, and a finished look without building every effect manually.
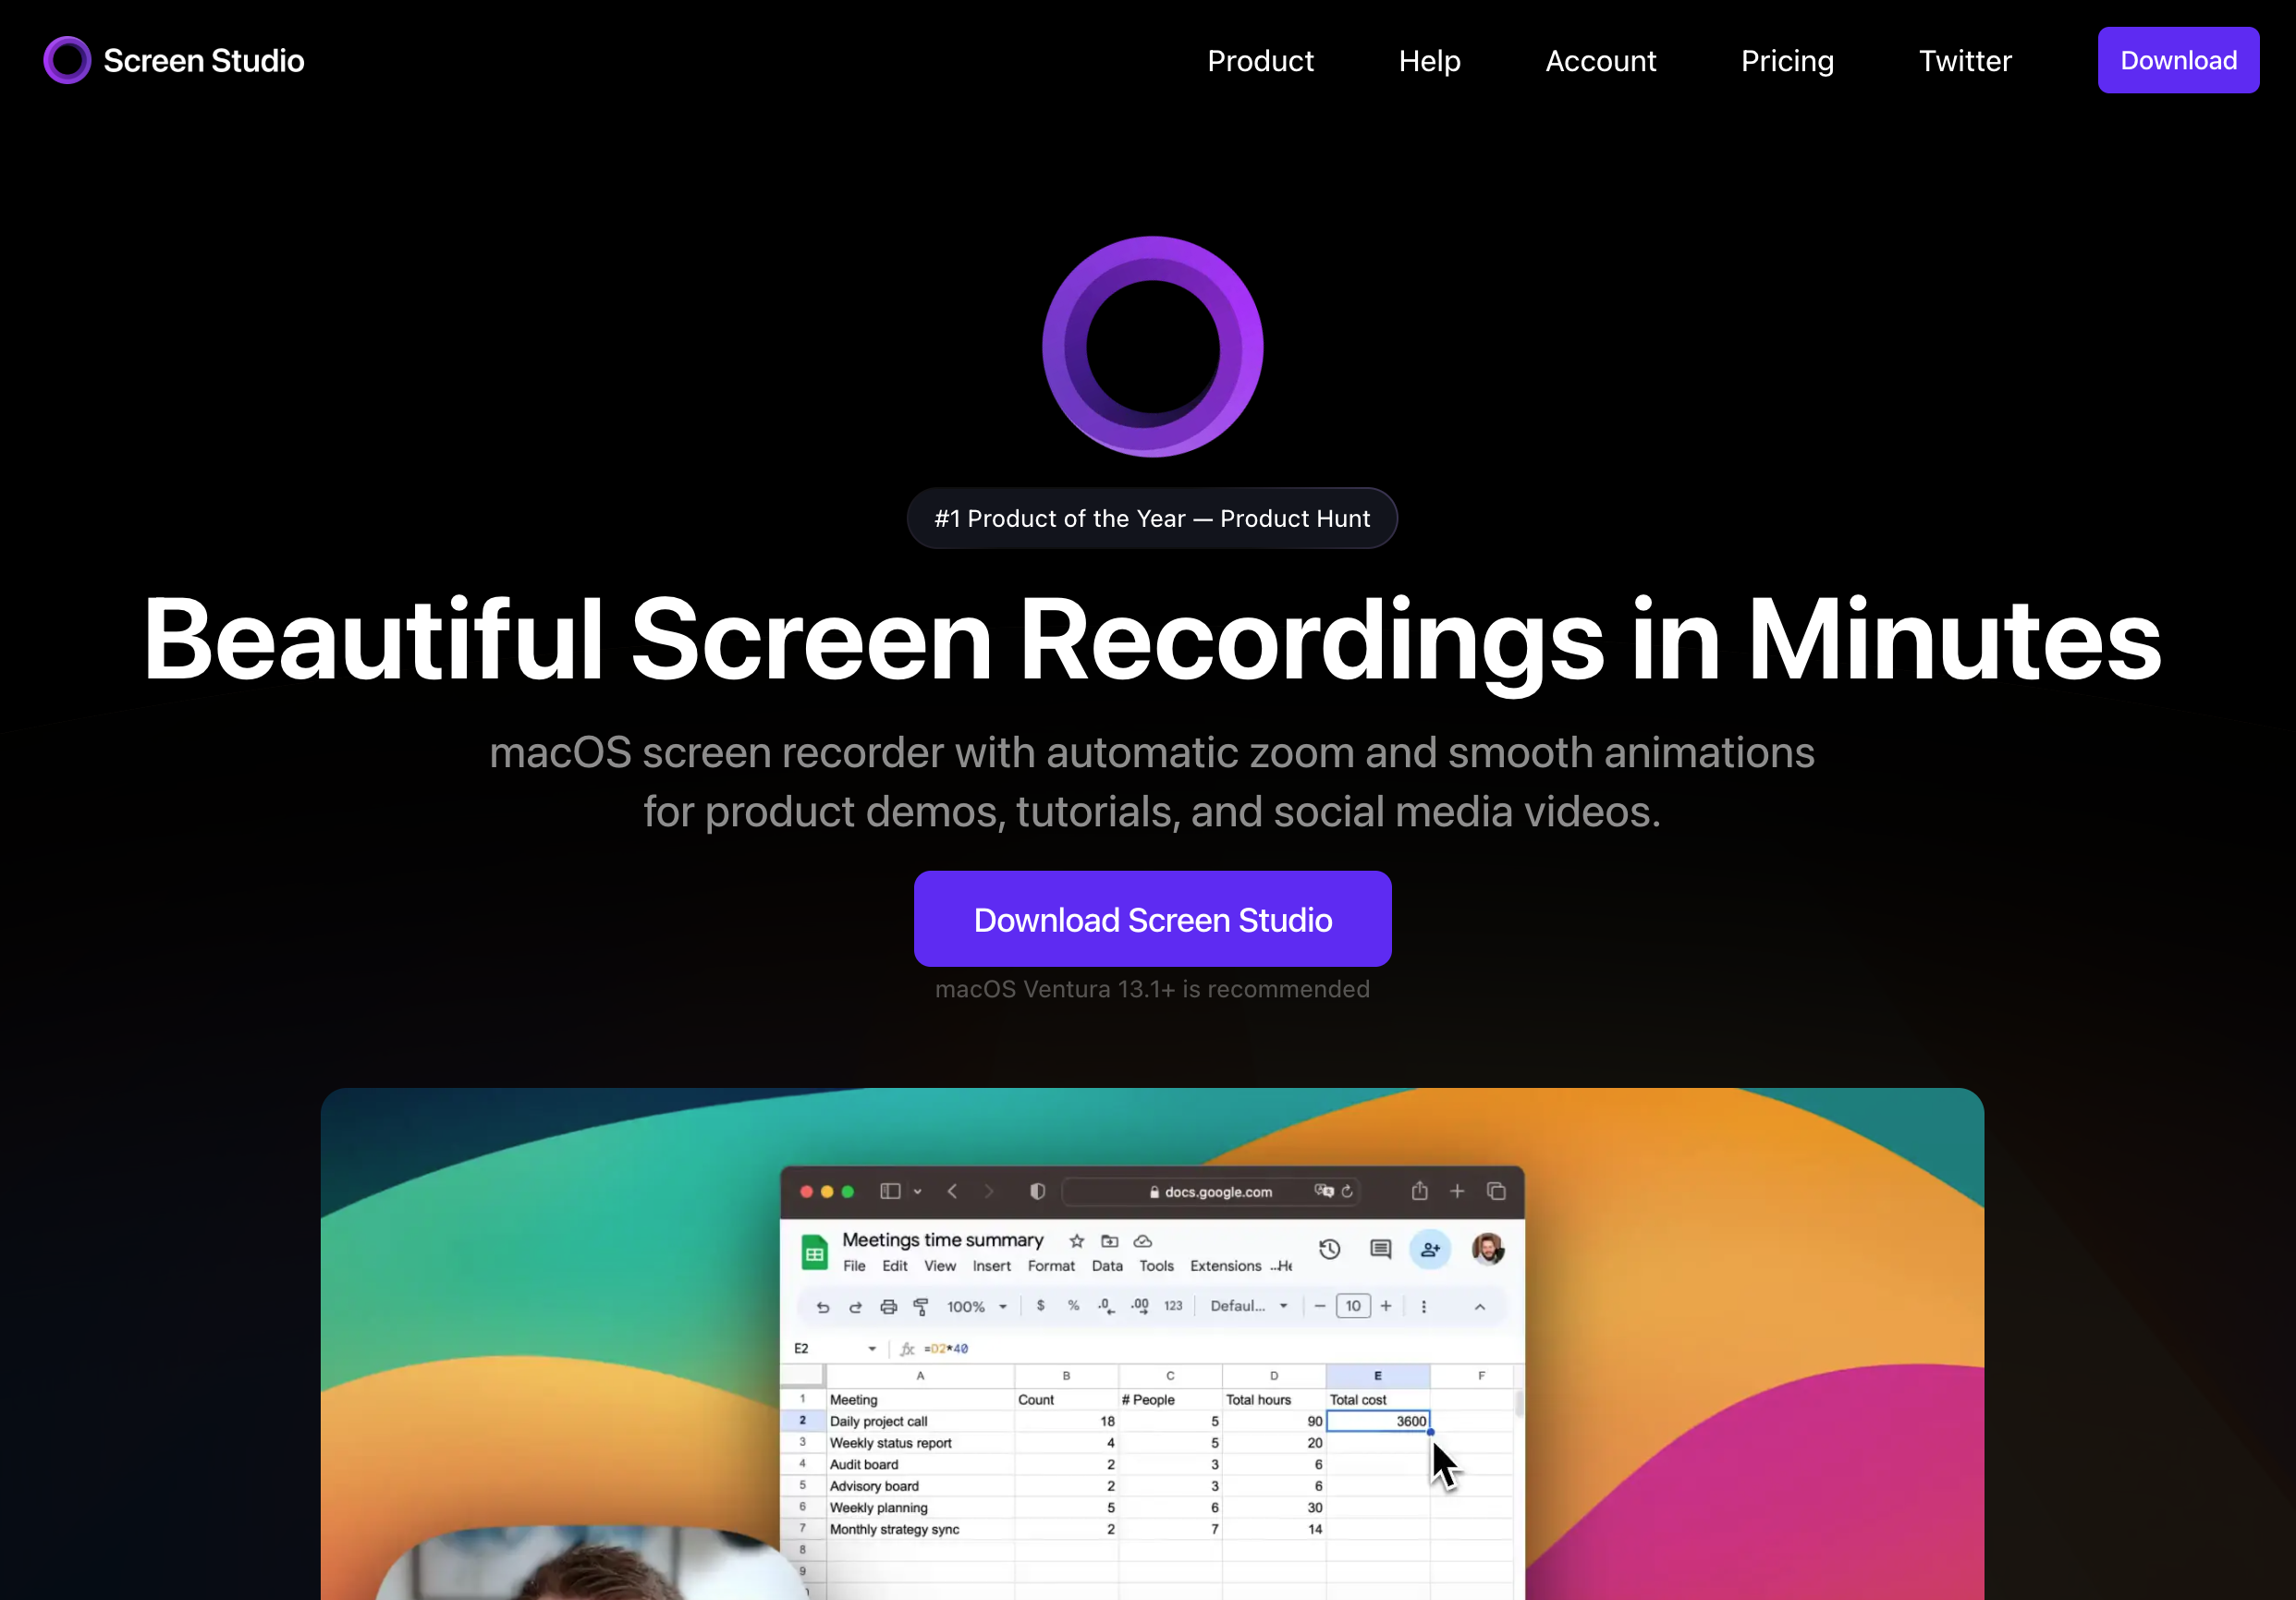
Who it's for: SaaS founders, product marketers, designers, and Mac creators who want public-facing demos that feel premium and ready for landing pages, social clips, and launch campaigns.
Key demo features:
- Automatic zoom and motion blur for polished walkthroughs
- Style presets for fast visual polish
- Screen + camera + microphone recording
- iPhone and iPad recording for mobile app demos
- GIF export for lightweight product clips
- Cloud sharing and local export
What it doesn't do: Screen Studio is subscription-based, so it costs more over time than one-time purchase tools. It is also Mac-only, which can be limiting for mixed Windows/Mac teams.
| Details | |
|---|---|
| Platform | macOS only |
| Price | $29/mo or $108/yr |
| Best for | Premium SaaS demos, launch videos, product walkthroughs |
| System audio | Yes |
3. Screen Charm — Best for Polished Mac Demos Without a Subscription
Screen Charm is a native Mac screen recorder built specifically for screen recordings that look edited without manual editing. Its core feature is Smart Auto-Zoom — the app tracks your cursor and automatically zooms into menus, buttons, and UI elements as you click them. The result is a dynamic, director-guided video without any keyframing.

Who it's for: macOS developers, indie makers, and marketers who need landing-page-quality demos in minutes, not hours.
Key demo features:
- Auto-zoom follows cursor — no manual zoom editing required
- Automatic motion blur for smoother cursor movement and zooms
- Background music for finished demo videos
- Simultaneous screen + webcam + mic + system audio recording
- Custom webcam backgrounds (no green screen needed)
- Cursor highlighting and custom cursor styles
- Built-in trimmer and zoom intensity editor
- 4K export, no watermark, no recording limits
What it doesn't do: No annotation tools, text callouts, or multi-track timeline. If you need to add chapter markers, quizzes, or layer multiple video tracks, look at Camtasia instead.
| Details | |
|---|---|
| Platform | macOS only (Apple Silicon + Intel, requires Sonoma 14.0+) |
| Price | $79 one-time, lifetime updates, 14-day refund |
| Best for | SaaS demos, onboarding videos, feature announcements |
| System audio | Yes (built-in driver, no extra setup) |
Screen Studio vs Screen Charm: both apps can create polished Mac product demos with auto-zoom, motion blur, and background music. Choose Screen Studio if you want GIF export, iOS recording, and deeper visual presets. Choose Screen Charm if you want a simpler Mac screen recorder for product demos with webcam, system audio, shareable links, 4K export, and one-time pricing. For a deeper comparison, see Screen Charm vs Screen Studio.
4. Camtasia — Best for Feature-Rich Production
Camtasia is the most fully-featured screen recording + editing suite on this list. It has a multi-track timeline, a large asset library (callouts, transitions, lower thirds), built-in quizzes and interactive elements, and direct export to YouTube, Vimeo, or Screencast. If your demos need annotations, chapter markers, or branching interactivity, nothing else on this list competes.
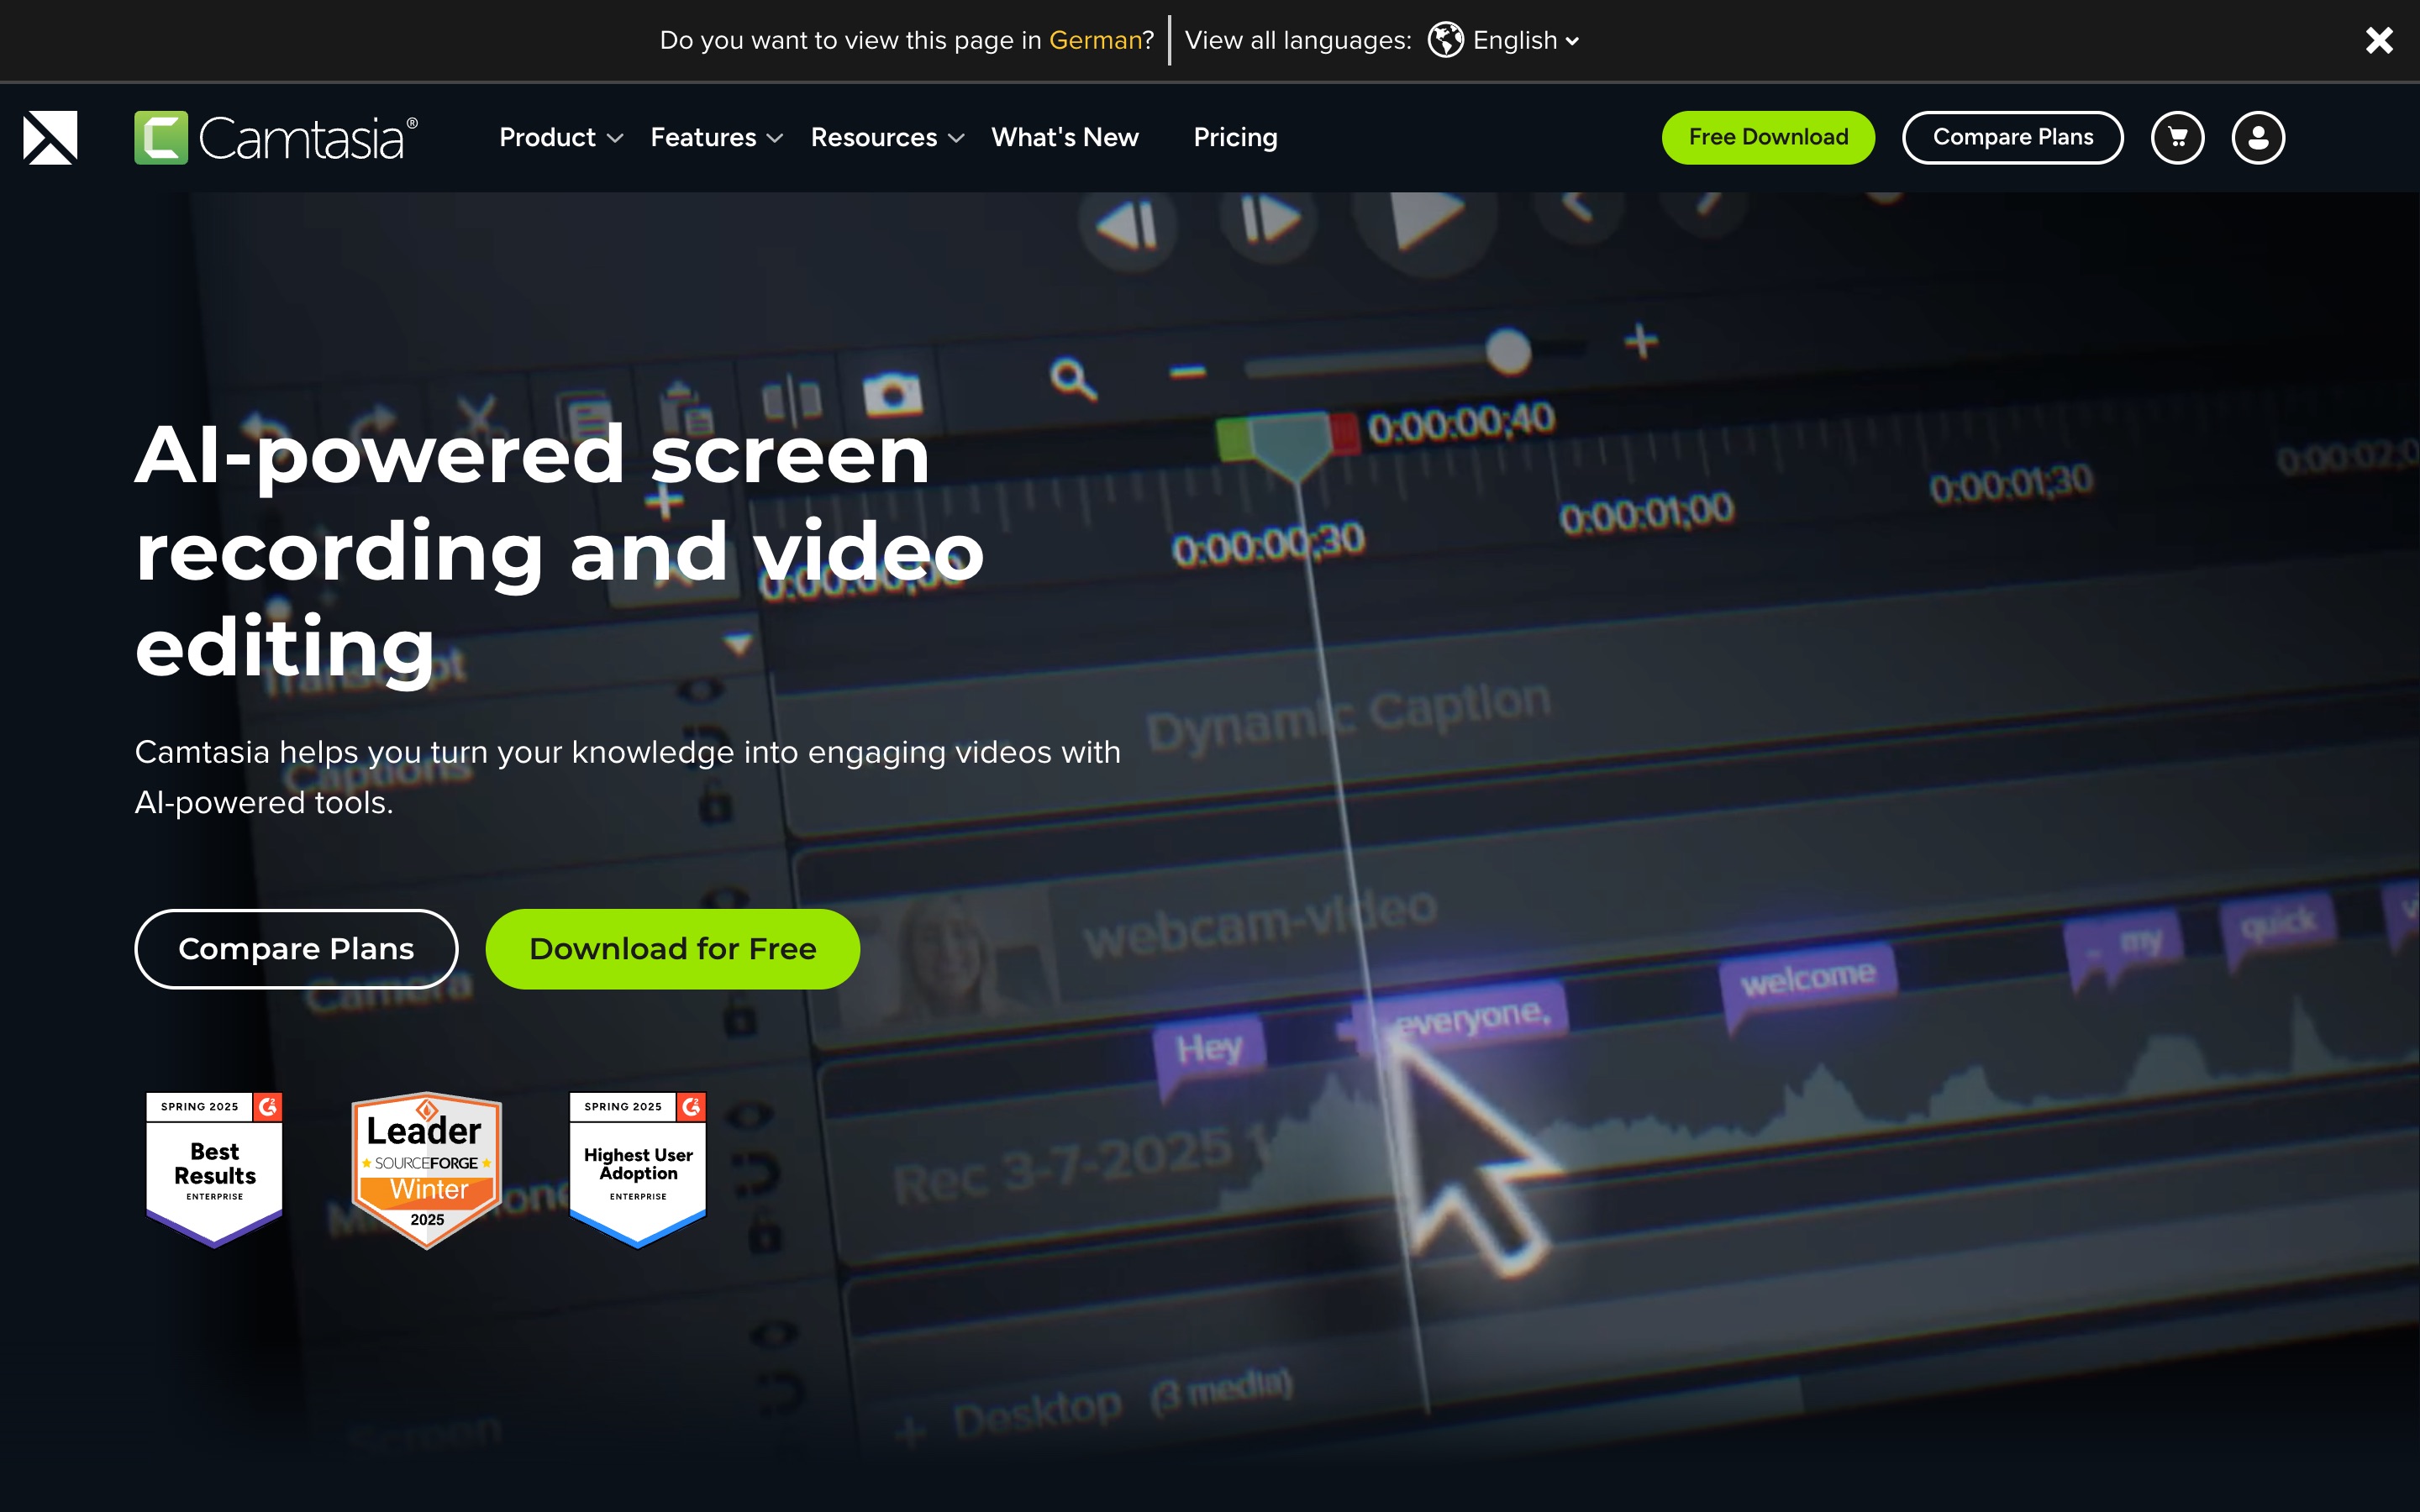
Who it's for: Corporate training teams, e-learning creators, marketing agencies producing high-production demos.
Key demo features:
- Multi-track timeline for layering video, audio, callouts
- Built-in annotation library (arrows, shapes, blur, spotlight)
- Interactive quizzes and click-through elements
- Zoom-and-pan effects (manual, not automatic)
- TechSmith Asset Store integration
What it doesn't do: Camtasia is Windows-first — the Mac version lags on features and performance. Heavy projects can be slow. No auto-zoom.
| Details | |
|---|---|
| Platform | macOS + Windows |
| Price | $179.88/yr (subscription); $299 perpetual |
| Best for | Training, e-learning, complex multi-element demos |
| System audio | Yes |
5. ScreenFlow — Best Mac-Native Video Editor + Recorder
ScreenFlow is the closest thing to a professional macOS-native video editor that also records your screen. It handles multi-track timelines, audio ducking, chroma key, and advanced animations — all in an interface designed for macOS. Unlike Camtasia, it's built for the platform it runs on.
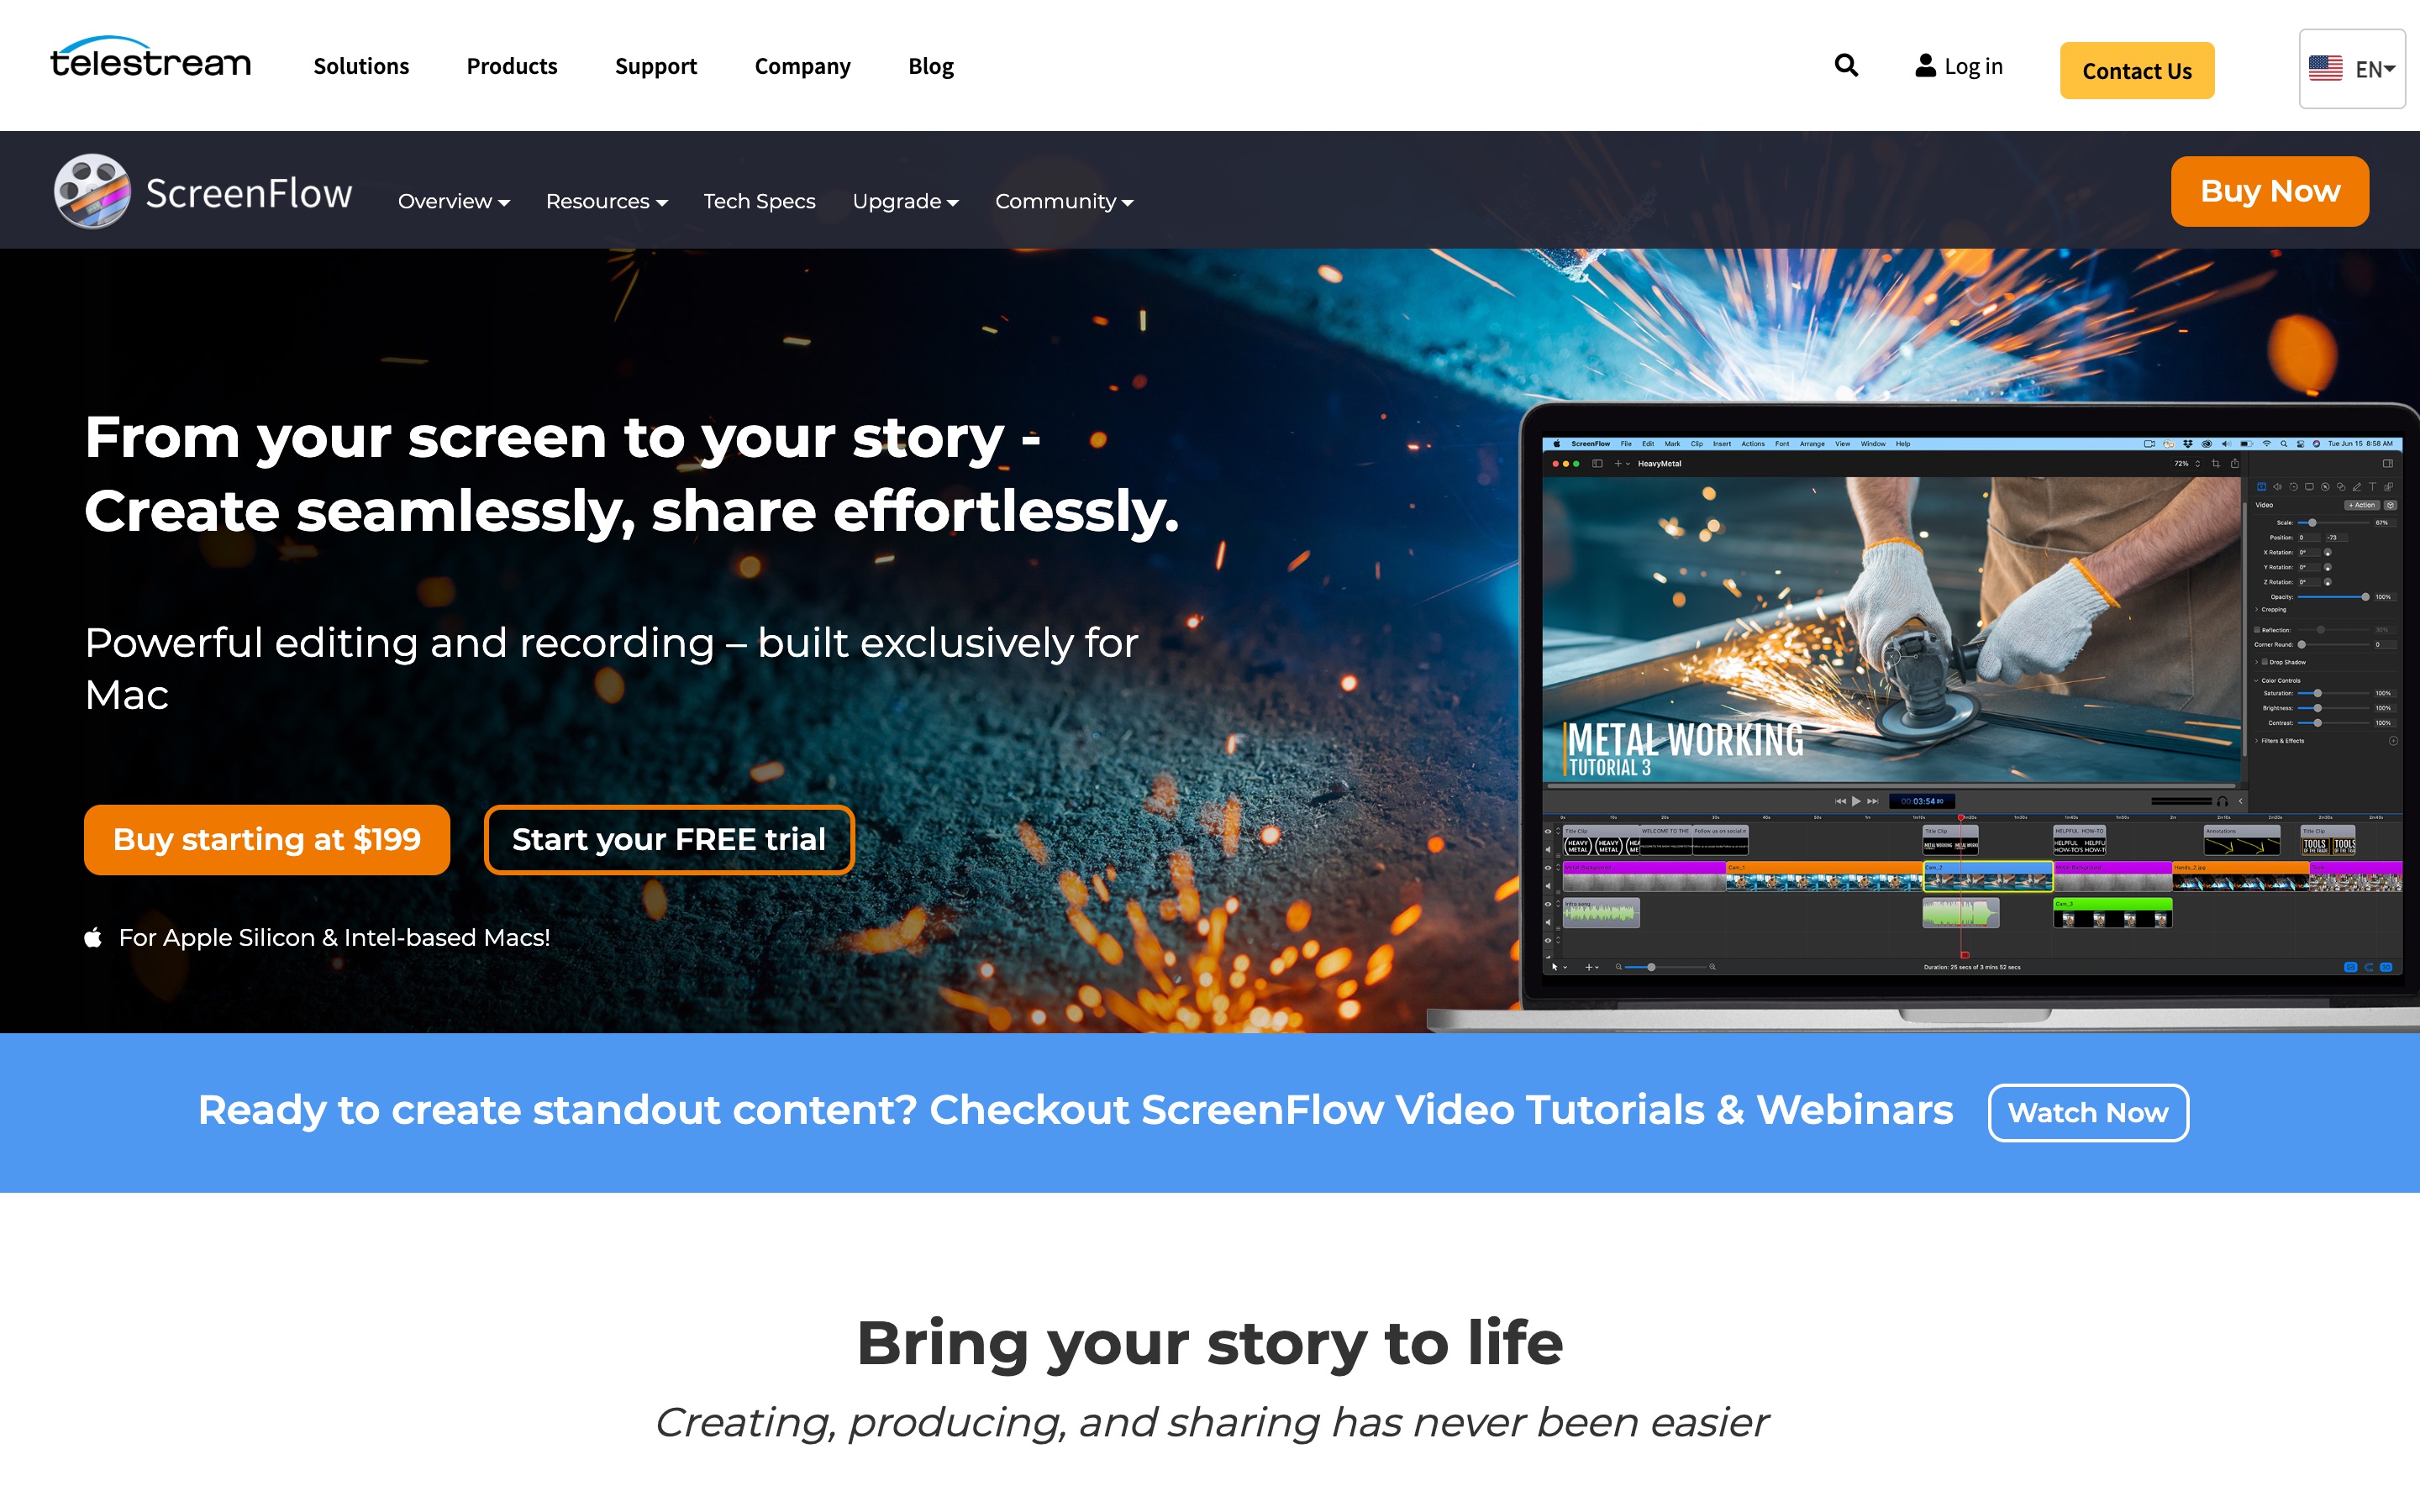
Who it's for: Mac-based content creators who want full editorial control and prefer not to use Adobe Premiere or Final Cut Pro.
Key demo features:
- Multi-track timeline with audio and video mixing
- Callout effects, spotlight, and annotation tools
- Chroma key (green screen replacement)
- Motion graphics and text animation
- Direct upload to YouTube, Vimeo, Wistia
What it doesn't do: No auto-zoom, no viewer analytics, no interactive elements. Heavier learning curve than Screen Charm or Loom.
| Details | |
|---|---|
| Platform | macOS only |
| Price | $149 one-time (ScreenFlow 10); upgrade pricing for new versions |
| Best for | Polished tutorial series, marketing videos, course content |
| System audio | Yes |
6. Vidyard — Best for Sales Teams with Analytics
Vidyard combines Loom-style easy recording with CRM integrations and viewer intelligence. You can see who watched your demo, how much they watched, and when they dropped off — and sync that data directly to Salesforce, HubSpot, or Outreach. For a sales team sending personalised demos to prospects, this is the most commercially focused option.
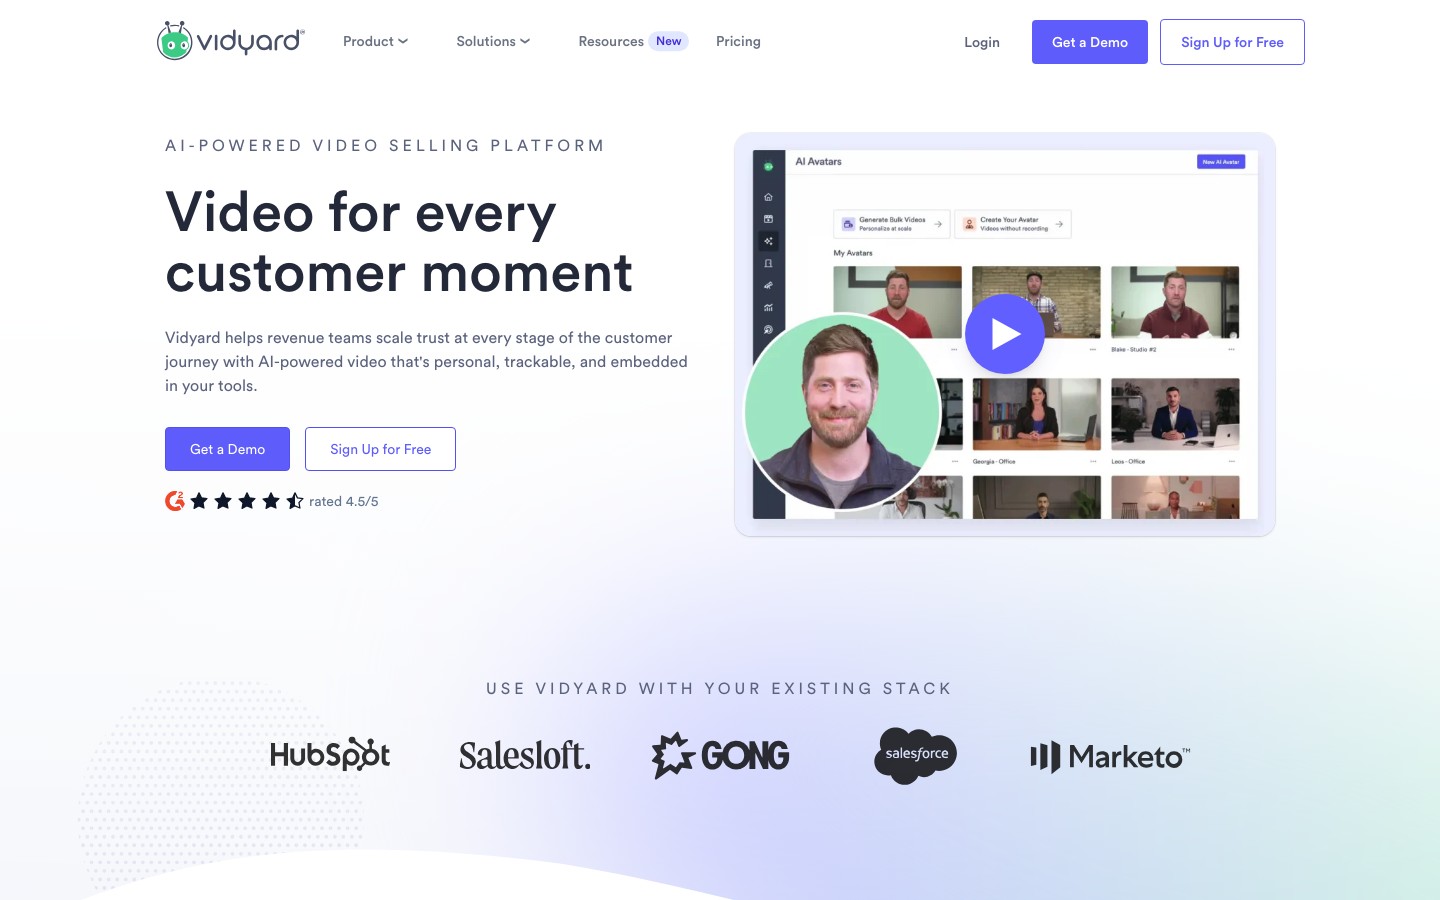
Who it's for: B2B sales teams, SDRs, customer success managers doing personalised video outreach.
Key demo features:
- Viewer analytics with per-contact tracking
- CRM integration (Salesforce, HubSpot, Outreach, Salesloft)
- Video personalisation (insert prospect's name/logo in the video)
- Custom CTAs, forms, and landing pages
- Team library and content governance
What it doesn't do: Limited editing — it's a recording + distribution tool, not a production tool. No advanced visual polish.
| Details | |
|---|---|
| Platform | macOS, Windows, browser extension |
| Price | Free (limited); Pro $19/mo; Teams from $59/mo |
| Best for | Sales prospecting, pipeline acceleration, customer success |
| System audio | Yes |
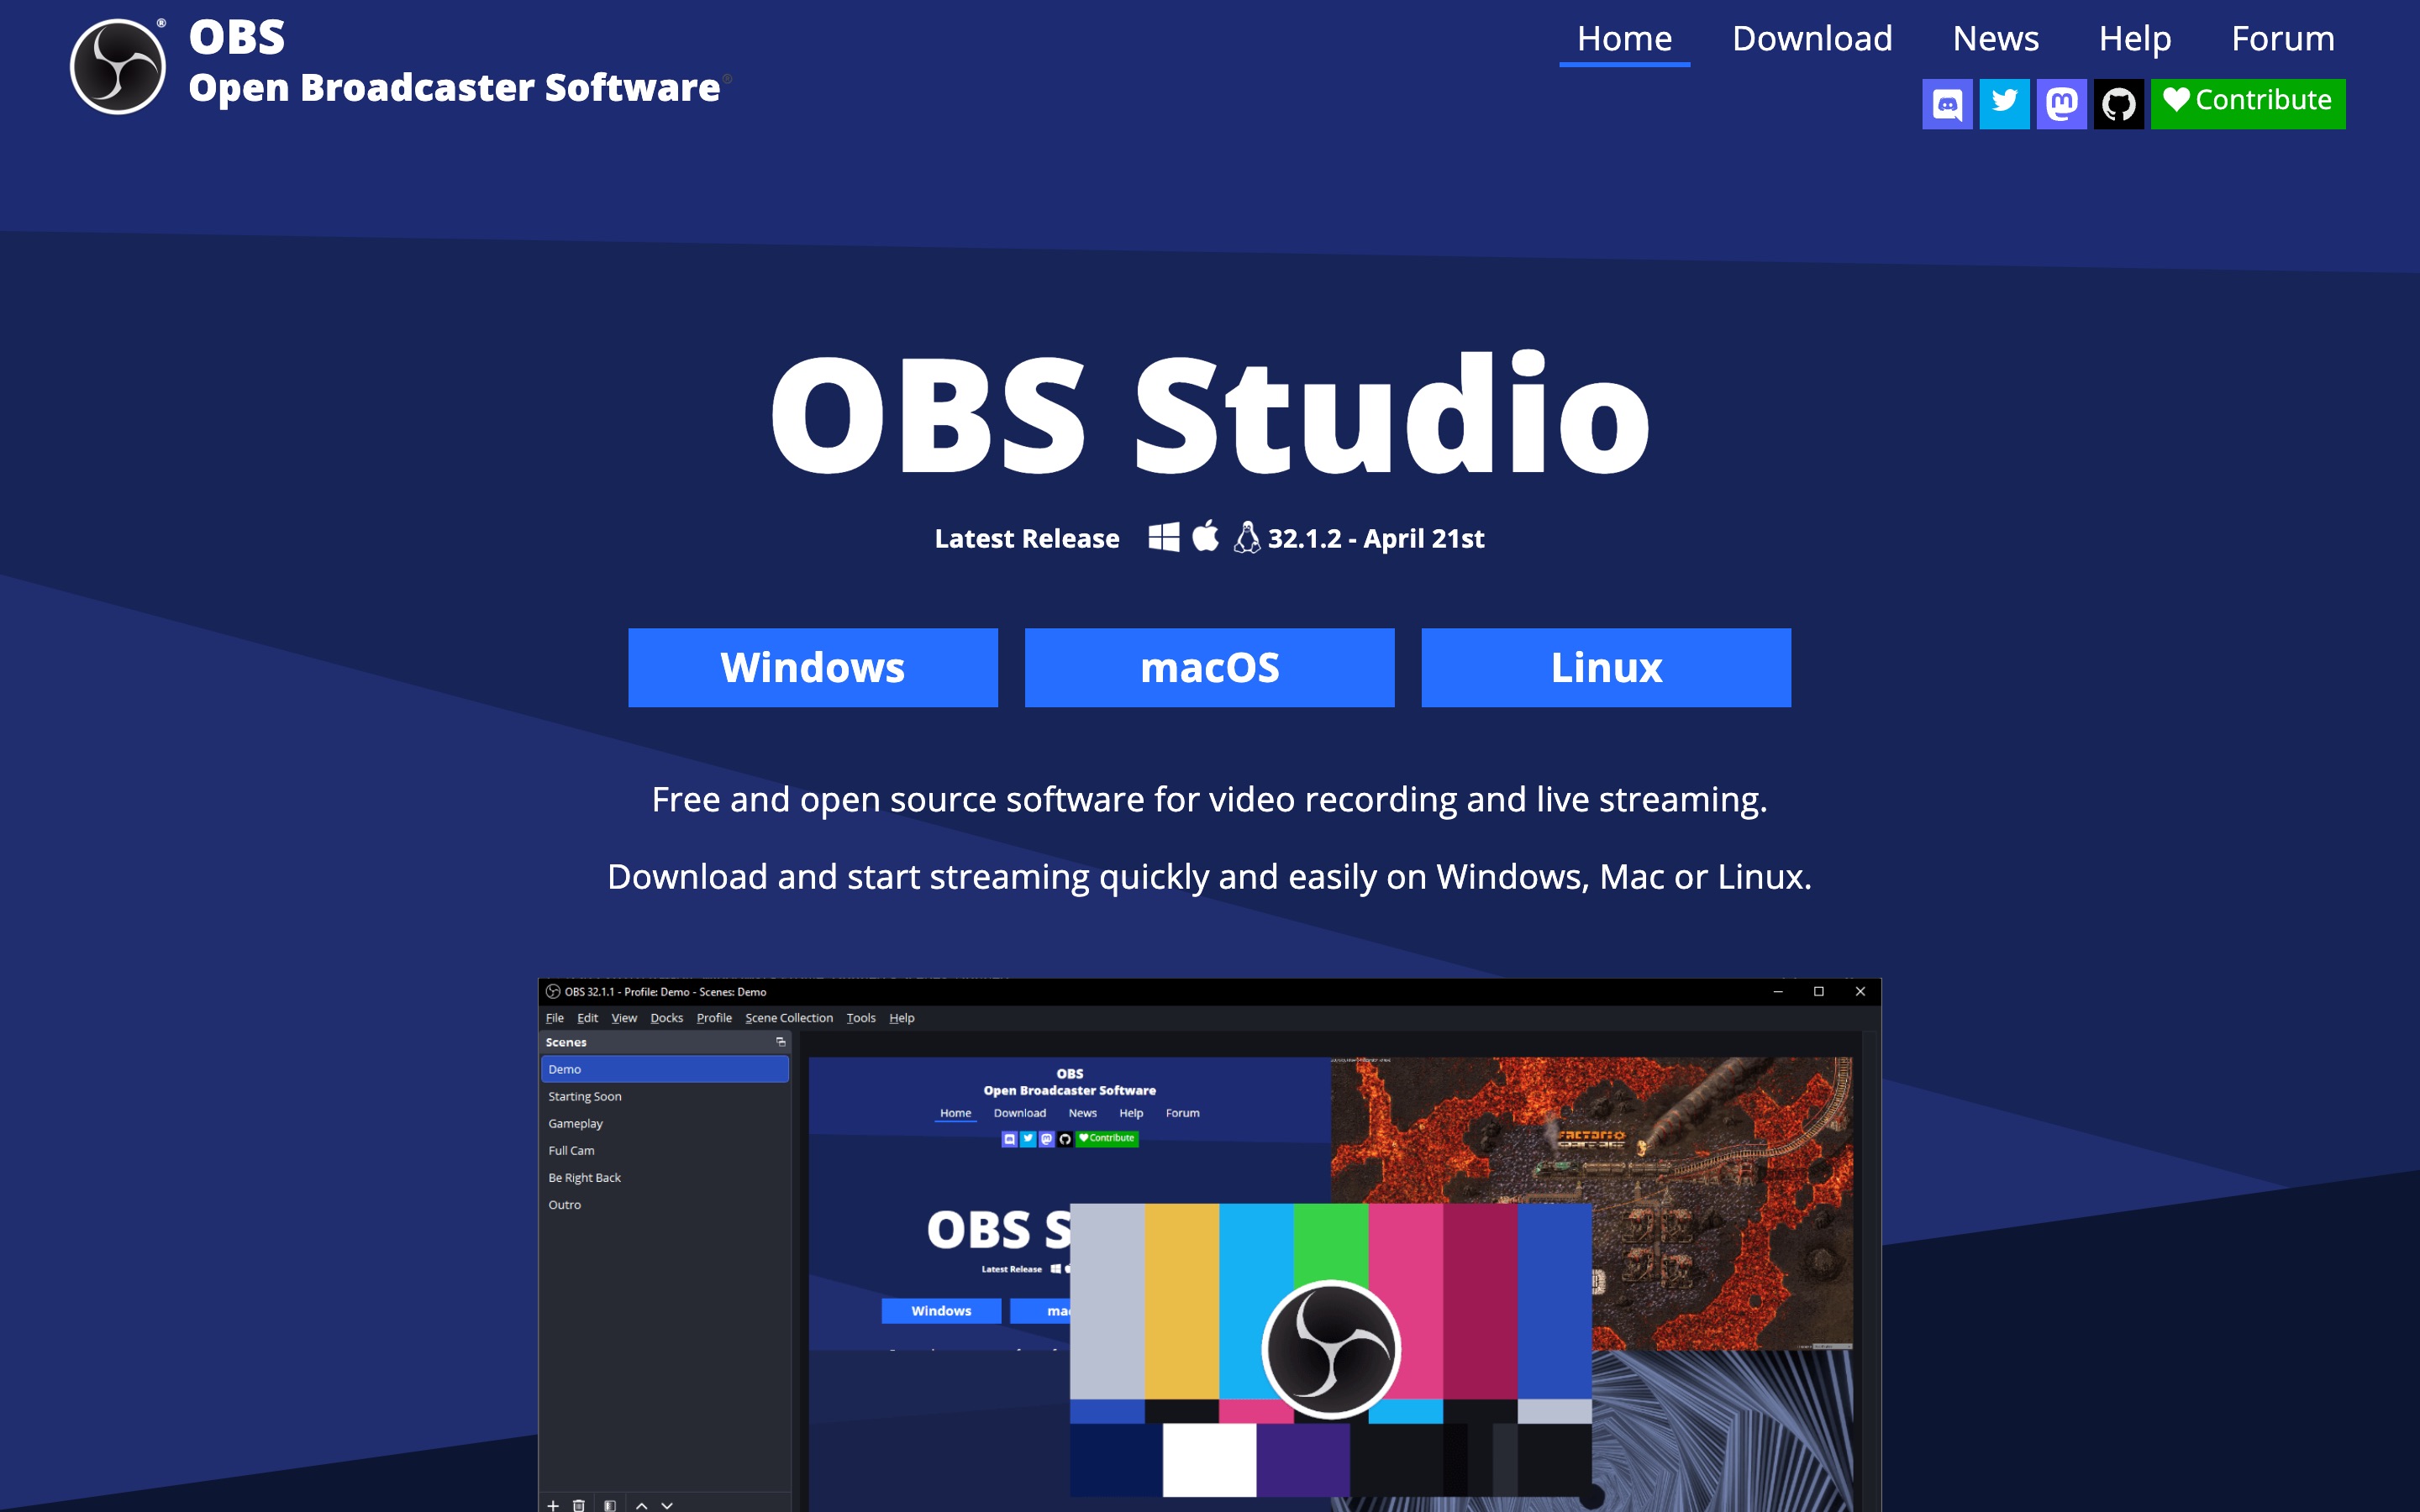
7. OBS Studio — Best Free Option
OBS is the most powerful free screen recorder available, with no watermark, no recording limits, and no upload required. It records locally to high-quality MKV/MP4 files and gives you granular control over every aspect of recording. The trade-off: it has no built-in editor and a steep configuration curve.
Who it's for: Creators who want full control and don't mind setting up scenes and sources manually, or already have a separate video editor (DaVinci Resolve, Final Cut Pro).
Key demo features:
- Free, open source, no watermark, no limits
- Scene-based recording (multiple video/audio sources)
- Full system audio and microphone mixing
- Virtual camera output for live streaming
- Cross-platform (Mac, Windows, Linux)
What it doesn't do: No editing, no auto-zoom, no viewer analytics. Everything happens in a separate tool after recording.
| Details | |
|---|---|
| Platform | macOS, Windows, Linux |
| Price | Free |
| Best for | Creators with existing editors, gaming/streaming, budget-conscious |
| System audio | Yes (requires BlackHole on Mac) |
Feature Comparison
| Feature | Screen Studio | Screen Charm | Loom | Camtasia | ScreenFlow | Vidyard | OBS |
|---|---|---|---|---|---|---|---|
| Auto-zoom | ✅ | ✅ | ❌ | ❌ (manual) | ❌ (manual) | ❌ | ❌ |
| Built-in editor | ✅ | ✅ (simple) | ✅ (basic) | ✅ (advanced) | ✅ (advanced) | ✅ (basic) | ❌ |
| Webcam overlay | ✅ | ✅ | ✅ | ✅ | ✅ | ✅ | ✅ |
| System audio | ✅ | ✅ | ✅ | ✅ | ✅ | ✅ | ✅ (setup req.) |
| Viewer analytics | ❌ | ❌ | ✅ | ❌ | ❌ | ✅ | ❌ |
| CRM integration | ❌ | ❌ | ❌ | ❌ | ❌ | ✅ | ❌ |
| macOS native | ✅ | ✅ | ❌ | Partial | ✅ | ❌ | ❌ |
| Max resolution | 4K | 4K | 4K | 4K | 4K | 1080p | System |
| Price | $29/mo or $108/yr | $79 one-time | Free–$22.50/mo | $179.88/yr | $149 one-time | Free–$59/mo | Free |
How to Choose
Choose Screen Studio if: You want deeper style presets, GIF export, iPhone/iPad recording, and more visual fine-tuning.
Choose Screen Charm if: You're a macOS developer or marketer who needs landing-page-quality demos quickly without a subscription. Auto-zoom, motion blur, background music, and 4K export cover most of the polish without a heavy editing workflow.
Choose Loom if: Speed of sharing matters most. You need a link in 30 seconds after recording, and you want to track whether people actually watched it.
Choose Camtasia if: You need annotations, interactive elements, quizzes, or you're producing complex multi-layer training content. Ideal for enterprise learning & development teams.
Choose ScreenFlow if: You're a Mac-native creator who wants serious editorial control — timelines, chroma key, motion graphics — without leaving macOS.
Choose Vidyard if: You're in B2B sales and want to know exactly which prospects watched your demo, when, and how much — synced to your CRM.
Choose OBS if: Budget is zero and you already have a video editor you love. Free, no limits, full quality.
Ready to start creating polished product demos on your Mac? Screen Charm is purpose-built for this — record, auto-zoom, trim, export, or share a link in minutes. See also: How to Make Product Demo Videos on Mac for a step-by-step production guide and Mac screen recorder for SaaS product demos for SaaS-specific workflows.