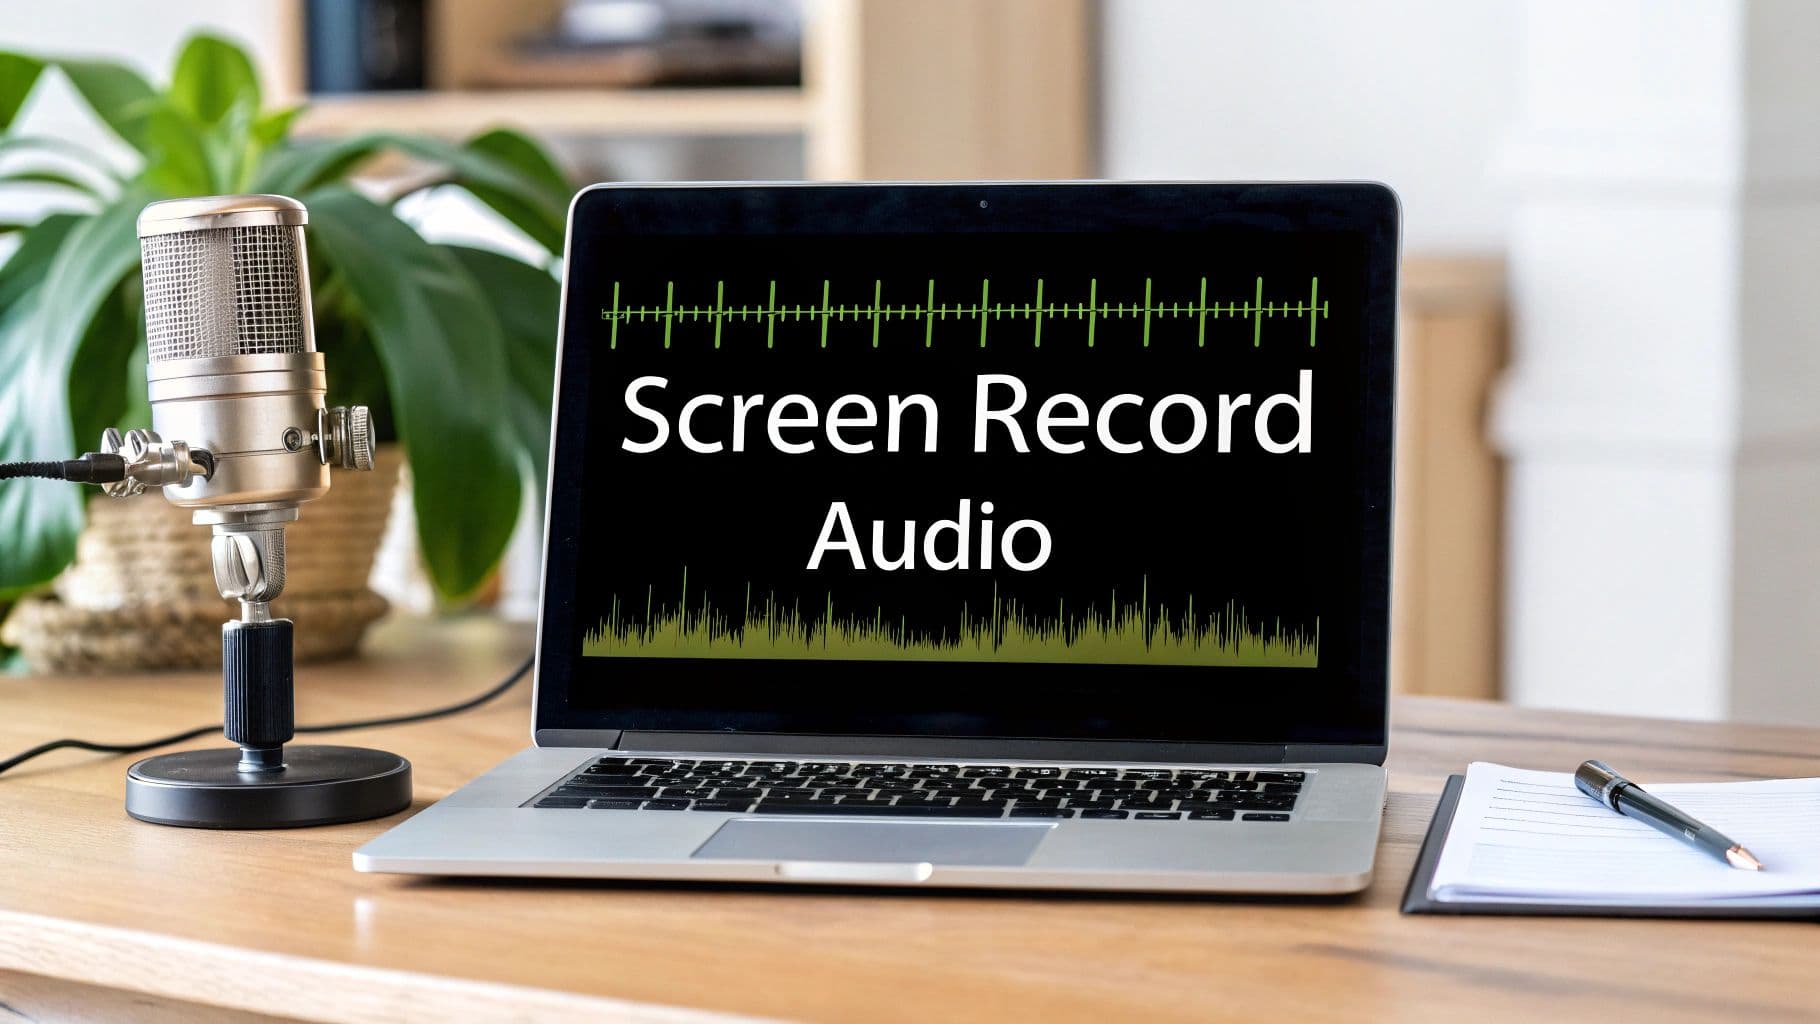
How to Screen Record with Audio on Mac (2026 Guide)
Recording your Mac screen with audio sounds simple — but as you quickly discover, macOS doesn't let apps capture internal sound by default. This guide covers every method: the built-in Screenshot Toolbar, QuickTime + BlackHole, and all-in-one apps like Screen Charm.
Quick Answer
| What you need | Best method |
|---|---|
| Mic only (voice narration) | Screenshot Toolbar (Cmd + Shift + 5) or QuickTime |
| System audio + mic | Screen Charm (built-in driver) or QuickTime + BlackHole |
| Complex multi-source audio | Loopback (pro-grade routing) |
| Free + full control | OBS Studio |
Related guides: How to record internal audio on Mac — Screen recording no sound fix — Record screen and webcam together
Why Recording Audio on Mac Is Tricky
By design, macOS isolates the audio streams from different applications — a security feature that prevents apps from eavesdropping on each other. This means your screen recorder can't "hear" sound playing from another app. To record system audio, you need a virtual audio driver that acts as a bridge, funnelling app sounds into a source your recorder can capture.
You've got two paths:
- All-in-one app (Screen Charm, etc.): Ships with its own audio driver. Install it, grant permissions, record. No configuration.
- QuickTime + BlackHole: Free, built-in tools plus a free virtual driver. Takes 10 minutes to configure once, then just works.
Methods at a Glance
| Method | Mic | System Audio | Ease of Use | Cost |
|---|---|---|---|---|
| Screenshot Toolbar / QuickTime | ✅ | ❌ | Very Easy | Free |
| Screen Charm | ✅ | ✅ | Very Easy | $79 one-time |
| QuickTime + BlackHole | ✅ | ✅ | Moderate | Free |
| OBS Studio | ✅ | ✅ (needs setup) | Difficult | Free |
| Loopback | ✅ | ✅ | Moderate | Paid |
Sponsored by the makers
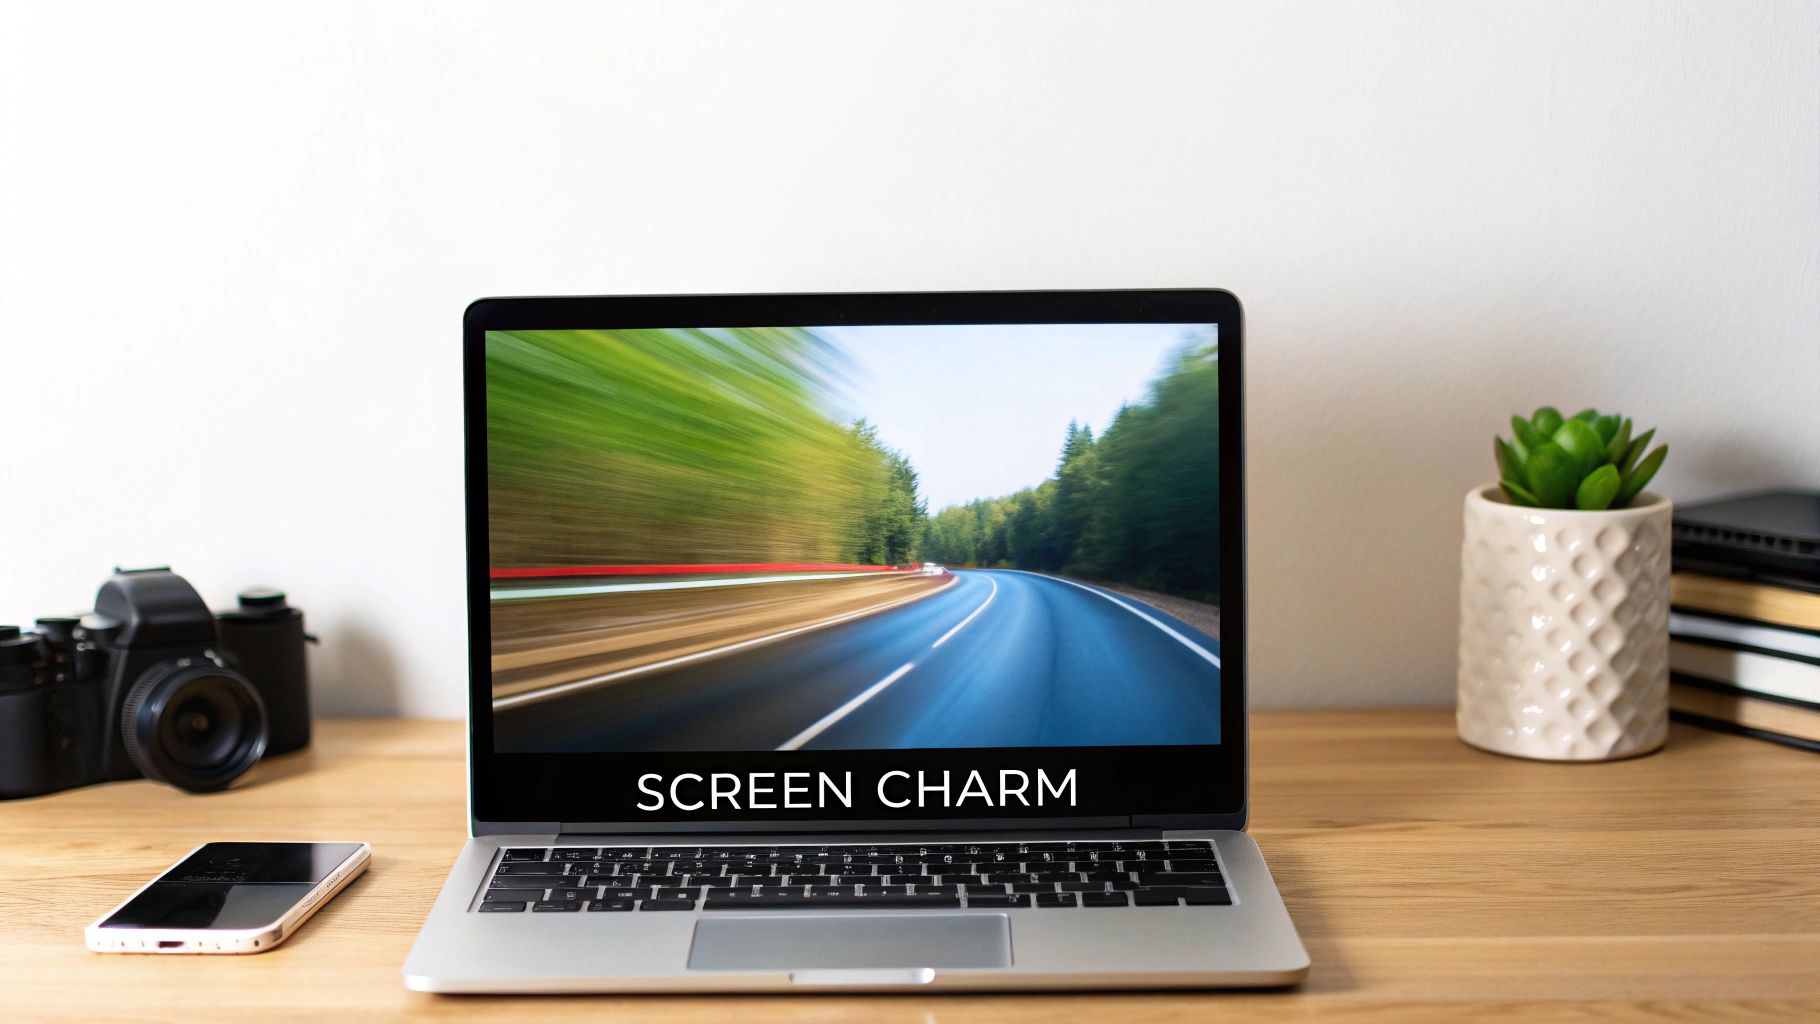
Tired of boring screen recordings?
Try Screen Charm.
Auto-zoom, motion blur, camera overlay, and background music. All built in. Record once, export a polished video.
See what it doesMethod 1: Screenshot Toolbar — Mic Narration Only
The fastest way to start is built into macOS. Press Command + Shift + 5 to open the Screenshot Toolbar — a small control panel that pops up at the bottom of your screen.
How to use it:
- Press
Cmd + Shift + 5 - Click the screen recording icon (full screen or selected area)
- Open Options and select your microphone from the dropdown
- Set a timer (5 or 10 seconds) if you need time to set up
- Click Record
The key limitation: The Screenshot Toolbar and QuickTime Player cannot capture system audio (sounds from apps). You'll get your voice but none of the app sounds. For mic-only narration over a silent demo, it's perfect. For anything that needs app audio, use one of the methods below.
Method 2: Screen Charm — System Audio + Mic in One Click
Screen Charm is a Mac screen recorder that ships with its own audio driver, so it handles all the routing automatically — no Audio MIDI Setup, no virtual device configuration.
Setup (one-time):
- Download and install Screen Charm
- Grant: Screen Recording, Microphone, and Audio Driver permissions in System Settings
- That's it — no additional configuration
Recording:
- Choose: full screen, app window, or selected area
- Select your microphone from the dropdown
- Enable system audio with one toggle
- Add webcam overlay if needed
- Press record
What makes it different:
- Auto-zoom: Automatically follows your cursor and zooms into interface elements — no manual keyframes
- Webcam overlay: Circular or square facecam, repositionable after recording
- Built-in editor: Trim, adjust zoom intensity, reposition webcam bubble, export in 4K
- No watermark, no recording limits
Screen Charm Keyboard Shortcuts
| Action | Shortcut | When to use |
|---|---|---|
| Start / Stop recording | Cmd + Shift + R | Begin or end without clicking |
| Pause / Resume | Cmd + Shift + P | Collect your thoughts mid-demo |
| Mute / Unmute mic | Cmd + Shift + M | Silence yourself briefly without stopping |
Pricing: $79 one-time, lifetime updates, 14-day money-back guarantee — screencharm.com
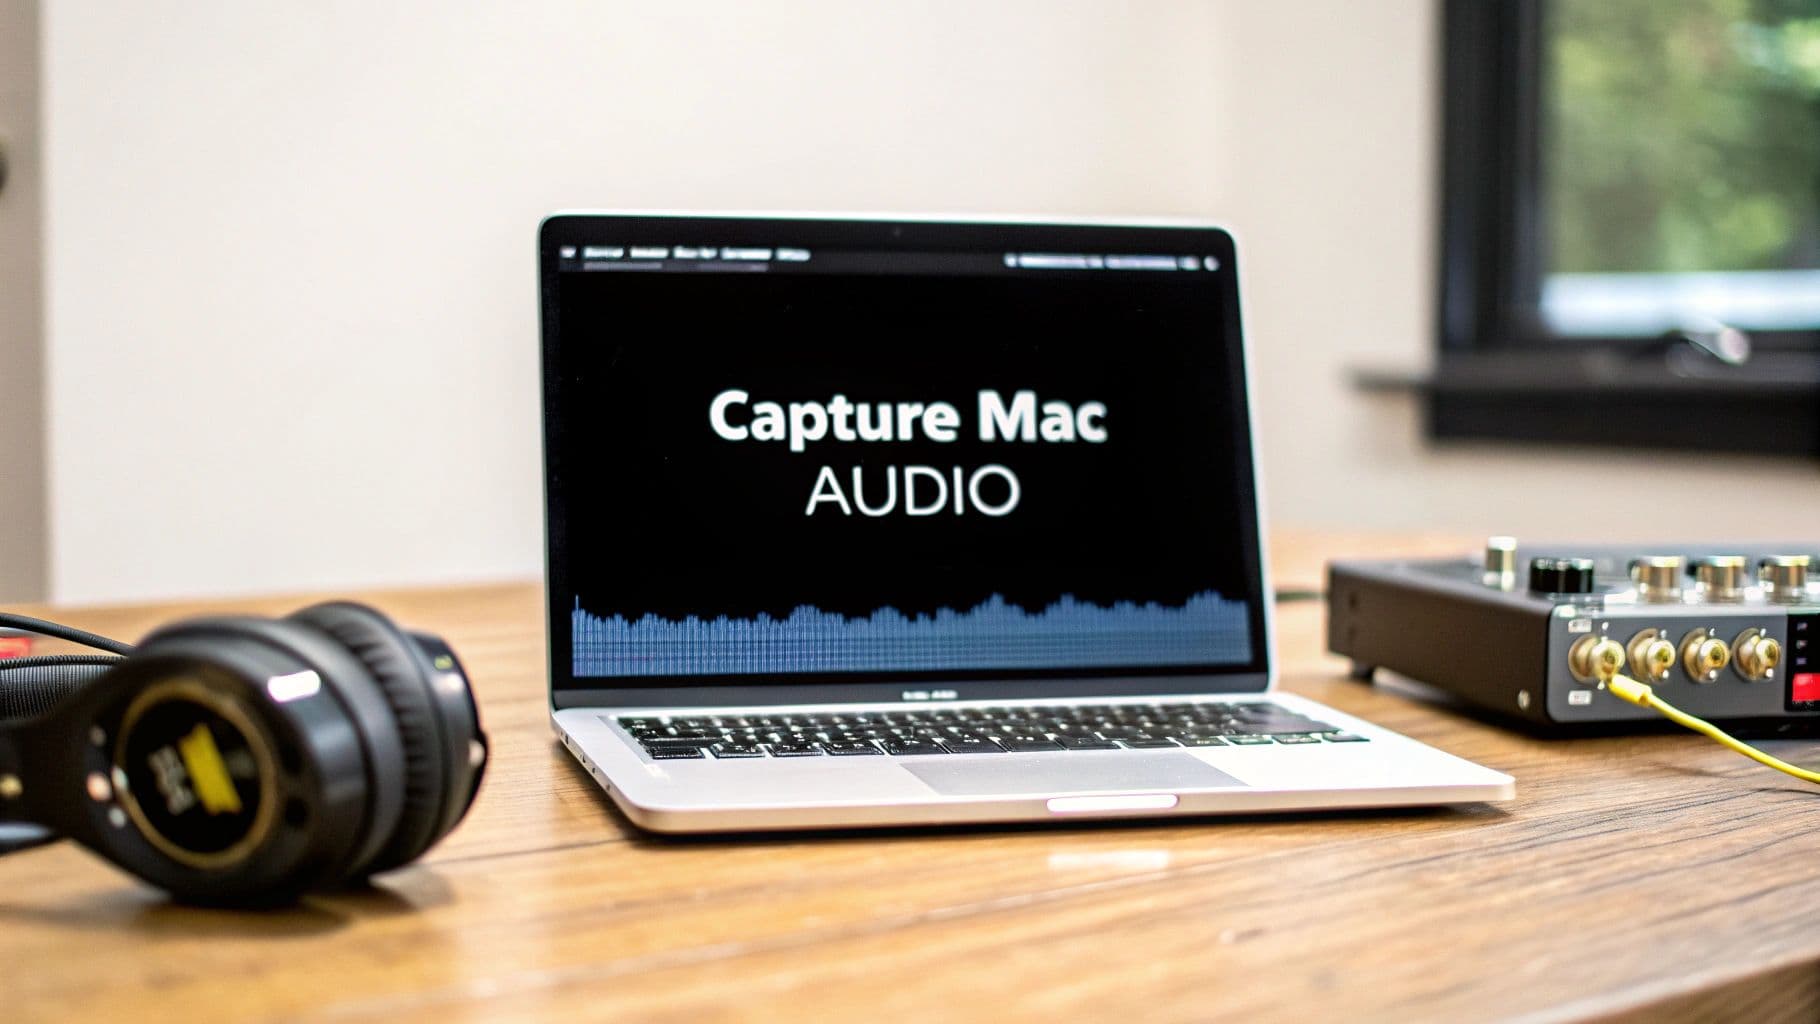
Method 3: QuickTime + BlackHole — Free System Audio
QuickTime Player is already on your Mac. The only missing piece is BlackHole, a free open-source virtual audio driver that creates a digital "cable" between your Mac's output and QuickTime's input.
Step 1 — Install BlackHole:
Download from existential.audio/blackhole or install via Homebrew: brew install blackhole-2ch
Step 2 — Create a Multi-Output Device in Audio MIDI Setup:
- Open Audio MIDI Setup (Applications → Utilities)
- Click + in the bottom-left → Create Multi-Output Device
- Check both your speakers/headphones and BlackHole 2ch
Step 3 — Set it as your default output: Go to System Settings → Sound → Output and select the Multi-Output Device you just created. Now your Mac sends audio to both your speakers and BlackHole simultaneously.
Step 4 — Record in QuickTime:
- Open QuickTime → File → New Screen Recording
- Click the dropdown arrow next to the record button
- Select BlackHole 2ch as the microphone input
- Record
This is a one-time setup. Once configured, QuickTime will always record system audio through BlackHole until you change it back. For a more detailed walkthrough, see our guide on recording internal audio on Mac.
Method 4: Loopback — Advanced Multi-Source Audio Routing
For complex setups — mixing audio from specific apps, a USB mic, and background music into one clean recording — Loopback by Rogue Amoeba is the professional option.
How it works: Create a virtual audio device in Loopback's visual interface and drag in any combination of apps and microphones. Adjust each source's volume independently. The result appears as a single input in any recording app.
Example setup for a product demo:
- USB mic → your voice
- Chrome → app interface sounds
- Spotify → background music at low volume
Loopback isolates audio on a per-app basis, so system alerts from other apps don't bleed in. Once configured, select your Loopback device as the input in Screen Charm or QuickTime.
Choosing Your Microphone
The microphone is the single biggest factor in audio quality. Here's how the main types compare:
| Type | Best For | Pros | Cons |
|---|---|---|---|
| Built-in Mac mic | Quick informal recordings | Zero setup | Picks up background noise, lower quality |
| USB microphone | Tutorials, demos, webinars | Plug-and-play, big quality upgrade | More expensive than built-in |
| XLR microphone | Professional voiceovers, podcasts | Best audio quality | Needs an audio interface, complex setup |
| AirPods | Casual recordings on the go | Convenient, always available | Bluetooth compression, lower clarity |
Recommended starting point: A USB microphone (Blue Yeti, Rode NT-USB+, or Samson Q2U) delivers a significant quality jump over built-in audio at a reasonable price. Place it 6–8 inches from your mouth, slightly to the side to avoid harsh "p" and "b" pops.
Setting input level: Go to System Settings → Sound → Input, select your mic, and aim for the level meter bouncing in the upper-half without hitting red. A starting point of ~75% input volume works for most USB mics.
Tips for Professional-Quality Results
Before you record:
- Enable Do Not Disturb (
Focus → Do Not Disturbin Control Centre) - Close unnecessary apps to reduce system load
- Clean up your desktop — anything visible in the recording reflects on you
- Do a 30-second test recording and play it back — check framing, audio levels, and that system audio is captured
Recording environment:
- Soft furnishings (carpet, curtains, bookshelves) absorb echo — hard empty rooms amplify it
- A walk-in wardrobe makes a surprisingly good recording booth
- Close the door; background sounds (HVAC, traffic) are more audible in recordings than in person
Export settings for most use cases:
- Format: MP4
- Video codec: H.264 (universal compatibility)
- Audio codec: AAC
- Resolution: 1080p (1920×1080) for tutorials and YouTube
- Frame rate: 30 fps standard, 60 fps if recording fast motion
Troubleshooting
Mac won't capture microphone audio
Check permissions first: System Settings → Privacy & Security → Microphone — find your recording app and toggle it on. After a macOS update, these permissions sometimes reset. If the app doesn't appear in the list, open it and try recording once to trigger the permission prompt.
Also check System Settings → Sound → Input — confirm your mic is selected and the input level meter responds when you speak.
Echo or background noise in recording
Echo happens when your microphone picks up sound from your speakers — creating a feedback loop. Fix it by:
- Using headphones instead of speakers while recording
- Moving your mic closer to your mouth and lowering the input gain
- Recording in a room with soft surfaces
If you're using BlackHole, double-check your Multi-Output Device setup — if the routing is wrong, you can get a doubled audio signal.
Audio out of sync with video
Sync drift usually means your Mac is under heavy load. Try:
- Closing background apps (especially browsers with many tabs)
- Lowering recording resolution to 1080p if you were using 4K
- Restarting your Mac before a long recording session
Screen Charm handles sync natively — if you're seeing drift there, check that your audio driver is fully installed (Screen Settings → reinstall audio driver).
Audio recorded but sounds silent on playback
If you used the Screenshot Toolbar or QuickTime without a virtual audio driver, system audio won't be in the recording — only your mic if you selected one. Re-record using Screen Charm or QuickTime + BlackHole for system audio.
Frequently Asked Questions
Why can't QuickTime record Mac system audio?
It's an intentional macOS privacy feature — apps can't listen to each other's audio streams by default. You need a virtual audio driver (BlackHole, Soundflower, Loopback) to create a bridge, or use an all-in-one app like Screen Charm that ships with its own driver.
What are the best export settings for YouTube or demos?
MP4 with H.264 video and AAC audio at 1080p / 30fps covers almost every use case. Jump to 4K if your UI has fine detail (dense code, small typography) or if you're recording on a Retina display and want pixel-perfect output.
My audio level is too quiet — what should I fix first?
Move your microphone physically closer before touching any software gain settings. 6–8 inches is a good starting distance. Then check System Settings → Sound → Input and raise the input volume slider. Avoid cranking digital gain above 100% — it adds noise without adding clarity.
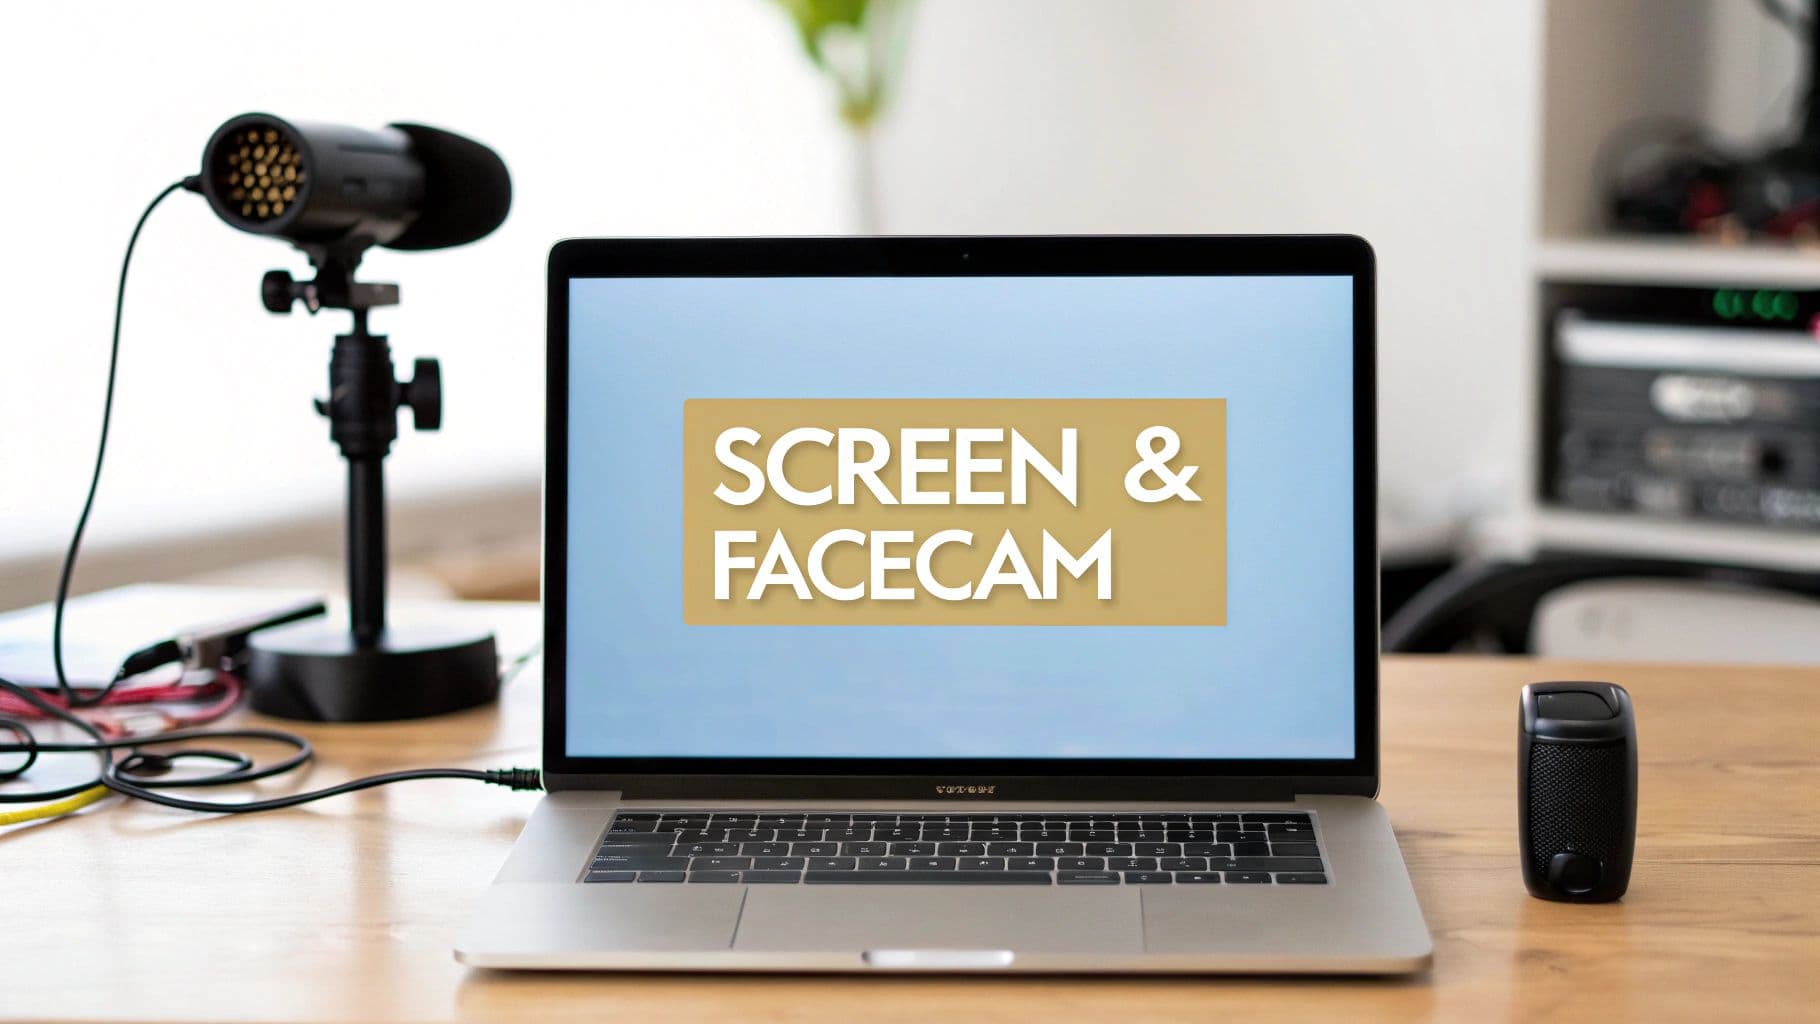
Can I record my screen with audio and webcam at the same time?
Yes. Screen Charm records all three simultaneously with a single click. See our screen and webcam recording guide for a full walkthrough including OBS and free options.
What's the best free way to screen record with system audio on Mac?
QuickTime + BlackHole is the best free combination. One-time setup, no watermark, no recording limits. For instructions, see the capture internal audio on Mac guide. OBS Studio is another fully free option with more control but a steeper setup.
Ready to skip the configuration and record your screen, mic, and system audio in one click? Screen Charm handles all the audio routing automatically. For a broader comparison of Mac screen recorders, see best screen recording software for Mac.