Crafting a truly great tutorial video comes down to three things: a solid plan, a clean recording, and thoughtful editing. If you're on a Mac, you're in luck. Tools like Screen Charm are designed specifically for the macOS ecosystem, blending the recording and editing steps into one seamless workflow. This makes creating professional-looking content surprisingly efficient.
Your Guide To Creating Great Tutorial Videos on macOS
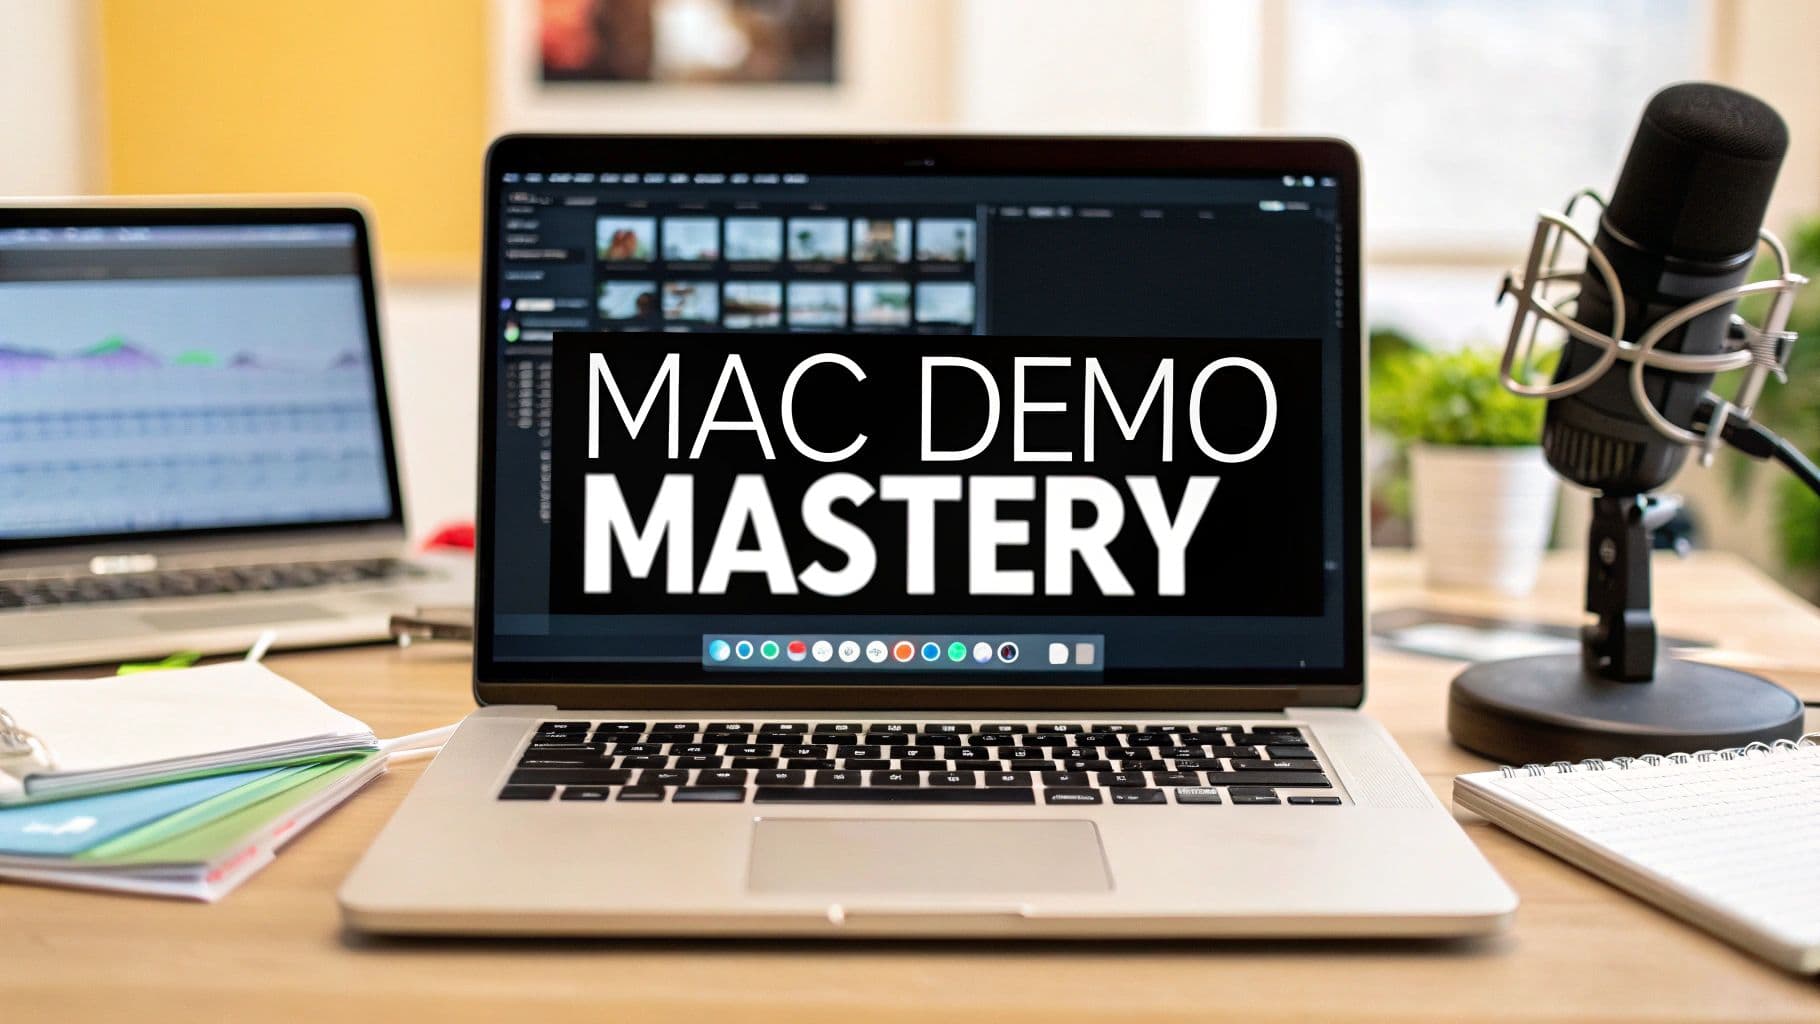
So, you want to make a tutorial video on your Mac? You've come to the right place. In an era where viewers expect high-quality, valuable content, knowing how to teach effectively on screen is a game-changer. This guide isn't about generic tips; it’s a hands-on walkthrough for macOS users. We'll dive deep into a modern workflow using Screen Charm, an app built from the ground up for Mac.
We're going to cover the entire journey. We'll start with brainstorming and scripting, move into the nitty-gritty of recording your screen and voice on macOS, and finish with editing techniques that give your video that professional shine. My goal is to give you practical, real-world advice you can use immediately. Whether you're creating a software demo for your team, a product showcase, or a full-blown online course, you'll find what you need here.
To give you a bird's-eye view, here's a quick summary of the journey we're about to take.
Key Stages of Tutorial Video Production
This table outlines the essential phases involved in creating a high-quality tutorial video on your Mac, from the initial concept all the way through to the final, polished product.
| Phase | Objective | Key Activity |
|---|---|---|
| Planning | Lay a strong foundation for the video. | Define the audience, set clear learning goals, and create a script or outline. |
| Recording | Capture high-quality video and audio on your Mac. | Record your screen, camera, and microphone using reliable macOS software. |
| Editing | Refine the raw footage into a polished video. | Cut mistakes, add effects, adjust audio, and create a cohesive narrative. |
| Exporting | Prepare the final video for its destination. | Choose the right format, resolution, and compression settings for sharing. |
As you can see, a successful video is much more than just hitting "record." Each stage builds on the last, ensuring the final output is clear, engaging, and effective.
The Foundation of a Great Tutorial
Before you even think about opening a recording app on your Mac, the real work begins. I can't stress this enough: a successful tutorial is built on a rock-solid plan. It's tempting to just jump in and start recording, but without understanding your audience and defining your goals, even the slickest video will likely fall flat.
This planning phase is where you make the most important decisions. It's where you decide what language to use, what examples to show, and what you want your viewer to walk away knowing.
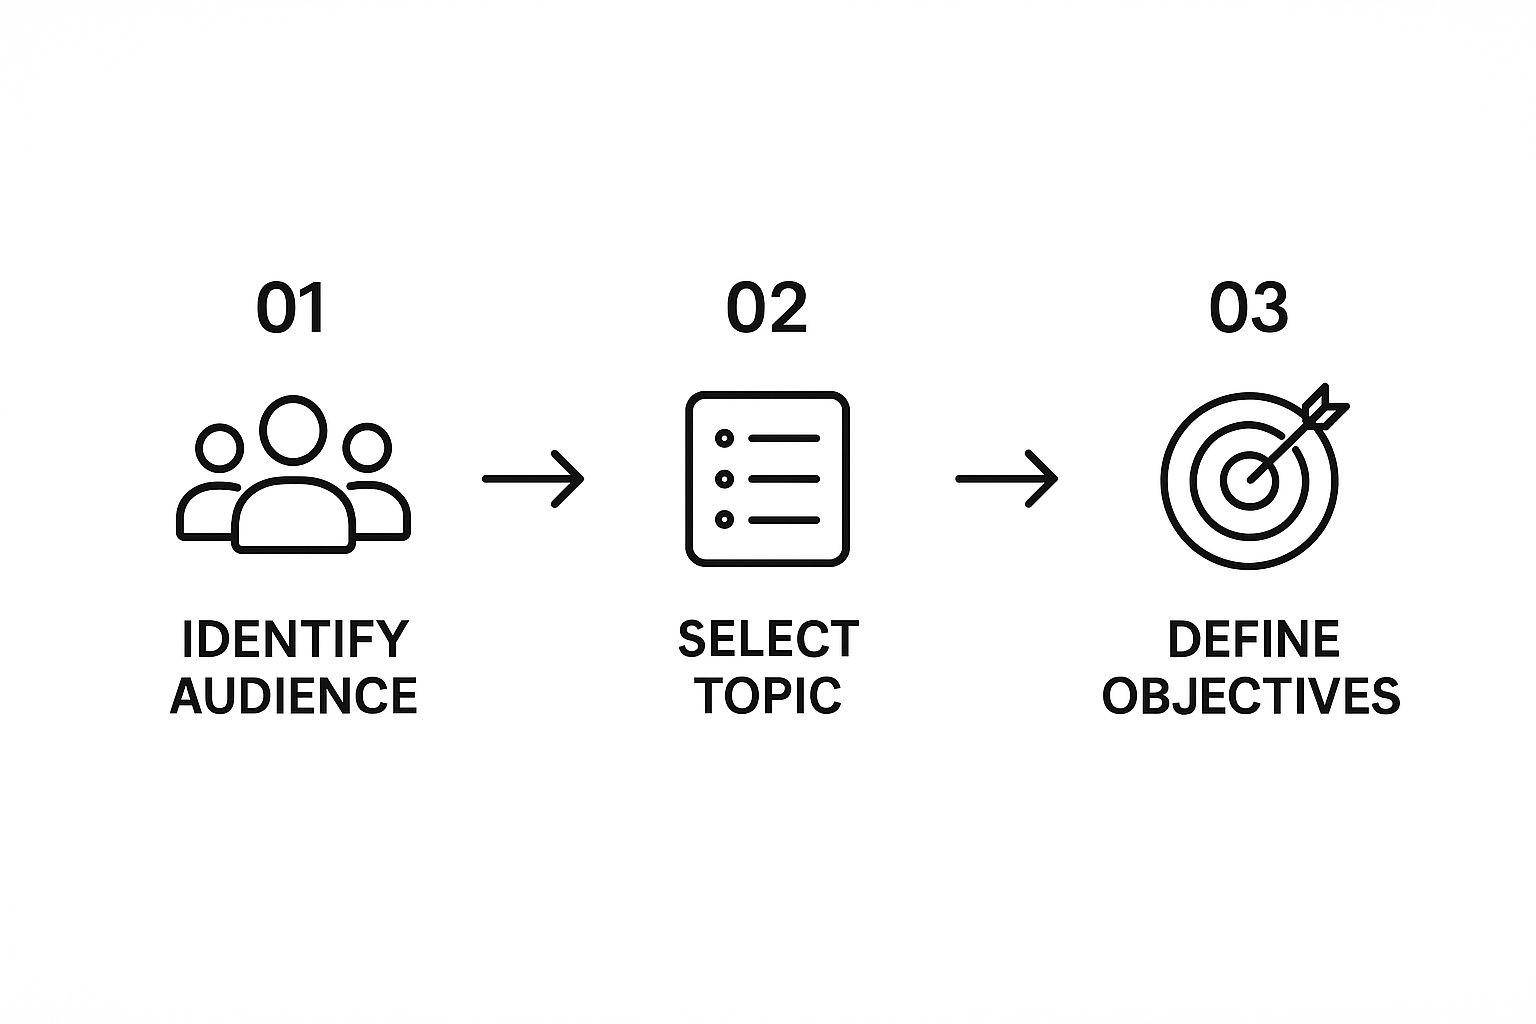
The graphic above really nails the flow. It all starts with your audience. Once you know who you're talking to, you can choose a topic and set specific, achievable learning objectives for them.
The core idea is simple: You can't teach effectively if you don't know who you're teaching and what you want them to learn. A clear objective acts as your North Star throughout the entire production process.
Why Create Tutorials In-House
There's a major trend right now toward creating educational and training content internally, and for good reason. Companies are realizing that bringing video production in-house gives them more speed, control, and authenticity—all while saving a ton of money compared to hiring outside agencies.
The numbers back this up. A recent study found that 71% of businesses now create their videos internally, a big jump from 63% the previous year. This shift is driven by a few key factors:
- Cost-effectiveness: It’s simply cheaper than outsourcing.
- Better Tools: User-friendly software for macOS has made production more accessible.
- Speed: In-house teams can produce content much faster.
In fact, with these efficiencies, over 40% of businesses are now producing at least one new video every single week. If you're curious, you can learn more about these video production trends and statistics.
Sponsored by the makers
Tired of boring screen recordings?
Try Screen Charm.
Auto-zoom, motion blur, camera overlay, and background music. All built in. Record once, export a polished video.
See what it doesPlanning Your Tutorial for Maximum Impact

Before you even think about hitting that record button on your Mac, the real work begins. I can't stress this enough: a solid plan is what separates a sharp, professional tutorial from one that feels rambling and amateur. This is where you map out the entire viewer journey, making sure every moment is packed with value.
Think of it as building a house. You wouldn't just start throwing up walls, right? You'd start with a blueprint. That’s what this planning stage is—it's your blueprint for a great tutorial, turning a fuzzy idea into a clear path that leads your viewer from their problem to your solution.
Know Your Audience and Their Pain Point
First things first, get crystal clear on who you're talking to. "Anyone who wants to learn design" is way too broad. Instead, drill down to something specific, like "junior web developers on macOS who get tripped up creating responsive layouts." That level of detail changes everything—your tone, the examples you use, and the language you choose.
Once you know who you're helping, you need to identify the exact problem they're facing. What specific frustration will your tutorial solve? A vague goal like "teaching CSS" isn't nearly as compelling as "showing how to build a responsive navigation bar from scratch using Flexbox." Trust me, a video that solves a specific, nagging problem is a video people will actually watch and share.
Set a Single, Clear Learning Goal
With your audience and problem defined, you need to set one—and only one—primary learning objective. This is the single most important thing you want your viewer to be able to do by the end of your video. It becomes the filter for every decision you make from here on out.
Your learning objective is your North Star. If a piece of information, a visual gag, or a technical tangent doesn't directly support this one objective, it doesn't belong in your video. Keep it focused.
This singular focus is your best defense against scope creep. It keeps your tutorial tight, concise, and impactful. The aim is to give your viewer a quick win that builds their confidence and makes them trust you as an expert.
Outline and Script Your Content
Now it's time to turn that objective into a structured outline. This doesn't need to be a formal, multi-page document; a simple list of talking points in your Mac's Notes app can work just fine. A huge part of planning a great tutorial is coming up with a strong core idea, and you can explore effective ideation techniques to make sure your concept really lands.
I’ve found this simple structure works wonders for tutorials:
- The Hook: Kick things off by stating the problem you're solving. This grabs their attention immediately.
- The "Why": Briefly explain why this skill matters.
- The Walkthrough: This is the meat of your video. Break down the solution into logical, bite-sized steps.
- The Recap: Quickly summarize the key takeaways.
- The Call to Action: Tell the viewer what to do next (like, subscribe, or try it themselves).
Once your outline feels right, write a script. Even if you plan to go off-the-cuff, having a script ensures you don't forget crucial points and helps you sound more polished. A pro tip for Mac users: read it out loud. You'll immediately catch any awkward phrasing and can adjust it to sound more like a natural conversation. For those building a full series, our guide on online course video production offers a deeper dive into structuring your content.
This prep work is more important than ever, especially with the rise of microlearning—a style focused on short, targeted lessons. Viewers today often prefer quick tutorials over long, drawn-out lectures, which is why preparing a tight script is key to success on your Mac.
Pre-Production Checklist
Run through this before recording. Each item that gets skipped tends to show up as a re-take later.
| Phase | Key Task | Why It Matters | macOS Tool |
|---|---|---|---|
| Concept | Define the single thing viewers will learn | Prevents scope creep and rambling | Notes or Freeform |
| Scripting | Write a conversational script | Removes filler words and awkward pauses | Pages or Notes |
| Scripting | Time the script (~150 words/min) | Keeps the video under the 5-10 min sweet spot | Pages (Word Count) |
| Visuals | Create a simple storyboard | Aligns narration with on-screen actions | Freeform or Keynote |
| Review | Read the script aloud | Catches unnatural phrasing before recording | Just your voice |
| Environment | Close non-essential apps, enable Do Not Disturb | No pop-ups or background noise mid-take | System Settings |
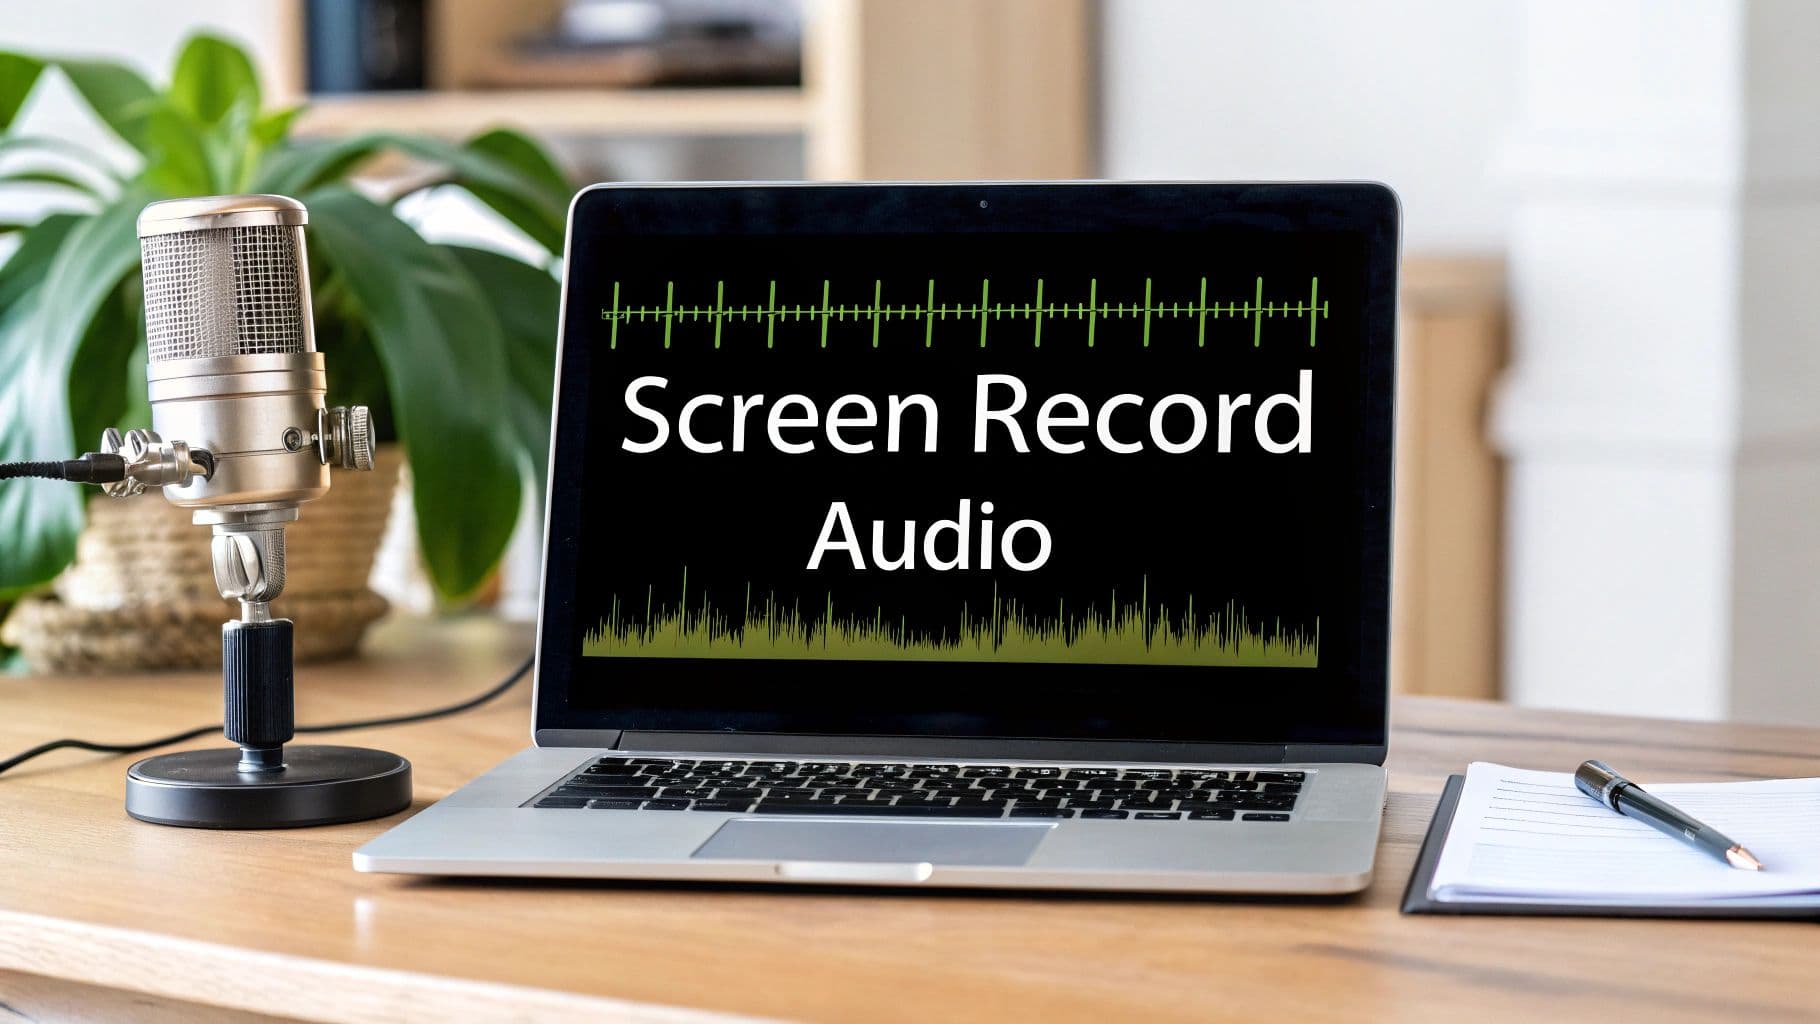
Mastering Your Recording Workflow on macOS

With a solid plan in your pocket, it's time to hit record. This is where your tutorial really comes to life, turning that outline into actual, tangible footage. For those of us on macOS, the whole process can be surprisingly smooth if you've got the right tools and a few good habits.
Let's dive into the practical steps of capturing your screen and camera with Screen Charm. We'll go from the basic setup all the way to the pro features that will make your tutorial pop. The goal here is simple: record with confidence, knowing you're capturing crisp video and clean audio right from the get-go on your Mac.
Setting the Stage for a Clean Recording
Before you even think about clicking "record," take a few minutes to set up your environment. This is the foundation of a professional-looking tutorial. Shoddy audio or a blurry screen can immediately turn viewers off and hurt your credibility, so this initial setup is time well spent.
First up, audio. Your Mac’s built-in microphone is decent for a quick call, but for a tutorial, it’s a no-go. An external USB microphone is the single biggest upgrade you can make to your production value. Seriously. Position it about 6-8 inches from your mouth to get that rich, clear sound without any harsh plosives (those poppy "p" sounds).
Next, think about your space. Find a quiet room, away from humming refrigerators or street traffic. Soft furnishings are your best friend here—things like carpets, curtains, or even just a few pillows strategically placed can absorb sound and kill that echo, giving your audio a much cleaner, studio-like quality.
Recording Environment: What to Avoid vs. What to Do
| Element | Poorly Prepared (Avoid) | Optimised for Recording (Do This) |
|---|---|---|
| Desktop | Cluttered with personal files | Clear, only relevant files visible |
| Wallpaper | Busy personal photo | Neutral solid colour or use Screen Charm virtual background |
| Notifications | Left on — email and message pop-ups | Disabled via Focus / Do Not Disturb |
| Apps running | Multiple background apps open | Only the apps needed for the tutorial |
| Narrative | Unplanned — winging it | Script or bullet-point outline is ready |
Configuring Your Screen and Camera
Once your physical space is sorted, it's time to set up your digital one. The visual clarity of your tutorial hinges on your recording resolution. For that sharp, professional look you see on platforms like YouTube, you'll want to record in 1920x1080 (1080p). Inside Screen Charm, you can easily set a custom recording area to these exact dimensions, guaranteeing your final video is crisp and pixel-perfect.
Putting your face on camera is a fantastic way to build a real connection with your audience. Screen Charm makes this easy by letting you record your webcam at the same time for a picture-in-picture effect. Before you start, run through this quick checklist:
- Check Your Lighting: Always face your light source, like a window or a soft lamp. If the brightest light is behind you, you’ll end up as a dark silhouette.
- Position Your Camera: Get your webcam to eye level. Stacking it on a few books works wonders. This creates a much more natural and engaging perspective, like you're talking directly to the viewer.
- Choose a Background: A clean, uncluttered background is best. If your office is a bit chaotic, use Screen Charm’s virtual background feature to keep things looking professional.
A great tutorial feels like a one-on-one conversation. By showing your face and ensuring your audio is pristine, you create a personal connection that makes your teaching more effective and memorable.
Screen Charm Settings by Tutorial Type
Pick the right recording setup before you start — it saves significant re-recording time:
| Tutorial Type | Recording Area | Audio Source | Best For |
|---|---|---|---|
| Software walkthrough | App window only | External USB mic | Single-app demos without desktop distractions |
| Complex workflow | Full screen | External USB mic | Processes that span multiple apps or Finder windows |
| Feature highlight | Custom region | External USB mic | Zooming in on a specific button, menu, or UI element |
| Quick tip (no narration) | Custom region | None | Short silent clips or GIFs for social/docs |
Using Pro Features to Guide Your Viewer
This is where you can really elevate your tutorial from a basic screen capture to a guided learning experience. Screen Charm is packed with features designed to direct your viewer's attention and make complex steps crystal clear, all in real time. To help prep your script or notes, consider utilizing speech-to-text on your Mac; it can be a huge timesaver.
As you're recording, make these tools your go-to allies:
- Cursor Highlighting: Make your cursor impossible to miss. By changing its size and color, you can guide your viewer's eyes exactly where they need to look.
- Keystroke Display: Demonstrating keyboard shortcuts? This feature is a game-changer. It shows the keys you're pressing right on the screen, providing instant visual confirmation of your actions.
- Live Annotations: Use the drawing tools on the fly to circle important buttons, underline text, or draw arrows. It’s far more engaging than just saying, "now click this button over here."
Having all these features built into one app is a huge plus for Mac users. If you're curious about how different tools stack up, check out our breakdown of the best screen recording and editing software. By mastering these live features, you can maintain a steady, confident speaking pace because you’re visually reinforcing your points without ever breaking the flow.
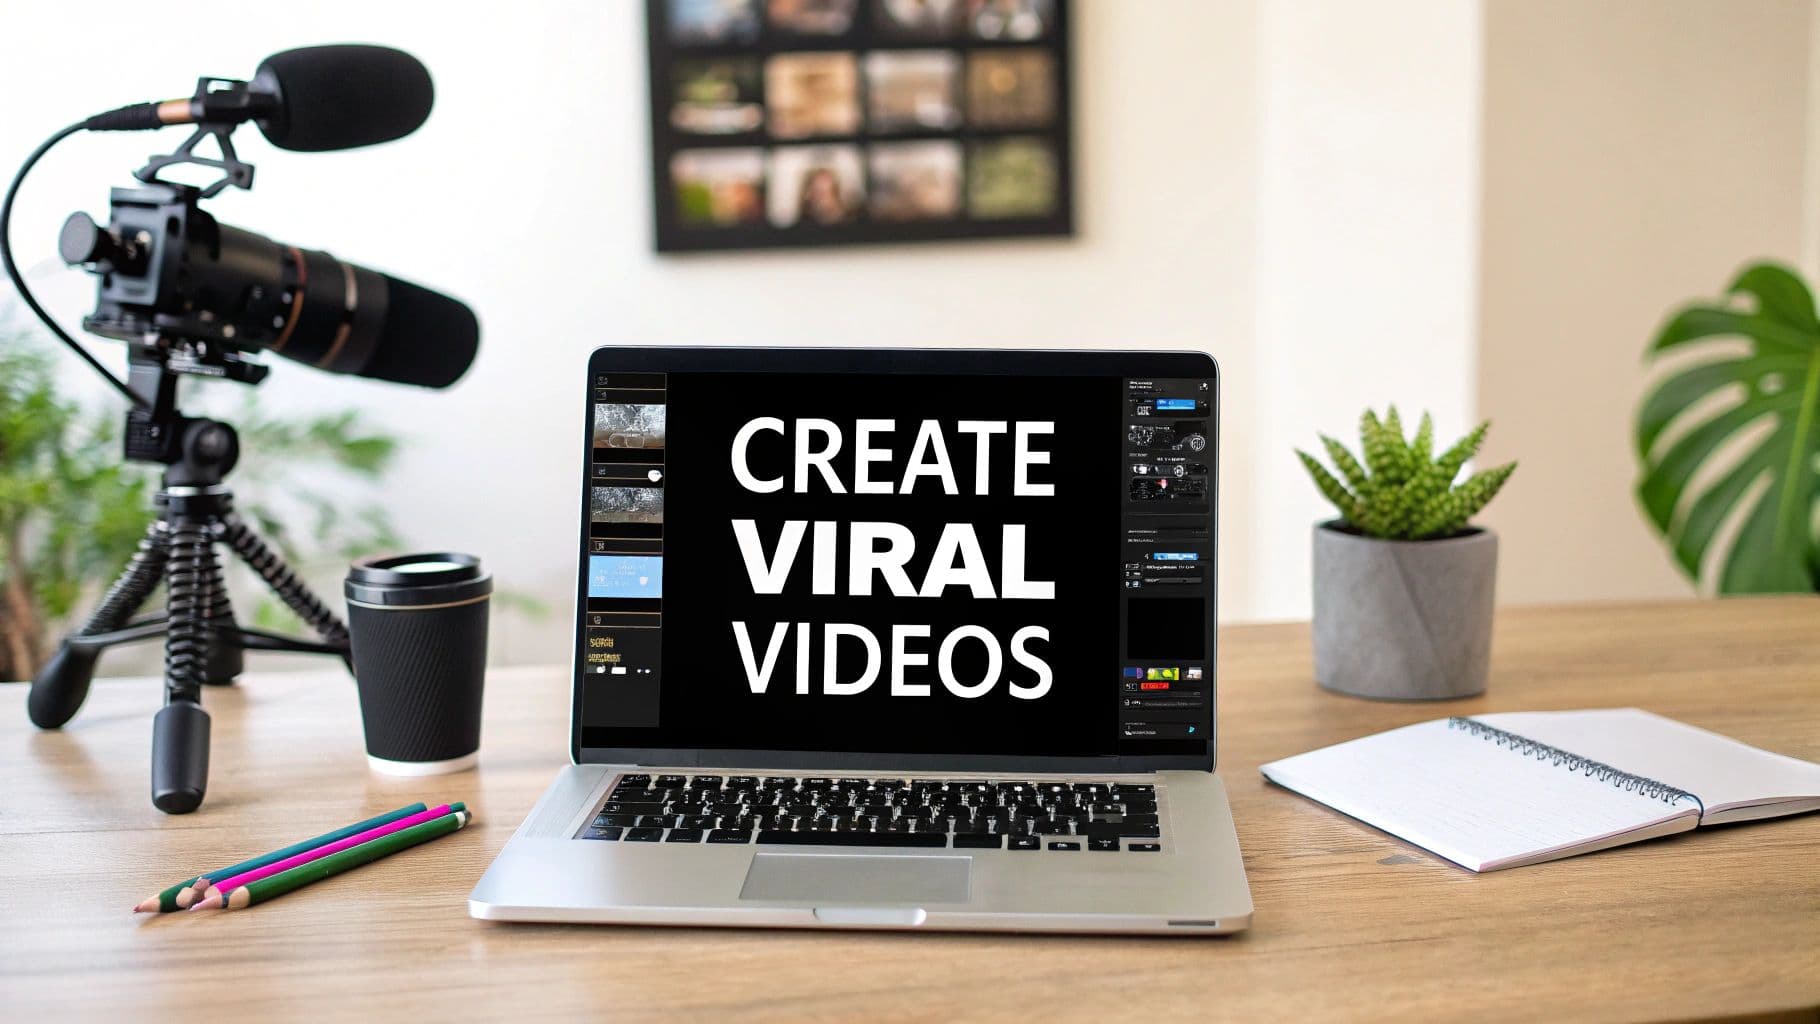
Editing Your Video for a Professional Finish
Alright, you've got your raw footage. It's probably filled with a few pauses, some "ums," and maybe a couple of misclicks. That's perfectly normal. Now comes the fun part: turning that rough cut into a polished, professional tutorial that people will actually want to watch.
Good editing is more than just snipping out the mistakes; it’s about storytelling. You’re crafting a clear path for your viewer, making complex ideas simple, and building trust with a high-quality presentation. For macOS users, Screen Charm keeps this entire process under one roof, so you can go from raw recording to finished product without ever switching apps.
Assembling Your Timeline and Trimming the Fat
First things first, get your clips onto the timeline in the right sequence. The most impactful thing you can do right away is trim the fat. Hunt down and eliminate every long pause, verbal stumble, and moment you got stuck.
In Screen Charm's editor, you just drag the ends of a clip to tighten it up. Be ruthless here. A tight, fast-paced video feels energetic and shows you respect your viewer's time. It’s a small detail that has a huge impact on how professional your tutorial feels.
Polishing Your Audio for Maximum Clarity
Here's a hard truth: if your audio is bad, people will click away. It doesn't matter how great your visuals are. Even with a decent mic, a little post-production work is non-negotiable.
Screen Charm gives you the tools you need to make your voice crisp and clear:
- Noise Reduction: Got a computer fan humming or an AC unit in the background? This filter zaps those persistent noises right out.
- Volume Balancing: Use the normalization feature to even out your audio levels. No more sudden shouts or quiet mumbles—just a consistent, easy-to-hear voiceover.
Want to add another layer of polish? A little background music can work wonders. Find a royalty-free instrumental track and keep the volume low. It should support your voice, never compete with it.
A common mistake is setting background music too loud. A good rule of thumb is to set the volume, then lower it by another 30%. Your voice must always be the star of the show.
Adding Visuals to Reinforce Key Information
Don't just tell your viewers what to do—show them. Visual aids like text overlays, callouts, and arrows are your best friends for creating an easy-to-follow tutorial.
Timing is everything. A text box with a keyboard shortcut should pop up the exact moment you say it. Screen Charm's editor lets you add and customize these graphics right on the timeline, syncing them perfectly with your audio. If you’re just getting started with these techniques, looking at some of the best video editing software for beginners can give you a great overview of foundational concepts.
Another pro-level touch is adding captions. It makes your content accessible to viewers with hearing impairments and anyone watching with the sound off. A great starting point is this guide on transcribing audio to text.
To help you visualize how these features work together, here’s a quick-reference table for common editing tasks in Screen Charm on macOS.
Essential Editing Techniques in Screen Charm
| Editing Goal | Screen Charm Feature | Pro Tip |
|---|---|---|
| Remove mistakes and pauses | Clip Trimming | Be aggressive with your cuts. Shorter videos with higher energy perform better. |
| Highlight a specific button | Callout or Shape Tool | Use a consistent color and style for all your callouts to maintain a clean look. |
| Emphasize a keyboard shortcut | Text Overlay | Animate the text to appear and disappear in sync with your voiceover. |
| Make audio clear and consistent | Noise Reduction & Normalization | Always edit audio with headphones on to catch subtle imperfections. |
| Focus viewer attention | Zoom & Pan | Use smooth, slow zooms. Abrupt movements can be jarring for the viewer. |
| Add professional polish | Background Music | Keep the music volume between -18dB and -22dB to ensure it stays in the background. |
These core techniques are the building blocks of a great tutorial. Master them, and you'll be well on your way to creating content that looks and sounds amazing.
Directing Attention with Zoom and Pan Effects
One of the most powerful tools in your arsenal is the zoom and pan effect. This is where Screen Charm truly shines for Mac users. Instead of showing your entire screen all the time, you can dynamically zoom in to guide your viewer’s eyes exactly where they need to go.
Screen Charm cleverly tracks your cursor during recording to suggest these zooms automatically. But the real power is in the editor, where you can fine-tune everything—the timing, smoothness, and zoom level. This is crucial for drawing attention to tiny menu items, specific lines of code, or small UI details. It’s the difference between a viewer feeling lost and feeling like you're right there guiding them.
Optimizing and Exporting Your Final Tutorial

You've done the hard work. Your tutorial is edited, polished, and just about ready for the world to see. But before you hit that publish button, there's one last, crucial phase: exporting. How you package and optimize your video at this stage determines whether all your effort translates into a great viewing experience.
This isn't just a technical step; it's about making sure your video looks fantastic, whether it's on YouTube, a corporate learning platform, or embedded on your own website. Let’s walk through how to get this right in Screen Charm on your Mac.
Dialing in Your Export Settings
Inside Screen Charm, the export options are pretty straightforward for macOS. The real game is finding that sweet spot between crisp video quality and a file size that won't take forever to upload or buffer. I've found that for almost any online use case, a few key settings are all you need to worry about.
- Resolution: Stick with 1920x1080 (1080p). This is the gold standard for HD video and gives you that professional, clear look on just about any device.
- Format: Choose MP4. It's the universal language of online video. It gives you fantastic compression (great quality, smaller file) and plays nicely everywhere.
- Frame Rate: For screen recordings, 30 frames per second (fps) is perfect. It keeps the on-screen motion looking smooth without bloating your file size. Higher frame rates are overkill for this type of content.
Think of these settings as the final packaging for your product. The right choices ensure your video looks exactly as you intended, no matter where it's viewed.
Your Thumbnail Is Your Billboard
Never underestimate the power of a good thumbnail. It's often the single most important factor in whether someone clicks your video or just keeps scrolling. A generic, auto-generated frame from your video just won't cut it.
You need to design a custom thumbnail that acts like a mini-advertisement for your tutorial. Here’s what I focus on:
- A Clear, High-Quality Image: Grab a compelling screenshot from your video that shows the "aha!" moment or the final result.
- Bold, Readable Text: Add a short, punchy title on the thumbnail itself. Make sure the font is clean and easy to read, even on a tiny phone screen.
- Consistent Branding: If you have brand colors or a logo, use them. Over time, this builds recognition and trust with your audience.
Writing Titles and Descriptions That Work for You
Your title and description are your primary tools for getting discovered. This is your chance to speak directly to search engines like Google and YouTube, telling them exactly what your video is about so they can show it to the right people.
Be specific. Instead of a generic title like "CSS Tutorial," go for something like "How to Build a Responsive Navbar on macOS with Flexbox." See the difference? The second one targets a specific problem and solution.
Use the description to expand on that promise. Write a clear summary of what viewers will learn, and if your video is long, add timestamps for different sections. It's also the perfect place to drop links to any resources you mentioned.
This isn't just busywork. Tutorials are a powerful business driver. In fact, 89% of consumers say that watching a video has convinced them to buy a product or service. That's a huge number, and it shows just how effective a great tutorial can be. If you're interested in the data behind this, you can discover additional insights from video marketing statistics.
Don’t Skip the Closed Captions
My final piece of advice is simple: always add closed captions. It's one of the easiest and most impactful things you can do for your video.
First, it makes your content accessible to people with hearing impairments or anyone watching with the sound off (which is more common than you'd think). Second, search engines can read the text in your captions, which gives your video another SEO boost.
Screen Charm makes this easy. You can export a transcript that you can quickly turn into an SRT caption file—the standard format for most platforms. Taking this small extra step ensures your hard work reaches the widest possible audience. It’s a win-win.
Even after you’ve got a handle on the basics of planning, recording, and editing, it's natural for a few nagging questions to pop up. Making great tutorial videos on a Mac is a craft, and like any craft, you learn the nuances through practice and asking the right questions.
Let's tackle some of the most common hurdles new creators face. Think of this as a quick chat to clear up those lingering doubts so you can get back to creating with confidence.
What Is the Best Length for a Tutorial Video?
This is the big one, isn't it? Everyone wants to know the magic number. While the honest answer is "it depends on the topic," there's a definite sweet spot you should aim for. For most tutorials you'd post on YouTube or social media, stick to the 5 to 10-minute range.
This length hits that microlearning sweet spot, giving viewers a quick win without demanding a huge chunk of their day. It also forces you, the creator, to be ruthless with your editing and get straight to the point. If you're building a more in-depth course for a platform like Skillshare, longer videos are fine, but be sure to break them up with clear chapters or timestamps.
The real goal is to be as thorough as necessary but as brief as possible. Cover every crucial detail, but don't add a single second of fluff. Your audience will love you for respecting their time.
How Do I Get Crystal-Clear Audio on My Mac?
Let’s be blunt: bad audio will kill your video faster than anything else. Viewers will forgive slightly grainy video, but they won't tolerate scratchy, echoing, or quiet sound. While your Mac's built-in mic is great for a quick chat with family, it just won't do for a polished tutorial. The best investment you can make, by far, is an external USB microphone.
Getting that crisp, professional sound really comes down to three things:
- The Right Gear: Seriously, get an external USB mic. It's a game-changer for your Mac setup.
- Mic Placement: Position the mic about 6-8 inches from your mouth. This simple trick captures the warmth of your voice without those harsh "p" sounds (plosives).
- A Quiet Space: Record in a room with soft surfaces. Carpets, curtains, and even a few blankets draped over chairs will absorb echo and give you a much cleaner recording.
Once you’ve recorded, you can use the audio tools inside Screen Charm to automatically remove any remaining background hum and level out your volume. It's the final polish that makes your audio easy to listen to from beginning to end.
Should I Use a Full Script or Just an Outline?
This really boils down to your comfort level and experience. If you're just starting to learn how to make tutorial videos on your Mac, I always recommend starting with a full, word-for-word script. It might feel a bit rigid at first, but a script eliminates the "ums" and "ahs," keeps you on track, and helps you sound way more confident.
As you get a few videos under your belt, you’ll likely find your rhythm. At that point, you can graduate to a detailed outline. An outline gives you the freedom to be more conversational and let your personality shine through, all while ensuring you still hit every key point.
My advice? Start scripted. Once you feel you can nail your talking points without reading, give an outline a try. There's no right or wrong here—just what helps you create best.
What Is the Best Screen Resolution to Record In?
Thankfully, this is a technical question with a simple, non-negotiable answer. Always record your screen at the same resolution you intend to export. For virtually any modern platform, that means 1920x1080 pixels, better known as 1080p or Full HD.
If you record at a lower resolution and try to stretch it to fit a 1080p frame, you’ll end up with a blurry, pixelated mess. It’s an instant sign of an amateur video.
Screen Charm makes this easy on macOS by letting you set your recording area to a precise 1080p dimension. This ensures that what you see is exactly what you get—every menu, button, and line of text will be perfectly sharp. On a high-resolution Mac Retina display, this is especially critical, as low-quality footage looks even worse. It’s a small setup step that makes a massive impact on your final quality.
Ready to stop wondering and start creating? With Screen Charm, you have a complete toolkit to record, edit, and share incredible tutorial videos, all from your Mac. Its smart features like auto-zoom and live annotations help you create content that not only teaches but also keeps your audience hooked.
Get Screen Charm today and start making tutorials that shine.
Comparing tools before deciding? See Best Software for Video Tutorials on macOS for a side-by-side of Screen Charm, Camtasia, ScreenFlow, Loom, OBS, and 7 more options. Or go straight to Screen Charm vs Loom or Screen Charm vs Camtasia for a detailed breakdown.