If you've ever tried making videos on your Mac, you probably started with iMovie. It's built-in and gets the job done for simple projects. But when you need to create truly professional-looking product demos or tutorials, you'll quickly find yourself wanting something more focused.
That's where a dedicated macOS app like Screen Charm comes in. It's built from the ground up to make creating polished, clear, and impactful videos on your Mac a much smoother experience. This guide will take you through the entire process, from setting everything up to exporting your final masterpiece.
Your Essential Toolkit to Make Videos on Mac
Getting started with video creation on a Mac should be fun, not a technical headache. The macOS ecosystem has always been a go-to for creative professionals, and for good reason—it’s stable, intuitive, and powerful.
This preference is a big deal in the creative software world. The global video editing software industry was valued at roughly USD 2.29 billion in 2024, and it's only getting bigger. Mac users are a huge part of that, with tools like Final Cut Pro showing just how central the platform is for video creators.
But we're not going to get bogged down in complex, multi-track timelines or a dizzying array of features. Instead, this guide will show you a practical, results-first approach using Screen Charm, an app designed specifically for macOS that simplifies every single step.
Why a Streamlined Workflow Matters
Let's be honest: the biggest thing that stops people from creating great content consistently is a clunky, complicated process. If you spend more time battling your software than actually sharing your message, projects die before they even get off the ground.
Switching to a simplified toolkit gives you some major advantages:
- You get it done faster. Go from a rough idea to a finished video in a fraction of the time.
- Less time learning, more time creating. Intuitive tools mean you're not stuck watching tutorials for hours on end.
- Your quality stays high. A straightforward process helps you maintain a professional look and feel across all your videos.
The goal isn’t just to make a video. It's to create something clear and engaging that actually respects your audience's time. A streamlined workflow is the surest way to get there.
This table breaks down the key functions we'll cover, showing how each one solves a common challenge in the Mac video creation process.
Core Screen Charm Features for Mac Video Creation
| Feature | What It Solves for Mac Users | Practical Use Case |
|---|---|---|
| Clean Recording | Eliminates distracting desktop clutter and notifications before you even hit record. | Recording a software demo without having to manually hide your messy desktop or close apps. |
| Dynamic Zoom | Smoothly zooms in on key areas to guide viewer attention without jarring cuts. | Highlighting a specific button or menu option in a tutorial video to make it easy to follow. |
| Smart Editing | Removes ums, ahs, and long pauses automatically, cutting down editing time significantly. | Cleaning up a voiceover for a product walkthrough in seconds instead of manually trimming audio. |
| Easy Overlays | Adds text, arrows, and other annotations to clarify points directly on the screen. | Pointing out a critical setting in a "how-to" guide or adding a title to introduce a new section. |
This approach is especially powerful when your main goal is to teach something. You need tools that make explaining complex ideas feel effortless. If you're looking to dive deeper into the art of teaching through video, this a complete guide to making tutorial videos is an excellent resource for engaging your audience.
Next up, we’ll get into the practical steps, starting with how to set up a clean recording environment on your Mac. Trust me, a little prep work here will save you hours of editing headaches later on.
Nailing Your First Recording on macOS
The real secret to making videos quickly is starting with a great recording. When you get the first take right, you save a ton of time on the backend trying to fix mistakes. Let’s walk through how to capture clean, crisp footage on your Mac from the get-go.
First things first: what are you actually recording? A messy macOS desktop full of personal files is the quickest way to kill your video’s professional vibe and distract your audience.
Instead of sharing your entire screen, focus only on what’s absolutely necessary. Screen Charm is great for this—it lets you select a single app window or even draw a custom box around a specific area. This is a lifesaver for software demos where you need to show one application without broadcasting your notifications or messy desktop folders.
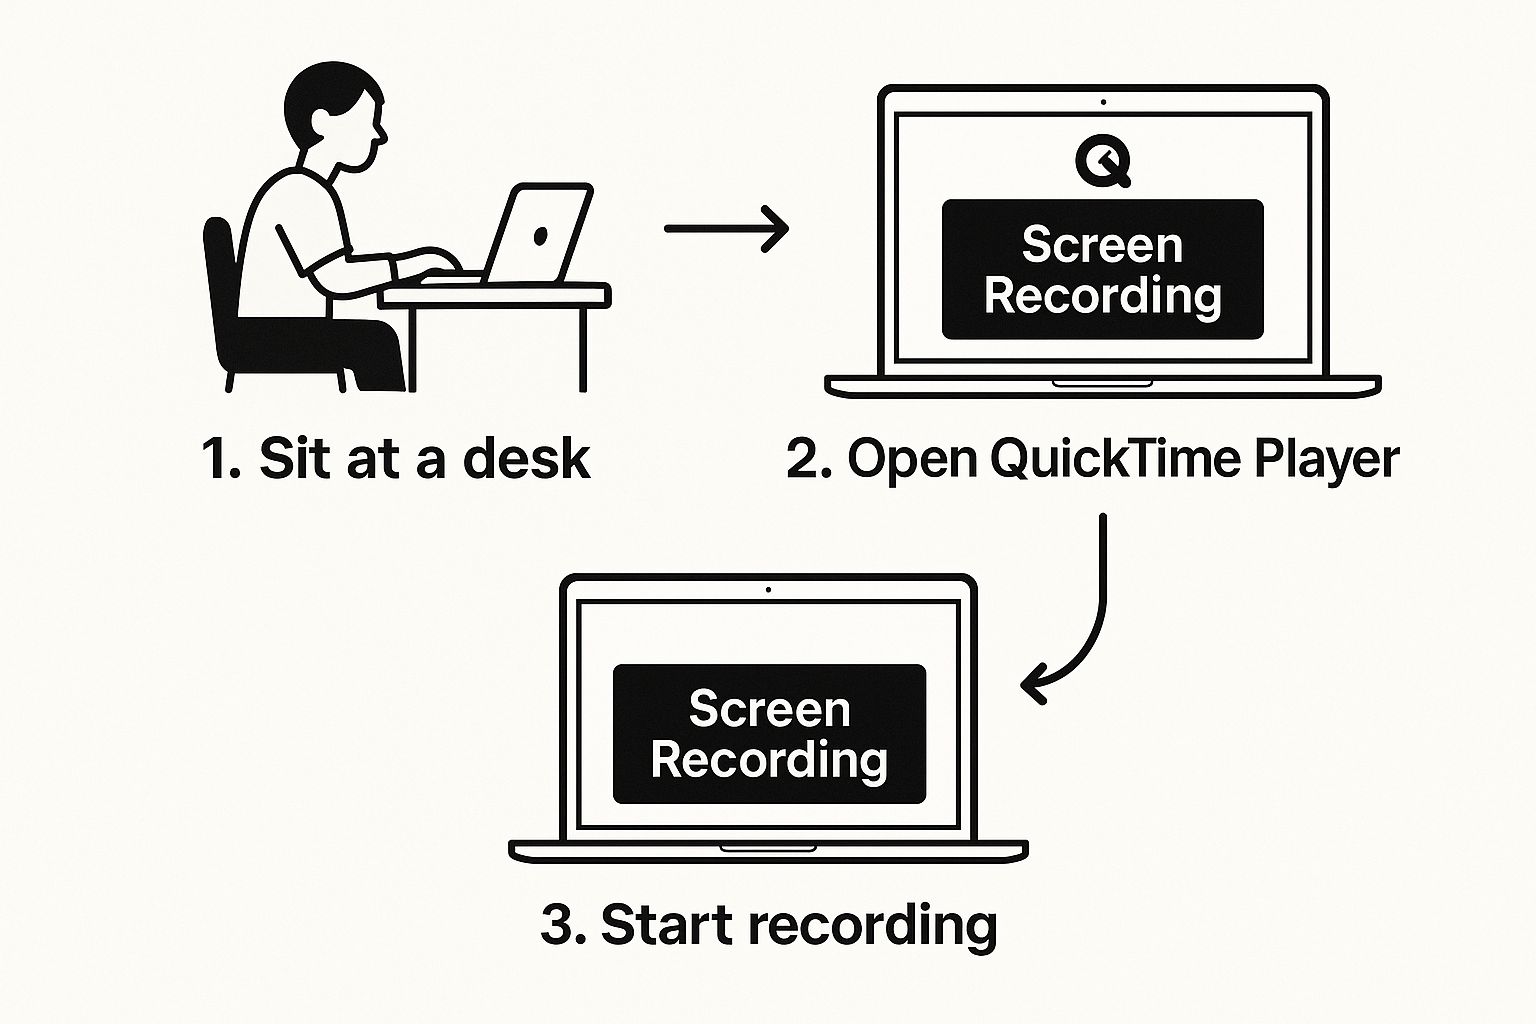
As the image shows, a focused recording is the first step toward a polished final product. It’s all about creating clarity from the very start.
Dialing in Your Audio
Great visuals are only half the battle. I've seen amazing videos get ruined by scratchy, hard-to-hear audio. While your Mac’s built-in mic will work in a pinch, investing in a decent external USB microphone makes a world of difference. The clarity is just on another level.
Once you have a mic plugged in, make sure your recording software is actually using it. Just hop into your settings and select it as the audio source. Here’s another pro tip: enable system audio recording. This captures all the little sounds your Mac makes, like the click of a button or an in-app alert, which adds a really nice, professional touch to tutorials.
The Pre-Recording Checklist That Saves Hours
A little prep work before you hit the red button goes a surprisingly long way. I used to just dive right in, and my intros were always a mess of fumbled words and awkward pauses. Now, I never record without using a countdown timer.
Giving yourself just a three or five-second countdown is a game-changer. It gives you a moment to:
- Take a deep breath and gather your thoughts for that opening line.
- Position your mouse cursor right where you need it to be.
- Check your posture and get ready to speak with confidence.
I like to think of the countdown as a personal stage manager giving me a cue. It’s such a simple trick, but it transforms a potentially rocky start into a smooth, professional opening.
Taking this one small step results in much cleaner raw footage, which means way less trimming and editing later. If you’re creating educational content, mastering these initial steps is non-negotiable. For more on this, check out our deep dive on how to make tutorial videos that actually hold people's attention.
By being intentional about your recording area, getting your audio right, and using a countdown, you're setting yourself up for success. This thoughtful approach ensures the footage you capture is clean, clear, and ready for the fun part—editing.
Sponsored by the makers
Tired of boring screen recordings?
Try Screen Charm.
Auto-zoom, motion blur, camera overlay, and background music. All built in. Record once, export a polished video.
See what it doesGuiding Your Viewer's Eye with Pan and Zoom
Let's be honest: a static, full-screen recording is a surefire way to make your audience tune out. When you're creating a tutorial or a product demo on your Mac, your most important job is to direct your viewer's attention. This is where pan and zoom effects come in—they’re the secret to turning a boring screen recording into a clear, engaging story.
Think of pan and zoom as your digital spotlight. You’re essentially telling your viewer, "Pay attention to this part right here." Without that guidance, they're left scanning a cluttered screen, trying to follow your tiny cursor and guess what you're doing. It’s confusing and makes your video a chore to watch.
Making Your Movements Count
The best zoom effects are the ones nobody consciously notices. They feel so smooth and natural that the viewer just feels like they’re being led effortlessly to the right place at the right time. For example, if you’re showing someone how to use a piece of software, you don’t just tell them to click a button—you bring that button right into the spotlight.
This is where Screen Charm's standout feature really shines: its automatic, cursor-aware zoom. As you move your mouse, the camera gracefully follows and zooms in on exactly what you're about to click. This is a game-changer because it eliminates the tedious, frame-by-frame work you'd have to do in a traditional video editor.
This one simple, automated movement accomplishes several key things:
- Cuts out the noise: By zooming in, all the distracting, irrelevant parts of your screen just fade away.
- Boosts clarity: Your audience can actually read the text on the button or see the icon you're clicking.
- Keeps people watching: Constant, subtle motion keeps the visuals interesting and prevents viewers from getting bored.
A well-timed zoom is the difference between a viewer who's actively learning and one who's just passively watching, hoping they catch the important bits. It’s a small touch that makes a huge difference in how well people understand your content.
When to Use Pan and Zoom in the Real World
Let's think beyond just simple button clicks. Imagine you're showing off a workflow in a complex app like Adobe Lightroom, which runs beautifully on the newer Macs with M-series chips.
You could be adjusting a slider in one of the editing panels. A gentle zoom would keep that slider perfectly framed, so your audience can see the exact adjustment you're making and watch its effect on the photo in real-time.
Or, you could start zoomed in on a specific setting, then smoothly pan across the screen to a different part of the interface to show the result. This move visually connects the cause and effect, making the whole process much easier to follow.
The great thing about doing this in Screen Charm is that you still have full control after you've finished recording. If the automatic zoom feels a little too quick or tight for your liking, you can just hop into the editor and dial it back. You get the speed of automation with the precision of manual control, which is the perfect recipe for a professional-looking video.
Alright, you've captured your raw footage. Now for the fun part—turning those clips into a polished, professional video. This is where the real storytelling happens, and it's what separates a decent recording from a great one. Don't worry, editing on a Mac doesn't have to be a headache. With the right macOS-native tool, you can get a slick final product without getting bogged down in complexity.
First thing's first: cleanup. Let's be honest, no take is ever perfect. You'll have awkward pauses, moments where you fumbled your words, or clicked the wrong menu. The first order of business is to trim that stuff out. I always start by snipping the very beginning and end of each clip for clean in-and-out points.
Once that's done, I go through the middle of the recording, hunting for any dead air or mistakes. Cutting these out instantly makes your video feel tighter and more energetic. It's a simple trick, but it shows you respect your viewer's time.
Shaping Your Narrative
With your clips all cleaned up, it's time to think about the bigger picture. The order you recorded in might not be the best way to teach the concept. Feel free to shuffle things around.
I often find that a concept I explained later in a recording actually makes more sense if I move it toward the beginning. Think of it like building with LEGOs—sometimes you have to move a foundational piece to make everything else fit together properly. This kind of reordering can be the difference between a viewer who's following along and one who's totally lost.
The goal of editing is always clarity. Every single cut, trim, and rearrangement should serve one purpose: making your message easier for the viewer to understand and follow. When it's done right, a well-edited video feels effortless.
Adding Context with Annotations
Sometimes, just showing isn't enough; you need to add a little extra guidance. That’s where annotations are a lifesaver. Simple visual cues like arrows, text boxes, or highlights can clear up any confusion in a split second.
For example, if you're walking someone through a software demo on your Mac, you could use:
- An arrow to pinpoint the exact button they need to click.
- A text box to pop in a helpful keyboard shortcut they can't see on the screen.
- A highlighted area to draw their eye to a specific chunk of code or a critical setting.
Effectively adding text and graphics is a huge part of creating a polished story. If you want to explore this more, there's a fantastic guide on How to Put Text in a Video that offers some great creative tips.
Finalizing Your Audio
The final piece of the puzzle is your audio. Even if you used a great mic, your volume can dip and spike. You want a smooth, consistent listening experience so your audience isn't constantly reaching for the volume dial. Most editors make it easy to level out your audio, ensuring your voice stays clear and steady throughout the entire video.
This is one area where Macs really shine. Apple's tight integration of hardware and software, especially with their M-series chips, makes them incredibly efficient for video rendering. It's a big reason why so many creators stick with macOS—the platform is just rock-solid for this kind of work. To dive deeper into the various tools out there, take a look at our guide on screen recording and editing software.
Speed Up Your Workflow With Smart AI Features
Let's be honest: editing is where you turn a good recording into a great video, but it can also be a real grind. The good news is that modern Mac tools are getting smarter. They now pack in AI-driven features that handle the most boring, repetitive tasks for you. This frees you up to actually focus on being creative.
This isn't just a niche trend; it's a massive shift. The AI video editing market was already worth USD 0.9 billion in 2023 and is on track to explode to USD 4.4 billion by 2033. Heavy-hitters like Apple and Adobe are baking AI right into their macOS software to slash the amount of manual work we have to do. You can get a deeper dive into the growth of AI in the video market on market.us.
Let AI Handle the Tedious Stuff
Picture this: you finish a screen recording on your Mac, and instead of dreading the cleanup, half of it is already done. That’s what AI can do for you right now. No more hunting down every awkward silence or fumbled word.
One of my favorite examples is AI-powered noise removal. Ever record a great voiceover only to find a distracting air conditioner humming in the background? In the past, fixing that meant wrestling with complex audio filters. Now, you can often eliminate that hum with a single click. It's a lifesaver.
Automatic subtitles are another huge time-saver. Transcribing a ten-minute video by hand can easily eat up an hour or more. AI can whip up a surprisingly accurate transcript in just a few minutes, instantly making your content more accessible and saving you a ton of effort.
AI isn't here to replace your creativity. It’s here to take over the repetitive, soul-crushing tasks so you can pour your energy into what really matters—telling a great story.
Practical AI Tools You Can Use Today
When you’re looking to make videos on Mac, the trick is to find software that acts like a smart assistant. You want tools with features built to solve the most common editing headaches automatically.
Here’s what to look for:
- Smart Trim: This is a fantastic feature that automatically finds and snips out long pauses and all those filler words like "um" and "uh." It instantly makes you sound more polished and confident.
- AI Silence Removal: This is a more focused version of Smart Trim. It specifically targets and removes dead air, which tightens up your pacing and keeps your audience engaged.
- Auto-Generated Chapters: If you create longer tutorials for platforms like YouTube, this is invaluable. Some tools can analyze your content and suggest logical chapter breaks, making your video much easier for viewers to navigate.
These kinds of intelligent features are becoming standard, even in beginner-friendly apps for macOS. If you're just starting out, checking out the best video editing software for beginners is a great way to find a tool that balances power with ease of use. Folding these AI assists into your process will help you make better videos, faster.
Getting Your Video Out Into the World
You’ve put in the work—recording, editing, and perfecting your video. Now for the final, most satisfying step: exporting it. This is the moment you transform your project timeline into a polished, shareable video file, ready for YouTube, your website, or your company's training portal.
Getting the export settings right is key. It's all about striking the perfect balance between two critical factors: visual quality and file size. You want your video to look sharp and professional, but an enormous file can be a nightmare to upload and can leave viewers with slower internet connections staring at a buffering wheel.
Nailing the Export Settings
Don't worry, you don't need a degree in video engineering to figure this out. Modern tools like Screen Charm have made this part incredibly simple by offering presets designed for specific platforms. These are your new best friend.
Instead of getting lost in a sea of technical jargon like bitrates and codecs, you can just pick a preset like "YouTube 1080p" or "Social Media." The software automatically handles the heavy lifting, applying the best settings for that destination.
For almost any video you plan to put online, exporting at 1080p (1920x1080 resolution) with the H.264 codec is the way to go. It’s the industry standard for a reason—it delivers fantastic quality without creating a gigantic file.
Think of your export settings as the final handshake between your creative vision and your audience’s viewing experience. A good preset ensures what you see on your Mac is exactly what they see on their screen.
Of course, once your video is ready, sharing it effectively is a whole other ballgame. A solid content marketing strategy can make all the difference in getting your masterpiece seen.
The Pre-Flight Checklist
Before you hit that big "Export" button, take a few minutes to run through one final quality check. I can’t tell you how many times I’ve caught a tiny mistake at this stage, saving myself the frustration of re-exporting and re-uploading a huge file.
Here's what to look for:
- Do a final watch-through. Play the entire video from start to finish, without stopping. Keep an ear out for audio pops or dips and an eye out for any visual glitches you might have overlooked during editing.
- Check the audio levels. Put on a pair of headphones. Is the sound consistent? You don't want your audience constantly reaching for the volume knob because of sudden loud noises or quiet mumbles.
- Look for clean bookends. Make sure your video doesn't start with a weird frame of black or end too abruptly. A smooth intro and outro make the whole thing feel more professional.
This final five-minute review is your last line of defense. It’s a small time investment that ensures the video you share is something you can be genuinely proud of.
Questions We Hear All the Time
Even with the best tools in hand, a few questions always seem to surface when you're just getting started. Trust me, I've been there. Getting these sorted out early on saves a ton of headaches and lets you focus on what really matters: making a great video.
Let's dive into some of the most common ones.
What’s the Best Free Software to Make Videos on a Mac?
For simple projects, you really can't go wrong with Apple’s iMovie. It’s already on your Mac, it's free, and it handles the basics like trimming clips and adding titles perfectly well. It’s a solid place to start.
But when you need to do something more specific, like creating a really clean screen recording with smooth zoom effects, you’ll feel the limitations of a general-purpose editor. That’s where a specialized app like Screen Charm comes in. It’s built from the ground up just for making crystal-clear tutorials and demos on macOS.
Can I Record My Screen and My Voice at the Same Time?
Yes, and it's easier than you might think! Your Mac’s built-in screen recorder (just hit Shift + Command + 5) lets you capture your screen and select a microphone for your audio.
The real magic, though, comes from dedicated apps like Screen Charm. They give you much finer control by recording your system audio (like app sounds and notifications) and your microphone onto separate tracks. This is a game-changer in editing because you can adjust the volume of each one independently.
Being able to edit audio tracks separately is a pro move. It means you can quiet a loud notification sound from an app without having to lower the volume of your own voiceover. It’s those little details that make a video feel polished.
How Can I Make a Video File Smaller on My Mac?
The secret to shrinking a video file without making it look terrible is using a modern video codec, like H.264. It's the standard for pretty much all online video for one simple reason: it’s incredibly efficient at balancing quality and file size.
You don't need to be a video engineer to get this right. Most modern macOS video apps, including Screen Charm, have built-in export presets. You can just choose an option like "YouTube" or "Social Media," and the software automatically handles all the complicated settings for bitrate and compression. You get a small file that still looks fantastic.
Ready to create amazing product demos and tutorials on your Mac without getting bogged down by a complicated process? With Screen Charm, you get powerful features like automatic zoom and a dead-simple editor, all for a one-time price. Start making professional videos today at https://screencharm.com.